1994 CHEVROLET CAVALIER brake
[x] Cancel search: brakePage 11 of 243
Downloaded from www.Manualslib.com manuals search engine How to Use this Manual
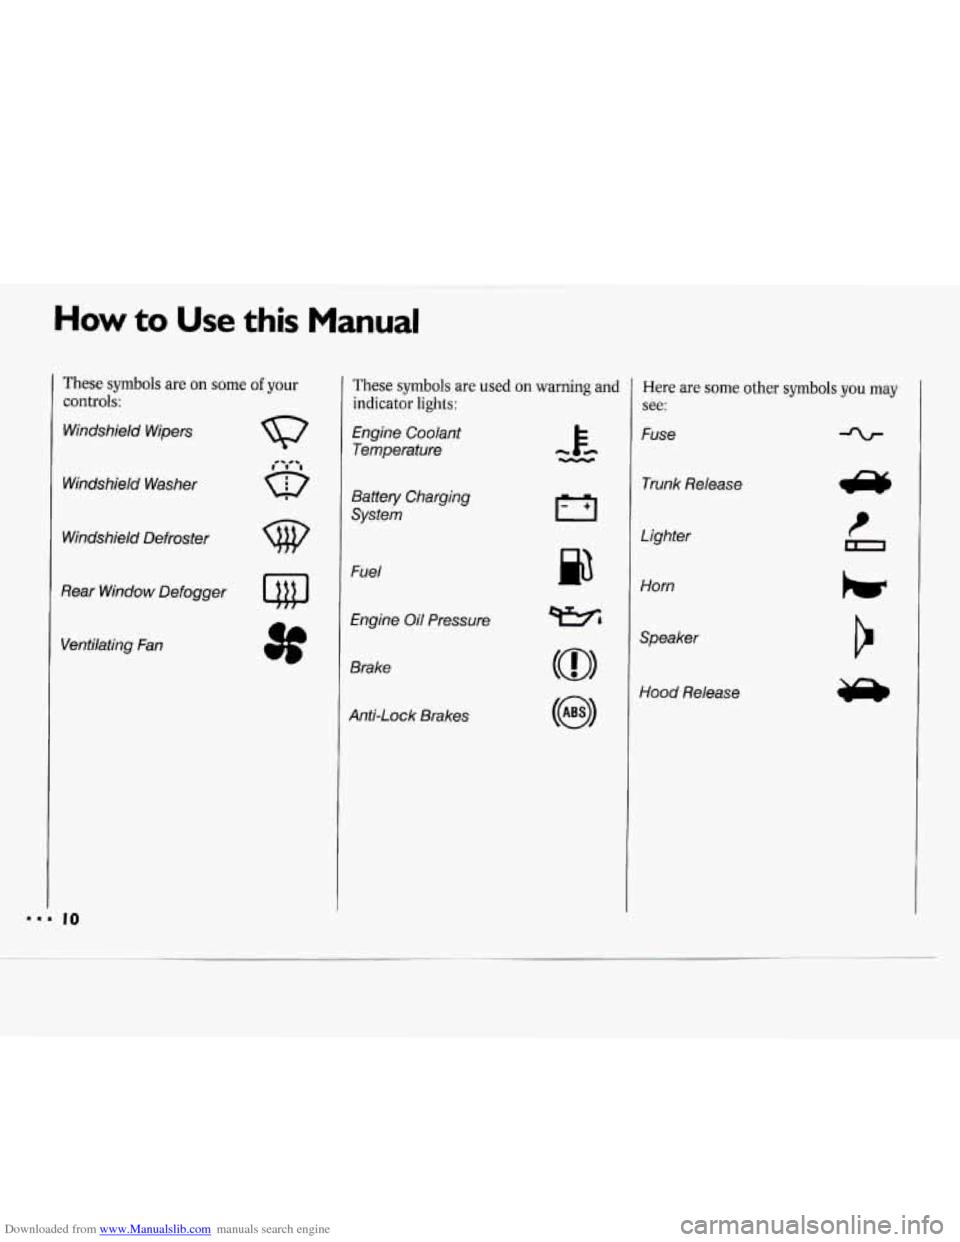
These symbols are on some of your
controls:
Windshield Wipers
Windshield Washer
Windshield Defroster
Rear Window Defogger
Ventilating Fan
These symbols are used on warning and
indicator
lights:
Engine Coolant
Temperature
Battery Charging
System
Fuel
Engine Oil Pressure
Brake
Anti-Lock Brakes
p3
Here are some other symbols you may
see:
Fuse
Trunk Release
Lighter
Horn
Speaker
Hood Release
Page 42 of 243
Downloaded from www.Manualslib.com manuals search engine Here you can learn about the
many standard and' optional
features on your Chevrolet. and information on starting. shifiing and
braking;
Also explained are the
instrument panel and the :warning
systems that tell you
if everything is
working properly-and what to do
if you have a problem .
........ ;\?
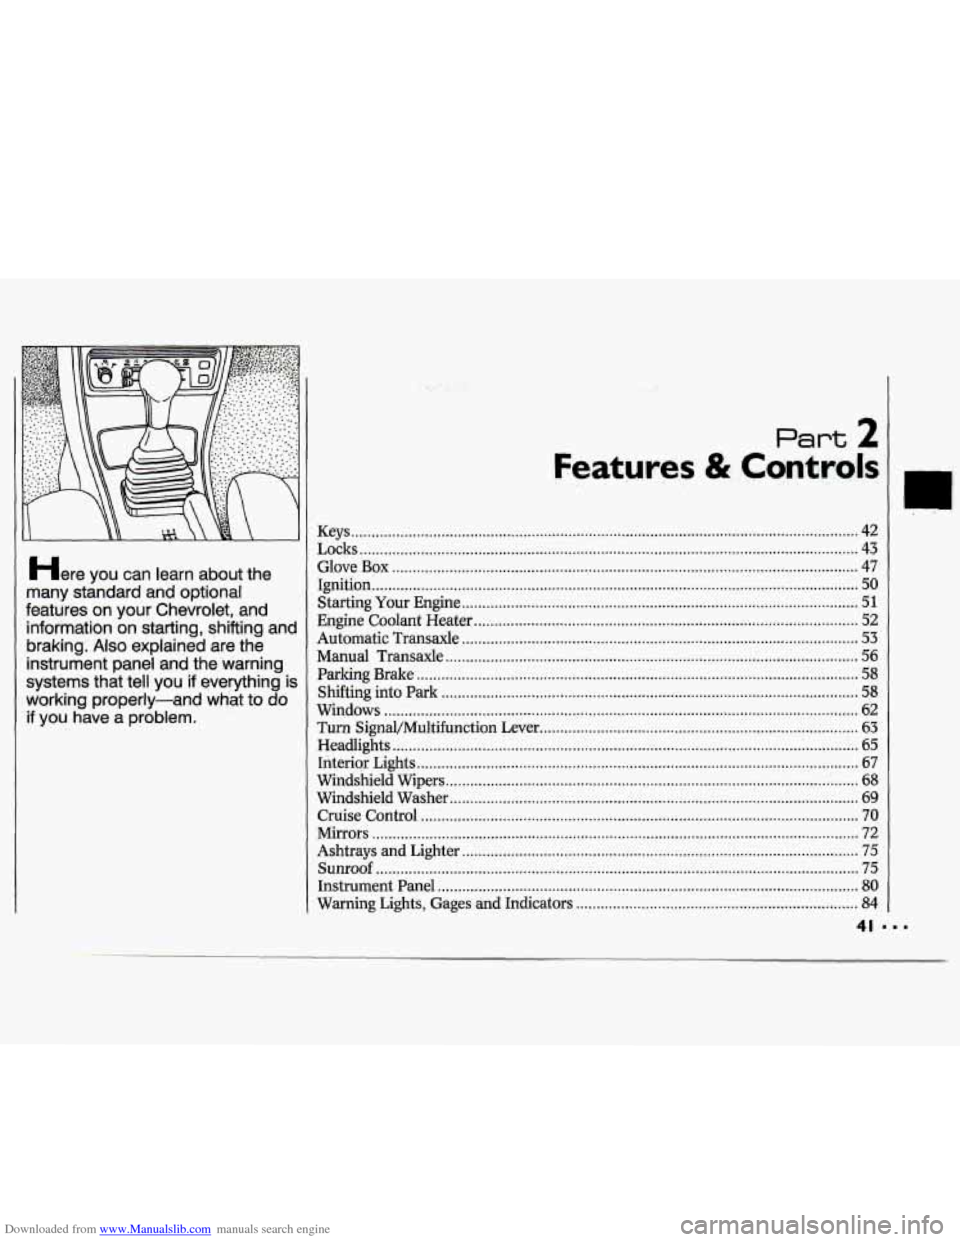
Keys ........................................................................\
.................................................... 42
Locks
........................................................................\
.................................................. 43
Glove
Box ........................................................................\
.......................................... 47
Ignition
50 .. ........................................................................\
...............................................
Starting Your Engine ........................................................................\
......................... 51
Engine Coolant Heater ........................................................................\
...................... 52
Automatic Transaxle
........................................................................\
......................... 53
Manual Transaxle ................................... i ................................................................. 56
Parking Brake .......................................................... 1 .................................................. 58
Shfiing into
Park ........................................................................\
............ ................. 58
Windows ..... ........................................................................\
...................................... 62
Turn Signal/Multifunction Lever ........................................................................\
...... 63
Headlights
............................................. ..I.. ................................................. .: ............ -65
Interior Lights ........................................................................\
.................................... 67
Windshield Wipers
........................................................................\
............................. 68
Windshield Washer
........................................................................\
......... .l ................. 69
Cruise Control ........................................................................\
................................... 70
Mirrors
........................................................................\
............................................... 72
Ashtrays and Lighter
........................................................................\
......................... 75
Sunroof ........................................................................\
.............................................. 75
Instrument Panel
........................................................................\
............................... 80
Warning Lights, Gages and Indicators ..................................................................... 84
Page 47 of 243
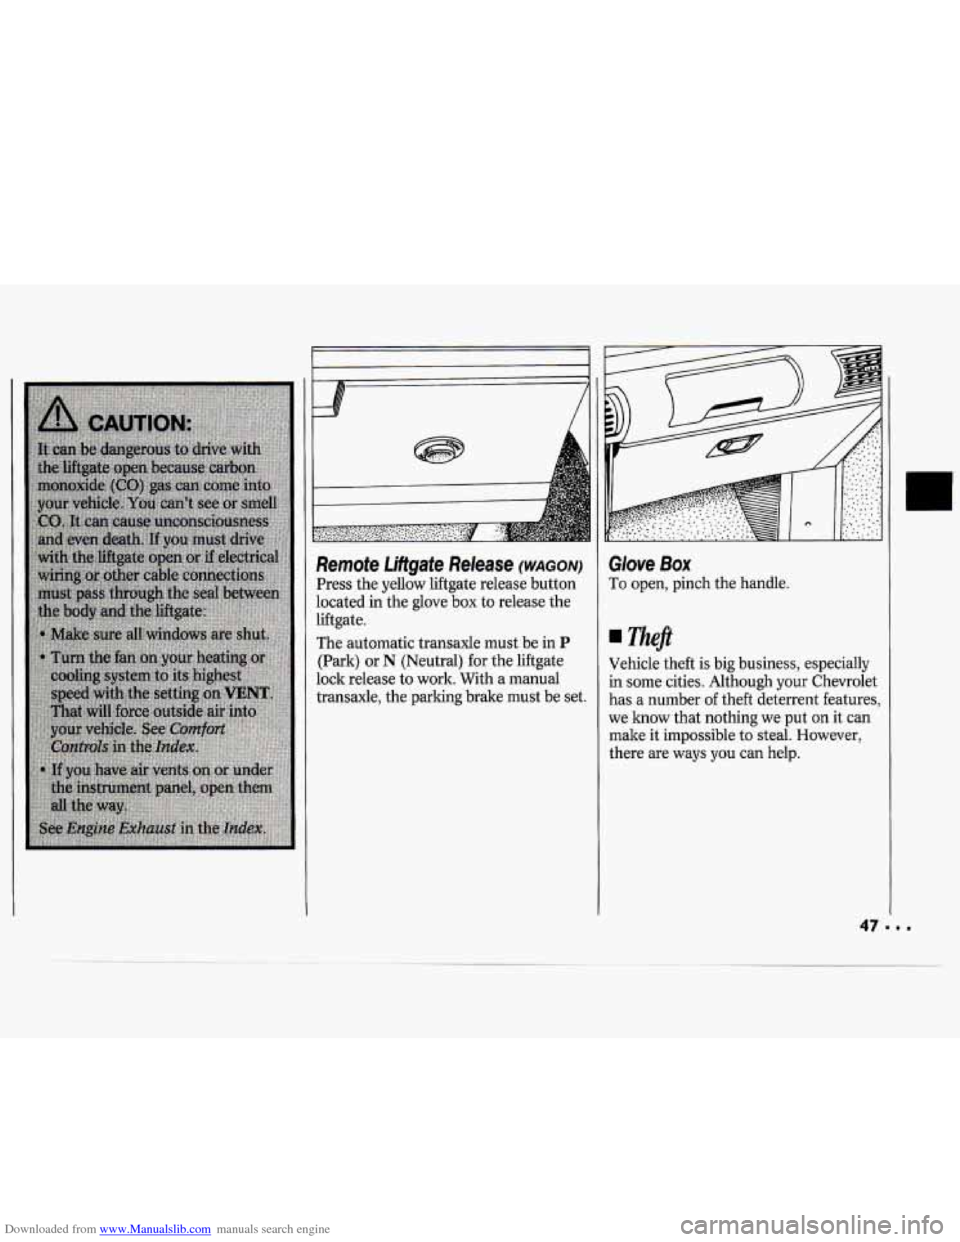
Downloaded from www.Manualslib.com manuals search engine Remote Liltgate Release (WAGON)
Press the yellow liftgate release button
located in the glove
box to release the
liftgate.
The automatic transaxle must be in
P
(Park) or N (Neutral) for the liftgate
lock release to work. With a manual
transaxle, the parking brake must be set.
Glove Box
To open, pinch the handle.
neft
Vehicle theft is big business, especially
in some cities. Although your Chevrolet
has a number
of theft deterrent features,
we know that nothing we put on it can
make it impossible to steal. However,
there are ways you can help.
Page 50 of 243
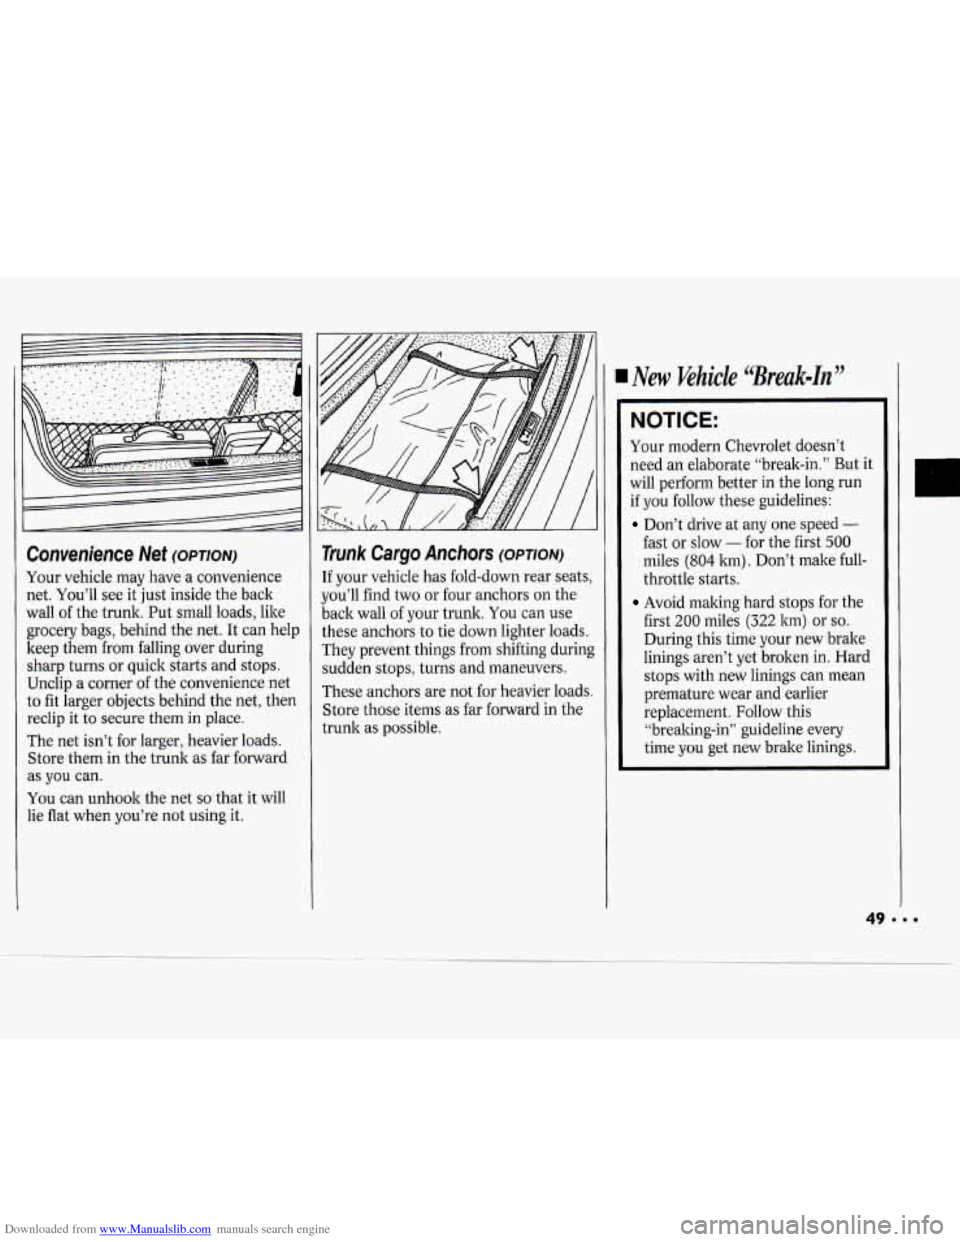
Downloaded from www.Manualslib.com manuals search engine Convenience Net (OPTION)
Your vehicle may have a convenience
net. You’ll see it just inside the back
wall of the trunk. Put small loads, like
grocery bags, behind the net. It can help
keep them
from falling over during
sharp turns or quick starts and stops.
Unclip a corner of the convenience net
to fit larger objects behind the net, then
reclip it to secure them in place.
The net isn’t for larger, heavier loads.
Store them in the trunk as far forward
as
you can.
You can unhook the net
so that it will
lie flat when you’re not using it.
Trunk Cargo Anchors (OPTION)
If your vehicle has fold-down rear seats,
you’ll find two or four anchors on the
back wall of your trunk.
You can use
these anchors to tie down lighter loads.
They prevent things from shifting during
sudden stops, turns and maneuvers.
These anchors are not for heavier loads.
Store those items as far forward in the
trunk as possible.
New Khicle ‘Break-in"
NOTICE:
Your modern Chevrolet doesn’t
need an elaborate “break-in.” But it
will perform better in the long run
if you follow these guidelines:
Don’t drive at any one speed -
fast or slow - for the fist 500
miles (804 km) . Don’t make full-
throttle starts.
Avoid making hard stops for the
first
200 miles (322 km) or so.
During this time your new brake
linings aren’t yet broken in. Hard
stops with new linings can mean
premature wear and earlier
replacement. Follow this
“brealring-in” guideline every
time you get new brake linings.
Page 55 of 243

Downloaded from www.Manualslib.com manuals search engine Features & Controls
Ensure the shift lever is fully in P
(Park) range before starting the engine.
Your Chevrolet has a brake-transaxle
shift interlock.
You have to fully apply
your regular brakes before you can shift
from
P (Park) when the ignition ley is
in the
Run position. If you cannot shift
out of
P (Park), ease pressure on the
shift lever-push the shift lever all the
way into
P (Park) and also release the
shift lever button as you maintain brake
application. Then move the shift lever
into the gear you
wish. See the Index
under Shifting Out of P (Park).
Reverse
R (Reverse): Use this gear to back up.
NOTICE:
Shifting to R (Reverse) while your
vehicle is moving forward could
damage your transaxle. Shift to
R
only after your vehicle has stopped.
To rock your vehicle back and forth to
get out
of snow, ice or sand without
damaging your transaxle, see the
Index
under If You’re Stuck: In Sand, Mud,
Ice or Snow.
54
Page 56 of 243
Downloaded from www.Manualslib.com manuals search engine Neutral
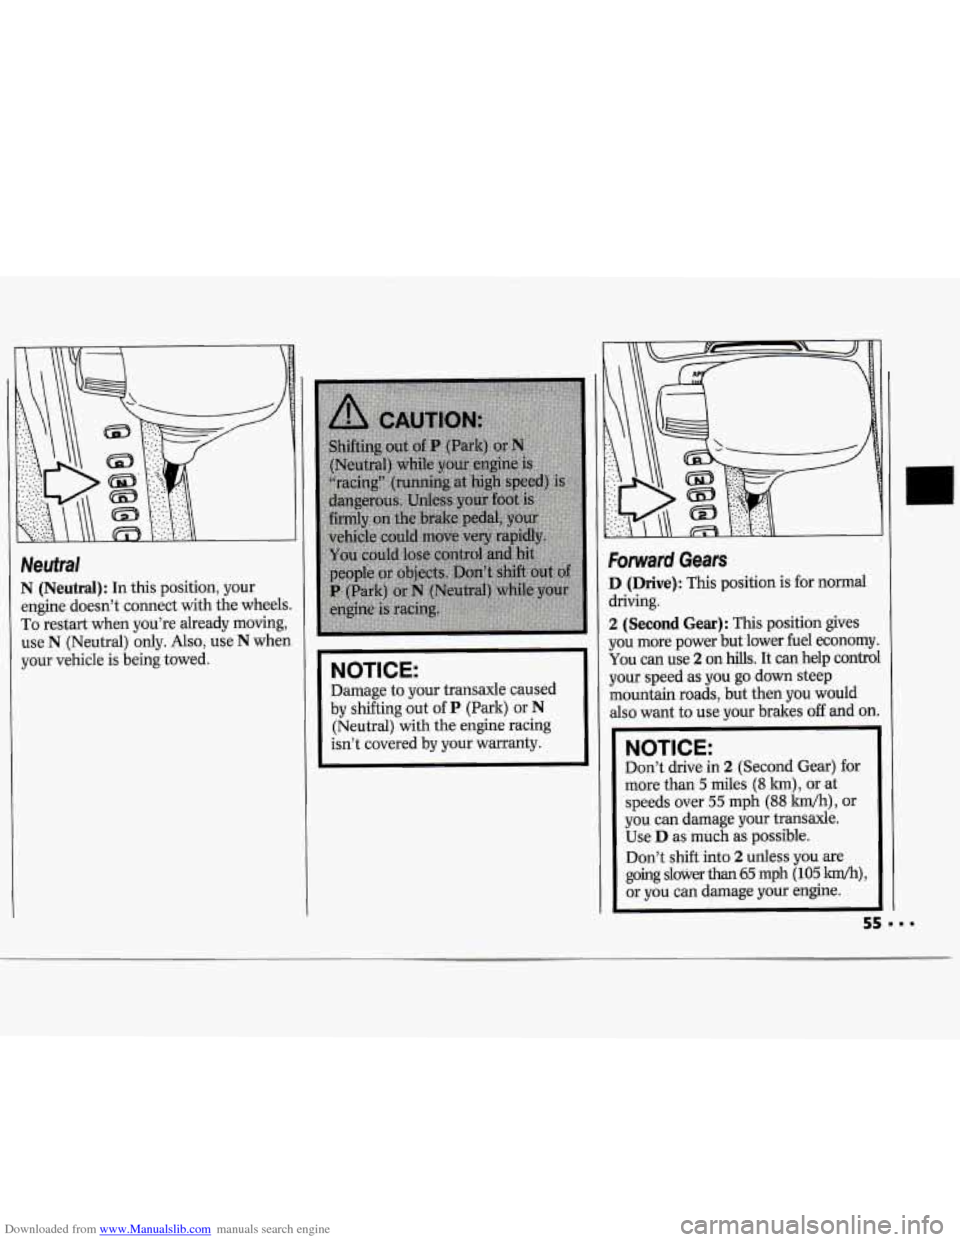
N (Neutral): In this position, your
engine doesn’t connect with the wheel:
To restart when you’re already moving,
use
N (Neutral) only. Also, use N wher
your vehicle is being towed.
I
NOTICE:
Damage to your transaxle caused
by shifting out
of P (Park) or N
(Neutral) with the engine racing
isn’t covered by your warranty.
Forward Gears
D (Drive): This position is for normal
driving.
2 (Second Gear): This position gives
you more power but lower fuel economy
You can use 2 on hills. It can help contro
your speed as you
go down steep
mountain roads, but then you would
also want to use your brakes off and on
NOTICE:
..
Don’t drive in 2 (Second Gear) for
more than
5 miles (8 km), or at
speeds over
55 mph (88 km/h), or
you can damage your transaxle.
Use
D as much as possible.
Don’t
shift into 2 unless you are
going slower
than 65 mph (105 km/h),
or you can damage your engine.
I
L
55===
Page 57 of 243
Downloaded from www.Manualslib.com manuals search engine Features & Controls
1 (First Gear): This position gives you
even more power (but lower fuel
economy) than
2. You can use it on
very steep hills, or in deep snow or
mud.
If the selector lever is put in 1, the
transaxle won’t shift into first gear until
the vehicle is going slowly enough.
NOTICE:
If your front wheels can’t rotate,
don’t try to drive. This might
happen if you were stuck in very
deep sand or mud or were up
against
a solid object. You could
damage your transaxle.
Also, if you stop when going uphill,
don’t hold your vehicle there with
only the accelerator pedal. This
could overheat and damage the
transaxle. Use your brakes or shift
into
P (Park) to hold your vehicle
in position on a hill.
3.1L V6 Engine:
Maximum engine speed is limited to
protect driveline components from
improper operation.
Manual Transale
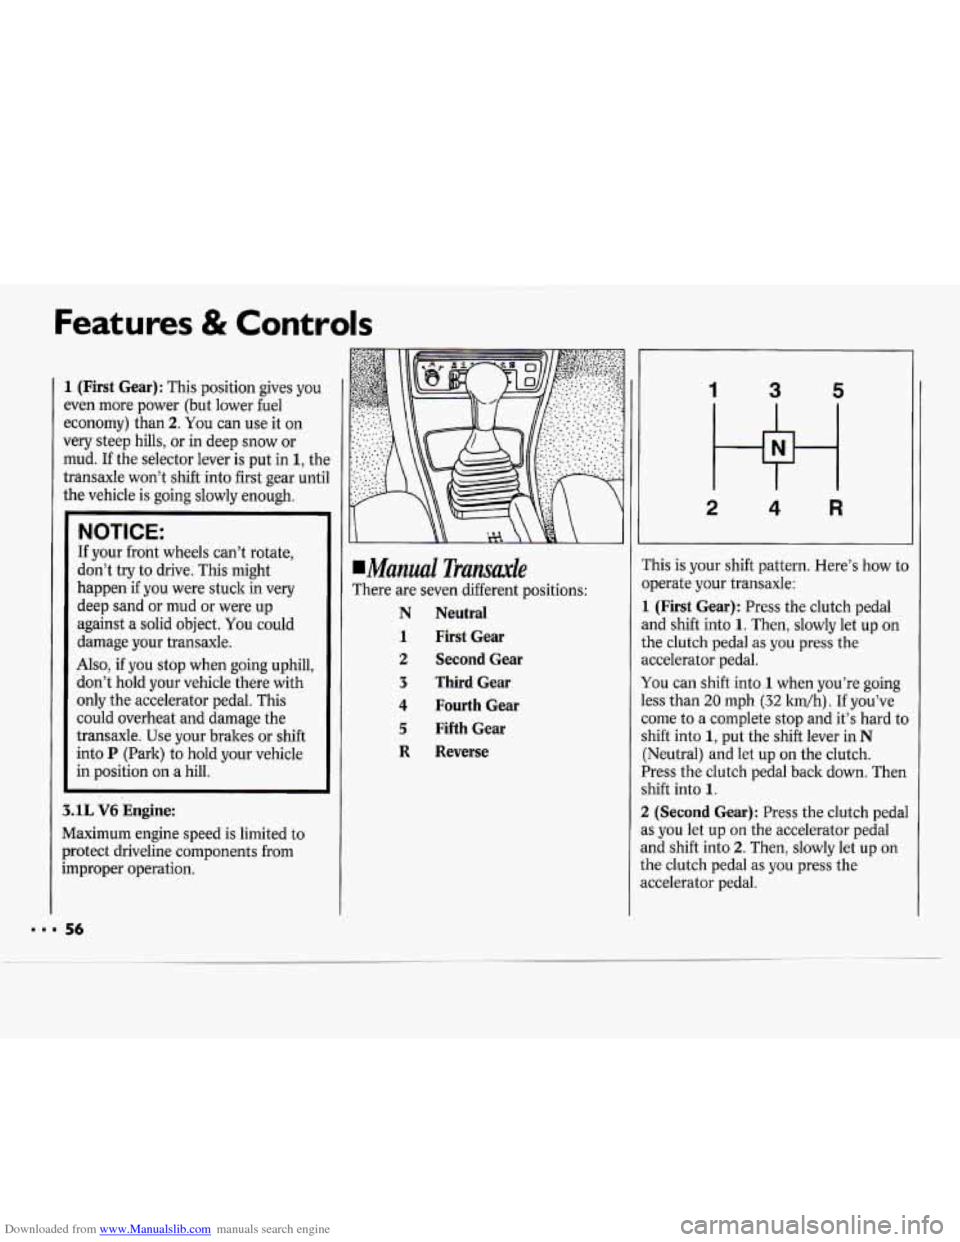
There are seven different positions:
N Neutral
1 First Gear
2 Second Gear
3 Third Gear
4 Fourth Gear
5 Fifth Gear
R Reverse
1 3 5
2 4 R
This is your shift pattern. Here’s how to
operate your transaxle:
1 (First Gear): Press the clutch pedal
and shift into
1. Then, slowly let up on
the clutch pedal as
you press the
accelerator pedal.
You can shift into
1 when you’re going
less than
20 mph (32 km/h) . If you’ve
come to a complete stop and it’s hard to
shift into
1, put the shift lever in N
(Neutral) and let up on the clutch.
Press the clutch pedal back down. Then
shift into
1.
2
(Second Gear): Press the clutch pedal
as you let up on the accelerator pedal
and shift into
2. Then, slowly let up on
the clutch pedal as you press the
accelerator pedal.
Page 58 of 243
Downloaded from www.Manualslib.com manuals search engine 3,4 and 5 (Third, Fourth and Fifth
Gears):
Shift into 3,4 and 5 the same
way you do for
2. Slowly let up on the
clutch pedal as you press the
accelerator pedal.
To Stop: Let up on the accelerator
pedal and press the brake pedal.
Just
before the vehicle stops, press the
clutch pedal and the brake pedal, and
shift to
N (Neutral).
N (Neutral): Use this position when
you start or idle your engine.
R (Reverse): To back up, press down
the clutch pedal and shift into
R
(Reverse). Let up on the clutch pedal
slowly while pressing the accelerator
pedal.
NOTICE:
Shift to R (Reverse) only after your
vehicle is stopped. Shifting to
R
(Reverse) while your vehicle is
moving could damage your transaxle.
Also, use R (Reverse), along with the
parking brake, for parking your vehicle.
SHIFT
Shift Light (MANUAL TRANSAXLE)
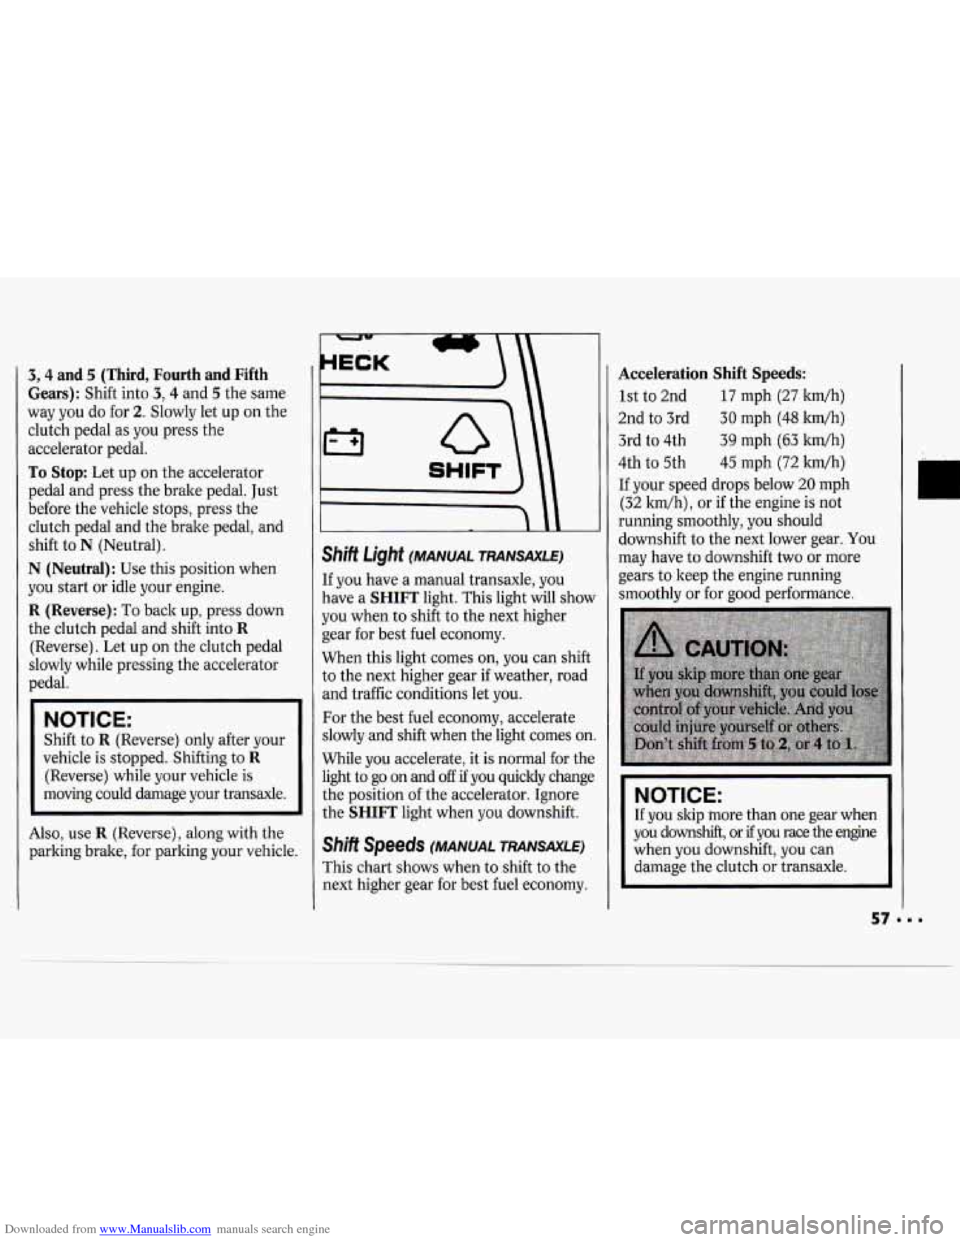
If you have a manual transaxle, you
have a
SHIFT light. This light will show
you when to shift to the next higher
gear for best fuel economy.
When this light comes on, you can shift
to the next higher gear
if weather, road
and traffic conditions let you.
For the best fuel economy, accelerate
slowly and shift when the light comes on
While you accelerate, it is normal for the
light to go on and
off if you quickly change
the position of the accelerator. Ignore
the
SHIFT light when you downshift.
Shift Speeds (MANUAL TRANSAXLE)
This chart shows when to shift to the
next higher gear for best fuel economy.
Acceleration Shift Speeds:
1st to 2nd 17 mph (27 kwh)
2nd to 3rd
30 mph (48 km/h)
3rd
to 4th 39 mph (63 ltm/h)
4th
to 5th 45 mph (72 ltm/h)
If your speed drops below 20 mph
(32 ldh), or if the engine is not
running smoothly, you should
downshift to the next lower gear.
You
may have to downshift two or more
gears to keep the engine running
smoothly or for good performance.
NOTICE:
If you skip more than one gear when
you downshift, or
if you race the engine
when you downshift, you can
damage the clutch
or transaxle.