1994 CHEVROLET CAVALIER tire pressure
[x] Cancel search: tire pressurePage 113 of 243
Downloaded from www.Manualslib.com manuals search engine Your Driving and the Road
And you may even notice that your
brake pedal moves a little while this is
going on. This is the ABS system
testing itself.
If there’s a problem with
the anti-lock brake system, the anti-lock
brake system warning light will stay on
or flash.
See
Anti-lock Brake System Warning
Light
in the Index.
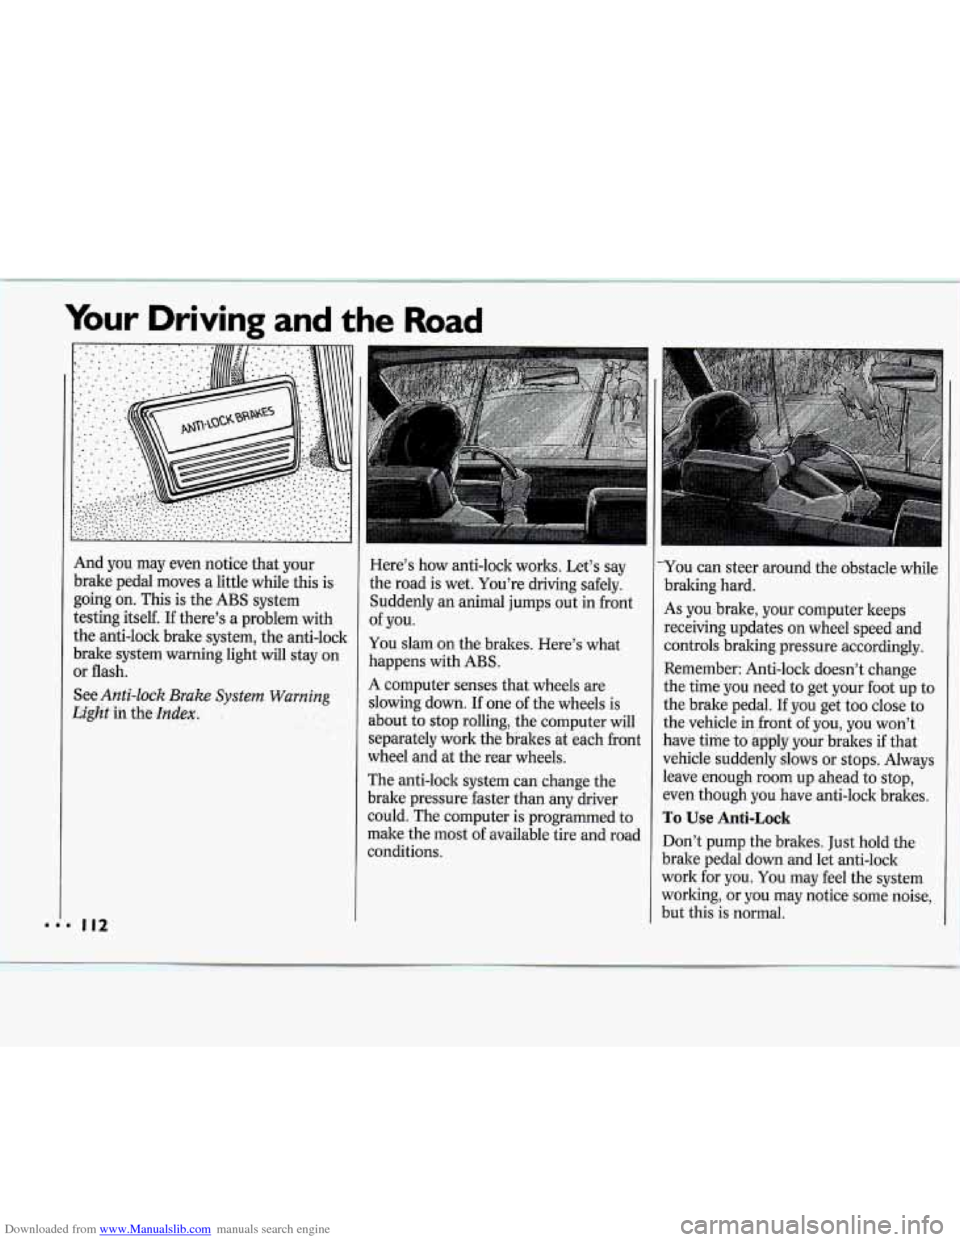
Here’s how anti-lock works. Let’s say
the road is wet. You’re driving safely.
Suddenly
an animal jumps out in front
of you.
You slam on the brakes. Here’s what
happens with ABS.
A computer senses that wheels are
slowing down.
If one of the wheels is
about to stop rolling, the computer wil
separately work the brakes at each fro]
wheel and at the rear wheels.
The anti-lock system can change the
brake pressure faster than any driver
1
nt
could.*The computer is programmed to
make the most of available tire and road
conditions.
L-
You can steer around the obstacle while
braking hard.
As you brake, your computer keeps
receiving updates on wheel speed and
controls braking pressure accordingly.
Remember: Anti-lock doesn’t change
the time you need to get your foot up to
the brake pedal. If you get too close to
the vehicle in front of you, you won’t
have time to apply your brakes if that
vehicle suddenly slows or stops. Always
leave enough room up ahead to stop,
even though you have anti-lock brakes.
To Use Anti-Lock
Don’t pump the brakes. Just hold the
brake pedal down and let anti-lock
work for you. You may feel the system
working, or you may notice some noise,
but this is normal.
Page 122 of 243
Downloaded from www.Manualslib.com manuals search engine Reduce your speed according to your
speedometer, not to your sense of motion.
After driving for any distance at higher
speeds, you may tend
to think you are
going slower than you actually are.
Before Leaving on a Long
Trip
Make sure you’re ready. Try to be well
rested.
If you must start when you’re
not fresh
- such as after a day’s work
- don’t plan to make too many miles
that first part
of the journey. Wear
comfortable clothing and shoes you can
easily drive in.
Is your vehicle ready for a long trip? If
you keep it serviced and maintained, it’s
ready to
go. If it needs service, have it
done before starting out. Of course,
you’ll find experienced and able service
experts in Chevrolet dealerships all
across North America. They’ll be ready
and willing to help
if you need it.
Here are some things you can check
before a trip:
Windshield Washer Fluid Is the
reservoir full? Are all windows clean
inside and outside?
Wiper Blades: Are they in good
shape?
Fuel, Engine Oil, Other Fluids: Have
you checked all levels?
Lights: Are they all working? Are the
lenses clean?
Tires: They are vitally important to a
safe, trouble-free trip.
Is the tread
good enough for long-distance
driving? Are the tires all inflated to
the recommended pressure?
weather outlook along your route?
Should you delay your trip a short
time to avoid a major storm system?
Maps: Do you have up-to-date maps?
Weather Forecasts: What’s the
Highway Hypnosis
Is there actually such a condition as
“highway hypnosis”? Or is it just plain
falling asleep at the wheel? Call it
highway hypnosis, lack
of awareness, or
whatever.
There is something about an easy
stretch of road with the same scenery,
along with the hum of the tires on the
road, the drone
of the engine, and the rush
of the wind against the vehicle that
can make you sleepy. Don’t let it
happen to you! If it does, your vehicle
can leave the road in
less than a
second,
and you could crash and be
injured.
What can you do about highway
hypnosis? First, be aware that it can
happen.
Then here are some tips:
Make sure your vehicle is well
ventilated, with a comfortably cool
interior.
Keep your eyes moving. Scan the road
ahead and to the. sides. Check your
rearview mirrors and your
instruments frequently.
If you get sleepy, pull off the road into
a rest, service, or parking area and
take a nap, get some exercise, or both.
For safety, treat drowsiness
on the
highway as an emergency.
a
Page 146 of 243
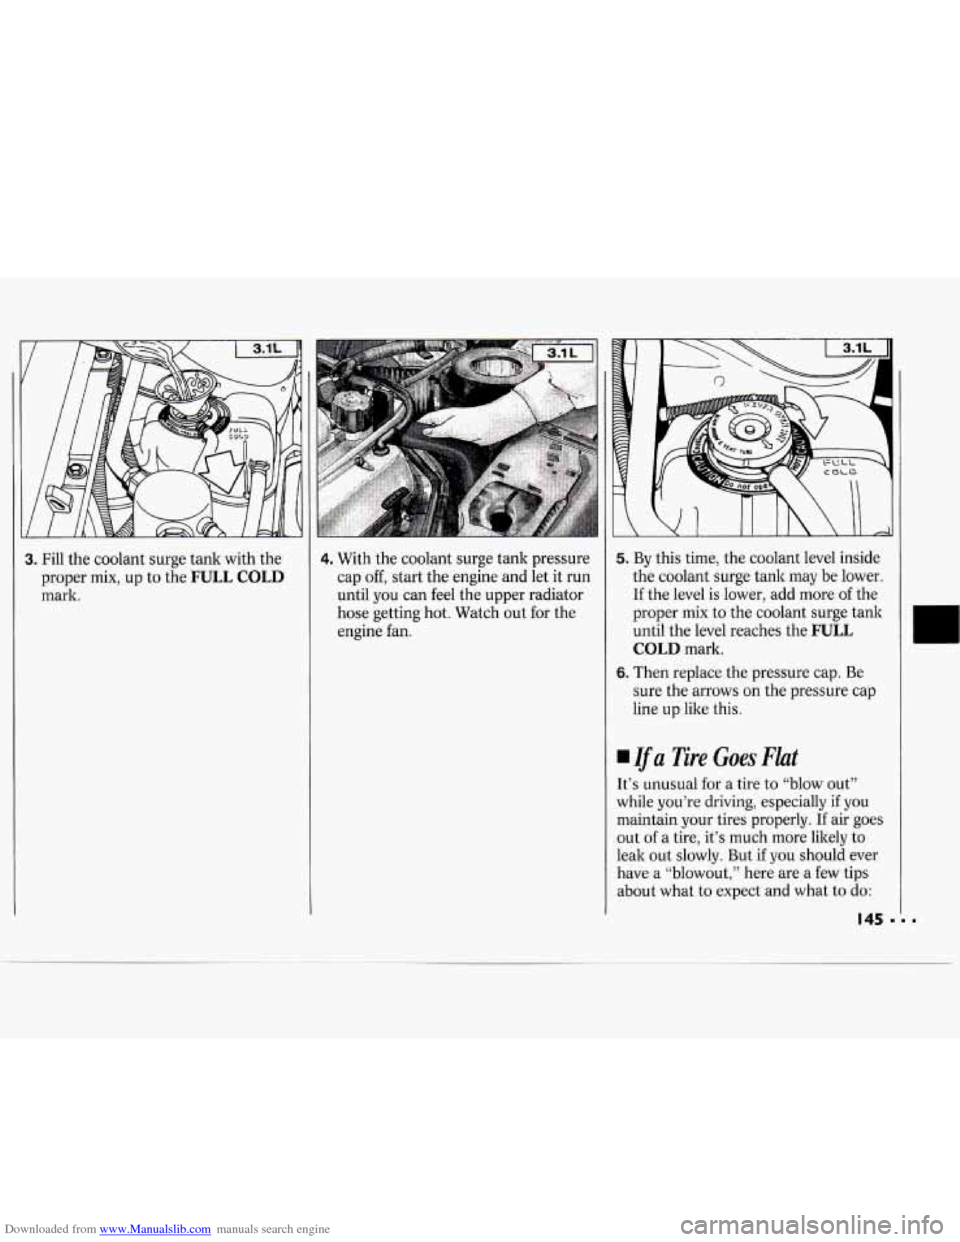
Downloaded from www.Manualslib.com manuals search engine 3. Fill the coolant surge tank with the
proper mix, up to the
FULL COLD
mark.
4. With the coolant surge tank pressure
cap
off, start the engine and let it run
until you can feel the upper radiator
hose getting hot. Watch out for the
engine fan.
5. By this time, the coolant level inside
the coolant surge tank may be lower.
If the level is lower, add more of the
proper mix to the coolant surge tank
until the level reaches the
FULL
COLD mark.
6. Then replace the pressure cap. Be
sure the arrows
on the pressure cap
line up like this.
Ifa Tire Goes Flat
It’s unusual for a tire to “blow out”
while you’re driving, especially
if you
maintain your tires properly. If air goes
out of a tire, it’s much more likely to
leak out slowly. But
if you should ever
have a
blowout^" here are a few tips
about what to expect and what
to do:
Page 152 of 243
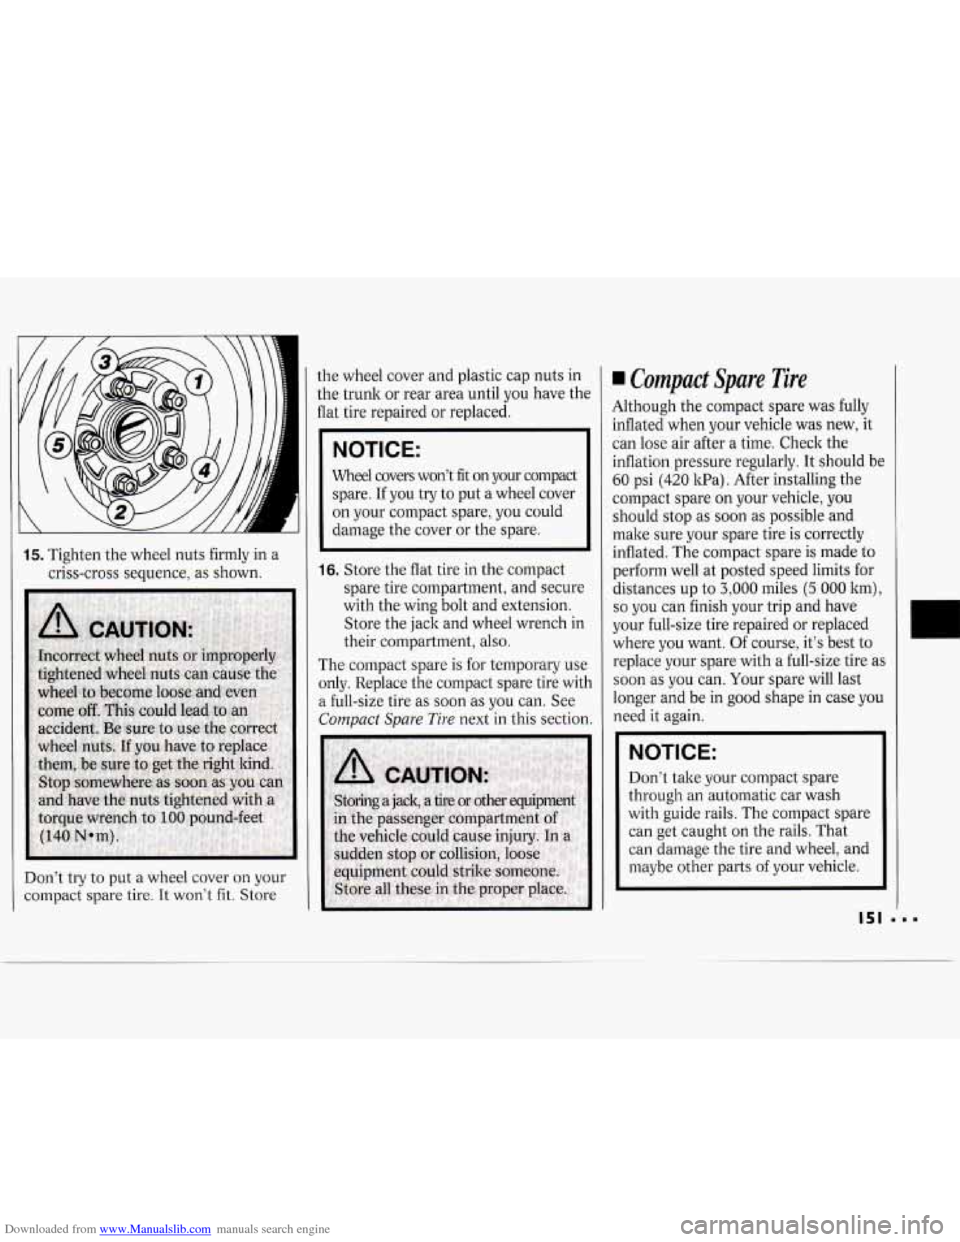
Downloaded from www.Manualslib.com manuals search engine 15. Tighten the wheel nuts firmly in a
criss-cross sequence, as shown.
Don’t try to put a wheel cover
on your
compact spare tire.
It won’t fit. Store the
wheel cover and plastic cap nuts in
the trunk or rear area until you have the
flat tire repaired or replaced.
IICE: I
Wheel covers won’t fit on your compact
spare. If you try to put a wheel cover
on your compact spare, you could
damage the cover or the spare.
16. Store the flat tire in the compact
spare tire compartment, and secure
with the wing bolt and extension.
Store the jack and wheel wrench in
their compartment, also.
The compact spare
is for temporary use
only. Replace the compact spare tire with
a full-size tire as soon as you can. See
Compact Spare Tire next in this section.
Compact Spare Tire
Although the compact spare was fully
inflated when your vehicle was new, it
can lose air after a time. Check the
inflation pressure regularly. It should be
60 psi (420 1cPa). After installing the
compact spare on your vehicle, you
should stop as soon as possible and
make sure your spare tire is correctly
inflated. The compact spare is made
to
perform well at posted speed limits for
distances up to
3,000 miles (5 000 lcm),
so you can finish your trip and have
your full-size tire repaired or replaced
where you want. Of course, it‘s best
to
replace your spare with a full-size tire as
soon as
you can. Your spare will last
longer and be in good shape in case you
need it again.
NOTICE:
Don’t take your compact spare
through an automatic car wash
with guide rails. The compact spare
can get caught on the rails. That
can damage the tire and wheel, and
maybe other parts
of your vehicle.
151
Page 181 of 243
Downloaded from www.Manualslib.com manuals search engine Service & Appearance Care
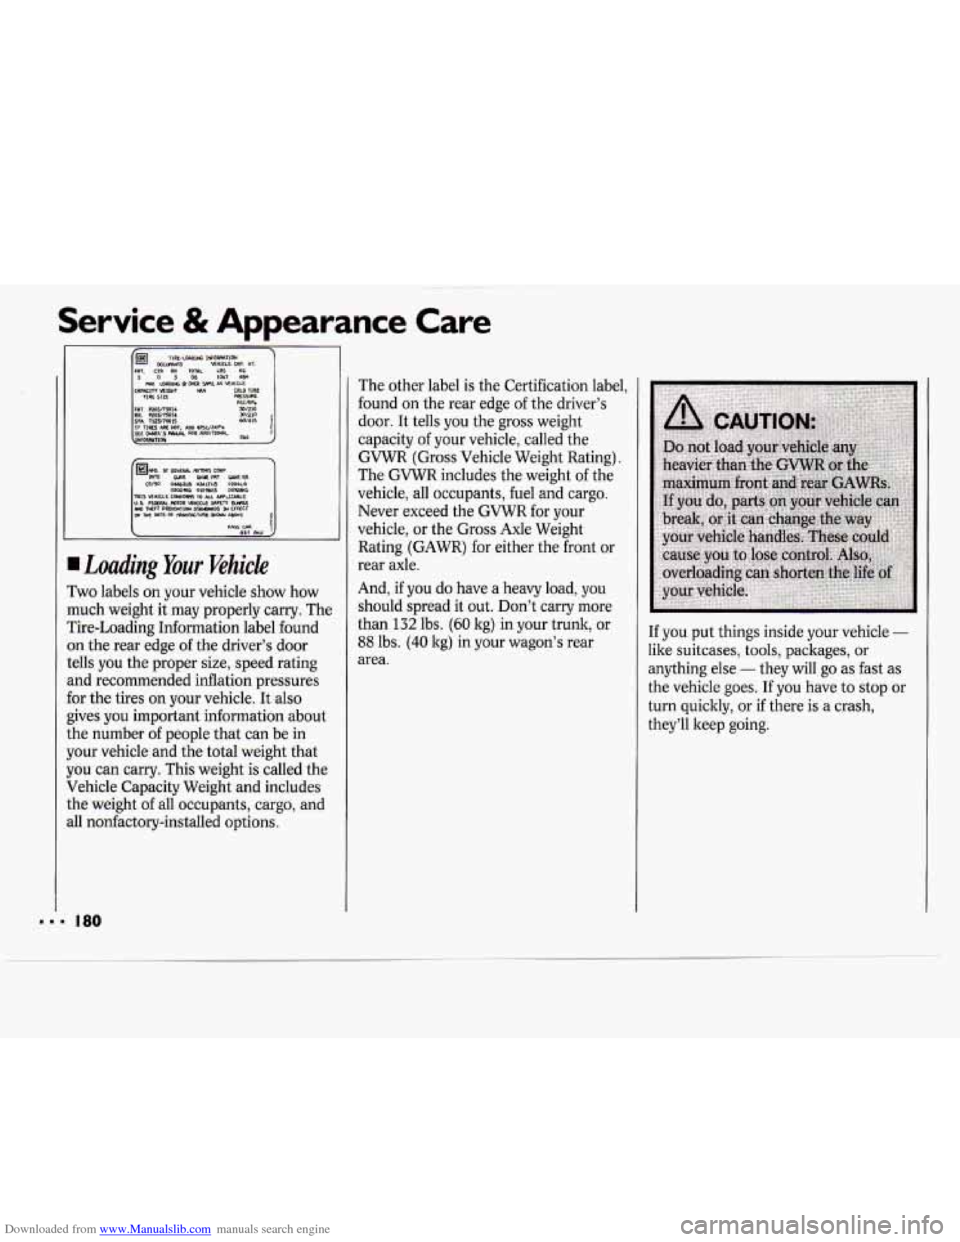
I Loading Your Vehicle
Two labels on your vehicle show how
nuch weight it may properly carry. The
rire-Loading Information label found
In the rear edge of the driver's door
.ells you the proper size, speed rating
md recommended inflation pressures
or the tires on your vehicle. It also
:ives you important information about
.he number of people that can be in
four vehicle and the total weight that
rou can carry. This weight
is called the
Jehicle Capacity Weight and includes
.he weight
of all occupants, cargo, and
111 nonfactory-installed options. The other label is
the Certification label,
found on the rear edge of the driver's
door. It tells you the gross weight
capacity of your vehicle, called the
GVWR (Gross Vehicle Weight Rating).
The
GVWR includes the weight of the
vehicle, all occupants, fuel and cargo.
Never exceed the GVWR for your
vehicle,
or the Gross Axle Weight
Rating (GAWR) for either the front or
rear axle.
And, if you do have a heavy load, you
should spread it out. Don't carry more
than
132 lbs. (60 kg) in your trunk, or
88 lbs. (40 kg) in your wagon's rear
area. If you put things inside your vehicle -
like suitcases, tools, packages, or
anything else
- they will go as fast as
the vehicle goes. If you have to stop or
turn quicltly, or
if there is a crash,
they'll keep going.
Page 183 of 243
Downloaded from www.Manualslib.com manuals search engine Service & Appearance Care
Inflation-Tire Pressure
The Tire-Loading Information label
which is on the rear edge of the driver’s
door shows the correct inflation
pressures for your tires, when they’re
cold.
Cold means your vehicle has been
sitting for at least three hours or driven
no more than a mile.
NOTICE:
Don’t let anyone tell you that
underinflation
or overinflation is all
right. It’s not. If your tires don’t
have enough air (underinflation)
you can get:
Too much flexing
Too much heat
Tire overloading
Bad wear
Bad handling
Bad fuel economy.
If your tires have
too much air
(overinflation), you can get:
Unusual wear
Bad handling
Rough ride
Needless damage from road hazards.
Page 184 of 243
Downloaded from www.Manualslib.com manuals search engine When to Check
Check your tires once a month or more.
Don't forget your compact spare tire. It
should be at
60 psi (420 1tPa).
How to Check
Use a good quality pocket-type gage to
check tire pressure. Simply looking at
the tires
will not tell you the pressure,
especially if you have radial tires
-
which may look properly inflated even if
they're underinflated.
If your tires have valve caps, be sure to
put them back on. They help prevent
leaks by keeping out dirt and moisture.
x
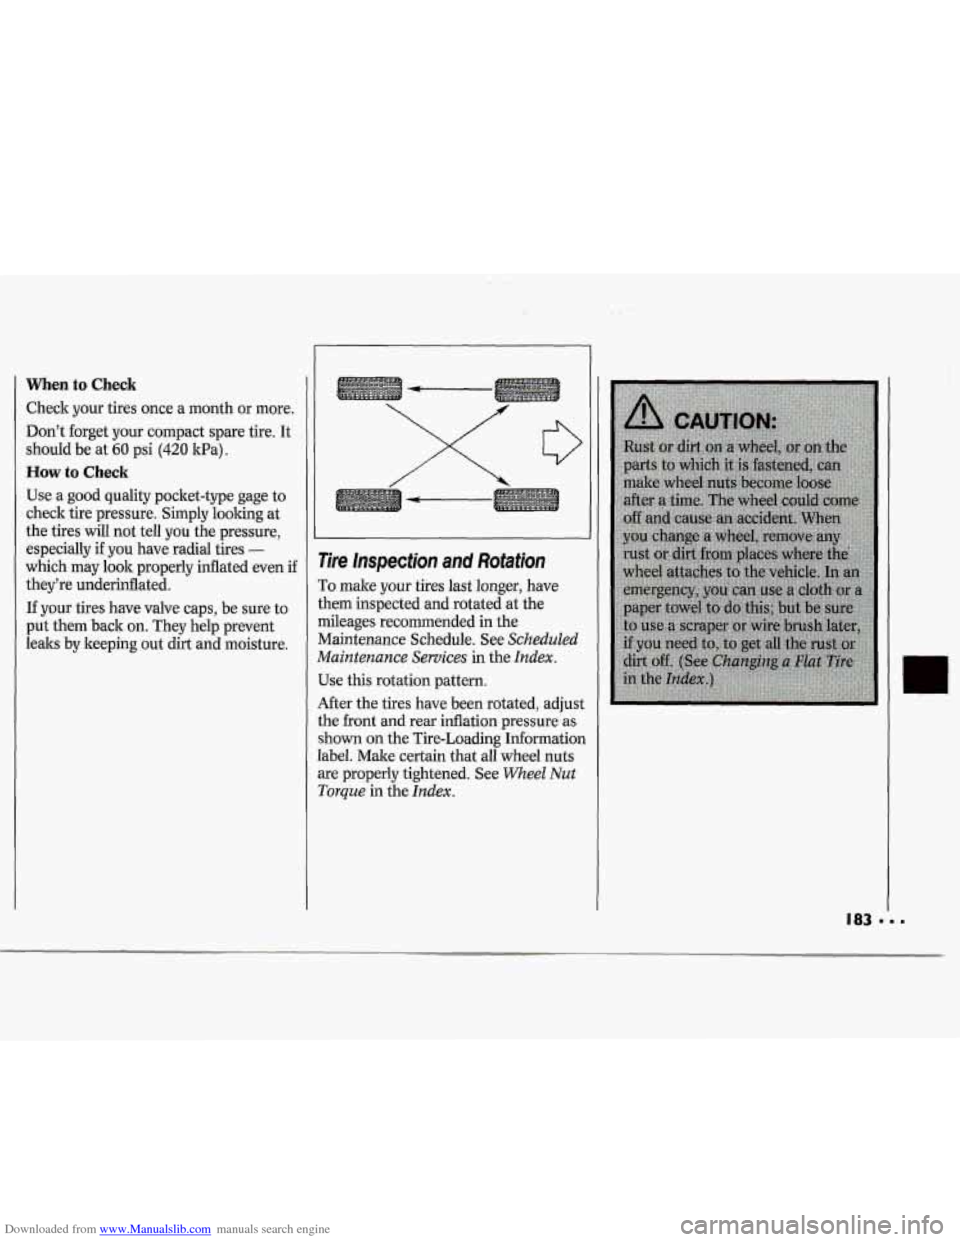
Tire lnspection and Rotation
To make your tires last longer, have
them inspected and rotated at the
mileages recommended in the
Maintenance Schedule. See
Scheduled
Maintenance Services
in the Index.
Use this rotation pattern.
After the tires have been rotated, adjust
the front and rear inflation pressure as
shown on the Tire-Loading Information
label. Make certain that all wheel nuts
are properly tightened. See
Wheel Nut
Torque in the Index.
Page 199 of 243
Downloaded from www.Manualslib.com manuals search engine Service & Appearance Care
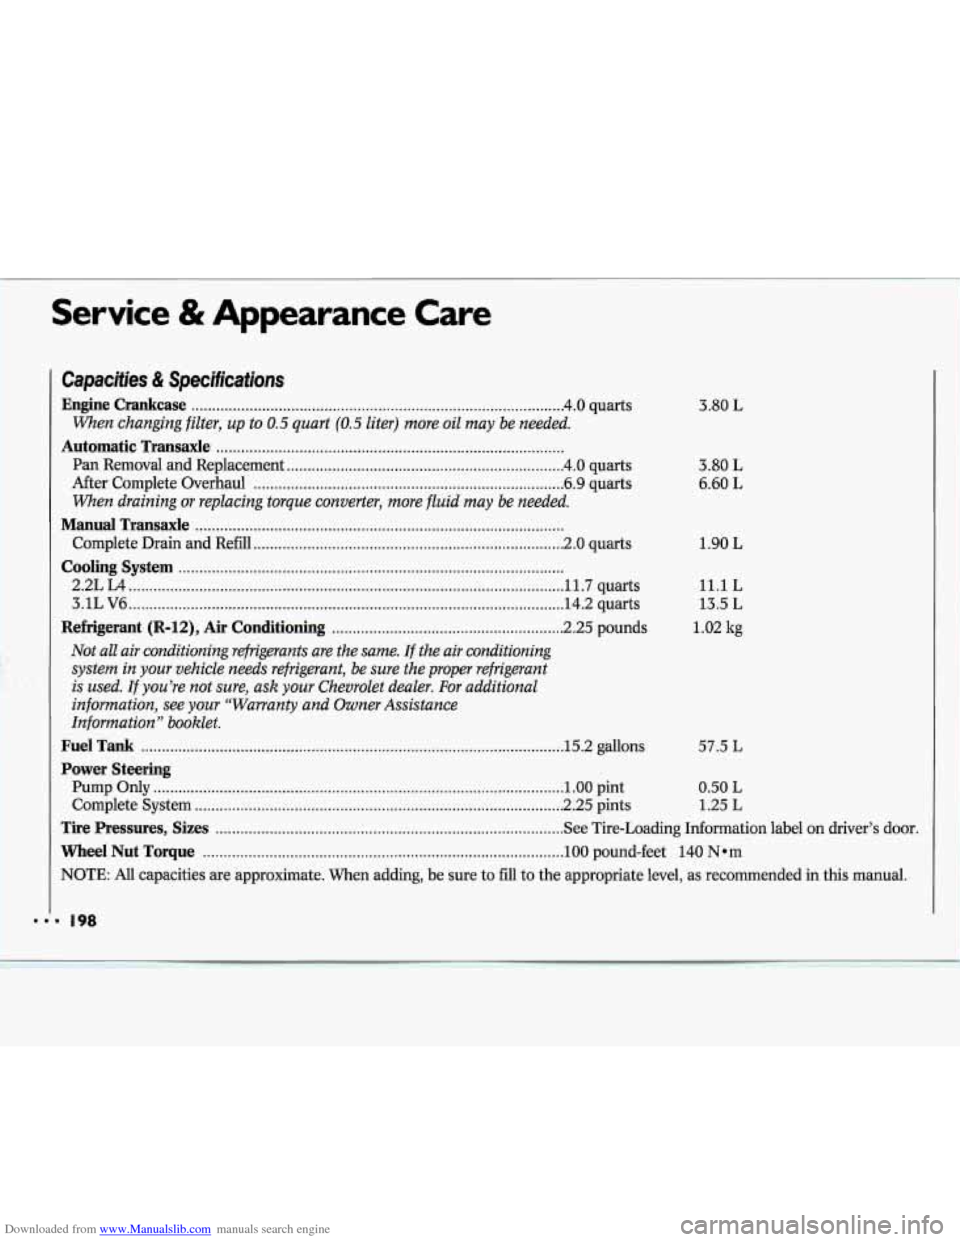
Capacities & Specifications
Engine Crankcase ........................................................................\
.................. 4.0 quarts
When changing filter, up to 0.5 quart (0.5 liter) more oil may be needed.
Automatic Transaxle ........................................................................\
............
Pan Removal and Replacement ................................................................... 4.0 quarts
After Complete Overhaul
........................................................................\
... 6.9 quarts
When draining or replacing torque converter, more fluid may be needed.
Manual Transaxle ........................................................................\
.................
Complete Drain and Refill ........................................................................\
... 2.0 quarts
Cooling System ........................................................................\
.....................
2.2L L4 ........................................................................\
................................. 11.7 quarts
3.1L V6
........................................................................\
................................. 14.2 quarts
Refrigerant (R-12), Air Conditioning ........................................................ 2.25 pounds
Not all air conditioning refrigerants are the same. If the air conditioning
system in your vehicle needs refrigerant, be sure the proper refrigerant
is used. If you’re not sure, ask your Chevrolet dealer. For additional
information, see
your “Warranty and Owner Assistance
Information
” booklet.
Fuel Tank ........................................................................\
............................. .15.2 gallons
Power Steering
Pump Only ........................................................................\
........................... 1.00 pint
Complete System
........................................................................\
................. 2.25 pints 3.80
L
3.80
L
6.60 L
1.90
L
11.1 L
13.5 L
1.02 kg
57.5 L
0.50 L
1.25 L
Tire Pressures, Sizes ........................................................................\
............ See Tire-Loading Information label on driver’s door.
Wheel Nut Torque ........................................................................\
............... 100 pound-feet 140 Nom
NOTE: All capacities are approximate. When adding, be sure to fill to the appropriate level, as recommended in this manual.