Page 121 of 356
Downloaded from www.Manualslib.com manuals search engine Oil Pressure Gage
Standard Cluster DigM Cluster
I
-
KO276
The oil pressure gage shows the engine oil pressure in psi (pounds per
square inch) when the engine is running. Canadian vehicles ind\
icate pressure in kPa (kilopascals).
Oil pressure may vary with engine speed, outside
temperature and oil viscosity, but readings above the
low pressure zone
indicate the normal operating range.
A reading in the low pressure zone may be caused by a dangerously low oil
level or other problems causing low oil pressure.
On the digital cluster, a box around the oil pressure symbol will begin to flash
when the oil pressure is low.
I
Dsln't ke'ep drivinlg if the oil pressure is l'ow. If you do, your engine
can become
so hot that it catches fire. YQU or others could be
burned. Clheck your oil as soon as possiblle and have yo'u~r vehicle
serviced.
2-69
Page 127 of 356

Downloaded from www.Manualslib.com manuals search engine Voltmeter
Standard Cluster Digital Cluster
I
KO278
When your engine
is not running, but the ignition is on (in the Run position),
the gage shows your battery's state of charge in
DC volts. When the engine
is running, the gage shows the condition of the charging system. Readings
between the low and high warning zones indicate the normal operating range.
On the digital cluster, a box around the voltmeter symbol will\
begin to flash
when the charging system needs service.
You can only drive for a short time with the reading in either warning zone. If
you must drive, turn
off all unnecessary accessories.
Readings in either warning zone indicate a possible problem in the electrical
system. Have the vehicle serviced as soon as possible.
mailer Wiring Harness
Your vehicle may have either a 5-wire or 7-wire harness.
The 5-wire harness is stored along the left rear frame crossme\
mber. The harness has no connector, and you should have a qualified serv\
ice person
wire your harness for you.
It must be routed out of your vehicle and attached
so that the trailer or the body won't pull it.
2-75
Page 128 of 356
Downloaded from www.Manualslib.com manuals search engine Features & Contmls
KO250
The 7-wire harness is stored under your vehicle along the rear frame
crossmember. This harness has a
30 Amp. in-line fused battery feed wire and
no connector, and should be wired by a qualified service perso\
n. Attach the
harness to the trailer, then tape or strap it
to your vehicle's frame rail. Be
sure you leave it loose enough
so the wiring doesn't bend or break, but not
so loose that it drags on the ground.
Store the harness in
its original place. Wrap the harness together and tie it
neatly
so it won't be damaged.
2-76
I
Page 147 of 356

Downloaded from www.Manualslib.com manuals search engine PROGRAM
To go from one side of the tape to the other, press the upper knob.
EJECT
To remove the tape or stop the tape and switch to radio, press \
the EJECT
button.
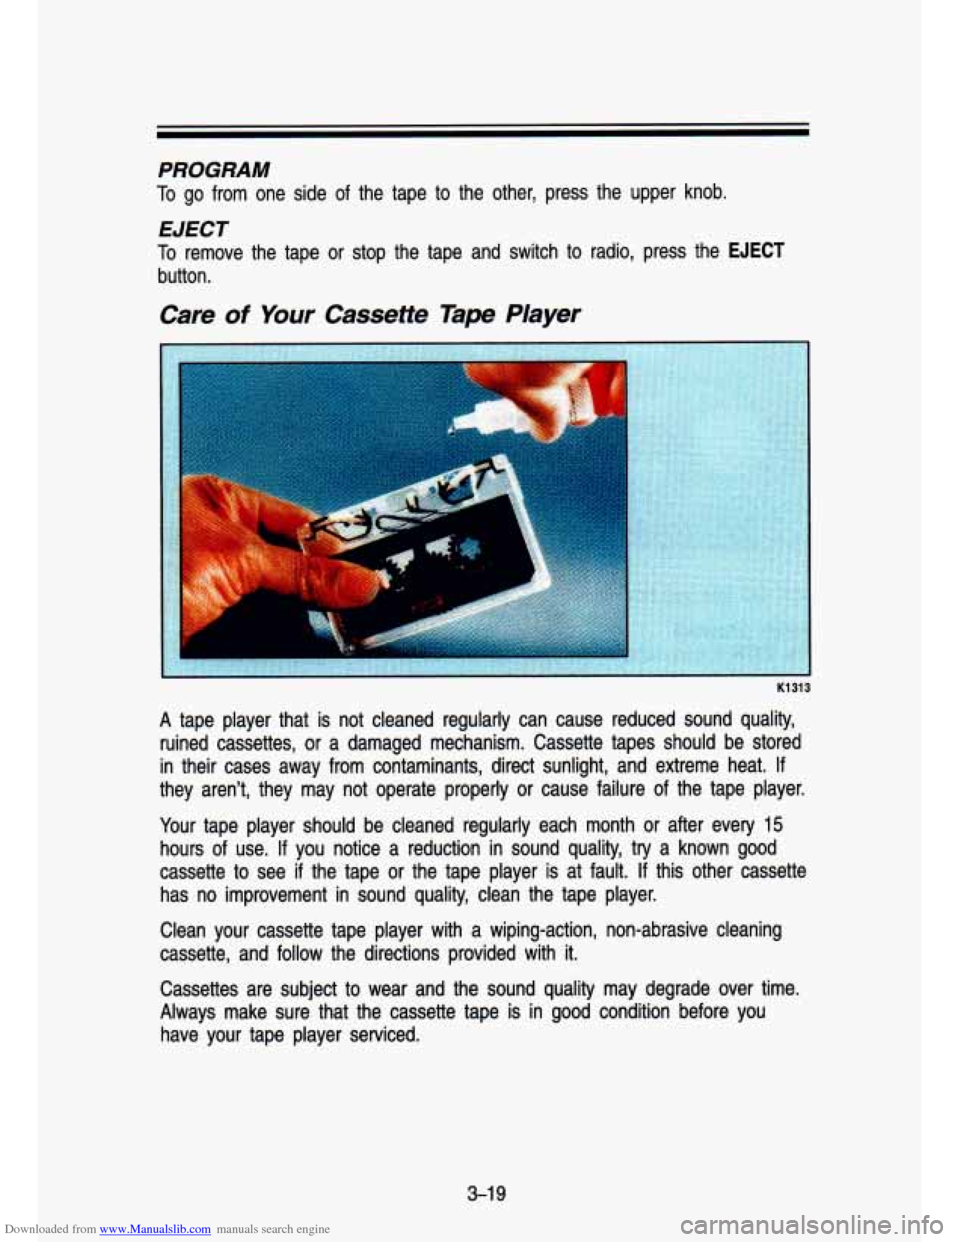
A tape player that is not cleaned regularly can cause reduced so\
und quality,
ruined cassettes,
or a damaged mechanism. Cassette tapes should be stored
in their cases away from contaminants, direct sunlight, and extreme\
heat.
If
they aren't, they may not operate properly or cause failure of the tape player.
Your tape player should be cleaned regularly each month or after ev\
ery
15
hours of use. If you notice a reduction in sound quality, try a known good
cassette to see if the tape or the tape player is at fault.
If this other cassette
has no improvement in sound quality, clean the tape player.
Clean your cassette tape player with a wiping-action, non-abrasi\
ve cleaning
cassette, and follow the directions provided with
it.
Cassettes are subject to wear and the sound quality may degrade over time.
Always make sure that the cassette tape is in good condition before you
have your tape player serviced.
3-1 9
Page 157 of 356
Downloaded from www.Manualslib.com manuals search engine AM402003
ORANGE indicates road construction or maintenance. You’ll want\
to slow
down when you see an orange sign, as part
of the road may be closed off
or torn up, And there may be workers and maintenance vehicles \
around, too.
GREEN is used to guide the driver. Green signs may indicate upcoming
freeway exits or show the direction you should turn to reach \
a particular place.
I-
BLUE signs with white letters show motorists’ services.
4-3
Page 170 of 356

Downloaded from www.Manualslib.com manuals search engine Your Driving and the Road
Brake System Warning Light
Standard Cluster
Digital Cluster
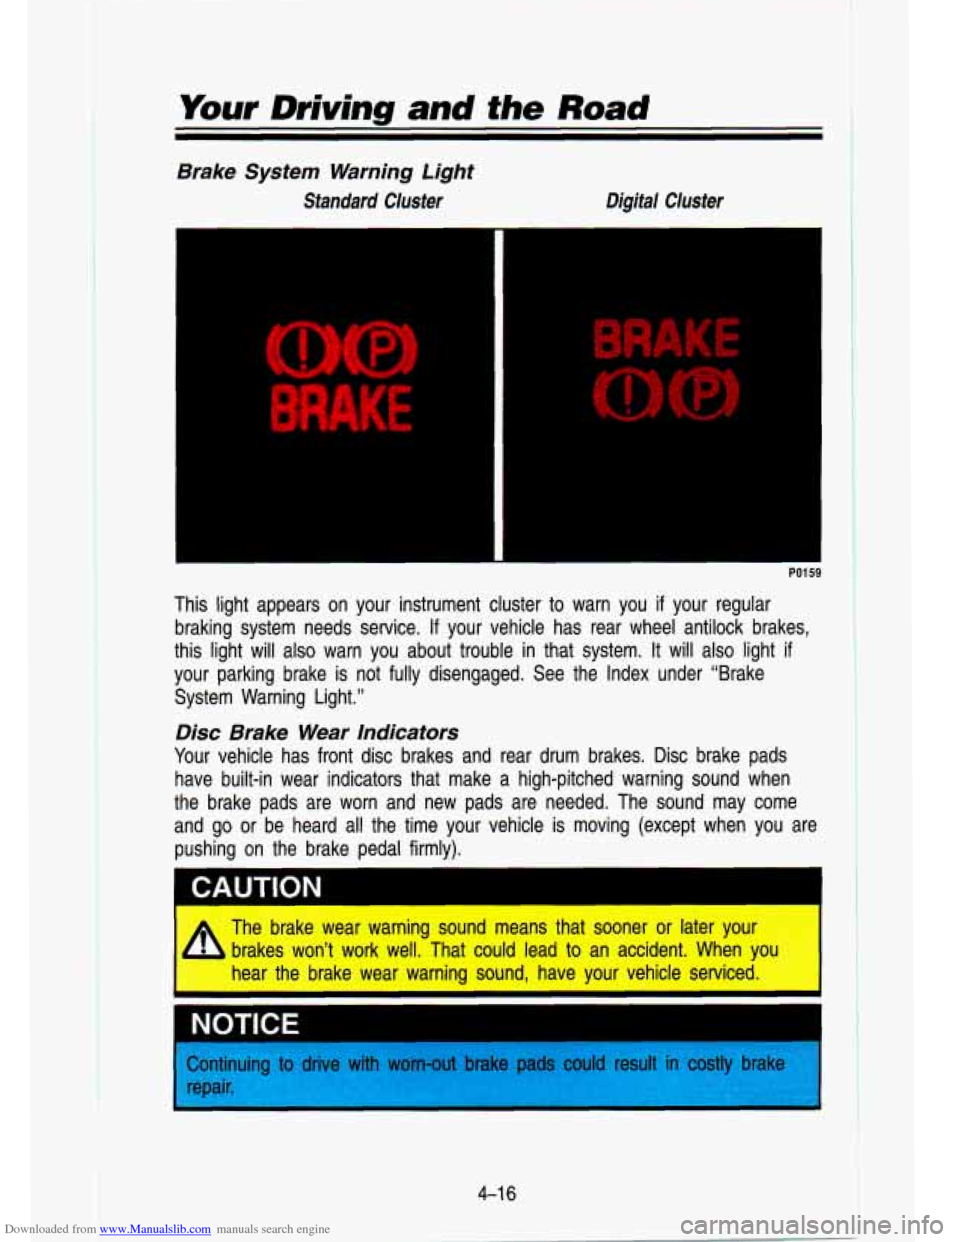
This light appears on your instrument cluster to warn you if your regular
braking system needs service.
If your vehicle has rear wheel antilock brakes,
this light will
also warn you about trouble in that system. It will also light if
your parking brake is not fully disengaged. See the Index unde\
r “Brake
System Warning Light.”
Disc Brake Wear Indicators
Your vehicle has front disc brakes and rear drum brakes. Disc brake pads
have built-in wear indicators that make a high-pitched warning \
sound when
the brake pads are worn and new pads are needed. The sound m\
ay come
and go or be heard all the time your vehicle is moving (except \
when you are
pushing on the brake pedal firmly).
The brake wear warning sound means that sooner or later your brakes won’t work well. That could lead to an accident. When yo
hear the brake wear warning sound, have your vehicle serviced. \
I NOTICE
>ontinuing ti
epair.
e with worn-out bra1 could sult in lstly brake
Page 177 of 356

Downloaded from www.Manualslib.com manuals search engine Remember: The rear wheel antilock braking system (RWAL) helps \
avoid only
a rear braking skid. In a braking skid (where the front wheels \
are no longer
rolling), release enough pressure on the brakes to get the front wheels rolling
again. This restores steering control. Push the brake pedal dow\
n steadily
when you have to stop suddenly. As long as the front wheels \
are rolling, you
will have steering control. Steer the way you want to go.
Off-Road Driving with Your FoutNVheel
Drive Vehick
This off-road guide is for vehicles that have four-wheel drive.\
Also, see
“Antilock Brakes’’ in the Index.
If your vehicle doesn’t have four-wheel drive,
you shouldn’t drive off-road unless you’re on a level, so\
lid surface.
Off-road driving can be great fun. But it does have some definite hazards.
The greatest of these is the terrain itself.
“Off-roading” means you’ve left the great North American\
road system behind.
Traffic lanes aren’t marked. Curves aren’t banked. There a\
re no road signs.
Surfaces can be slippery, rough, uphill or downhill. In short, \
you’ve gone right
back to nature.
Off-road driving involves some new skills. And that’s why it’s very important
that you read this guide. You’ll find many driving tips and suggestio\
ns. These
will help make your off-road driving safer and more enjoyable. \
Before You Go Off-Roading
There are some things to do before you go outi For example, be sure to
have all necessary maintenance and service work done. Be sure \
you read all
the information about your four-wheel drive vehicle in this man\
ual.
Is there
enough fuel?
Is the spare tire fully inflated? Are the fluid levels up where
they should be? What are the local laws that apply to off-roading where you’ll
be driving?
If you don’t know, you should check with law enforcement people\
in the area. Will you be on someone’s private land?
If so, be sure to get the
necessary permission.
Loading Your Vehicle for Off-Road Driving
There are some important things to remember about how to load your
vehicle.
The heaviest things should be on the load floor and forward of your rear
Be sure the load is secured properly, so driving on the off-road terrain
axle. Put heavier items as far forward as you can.
doesn’t toss things around.
4-23
Page 188 of 356

Downloaded from www.Manualslib.com manuals search engine Your Driving and the Road
After Off-Road Driving
Remove any brush or debris that has collected on the underbodv\
. chassis, or
under the hood. These accumulations can be a fire hazard.
After operation in mud or sand, have the brake linings cleaned\
and checked.
These substances can cause glazing and uneven braking. Check th\
e body
structure, steering, suspension, wheels, tires, and exhaust syste\
m for damage.
Also, check the fuel lines and cooling system for any leakage.\
Your vehicle will require more frequent service due to off-road use.\
Refer to
the Maintenance Schedule for additional information.
Driving at Night
AN450005
Night driving is more dangerous than day driving. One reason is that some
drivers are likely
to be impaired-by alcohol or drugs, with night vision
problems, or by fatigue.
Here are some tips on night driving.
Drive defensively. Remember, this is the most dangerous time.
Don’t drink and drive (See “Drunken Driving” in the Index for more on
this problem.)
Adjust your inside rearview mirror to reduce the glare from headlights
behind you.
4-34