1993 CHEVROLET BLAZER steering
[x] Cancel search: steeringPage 247 of 386
Engine Fan Noise
This vehicle has a clutched engine cooling fan. When the clutc\
h is engaged,
the fan spins faster
to provide more air to cool the engine. In most every day
driving conditions the clutch is not engaged. This improves fuel economy and
reduces fan noise. Under heavy vehicle loading, trailer towing \
and/or high
outside temperatures, the fan speed increases when the clutch e\
ngages.
So
you may hear an increase in fan noise. This is normal and sh\
ould not be
mistaken
as the transmission slipping or making extra shifts. It is merely the
cooling system functioning properly. The fan
will slow down when additional
cooling is not required and the clutch disengages.
You may also hear this fan noise when you start the engine. \
It will go away
as the fan clutch disengages.
If a Tire Goes Fiat
It’s unusual for a tire to “blow out” while you’re driving,\
especially if you
maintain your tires properly.
If air goes out of a tire, it’s much more likely to
leak out slowly. But if you should ever have a “blowout,” here are a few tips
about what
to expect and what to do:
If a front tire fails, the flat tire will create a drag that pulls the vehicle toward
that side. Take your foot
off the accelerator pedal and grip the steering wheel
firmly. Steer to maintain lane position, then gently brake
to a stop well out of
the traffic lane.
A rear blowout, particularly on a curve, acts much like a skid and may
require the same correction you’d use in a skid. In any rear blowout, remove
your foot from the accelerator pedal. Get the vehicle under co\
ntrol by steering
the way you want the vehicle
to go. It may be very bumpy and noisy, but
you can still steer. Gently brake to a stop, well off the road if possible.
If your tire goes flat, the next part shows how to use your jacking equipment
to change a flat tire safely.
Changing a Flat Tire
If a tire goes flat, avoid further tire and wheel damage by driving slowly to a
level place. Turn
on your hazard warning flashers.
5-1 6
Page 263 of 386
Pmb/ems on the Road
Spinning your wheels can destroy parts of your vehicle as well as the
Rocking your vehicle to get it out:
First, turn your steering wheel left and right. That will clear the area around
your front wheels. Then shift back and forth between R and a forward gear
(or with a manual transmission, between First or Second gear and Reverse),
spinning the wheels as little as possible. Release the accelerator pedal while
you shift, and press lightly on the accelerator pedal when the transmission is
in gear. If that doesn’t get you out after a few tries, you may need to be
towed out. Or, you can use your recovery hooks, if your vehicle has them. If
you do need to be towed out, see “Towing Your Vehicle” in the Index.
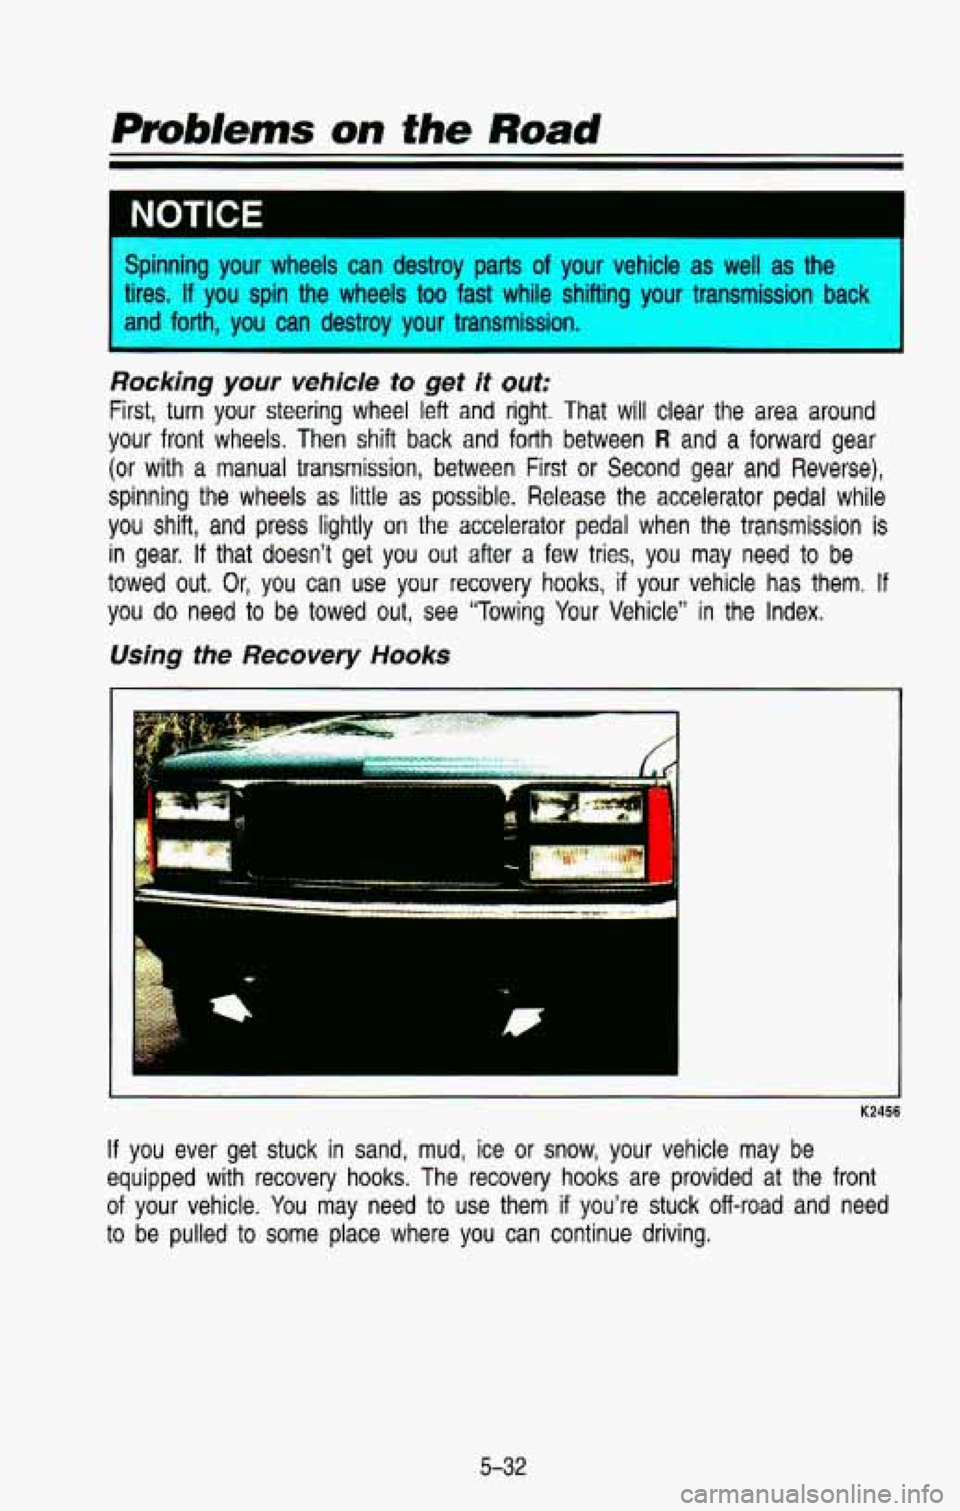
Using the Recovery Hooks
m
K2456
If you ever get stuck in sand, mud, ice or snow, your vehicle may be
equipped with recovery hooks. The recovery hooks are provided a\
t the front
of your vehicle. You may need to use them if you’re stuck off-road and need
to be pulled to some place where you can continue driving.
5-32
Page 266 of 386

Service & Appearance Care
.
Here you will find information about the care of your vehicle . This section
begins with service and fuel information. and then it shows
how to check
important fluid and lubricant levels
. There is also technical information about
your vehicle. and a section devoted to its appearance care
.
Service ........................................................................\
........................................... 6-3
Fuel ........................................................................\
................................................ 6-4
Checking Things Under the Hood
....................................................................... \
6-8
Hood Release
........................................................................\
............................ 6-8
Engine Oil ........................................................................\
.................................. 6-9
Air Cleaner
........................................................................\
............................... 6-16
Automatic Transmission Fluid
........................................................................\
. 6-17
Manual Transmission Fluid ........................................................................\
..... 6-20
Hydraulic Clutch
........................................................................\
....................... 6-21
Transfer Case
........................................................................\
.......................... 6-23
Front
Axle ........................................................................\
................................. 6-24
Rear Axle
........................................................................\
................................. 6-24
Engine Coolant
........................................................................\
........................ 6-25
Power Steering Fluid
........................................................................\
............... 6-29
Windshield Washer Fluid
........................................................................\
......... 6-31
Brake Master Cylinder
........................................................................\
............. 6-32
6-1
Page 294 of 386
Power Steering Fluid
K2630
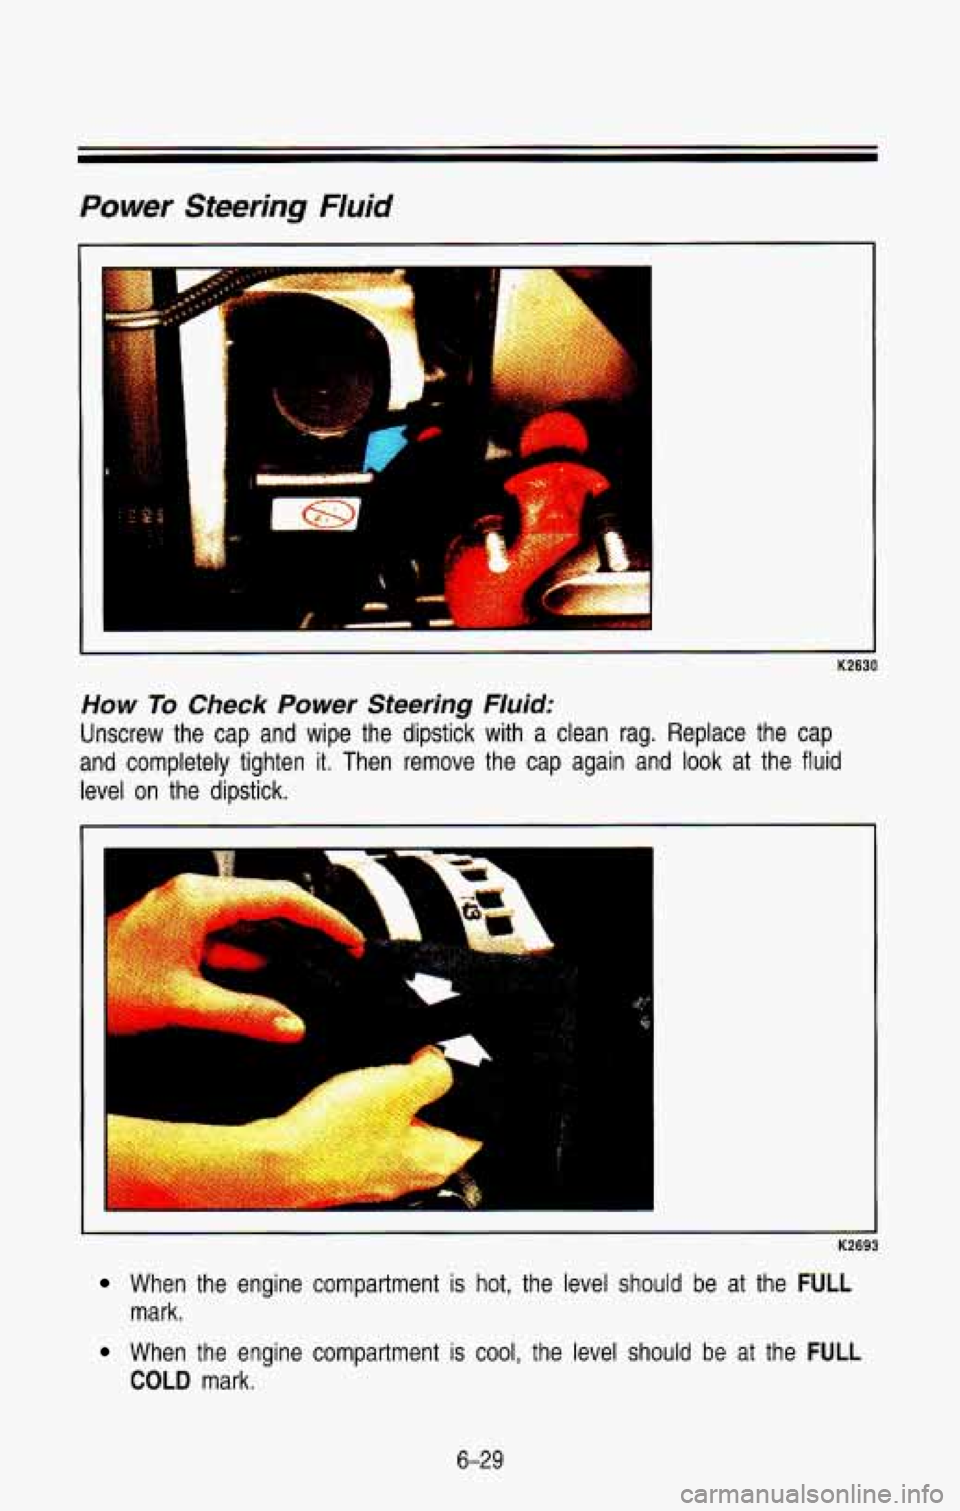
How To Check Power Steering Fluid:
Unscrew the cap and wipe the dipstick with a clean rag. Replace the cap
and completely tighten it. Then remove the cap again and
look at the fluid
level on the dipstick.
K2693
When the engine compartment is hot, the level should be at the FULL
When the engine compartment is cool, the level should be at the FULL
mark.
COLD mark.
6-29
Page 295 of 386
Service & Appearance Care
i .. c
K2694
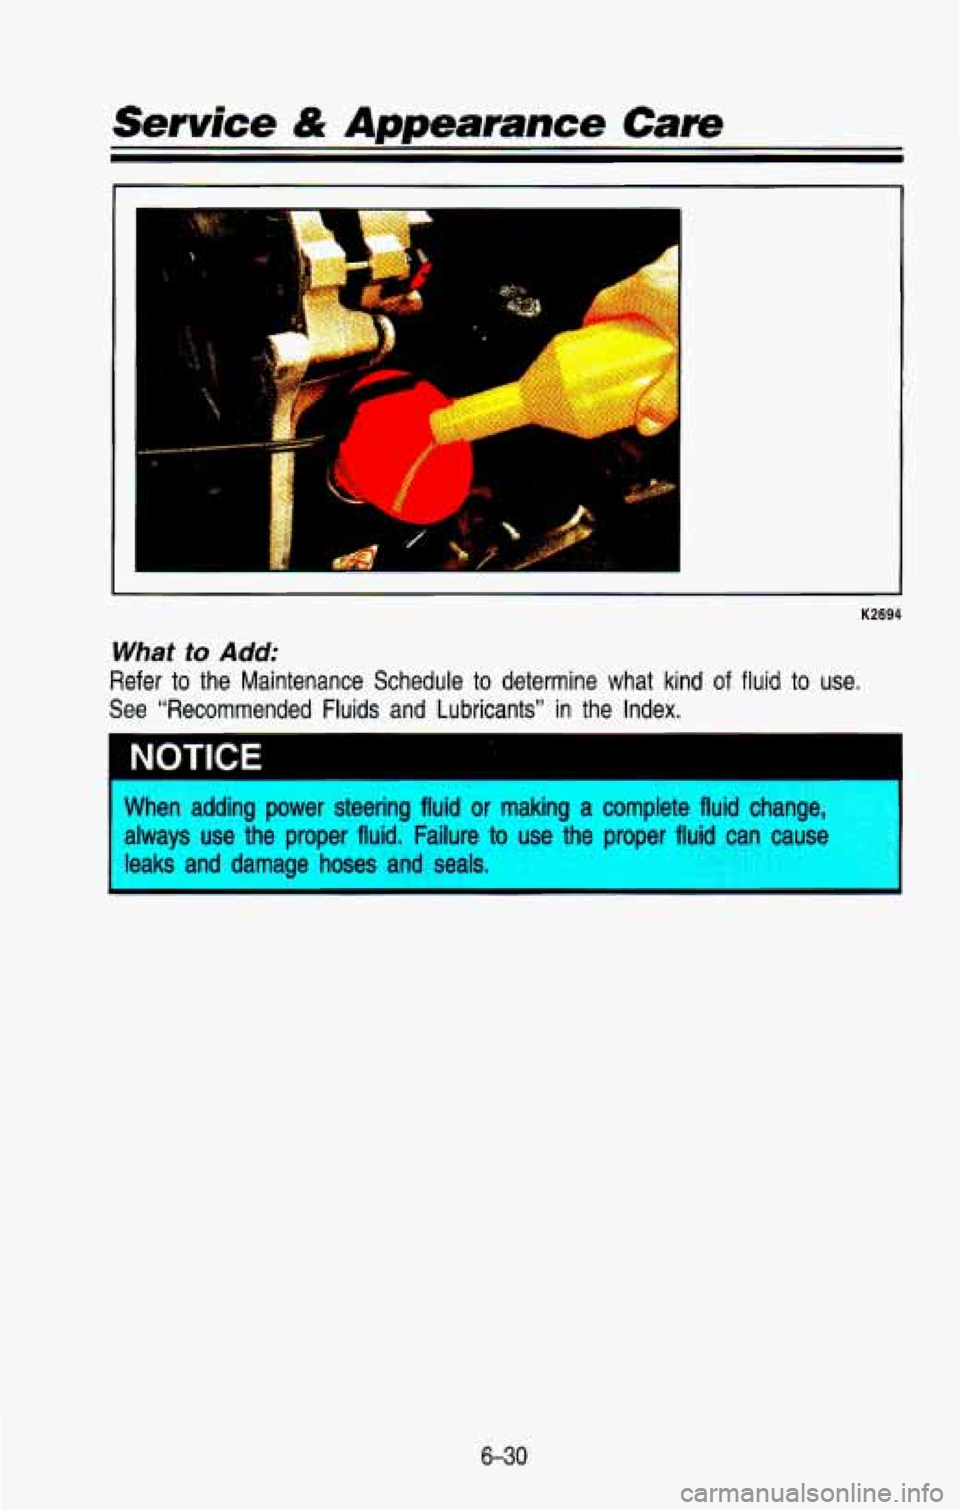
What to Add:
Refer to the Maintenance Schedule to determine what kind of fluid to use.
See “Recommended Fluids and Lubricants” in the Index.
NOTICE I
When adding power steering fluid or making a complete fluid change,
always use the proper fluid. Failure
to use the proper fluid can cause
leaks and damage hoses
and seals.
6-30
Page 298 of 386
After work is done on the brake hydraulic system, make sure t\
he levels are
above
MIN and below the top of each window.
What To Add:
When you do need brake fluid, use only DOT-3 brake fluid-such \
as Delco
Supreme 11
@ (GM Part No. 1052535). Use new brake fluid from a sealed
container only.
NOTICE
DOT-5 silicone brake fluid can damage your vehicle. Don’t use it.
Don’t let someone put in the wrong kind of fluid. For example, just a
few drops
of mineral-based oil, such as engine oil, in your brake
-]stem can damaae brake svstem parts
so badlv that 1 fll have to
be replaced.
Brake fluid can damage paint, so be careful nor IO spit1 Drake fluid on
your vehicle.
Hydro-Boost Brake System (Hydraulic Pump)
The power steering pump is also used as the Hydro-boost pump. \
Refer to “Power Steering System” in this section when checking flui\
d level
or adding fluid.
Replacing Brake System Parts
The braking system on a modern vehicle is complex. Its many parts have to
be of top quality and work well together
if the vehicle is to have really good
braking. Vehicles we design and test have top-quality
GM brake parts in
them, as your vehicle does when
it is new. When you replace parts of your
braking system-for example, when your brake linings wear down and you
have to have new ones put in-be sure you get new genuine
GM
replacement parts. If you don’t, your brakes may no longer work properly. For
example,
if someone puts in brake linings that are wrong for your vehicle, the
balance between your front and rear brakes can change, for the\
worse. The
braking performance you’ve come to expect can change in many other ways
if someone puts in the wrong replacement brake parts.
6-33
Page 299 of 386
Service & Appearance Care
Front Suspension and Steering Linkage
Your maintenance schedule will tell you how often to lubricate the fittings. See
“Recommended Fluids and Lubricants” in the Index for the \
proper lubricant to
use.
Front Wheel Bearings
Your vehicle has front wheel bearings that must be cleaned and repa\
cked.
Your maintenance schedule will
tell you how often this must be done.
Front Shock Absorbers
The front shock absorbers of your vehicle do many things. They help the
vehicle ride smoothly and also control the travel of the suspension system.
When the shock absorbers are serviced, any replacement shock ab\
sorbers must be the same as the original equipment shock absorbers in \
both
extended length and strength.
Wheel Nut Torque
For vehicles with dual wheels, when the vehicle, wheel or fast\
eners are new,
have the torque set at the first
100, 1,000 and 6,000 miles (160, 1600 and
9600 km). Use the torque specified in the appropriate Specification \
Chart later
in this section.
Single Belt Accessory Drive
If your new vehicle uses a serpentine belt, it is lighter, and more durable
than systems with several belts.
The belt runs over or around the pulleys on the engine.
A tensioner is used
to keep the belt tight at all times. The tensioner also makes replacing the
belt easier. If you need
to replace the belt, be sure to get the correct
replacement belt. Your dealership or parts supplier can help you with this.
The Accessory Drive Belt Routing label on your vehicle will sh\
ow you how to route the belt your vehicle uses.
6-34
Page 355 of 386
Scheduled Maintenance Services
Explanation Of Scheduled Maintenance Services
Below are explanations of the services listed in the maintenance charts.
The proper fluids and lubricants to use are listed in this section. Make sure
whoever services your vehicle uses these.
All parts should be replaced and
all necessary repairs done before you or anyone else drives the ve\
hicle.
1. ENGINE OIL AND OIL FILTER CHANGE* -ALWAYS USE SG OR
SG/CE QUALITY, ENERGY CONSERVING II OILS OF THE PROPER
VISCOSITY. To determine the preferred viscosity oil for your vehicle’s
engine (e.g. SAE 5W-30 or
10W-30), see “Engine Oil” in the Index.
2. CHASSIS LUBRICATION -Lubricate the front suspension, king pin
bushings, steering linkage, transmission, and transfer case shift\
linkage,
parking brake cable guides, propshaft splines
(2 wheel drive), brake
pedal springs, and clutch pedal springs at the intervals specif\
ied.
If you have a 3500 HD, lubricate the king pins and king pin bushings
every
1,500 miles (2500 km) for Maintenance Schedule 1, or every 3,000
(5000 km) for Maintenance Schedule 2.
Ball joints and king pin bushings should not be lubricated unl\
ess their
temperature is
10°F (-12”C), or higher. When the weather is cold, let
them warm up before lubrication
or they could be damaged.
Also, be sure to check all the vehicle fluid levels at this time.
3.
CLUTCH FORK BALL STUD LUBRICATION -Lubricate the clutch fork
ball stud through the fitting on the clutch housing. Lubricant \
must be
added “sparingly” to the fitting, as only.
0066 Ib. (.003 kg) is required to
lubricate the ball stud surface. Do not add lubricant more often than the
intervals in the Maintenance Charts.
Too much lubricant will damage
the clutch
assembly.
4. ENGINE IDLE SPEED ADJUSTMENT (DIESEL ENGINES)* -Adjust to
the specifications shown on the underhood label. You must use
calibrated test equipment.
5. COOLING SYSTEM SERVICE* -Drain, flush and refill system with new
coolant. See “Engine Coolant” in the Index for the proper\
coolant and
mixture
to use in your vehicle.
Also inspect the hoses and replace them if they i cracked, swollen, or
deteriorated. Tighten all hose clamps (except consrant tension clamps).
Remove debris and clean the outside of the radiator and air c\
onditioning
condenser. Wash the radiator neck.
To ensure proper operation, pressure
test the radiator and cap.
* An Emission Control Service
7-1 8