Page 64 of 386
. Featums & Controls
I
Section
Here you can learn about the many standard and optional featur\
es on your
vehicle. and information on starting. shifting. and braking
. Also explained are
the instrument panel and the warning systems that tell you
if everything is
working properly-and what to do if you have a problem
.
For explanation of vehicle symbols in this section. refer to “Vehicle
Symbols” in Section 0 .
Keys ........................................................................\
............................................... 2-3
Your DobrS and How They Work
........................................................................\
2-5
Side Doors
........................................................................\
................................. 2-5
Door Locks
........................................................................\
................................. 2-6
Tailgate. Tailgate Glass and Rear Doors
............................................................ 2-7
Tailgate
........................................................................\
....................................... 2-8
Panel Doors ........................................................................\
............................... 2-9
Theft
........................................................................\
............................................. 2-10
New Vehicle Break-In
........................................................................\
................. 2-11
Ignition Switch
........................................................................\
............................. 2-11
Starting Your Engine ........................................................................\
................... 2-14
Driving Through Water
........................................................................\
............ 2-15
Automatic Transmission
........................................................................\
.............. 2-17
Five-Speed Manual Transmission ...................................................................... 2-20
2-1
Page 70 of 386
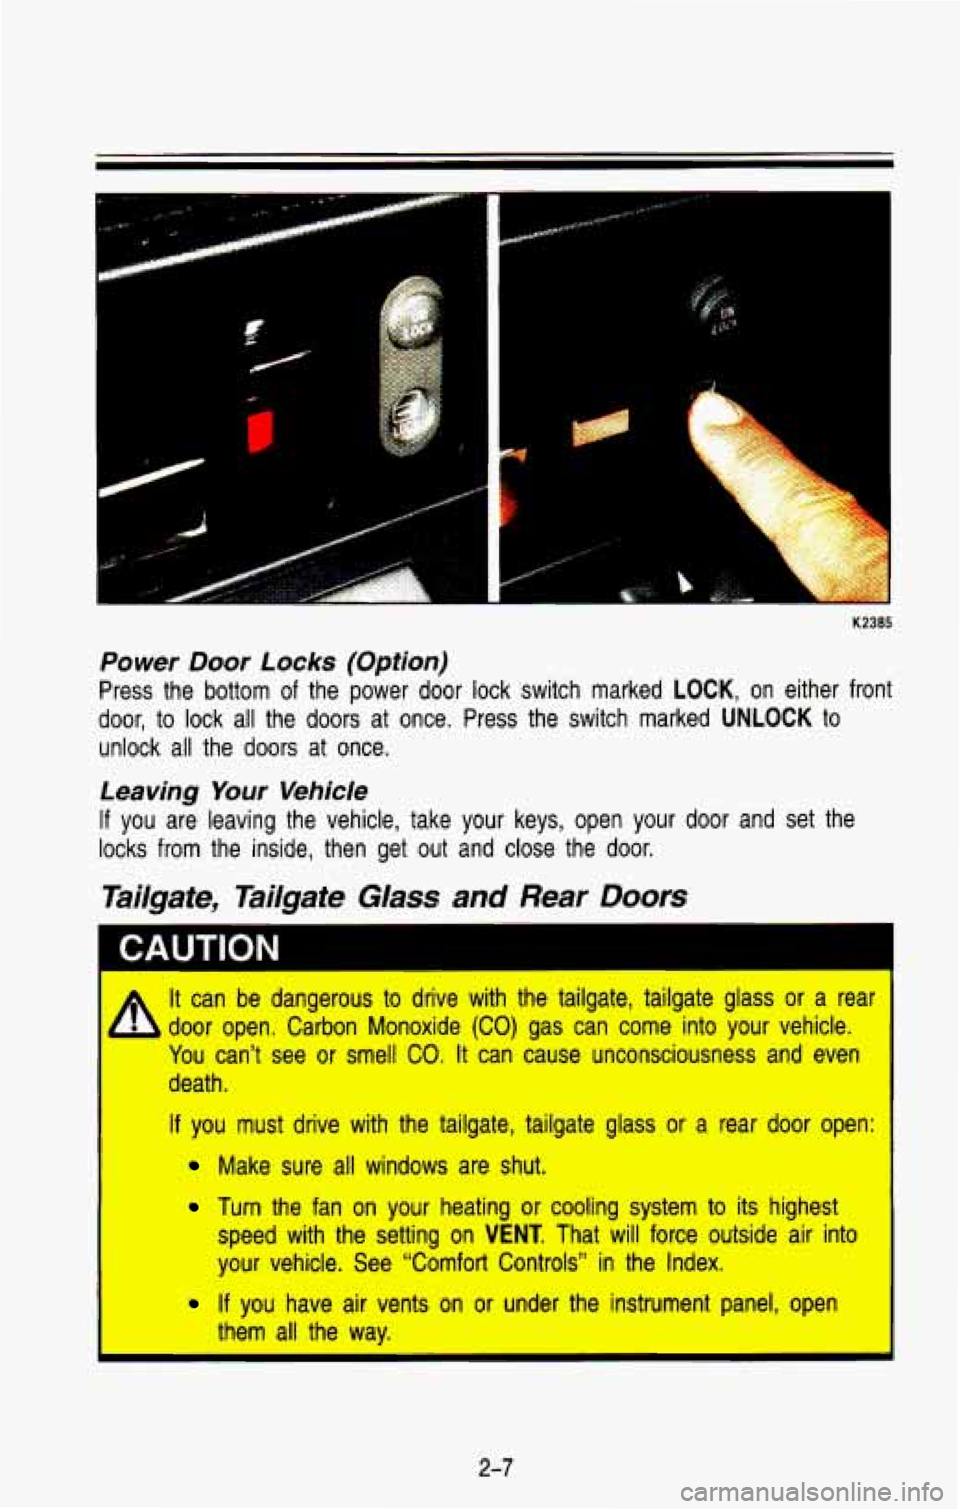
Power Door Locks (Option)
Press the bottom of the power door lock switch marked LOCK, on either front
door, to lock all the
doors at once. Press the switch marked UNLOCK to
unlock all the doors at once.
Leaving Your Vehicle
If you are leaving the vehicle, take your keys, open your door and set the
locks from the inside, then get out and close the door.
Tailgate, Tailgate Glass and Rear Doors
I CAUTION I
It can be dangerous to drive with the tailgate, tailgate glass\
or a rear
b door open. Carbon Monoxide (CO) gas can come into your vehicle.
You can’t see
or smell CO. It can cause unconsciousness and even
death.
If you must drive with the tailgate, tailgate glass or a rear door open:
Make sure all windows are shut.
Turn the fan on your heating or cooling system to its highest\
speed with the setting on
VENT. That will force outside air into
your vehicle. See “Comfort Controls” in the Index.
If you have air vents on or under the instrument panel, open
I them all the way.
2-7
Page 71 of 386
Tailgate
.I K2175
If your vehicle has a tailgate, you must raise the rear glass be\
fore lowering
the tailgate.
To open the glass from the outside, use your door key. With the
key
in the lock, turn the key to the right to release the glass, then lift it up.
Open the tailgate by lifting up on the handle while pulling the tailgate toward
you.
Close the tailgate before closing the rear glass. After closing\
, make sure the
tailgate is securely latched by pulling
it toward you. After closing the rear
glass, pull up
on its handle to make sure it is locked.
2-8
Page 97 of 386
Electric Tailgate Glass Release
PO271
Before operating your electric tailgate glass release, see the \
caution under
"Tailgate, Tailgate Glass and Rear
Doors" in this section.
The electric hatch release button, located below the headlight \
switch, lets you release the tailgate glass.
To use it, slide the button to the right until you
hear the latch release the window.
If you have an automatic transmission, your shift lever must be in P (Park) or
N (Neutral) for the release to work. With a manual transmission, you must
apply the parking brake for the release to work.
2-34
Page 111 of 386
Features & Controls
The high beam headlights will come on at reduced brightness in\
Daylight
when:
The ignition is on
The headlight switch is off, and
The parking brake is released
When you turn on your headlights, the DRL will switch
off and the exterior
lights come on. When you turn
off the headlights, the exterior lights will go
out and the high beams
will change to the reduced brightness of DRL again.
The DRL indicator light on the instrument panel will go on wh\
enever the DRL are
on. This light means that only the DRL are on. When you turn on your
exterior lights, this light will go out.
Of course, you may still turn on the
headlights any time you need to.
To idle your vehicle with the DRL
off, set the parking brake. The DRL will
stay off until you release the parking brake.
Dome Lights
The dome lights will come on when you open the doors or tailgate. You can
also turn the dome lights on by turning the interior light dimmer dial on the
headlight switch all the way
up until it clicks.
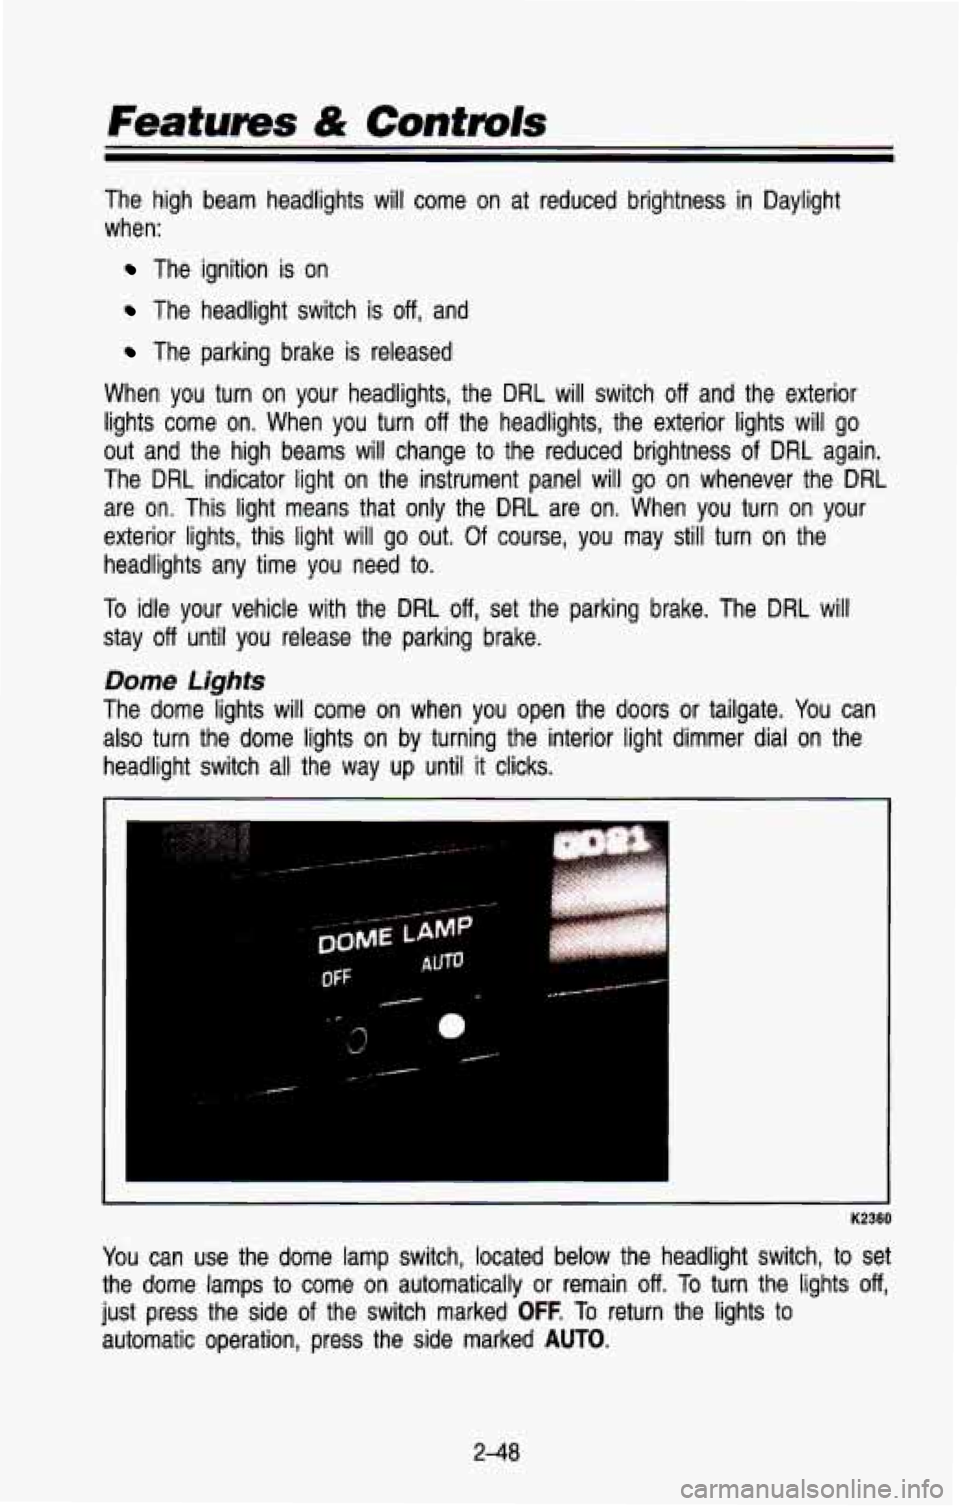
K2360
You can use the dome lamp switch, located below the headlight swit\
ch, to set
the
dome lamps to come on automatically or remain off. To turn the lights off,
just press the side of the switch marked OFF. To return the lights to
automatic operation, press the side marked
AUTO.
2-48
Page 302 of 386
Tailgate Handle
The tailgate handle pivot points on your vehicle should be lubricated to keep
it working smoothly.
Your maintenance schedule will tell you how often to lubricate the handle.
See “Recommended Fluids and Lubricants”
in the Index for the proper
lubricant
to use.
Efectricaf System
Battery
Every new GM vehicle has
add water
to one of these,
a Delco Freedom@ battery.
the original battery’s label.
Vehicle Storage
If you’re not going to drive a Delco Freedom@ battery. You never have
to
When it’s time for a new battery, we recommend
Get one that has the catalog number shown on
your vehicle for 25 days or more, take off the
black, negative
(-) cable from the battery. This will help keep your battery
from running down.
--
CAUTION
1 Batteries have acid that can burn you and gas that can explode. You I
, - , can be badly hurt if you aren’t careful. See “Jump Starting” in the
Index
for tips on working around a battery without getting hurt.
on'^ your dealer to learn how to prepare your vehicle for longer periods.
Bulb Rep/acement
Before you replace any bulbs, be sure that all the lights are off and the
engine isn’t running.
6-37
Page 307 of 386
Roof Marker Lights
e
1. Remove the screws and lift off the lens.
2. Pull the bulb straight out of the socket
3. Put a new bulb into the socket and push it in until it is tight.
4. Replace the lens and tighten the screws.
Rear Lights
PO498
1 I Open the tailgate or rear doors.
6-42
Page 308 of 386
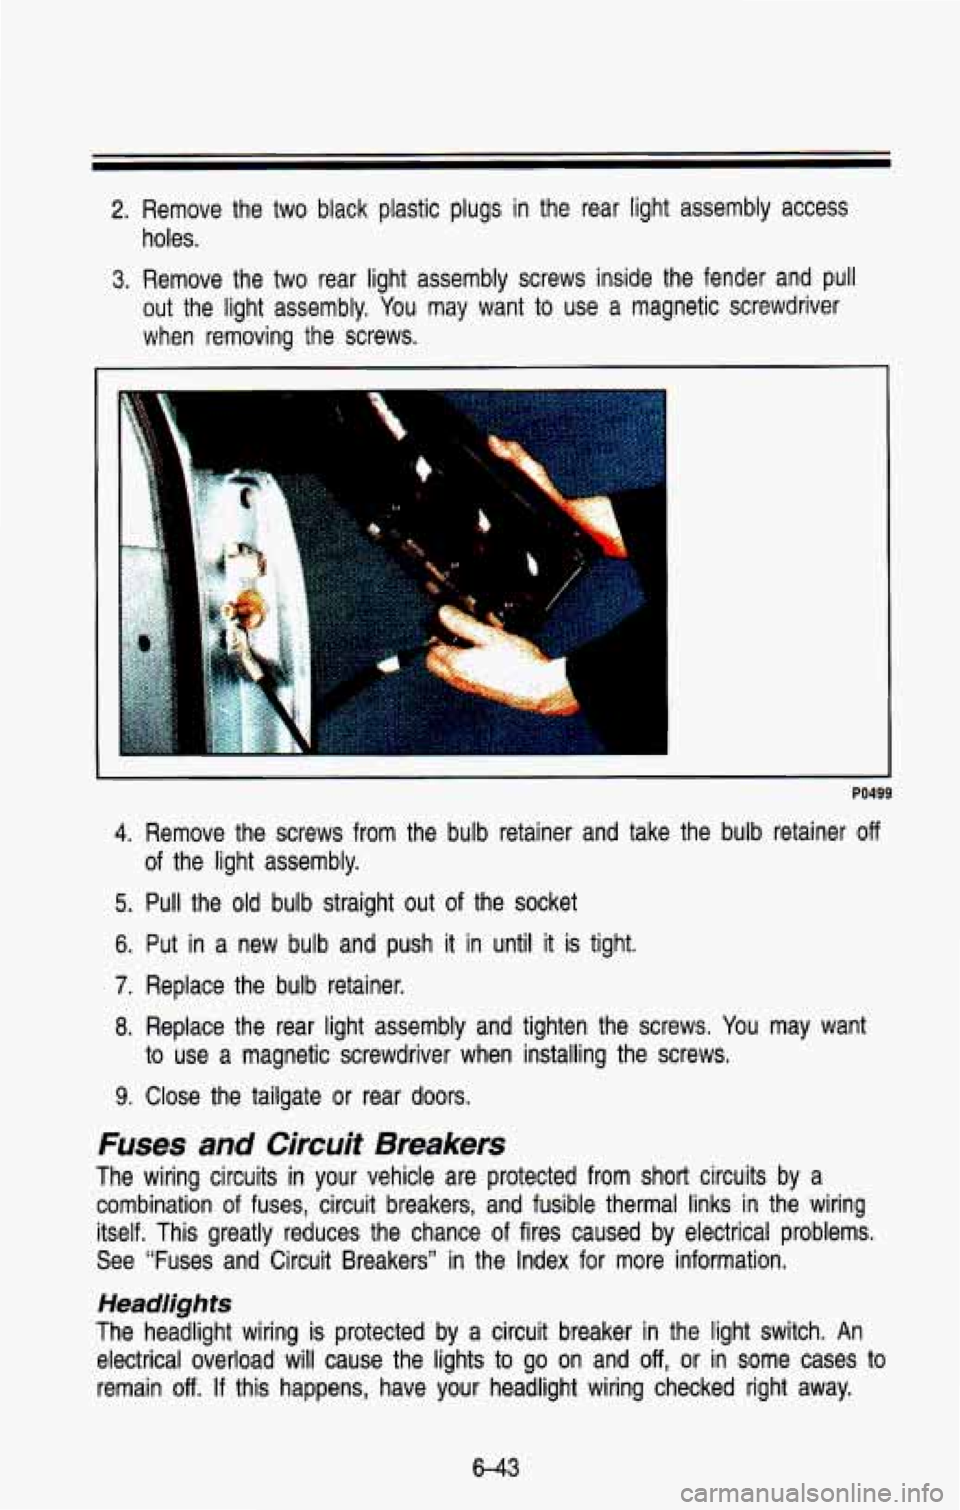
2. Remove the two black plastic plugs in the rear light assembly access
holes.
3. Remove the two rear light assembly screws inside the fender an\
d pull
out the light assembly.
You may want to use a magnetic screwdriver
when removing the screws.
I
PO499
4. Remove the screws from the bulb retainer and take the bulb retainer off
of the light assembly.
5. Pull the old bulb straight out of the socket
6. Put in a new bulb and push it in until it is tight.
7. Replace the bulb retainer.
8. Replace the rear light assembly and tighten the screws. You may want
9. Close the tailgate or rear doors.
Fuses and Circuit Breakers
The wiring circuits in your vehicle are protected from short circuits by a
combination
of fuses, circuit breakers, and fusible thermal links in the wirin\
g
itself. This greatly reduces the chance
of fires caused by electrical problems.
See “Fuses and Circuit Breakers” in the Index for more information.
to use a magnetic screwdriver when installing the screws.
Headlights
The headlight wiring is protected by a circuit breaker
in the light switch. An
electrical overload will cause the lights
to go on and off, or in some cases to
remain
off. If this happens, have your headlight wiring checked right away.
6-43