Page 305 of 386
Service & Appearance Care
Front Parkingflurn Signal Lights
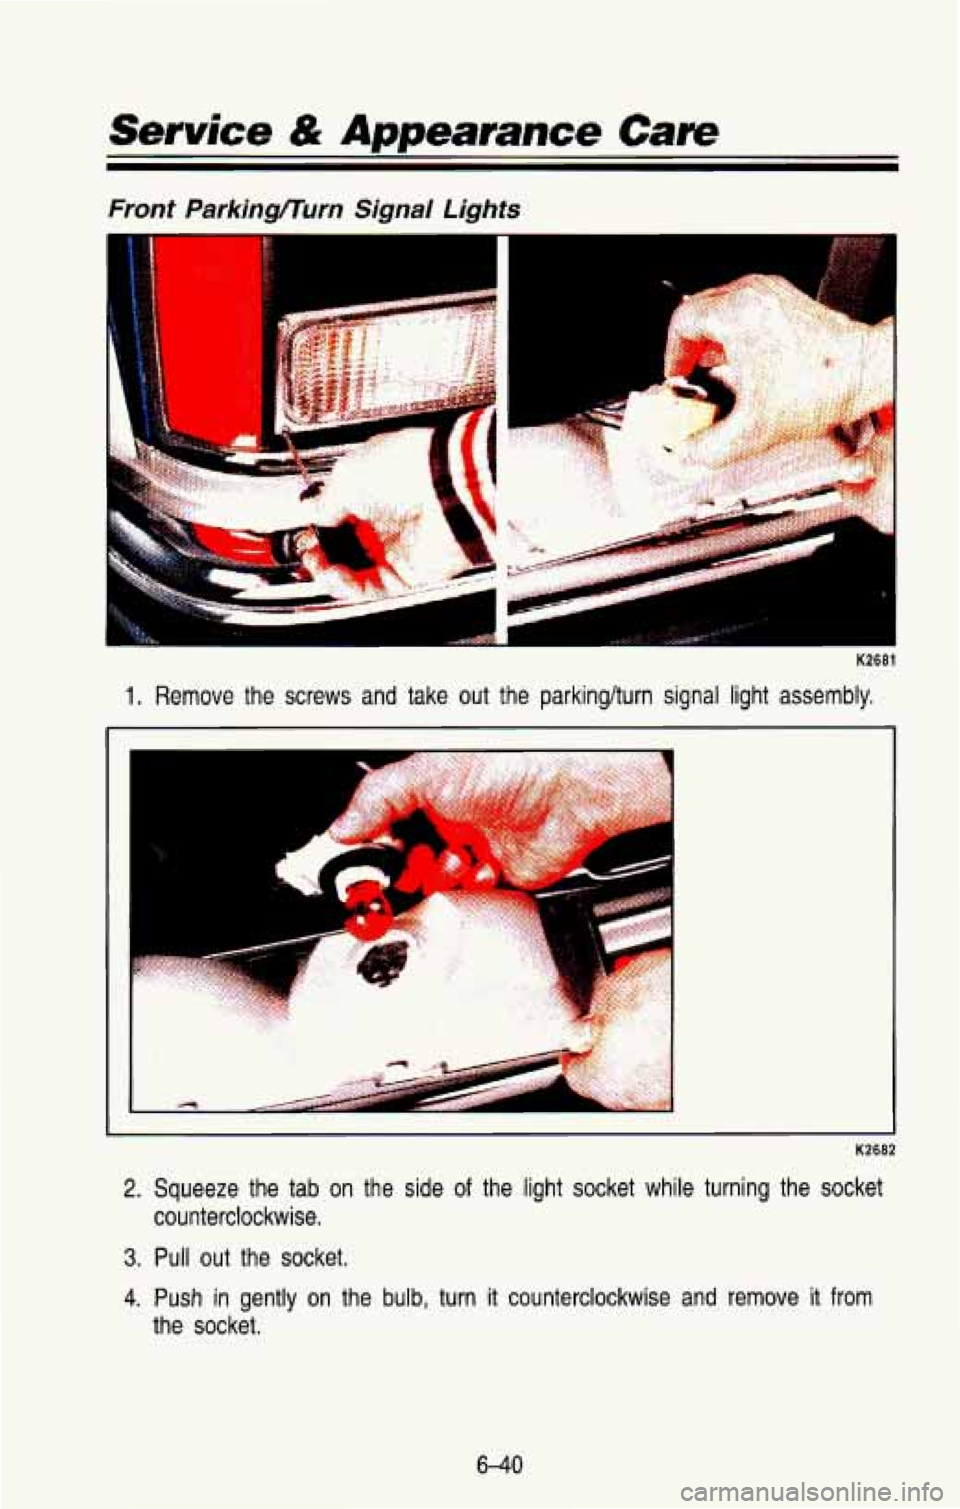
K2681
1. Remove the screws and take out the parkinglturn signal light a\
ssembly,
2. Squeeze the tab on the side of the light socket while turning the socket
counterclockwise.
3. Pull out the socket.
4. Push in gently on the bulb, turn it counterclockwise and remove it from
the socket.
6-40
Page 306 of 386
5. Put the new bulb into the socket, gently press in on the bulb and turn it
clockwise until it is tight.
6. Put the socket back into the light assembly and turn it clock\
wise until it
locks.
7. Put the parkinghurn signal light assembly back into the vehicle and
tighten the screws.
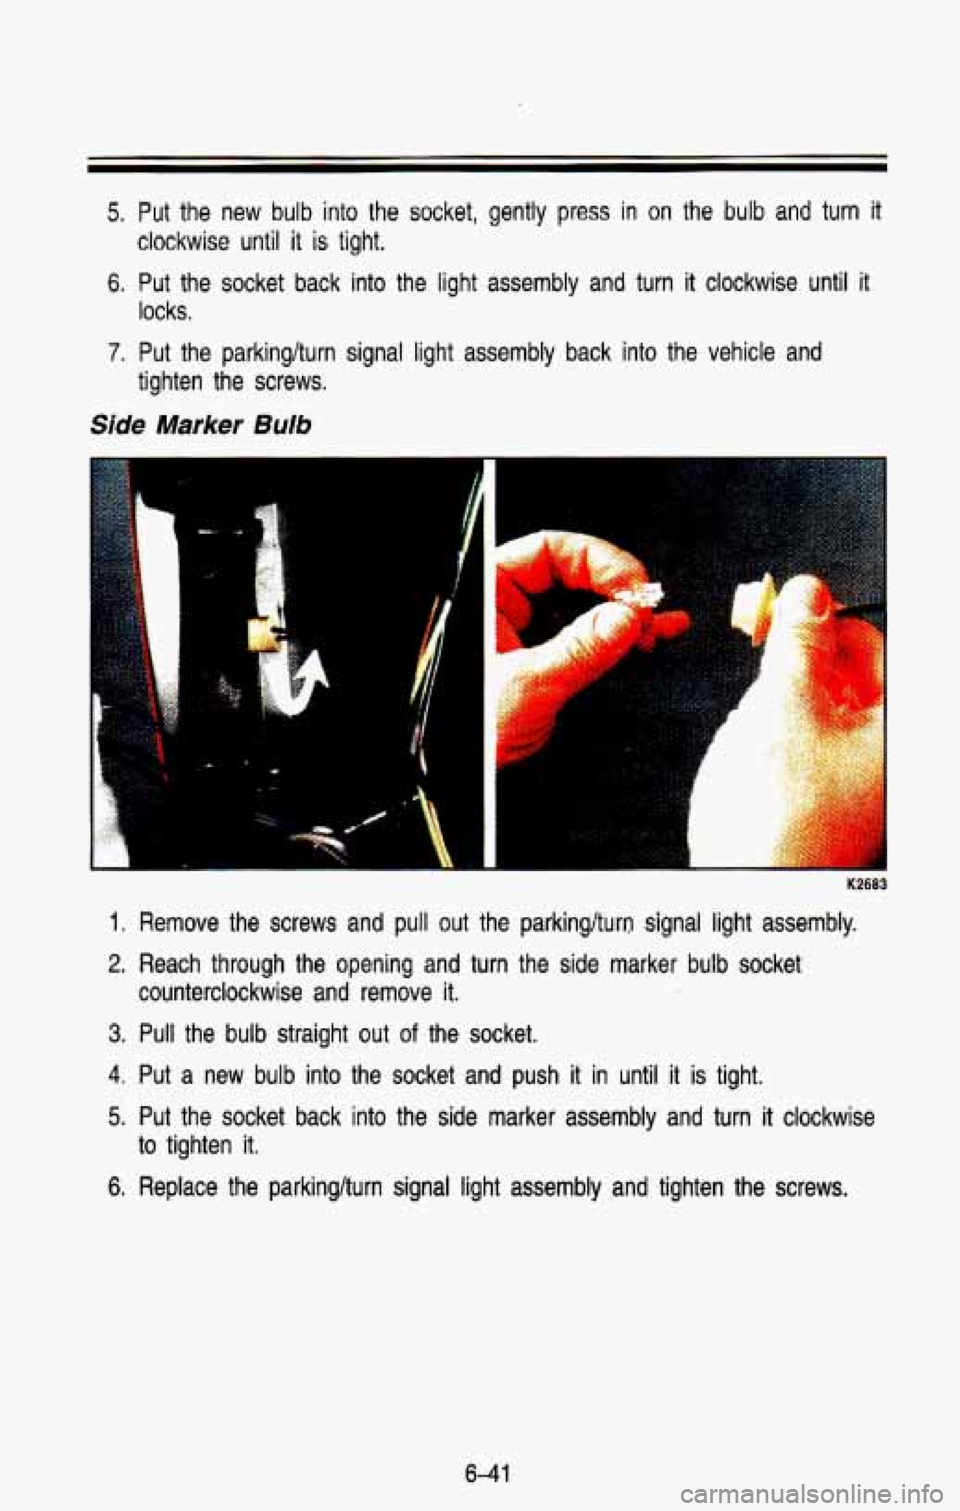
Side Marker Bulb
P
1 Remove the screws and pull out the parkinglturo signal light assembly.
2. Reach through the opening and turn the side marker bulb socket\
3. Pull the bulb straight out of the socket.
counterclockwise and remove it.
4. Put a new bulb into the socket and push it in until
it is tight.
5. Put the socket back into the side marker assembly and turn it clockwise
to tighten it.
6. Replace the parkinglturn signal light assembly and tighten the screws.
6-41
Page 307 of 386
Roof Marker Lights
e
1. Remove the screws and lift off the lens.
2. Pull the bulb straight out of the socket
3. Put a new bulb into the socket and push it in until it is tight.
4. Replace the lens and tighten the screws.
Rear Lights
PO498
1 I Open the tailgate or rear doors.
6-42
Page 308 of 386

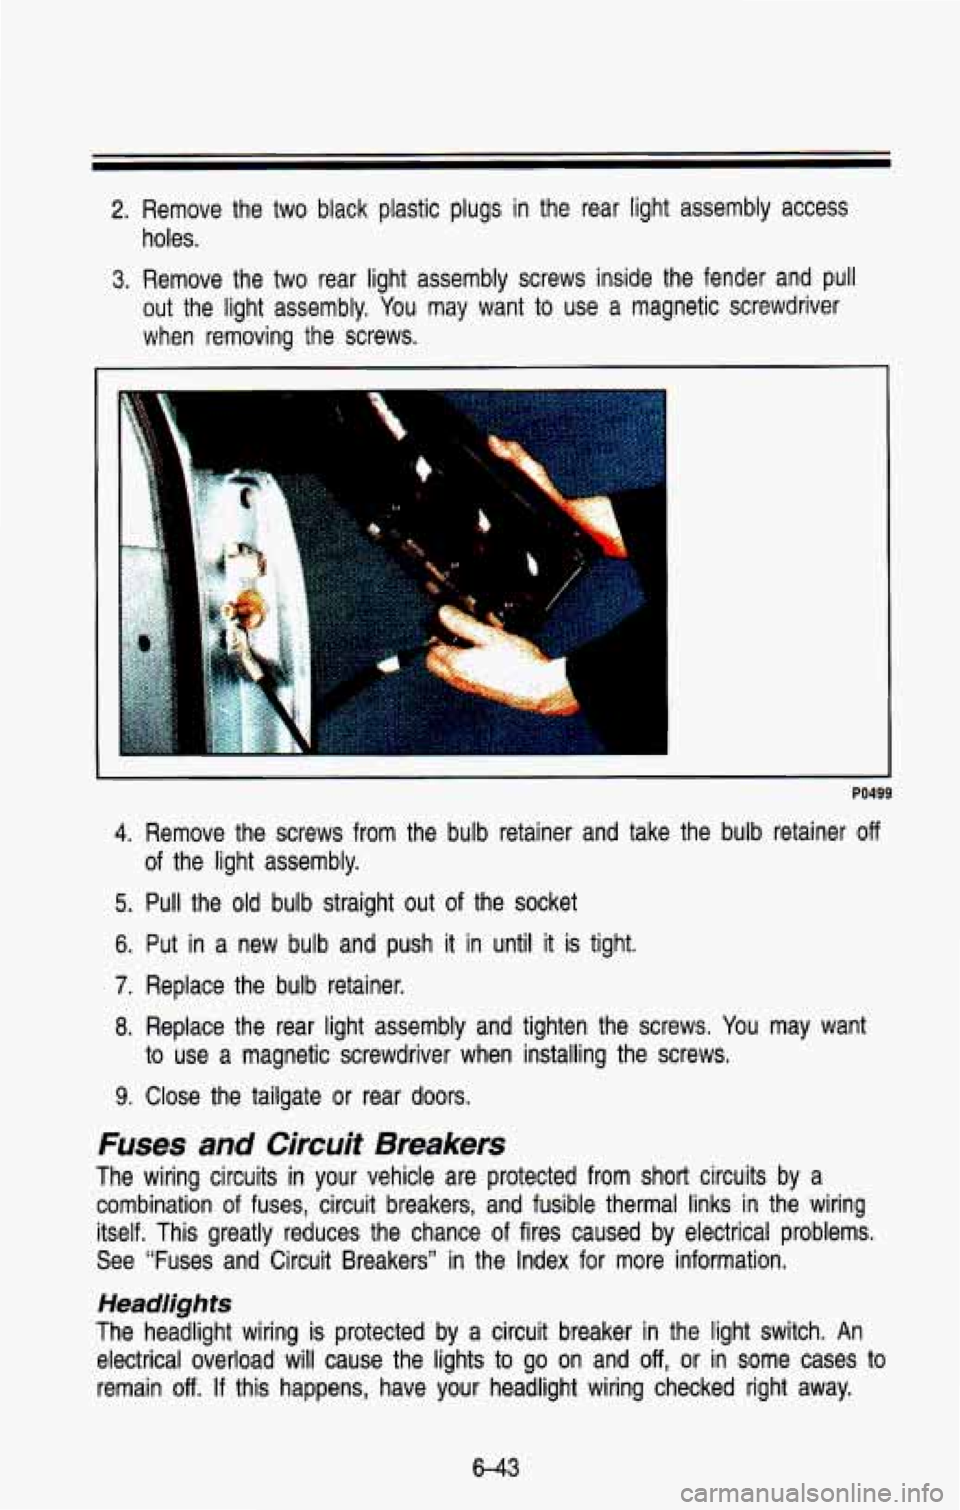
2. Remove the two black plastic plugs in the rear light assembly access
holes.
3. Remove the two rear light assembly screws inside the fender an\
d pull
out the light assembly.
You may want to use a magnetic screwdriver
when removing the screws.
I
PO499
4. Remove the screws from the bulb retainer and take the bulb retainer off
of the light assembly.
5. Pull the old bulb straight out of the socket
6. Put in a new bulb and push it in until it is tight.
7. Replace the bulb retainer.
8. Replace the rear light assembly and tighten the screws. You may want
9. Close the tailgate or rear doors.
Fuses and Circuit Breakers
The wiring circuits in your vehicle are protected from short circuits by a
combination
of fuses, circuit breakers, and fusible thermal links in the wirin\
g
itself. This greatly reduces the chance
of fires caused by electrical problems.
See “Fuses and Circuit Breakers” in the Index for more information.
to use a magnetic screwdriver when installing the screws.
Headlights
The headlight wiring is protected by a circuit breaker
in the light switch. An
electrical overload will cause the lights
to go on and off, or in some cases to
remain
off. If this happens, have your headlight wiring checked right away.
6-43
Page 309 of 386

Service & Appearance Care
Windshield Wipers
The windshield wiper motor is protected by a circuit breaker and a fuse. If
the motor overheats due to heavy snow, etc., the wiper will stop until the
motor cools.
If the overload is caused by some electrical problem and not
snow, etc., be sure to get
it fixed,
Power Windows and Other Power Options
Circuit breakers in the fuse panel protect the power windows and other power
accessories. When the current load
is too heavy, the circuit breaker opens
and
closes, protecting the circuit until the problem is fixed or goes away.
Trailer Wiring Harness
The optional seven-wire trailer wiring harness is protected by an in-line fuse
in the battery feed wire. This fuse is near the junction
block. See “Trailer
Wiring Harness” in the Index for more information.
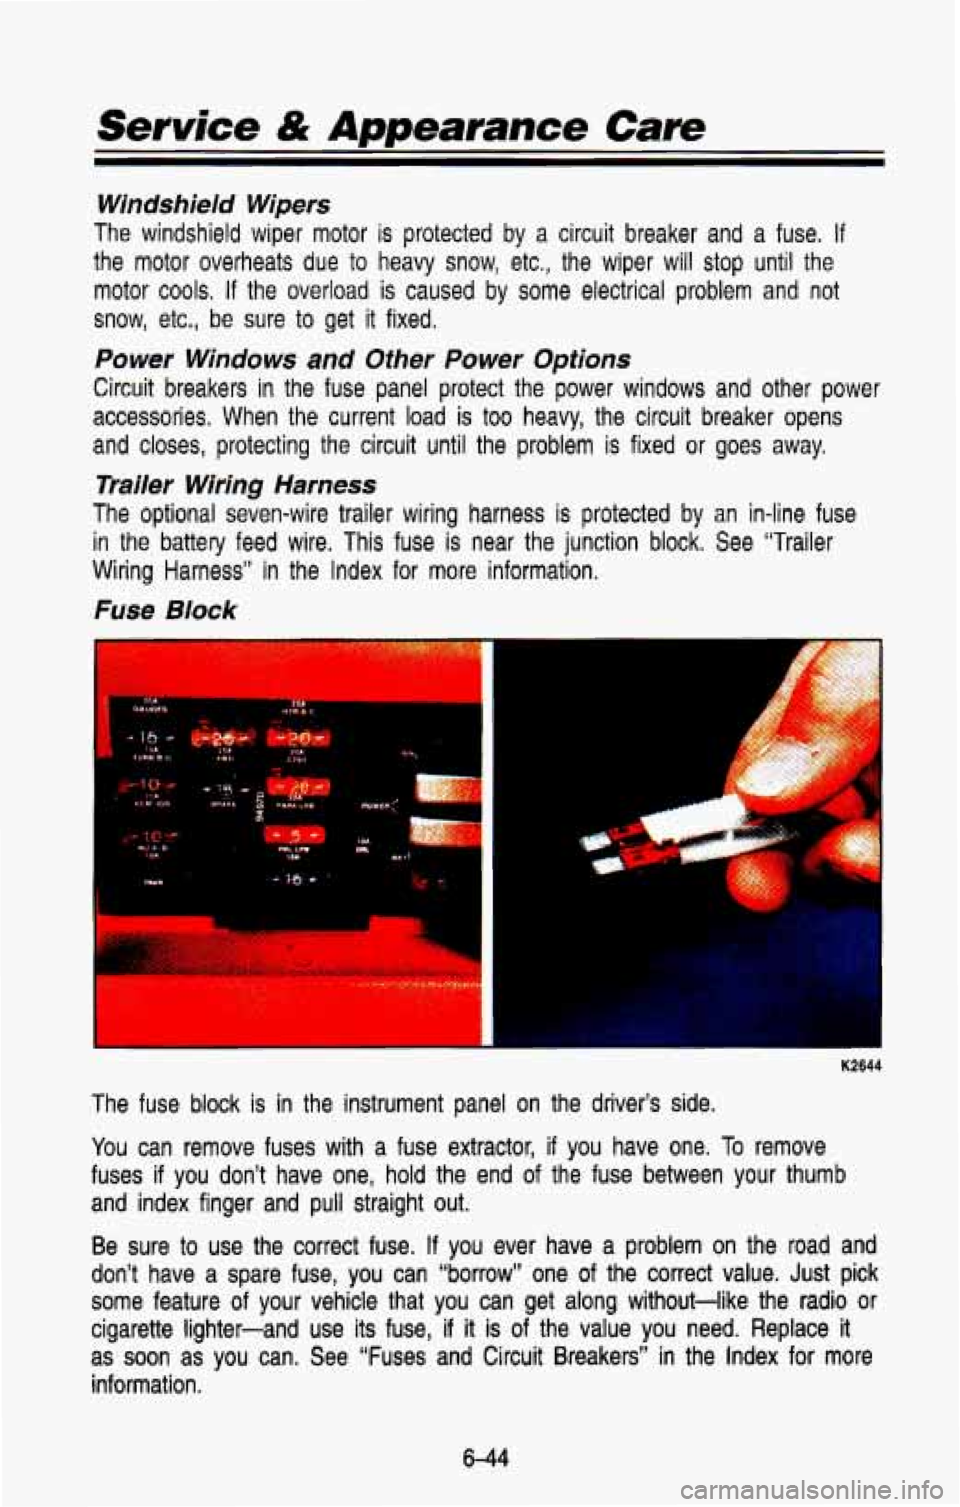
Fuse Block
m
, .. .
i
-+ lW -
-=
. . . . . . . . .
..
K2644
The fuse block is in
the instrument panel on the driver’s side.
You can remove fuses with a fuse extractor, if you have one. To remove
fuses
if you don’t have one, hold the end of the fuse between your thumb
and index finger and pull straight out.
Be sure to use the correct fuse.
If you ever have a problem on the road and
don’t have a spare fuse, you can “borrow” one of the correct value. Just pick
some feature of your vehicle that you can get along without-like the radio \
or
cigarette lighter-and use
its fuse, if it is of the value you need. Replace it
as
soon as you can. See “Fuses and Circuit Breakers” in the Index for more
information.
644
Page 310 of 386

Exhaust System
To help prevent damage to your exhaust system, do not continue to drive
your vehicle
if you notice:
Engine misfiring
Loss of performance
Other unusual operating conditions
Have your engine and exhaust system serviced regularly.
Three- Way Catalytic Converter
Your vehicle’s three-way catalytic converter is designed to reduce the
pollutants in your vehicle’s exhaust. Use only unleaded fuel in your vehic\
le. If
you use leaded fuel, you could damage your three-way catalytic \
converter,
and other engine components.
Computer Command Control System
This system has an oxygen (OS) sensor that helps keep your engine’s
air-fuel mixture at a proper level. Use only unleaded fuel in your vehicle.
If
you use leaded fuel, you could damage your oxygen (OS) sensor and
three-way catalytic converter.
The Malfunction Indicator Lamp
(SERVICE ENGINE SOON) on your
instrument panel lets you know when your emission control syste\
m needs
service. The light will come on briefly when you start your e\
ngine to let you know that the system
is working. If it does not come on when you start your
engine, or
if it comes on and stays on while you’re driving your system may \
need service. Your vehicle should still be driveable, but you should have your
system serviced right away.
Secondary Air Injection (AIR) System
You may have this system. It lets you know if your engine control module,
wiring harness or solenoid need service.
If the Malfunction Indicator Lamp
(Service Englne Soon) comes on, you need service.
645
Page 311 of 386

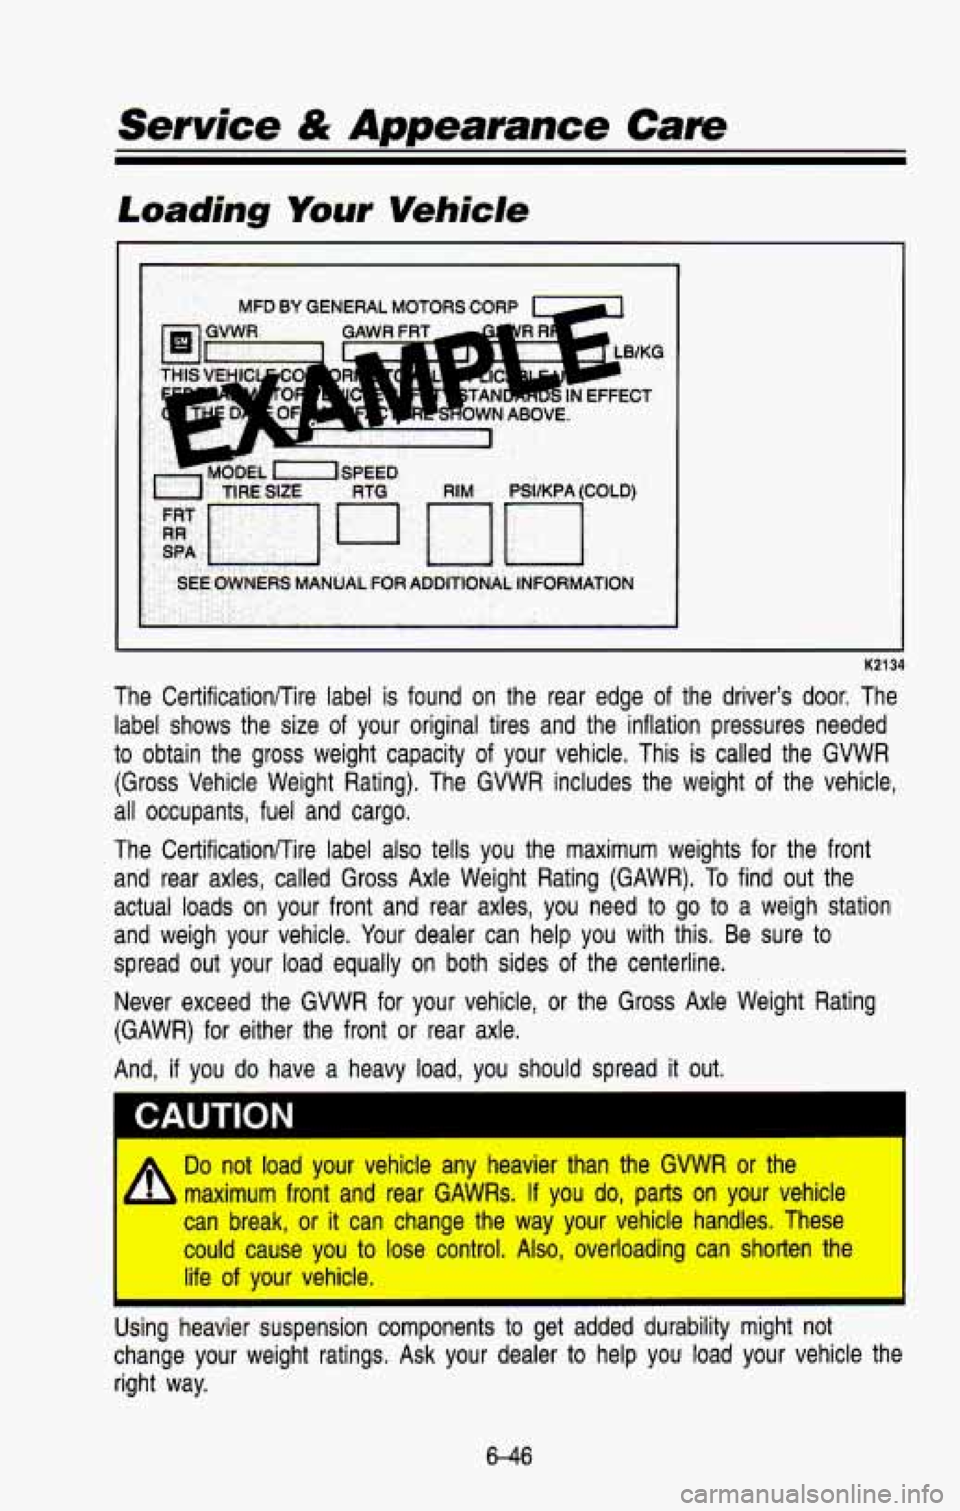
Loading Your Vehicle
MFD BY GENERAL MOTORS CORP L-4
I
. , .. .-. .. ,. . ,FFECT
CROWN ABOVE.
1
TIRE SIZE
-EL XISPEED RIM PSVKPA (COLD)
SPA
SEE OWNERS MANUAL FOR ADDITIONAL INFORMATION
K2134
The Certificationflire label is found on the rear edge of the driver's door. The
label shows the size of your original tires and the inflation \
pressures needed
to obtain the gross weight capacity of your vehicle. This is called the GVWR
(Gross Vehicle Weight Rating). The GVWR includes the weight o\
f the vehicle,
all occupants, fuel and cargo.
The Certificationnire label also tells you the maximum weights for the front
and rear axles, called Gross Axle Weight Rating (GAWR). To find out the
actual loads on your front and rear axles, you need to go to\
a weigh station
and weigh your vehicle. Your dealer can help you with this. Be sure to
spread out your load equally on both sides of the centerline. \
Never exceed the GVWR
for your vehicle, or the Gross Axle Weight Rating
(GAWR) for either the front or rear axle.
And,
if you do have a heavy load, you should spread it out.
A
Do not load your vehicle any heavier than the GVWR or the I
maximum front and rear GAWRs. If you do, parts on your vehicl\
e
can break, or
it can change the way your vehicle handles. These
could cause you
to lose control. Also, overloading can shorten the
life of your vehicle.
Using heavier suspension components
to get added durability might not
change your weight ratings. Ask your dealer to help you load your vehicle the
right way.
6-46
Page 312 of 386

Your warranty does not r-rer parts or co ~~ ronents that fail because -
If you put things inside your vehicle-like suitmes, LWWIY, pac;Kages, or
anything else-they will go as fast as the vehicle goes. If you have to stop
or turn quickly, or if there is a crash, they’ll keep going.
I
Things you put inside your vehicle can strike and injure people in a
, sudden stop or turn, or in a crash.
9 Put things in the cargo area of your vehicle. Try to spread the
Never stack heavier things, like suitcases, inside the vehicle so
weight evenly.
that some
of them are above the tops of the seats.
When you carry something inside the vehicle, secure it
whenever you can. I
I Don’t have a seat folded down unless you need to. I
Trailering Package
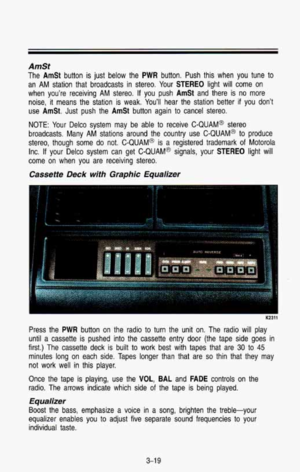
GROSS COMBINATION WEIGHT RATING
(GCWR)
PO340
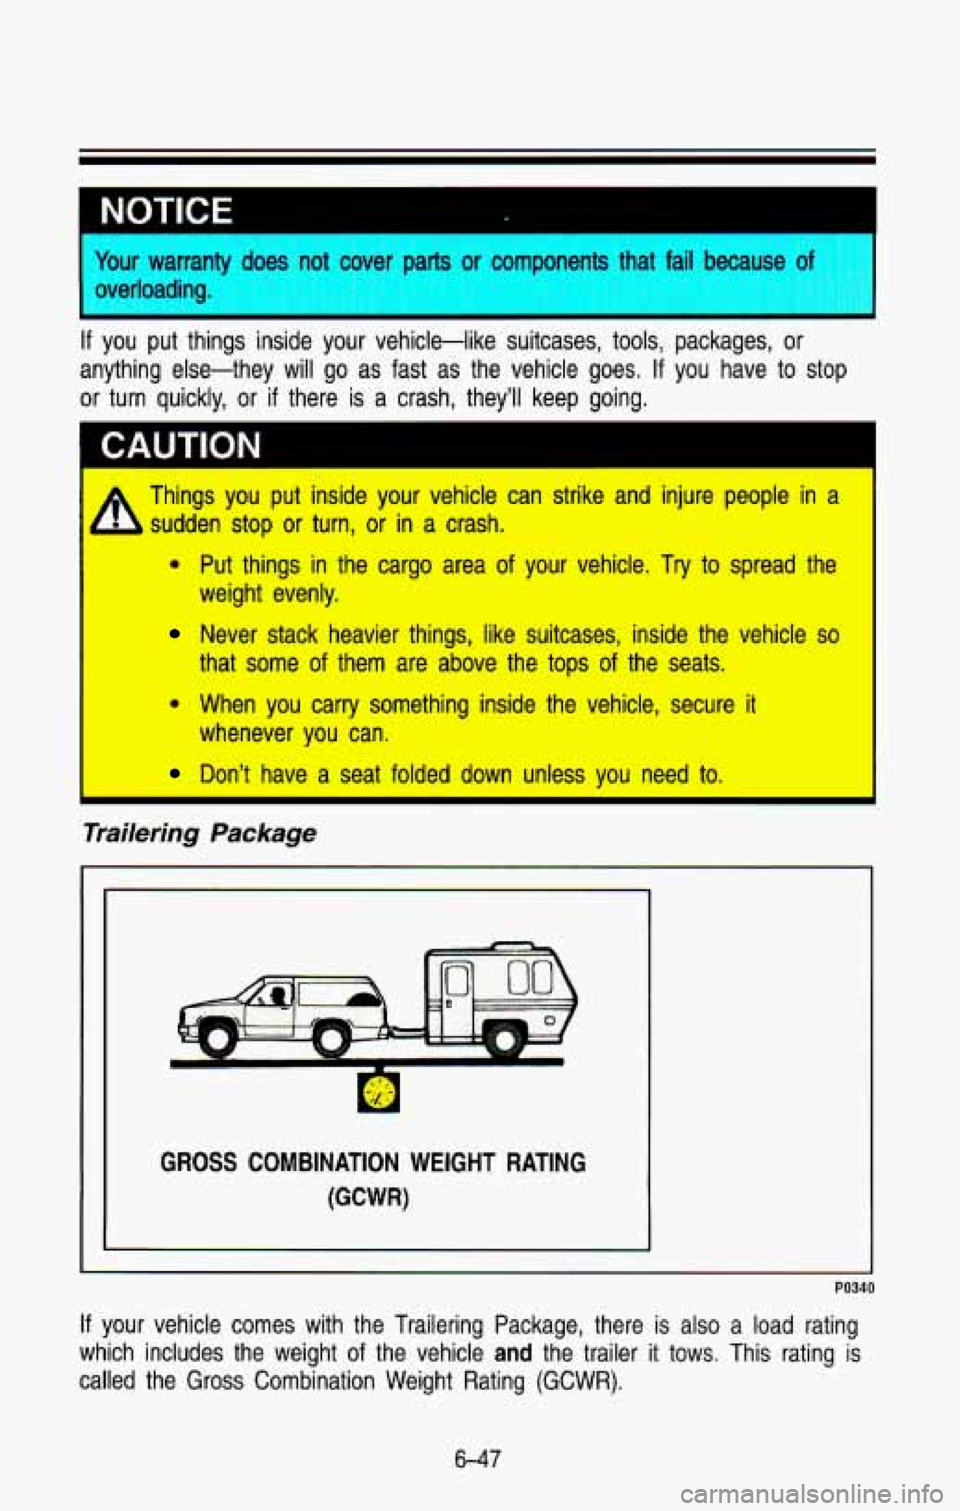
If your vehicle comes with the Trailering Package, there is al\
so a load rating
which includes the weight of the vehicle
and the trailer it tows. This rating is
called the
Gross Combination Weight Rating (GCWR).
6-47