Page 208 of 345
Downloaded from www.Manualslib.com manuals search engine 2. Get the vehicles close enough so the jumper cables can reach, but be
sure the vehicles aren’t touching each other.
If they are, it could cause a
ground .connection you don’t want. You wouldn’t be able
to start your
vehicle, and the bad grounding could damage the electrical syst\
ems.
1 CAUTION
I
A You could be injured if the vehicles roll. Set the parking brake firmly
b on each vehicle. Put an automatic transmission in P (Park) or a
I manual transmission in N (Neutral).
3. Turn off the ignition on both vehicles. Turn off all lights that aren’t
needed, and radios. This will avoid sparks and help save both \
batteries.
And
it could save your radio!
1’ NOTICE
Iv dar li 1. The Pairs f you leave your radio on, it could be t
Nouldn’t be covered bv vour warrallLv I
4. Open the hoods and locate the batteries. Find the positive (t) and the
negative
(-) terminals on each battery.
1 CAUTION
A Using a match near a battery can cause battery gas to explode.
People have been hurt doing this, and some have been blinded. \
Use
a flashlight
if you need more light.
You don’t need
to add water to the Delco Freedom@ battery installed
in every new
GM vehicle. But if a battery has filler caps, be sure the
right amount of fluid is there.
If it is low, add water to take care of
that first. If you don’t, explosive gas could be present.
Battery fluid contains acid that can burn you. Don’t get
it on you. If
you accidentally get it in your eyes or on your skin, flush the place
I with water and get medical help immediately.
5. Check that the jumper cables don’t have loose or missing in\
sulation. If
they do, you could get a shock. The vehicles could be damaged\
, too.
Before you connect the cables, here are some things you should\
know.
Positive
(t) will go to positive (+) and negative (-) will go to negative
(-) or a metal engine part. Don’t connect (t) to (-) or you’ll get a
short that would damage the battery and maybe other parts,
too.
5-4
Page 212 of 345
Downloaded from www.Manualslib.com manuals search engine Don’t have your vehicle towed with the wheels in contact with the ground if
it has all-wheel drive. If a vehicle with all-wheel drive must be towed with
sling-type
or wheel lift equipment, then either the front or rear wheels must
be supported on a dolly.
If your vehicle has rear-wheel drive, don’t have it towed on t\
he rear wheels
unless you must.
If a vehicle with rear-wheel drive must be towed on the rear
wheels, don’t go more than
35 mph (56 kmlh) or farther than 50 miles
(80 km) or your transmission will be damaged. If these limits must be
exceeded, then the rear wheels have to be supported on a doll\
y.
1 CAUTION
L A vehicle can fall from a car carrier if it isn’t properly secured. This
b can cause a collision, serious personal injury and vehicle dama\
ge.
The vehicle should be tightly secured with chains or steel cab\
les
before it is transported.
Don’t use substitutes (ropes, leather straps, canvas webbing,\
etc.)
that can be
cut by sharp edges underneath the towed vehicle.
Engine Overheating
You will find a coolant temperature gage and the warning light about a hot
engine on your vehicle’s instrument panel.
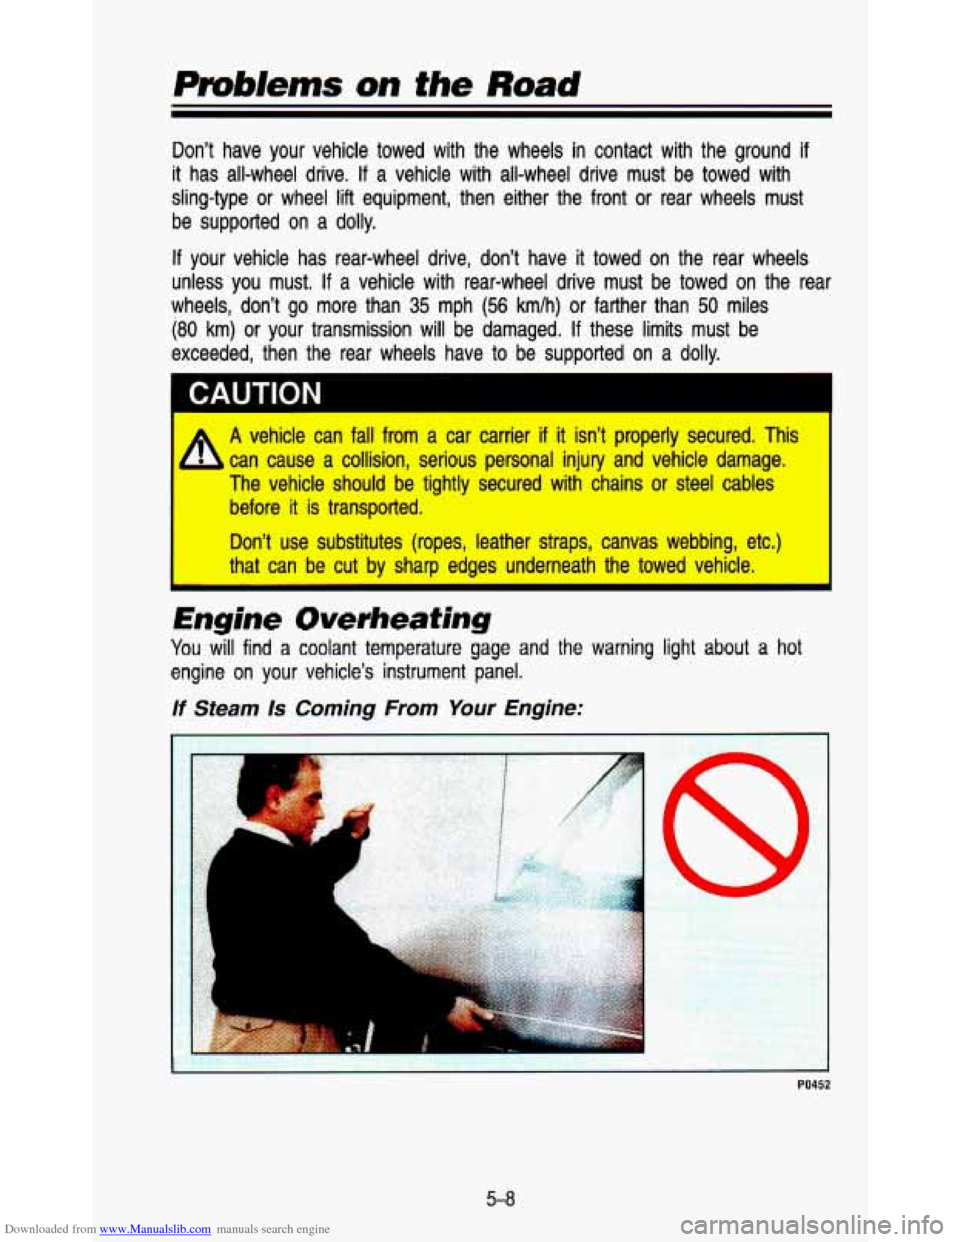
If Steam Is Coming From Your Engine:
PO452
5-8
Page 236 of 345
Downloaded from www.Manualslib.com manuals search engine Problems on the Road
If You’m Stuck: In Sand, Mud,
Ice or Snow
What you don’t want to do when your vehicle is stuck is to spin your
wheels. The method known as “rocking” can help you get o\
ut when you’re
stuck, but you must use caution.
I CAUTION
A
If you let your tires spin at high speed, they can explode and \
you or
others could be injured. And, the transmission or other parts of the
vehicle can overheat. That could cause an engine compartment fire
or other damage. When you’re stuck, spin the wheels as
little as
possible. Don’t spin the wheels above
35 mph (55 km/h) as shown
on the speedometer.
NOTICE
Spinning your wheels can destroy parts of your vehicle as well as the
tires.
If you spin the wheels too fast while shifting VOUI ;mission bal
and forth, you can destroy your transmissioi
Rocking your vehicle to get it out:
First, turn your steering wheel left and right. That will clea\
r the area around
your front wheels. Then shift back and forth between
R (Reverse) and a
forward gear, spinning the wheels
as little as possible. Release the
accelerator pedal while you shift, and press lightly on the ac\
celerator pedal
when the transmission is in gear.
If that doesn’t get you out after a few tries,
you may need to be towed out.
If you do need to be towed out, see “Towing Your Vehicle” in the Index.
5-32
Page 240 of 345
Downloaded from www.Manualslib.com manuals search engine Service & Appearance Care
NOTICE I-
Fuel
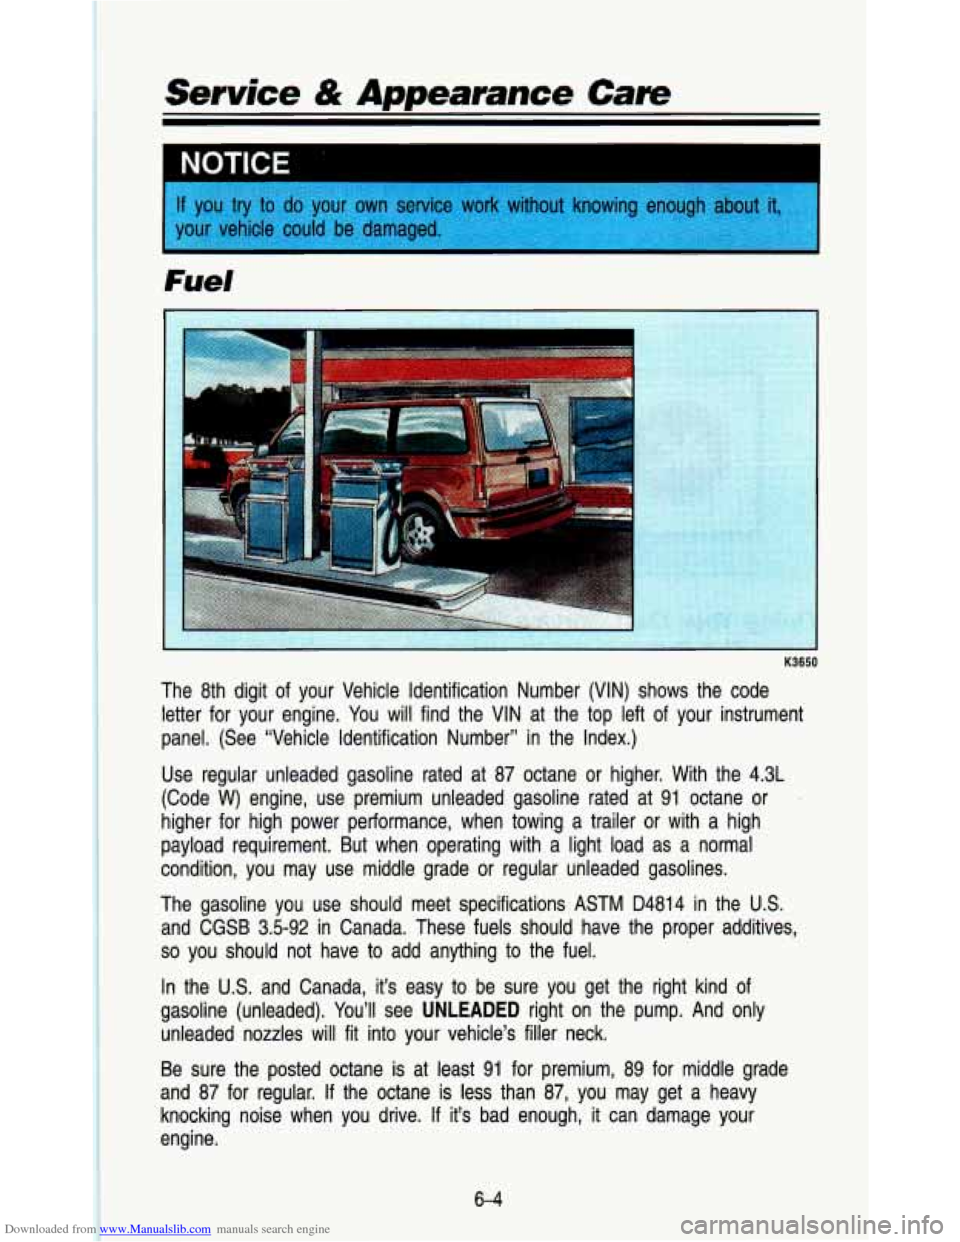
The 8th digit of your Vehicle Identification Number (VIN) sho\
ws the code letter for your engine. You will find the VIN at the top left of your instrument
panel. (See “Vehicle Identification Number” in the Index.)\
Use regular unleaded gasoline rated at 87 octane or higher. Wi\
th the 4.3L
(Code
W) engine, use premium unleaded gasoline rated at 91 octane or .
higher for high power performance, when towing a trailer or wi\
th a high
payload requirement. But when operating with a light load as a\
normal
condition, you may use middle grade or regular unleaded gasolin\
es.
The gasoline you use should meet specifications ASTM D4814 in the U.S.
and CGSB 3.5-92 in Canada. These fuels should have the proper \
additives,
so you should not have to add anything to the fuel.
In the
U.S. and Canada, it’s easy to be sure you get the right kind o\
f
gasoline (unleaded). You’ll see
UNLEADED right on the pump. And only
unleaded nozzles
will fit into your vehicle’s filler neck.
Be sure the posted octane
is at least 91 for premium, 89 for middle grade
and
87 for regular. If the octane is less than 87, you may get a heavy
knocking noise when you drive. If it’s bad enough,
it can damage your
engine.
6-4
Page 252 of 345
Downloaded from www.Manualslib.com manuals search engine Service & Appearance Care
PO383
3. Grasp the bottom of the extension. Lift up and then pull out.
4. Disconnect the electrical connector for the cigarette lighter. S\
et the
extension aside.
6-1 6
Page 254 of 345
Downloaded from www.Manualslib.com manuals search engine Senrice & Appearance Cam
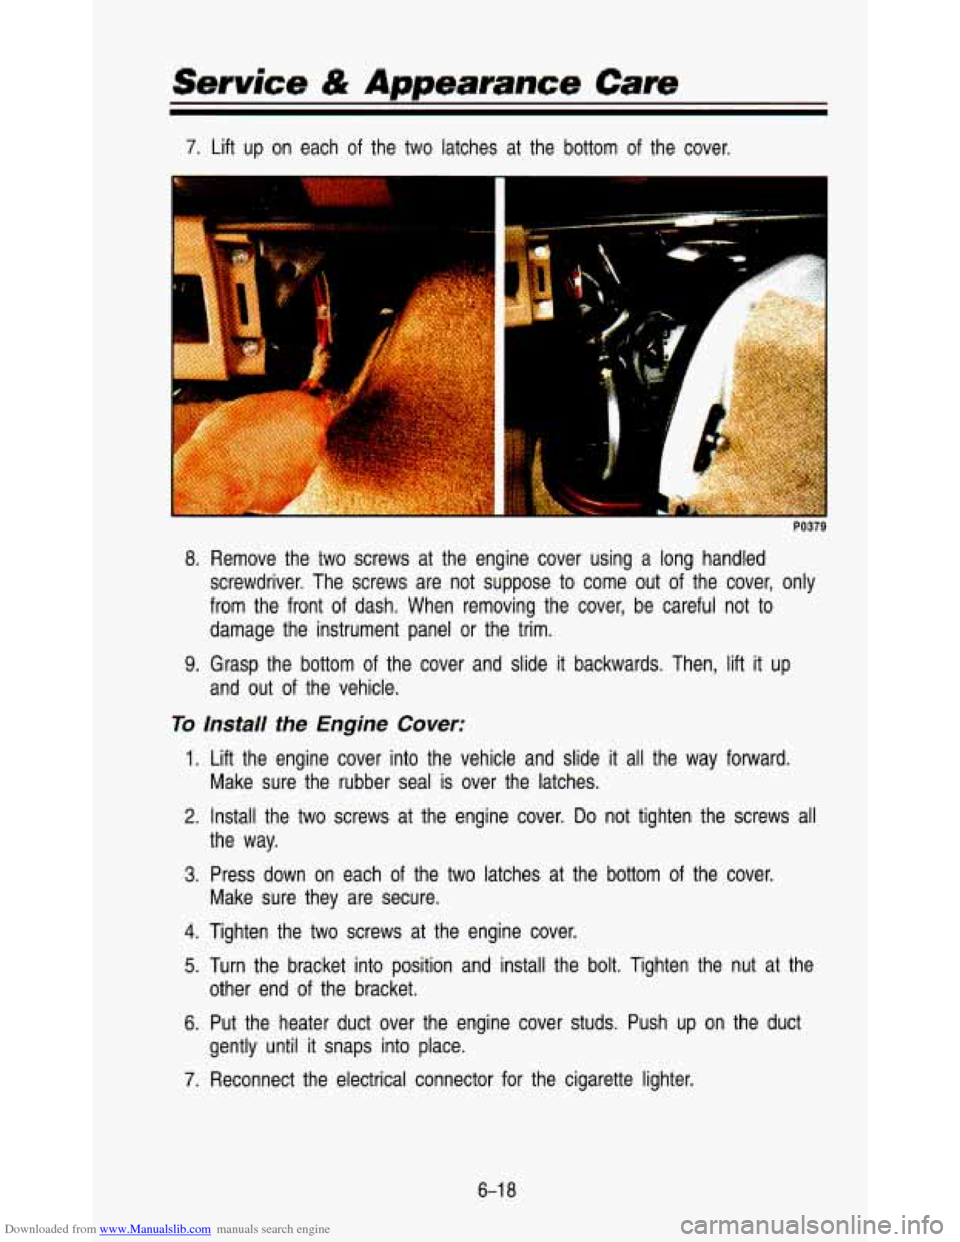
7. Lift up on each of the two latches at the bottom of the cover.
-
8. Remove the two screws at the engine cover using a long handle\
d
screwdriver. The screws are not suppose to come out of the co\
ver, only
from the front of dash. When removing the cover, be careful n\
ot to
damage the instrument panel or the trim.
9. Grasp the bottom of the cover and slide it backwards. Then, lift it up
and out of the vehicle.
To Install the Engine Cover:
1. Lift the engine cover into the vehicle and slide it all the way forward.
Make sure the rubber seal is over the latches.
2. Install the two screws at the engine cover. Do not tighten the screws all
3. Press down on each of the two latches at the bottom of the cover.
the way.
Make sure they are secure.
4. Tighten the two screws at the engine cover.
5. Turn the bracket into position and install the bolt. Tighten t\
he nut at the
6. Put the heater duct over the engine cover studs. Push up on \
the duct
other end
of the bracket.
gently until
it snaps into place.
7. Reconnect the electrical connector for the cigarette lighter.
6-1 8
Page 271 of 345
Downloaded from www.Manualslib.com manuals search engine Bulb Replacement
Before replacing any bulbs, make sure all lights are off and the vehicle is not
running.
Halogen Bulbs
I CAUTION I
Halogen bulbs have pressurized gas inside and can burst if you drop
b or scratch the bulb. You or others could be injured. Take special care
I when handling and disposing of halogen bulbs. I
Headlights
I
PO404
1. Open the hood.
2. Remove the four Tomhead@ screws from the headlight bezel. Pull \
the
bezel out
so you can see the parkinghrn-signal sockets.
3. Press the tab and turn the socket to the left to remove the socket from
the bezel.
If the socket does not have a tab, turn the socket to the left.
Set the bezel aside.
6-35
Page 272 of 345
Downloaded from www.Manualslib.com manuals search engine Service & Appearance Care
I
PO403
4. Remove the four retainer screws and the retainer.
5, Pull the connector out and unplug the light.
6. Install the new
bulb into the connector.
7. Reverse steps 1-5 to reinstall the headlight.
Front ParkingFurn Signal Lights
1. Open the hood.
2. Remove the four Torxhead screws from the headlight bezel. Pull the
bezel out
so you can see the parkinglturn signal lights.
!$
3 :K >: . .- -.
6-36
PO401