Page 265 of 345
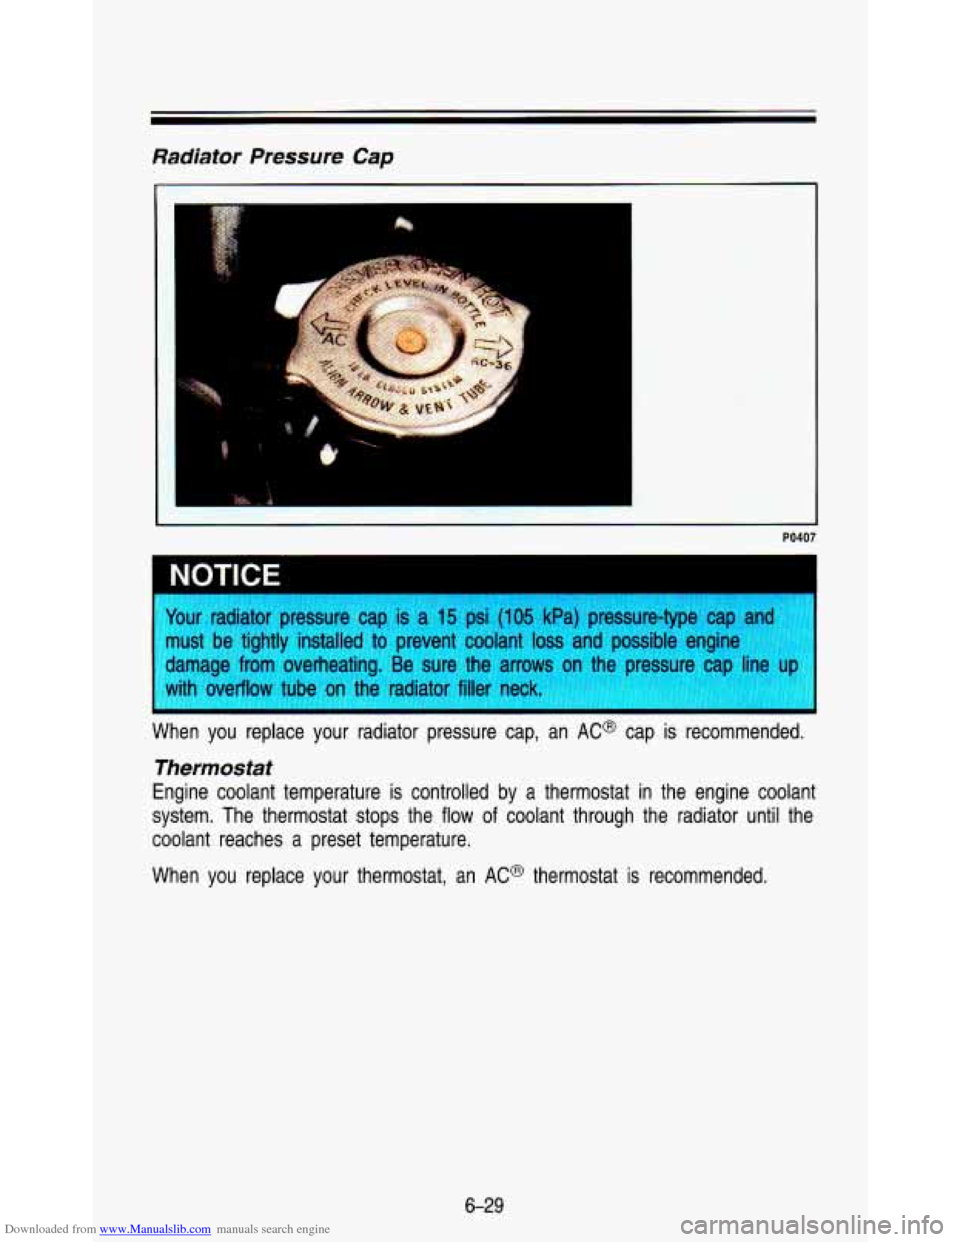
Downloaded from www.Manualslib.com manuals search engine Radiator Pressure Cap
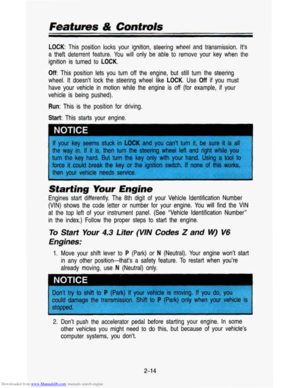
PO407
"wr radiator pressure cap is a 15 psi (1 05 kPa) pressure-type cap and
wst be tightly installed to prevent coolant
loss and possible engine
damage from overheating. Be sure the arrows on the pressure cap
lir
with overflow tube on the radiator filler neck.
I
I
When you replace your radiator pressure cap, ul~ AC@ cap is IGdommendGu.
Thermostat
Engine coolant temperature is controlled by a thermostat in the\
engine coolant
system. The thermostat stops the flow
of coolant through the radiator until the
coolant reaches a preset temperature.
When you replace your thermostat, an AC@ thermostat is recommended.
6-29
Page 266 of 345
Downloaded from www.Manualslib.com manuals search engine Power Steering Fluid
I
I .
.. ., ...
L
PO665
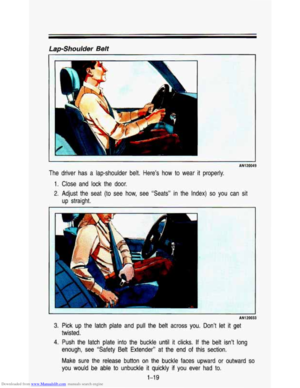
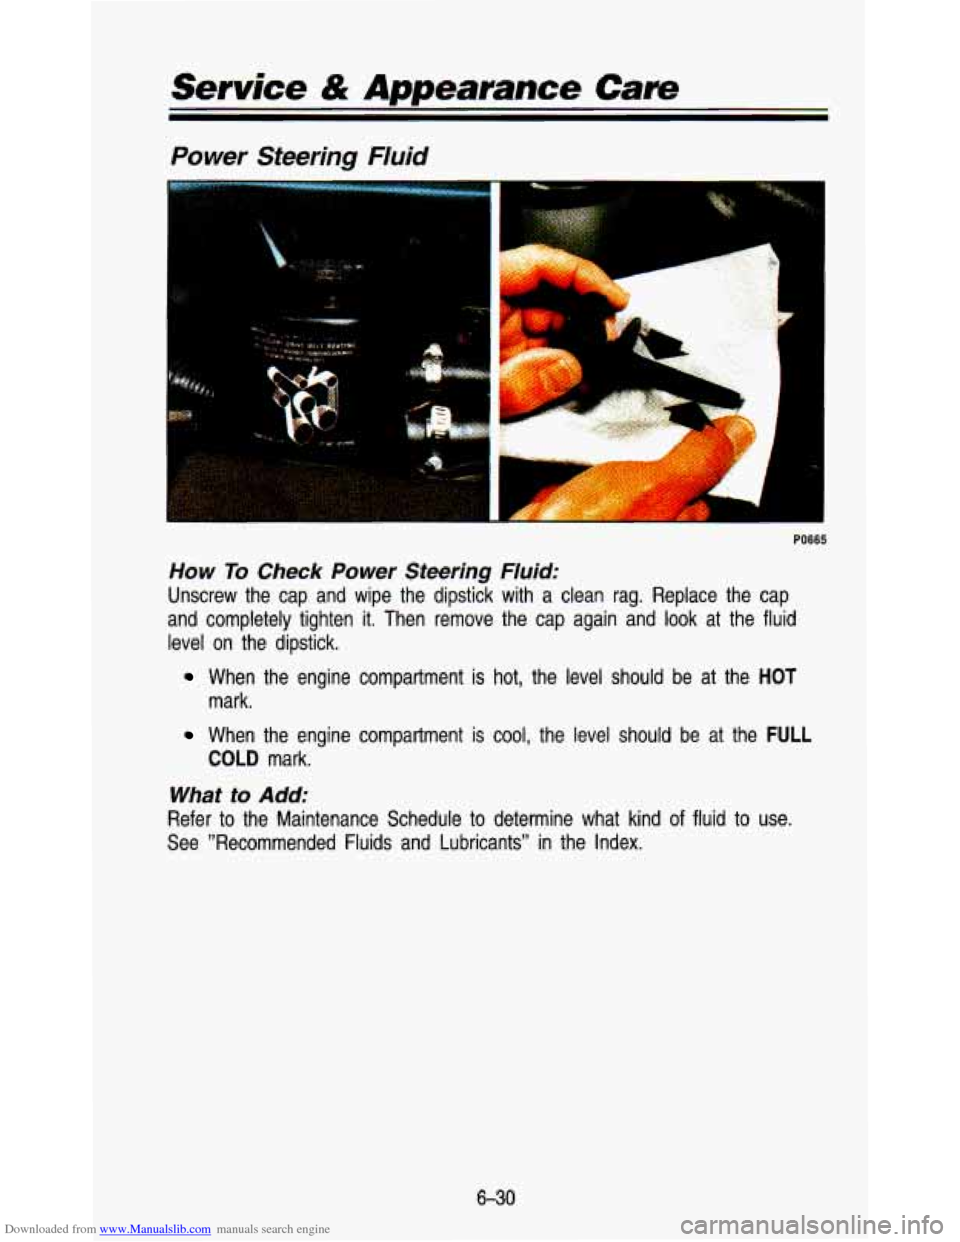
How To Check Power Steering Fluid:
Unscrew the cap and wipe the dipstick with a clean rag. Repla\
ce the cap
and completely tighten
it. Then remove the cap again and look at the fluid
level on the dipstick.
When the engine compartment is hot, the level should be at th\
e HOT
mark.
When the engine compartment is cool, the level should be at the FULL
COLD mark.
What to Add:
Refer to the Maintenance Schedule to determine what kind of fluid to use.
See ”Recommended Fluids and Lubricants” in the Index.
6-30
Page 267 of 345
Downloaded from www.Manualslib.com manuals search engine PO667
NOTICE
When adding power steering fluid or making complete fluid change,
use the proper fluid. Failure
to use the proper fl I can cause
1' leaks and damage hoses and seals.
Windshield Washer Fluid
1
1
1
/
PO406
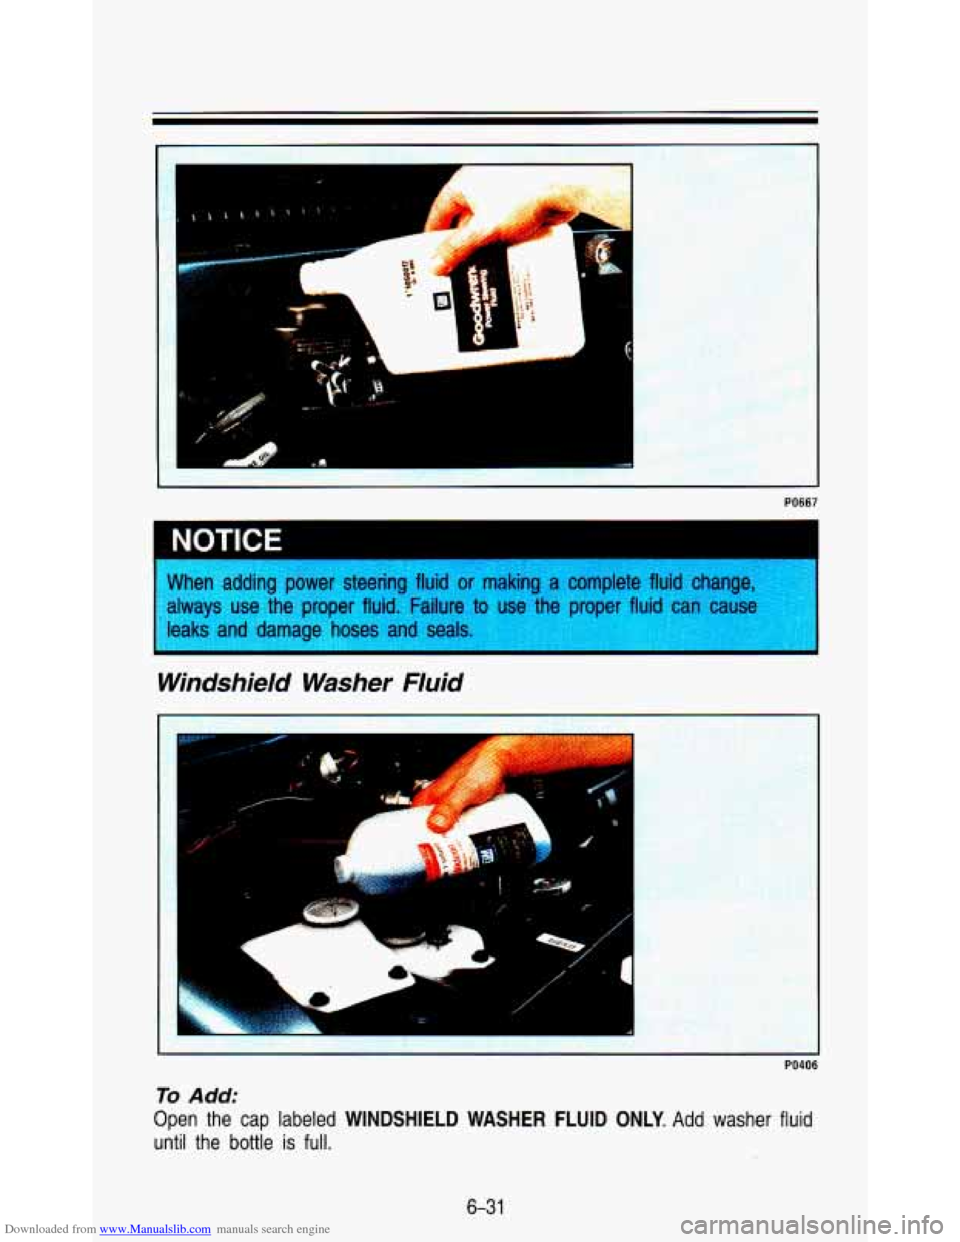
To Add:
Open the cap labeled WINDSHIELD WASHER FLUID ONLY. Add washer fluid
until the bottle is full.
6-3 1
Page 268 of 345

Downloaded from www.Manualslib.com manuals search engine Service & Appearance Care
0
I.
I
When using a concentrated washer fluid, follow the manufacturer'\
s instructions for adding water.
Don't mix water with ready-to-use washer fluid. Water can cause\
the
solution
to freeze and damage your washer fluid tank and other parts
of the washer system. Also, water doesn't clean as well as washer\
I
fluid.
Fill your washer fluid tank only 314 full"when it's'vety cold. This
allows for expansion, which could damage the tank
if it is completely I
full.
"L..:.i: , , I_ y:~ i; P .. .. . . .. . .... . *>,: " 2 ..., .- .. .. ;'r : ,y*: , '-I 1' .:a,' ...j , .I' _I .~ ,.., <:':,.YY<..'.% , , .', < .. c7~ Ij
" .,. , , ...j. .. :,,;,.: >: :,:. I, ~,~. .,. ._
Don't use radiator antifreeze in your windshield washer. It can
damage your washer system and paint.
I
Brake Master Cylhder
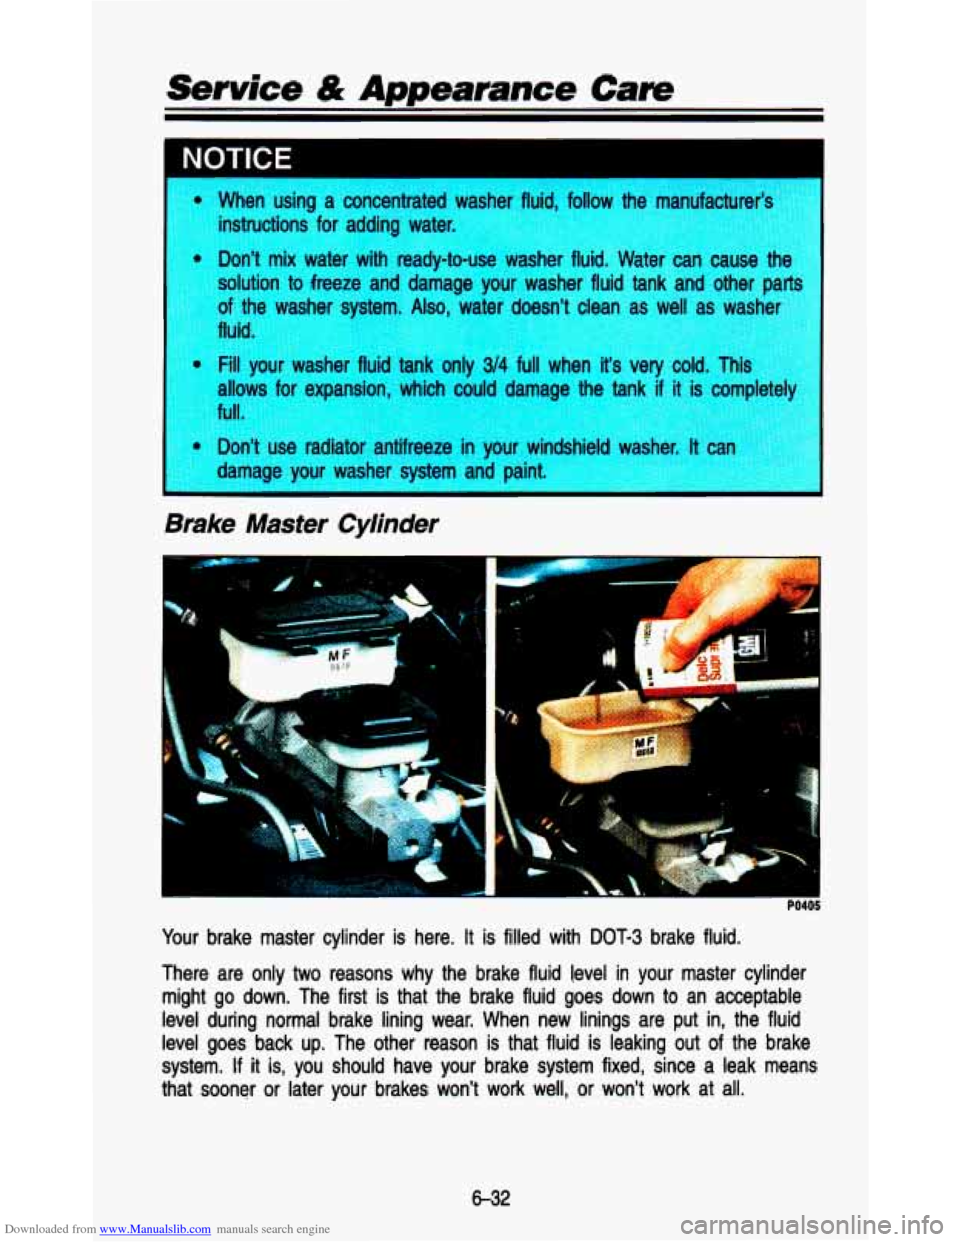
Your brake master cylinder is here. It is filled with DOT-3 brake fluid.
There are only
two reasons why the brake fluid level in your master cylinder
might go down. The first is that the brake fluid goes down to an acceptable
level during normal brake lining wear. When new linings are put in, the fluid
level goes back up. The other reason is that fluid is leaking out of the brake
system.
If it is, you should have your brake system fixed, since a leak mea\
ns
that sooner or later your brakes won't work well, or won't wo\
rk at all.
6-32
Page 269 of 345

Downloaded from www.Manualslib.com manuals search engine So, it isn’t a good idea to “top off’ your brake fluid. Adding brake fluid won’t
correct a leak.
If you add fluid when your linings are worn, then you’ll have \
too much fluid when you get new brake linings. You should add (or remove)
brake fluid, as necessary, only when work is done on the brake hydraulic
system.
If you have too much brake fluid, it can spill on the engine. The fluid I
will burn if the engine is hot enough. You or others could be burned,
and your vehicle could be damaged. Add brake fluid only when work
is done on the brake hydraulic system.
I
Refer to the Maintenance Schedule to determine when to check your brake
fluid. See “Periodic Maintenance Inspections” in the Index.
To Check Brake Fluid:
You can check the brake fluid without taking off the cap. Just look at the
windows on the brake fluid reservoir. The fluid levels should be above
MIN. If
they aren’t, have your brake system checked to see if there is a leak.
After work is done on the brake hydraulic system
, make sure the levels are
above
MIN and below the top of each window.
What To Add:
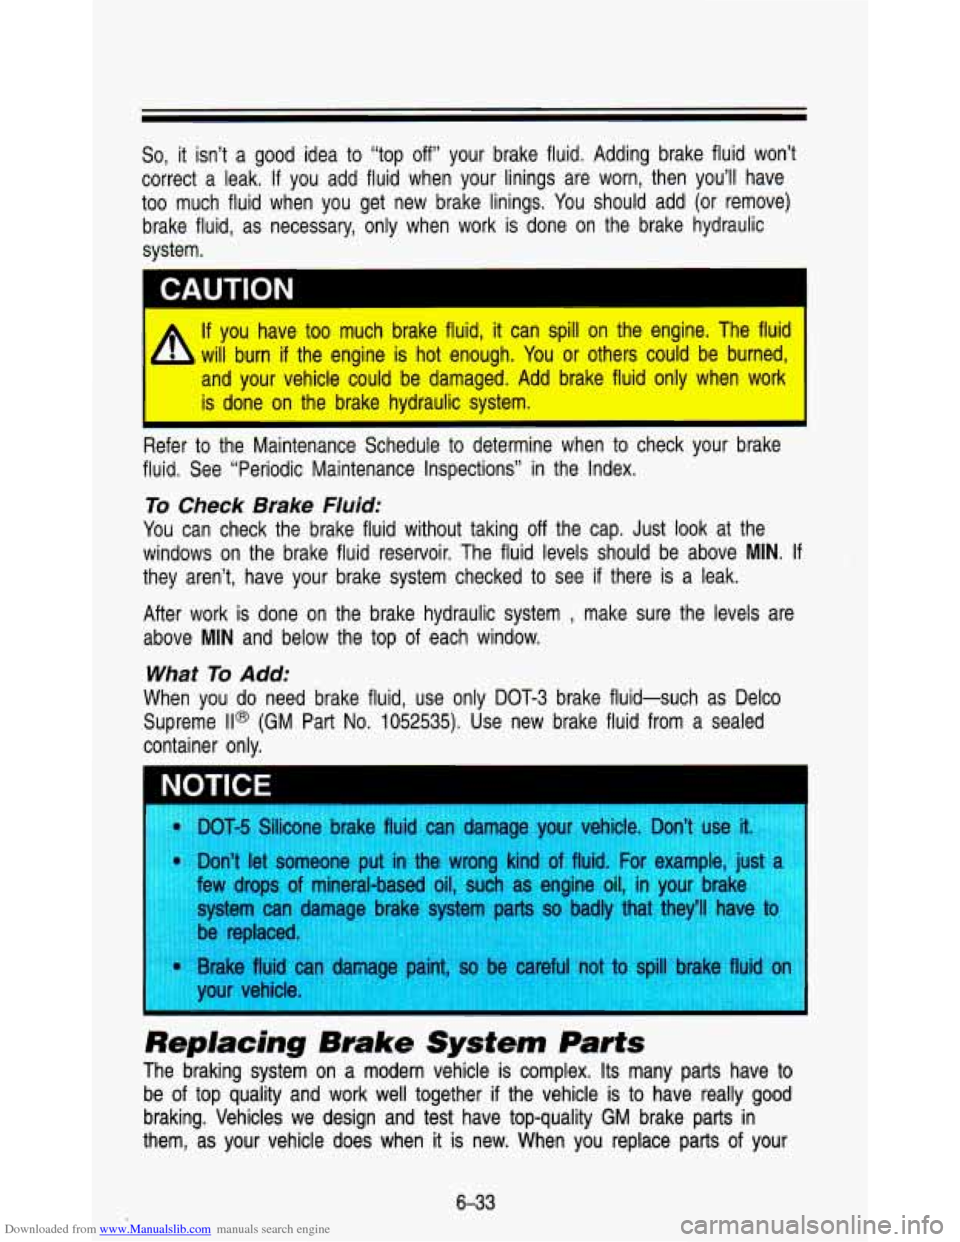
When you do need brake fluid, use only DOT-3 brake fluid-such \
as Delco
Supreme
ll@ (GM Part No. 1052535), Use new brake fluid from a sealed
container only.
brake
fLlu lamagn lehicle
Replacing
Brake System Parts
The braking system on a modern vehicle is complex. Its many parts have to
be
of top quality and work well together if the vehicle is to have really good
braking. Vehicles we design and test have top-quality
GM brake parts in
them, as your vehicle does when
it is new. When you replace parts of your
6-33
Page 270 of 345

Downloaded from www.Manualslib.com manuals search engine Service & Appearance Care
braking system-for example, when your brake linings wear down and you
have
to have new ones put in-be sure you get new genuine GM
replacement parts.
If you don’t, your brakes may no longer work properly. For
example,
if someone puts in brake linings that are wrong for your vehicle, the
balance between your front and rear brakes can change, for the\
worse. The
braking performance you’ve come to expect can change in many\
other ways
if someone puts in the wrong replacement brake parts.
Hydro-Boost Brake System (Hydraulic Pump)
The power steering pump is also used as the Hydro-Boost pump. \
Refer to
“Power Steering Fluid” in this section when. checking the fluid level or adding
fluid.
Fluid Leak Check
After the vehicle has been parked for awhile, inspect the surf\
ace beneath the
vehicle for water, oil, fuel or other fluids. Water dripping f\
rom the air
conditioning system is normal. If you notice fuel leaks or fumes, the causes
should be found and corrected at once.
Battery
Every new GM vehicle has
add water
to one of these,
a Delco Freedom@ battery.
the original battery’s label. a Delco Freedom@ battery. You never have
to
When it’s time for a new battery, we recommend
Get one that has the catalog number shown on
Vehicle Storage
If you’re not going to drive your vehicle for 25 days or more, take off the
black, negative
(-) cable from the battery. This will help keep your battery
from running down.
I CAUTION
For more informarlon on vehicle storage, contact your dealer’\
s service
department, or write to:
Adistra Corporation 171 Hamilton Street Plymouth,
MI 48170
General Motors
of Canada, Limited
Customer Services Department
Oshawa, Ontario L1 J5Z6
In
Canada, write
to:
6-34
Page 271 of 345
Downloaded from www.Manualslib.com manuals search engine Bulb Replacement
Before replacing any bulbs, make sure all lights are off and the vehicle is not
running.
Halogen Bulbs
I CAUTION I
Halogen bulbs have pressurized gas inside and can burst if you drop
b or scratch the bulb. You or others could be injured. Take special care
I when handling and disposing of halogen bulbs. I
Headlights
I
PO404
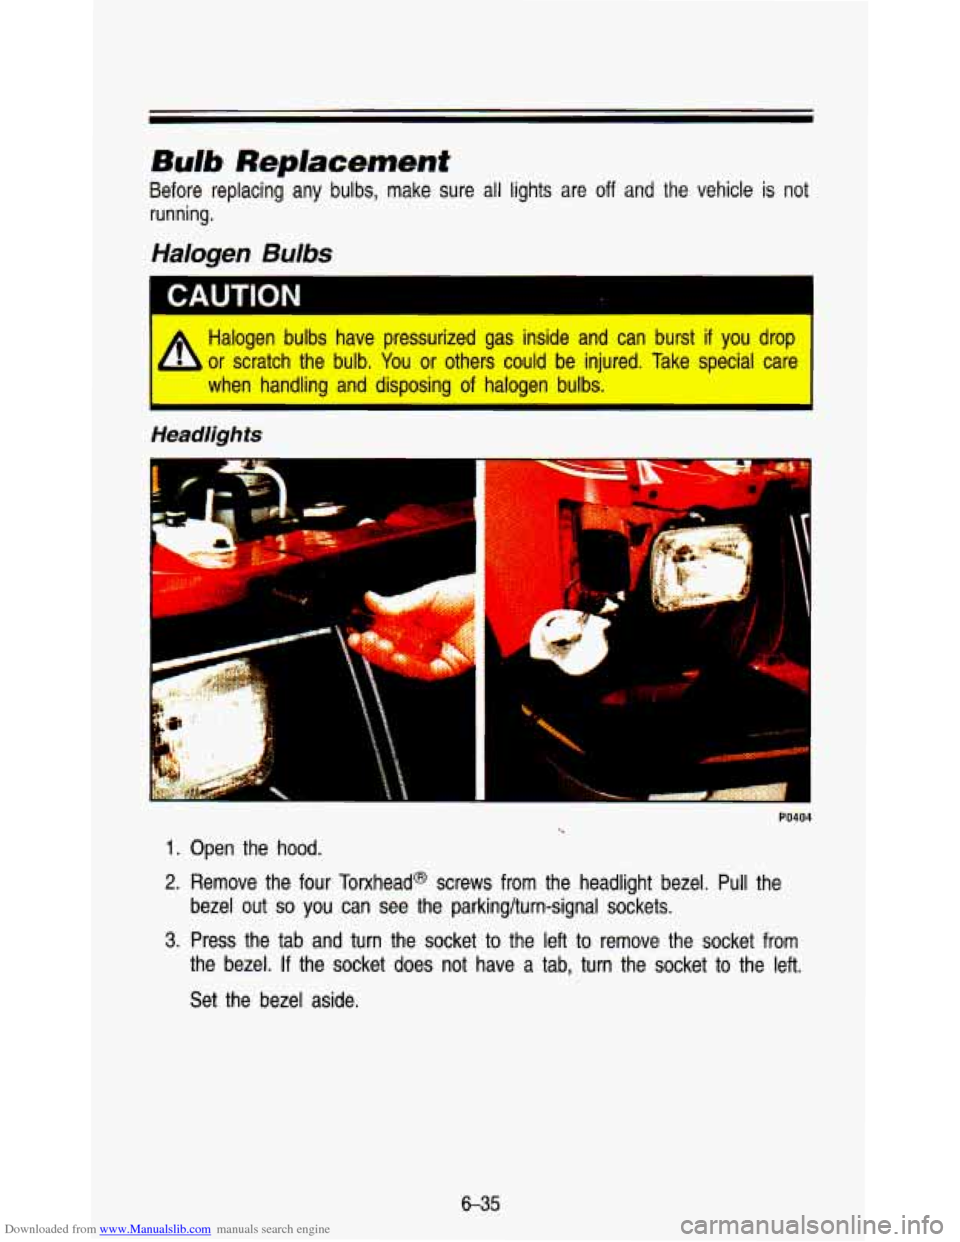
1. Open the hood.
2. Remove the four Tomhead@ screws from the headlight bezel. Pull \
the
bezel out
so you can see the parkinghrn-signal sockets.
3. Press the tab and turn the socket to the left to remove the socket from
the bezel.
If the socket does not have a tab, turn the socket to the left.
Set the bezel aside.
6-35
Page 272 of 345
Downloaded from www.Manualslib.com manuals search engine Service & Appearance Care
I
PO403
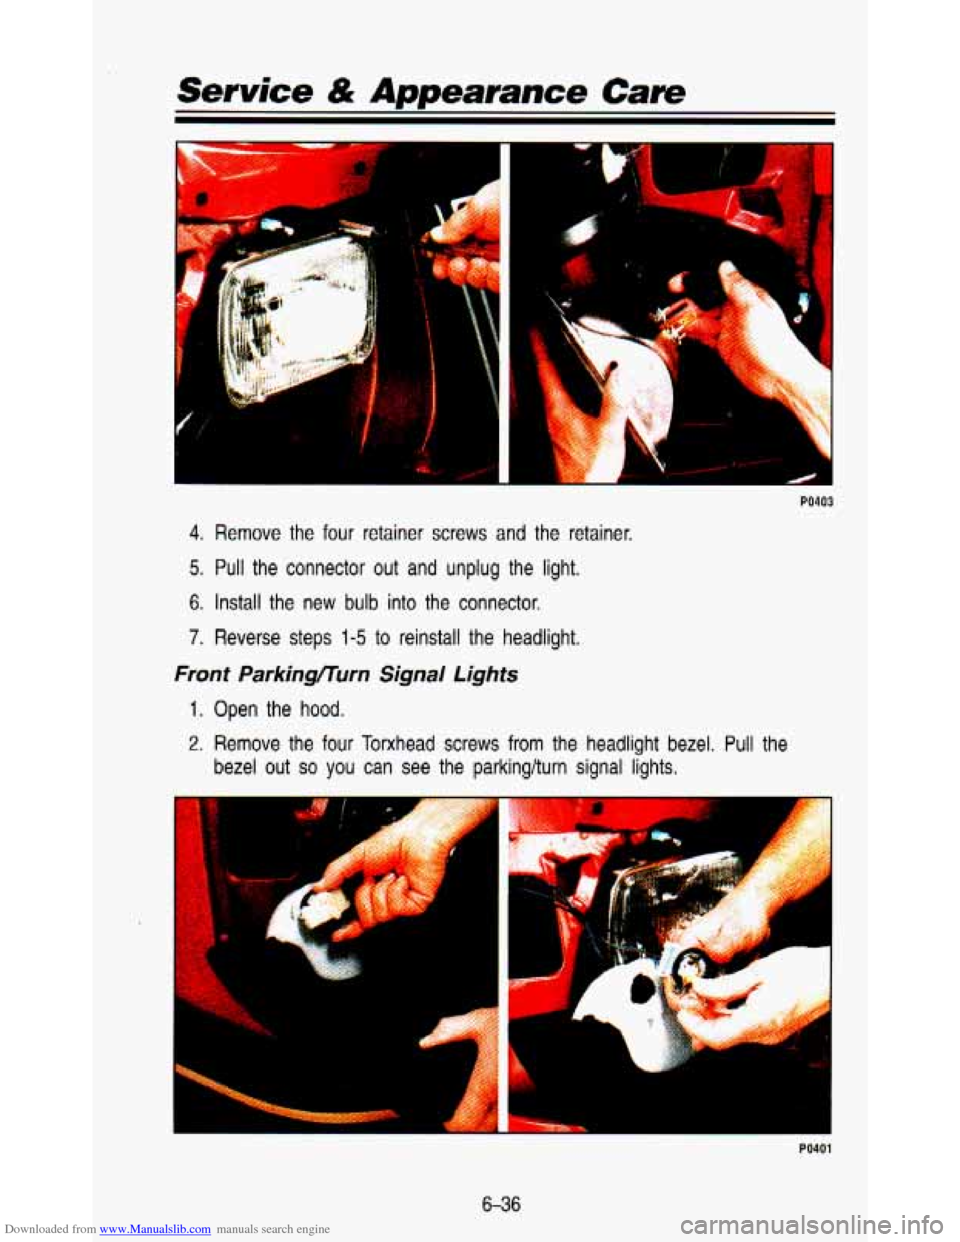
4. Remove the four retainer screws and the retainer.
5, Pull the connector out and unplug the light.
6. Install the new
bulb into the connector.
7. Reverse steps 1-5 to reinstall the headlight.
Front ParkingFurn Signal Lights
1. Open the hood.
2. Remove the four Torxhead screws from the headlight bezel. Pull the
bezel out
so you can see the parkinglturn signal lights.
!$
3 :K >: . .- -.
6-36
PO401