1993 CHEVROLET ASTRO PASSENGER service
[x] Cancel search: servicePage 146 of 345
Downloaded from www.Manualslib.com manuals search engine Comforf Controls & Audio Systems
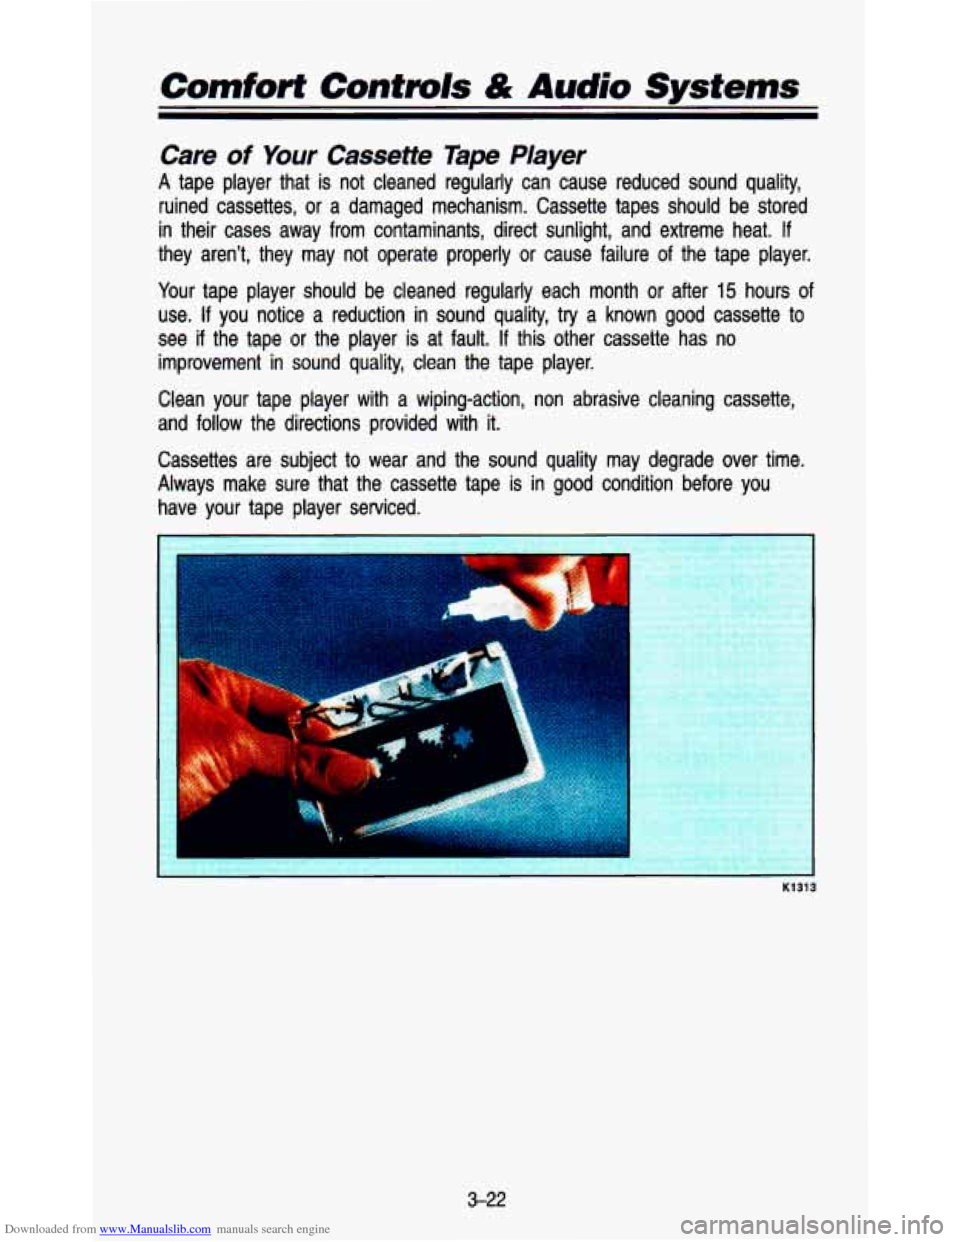
Care of Your Cassette Tape Player
A tape player that is not cleaned regularly can cause reduced so\
und quality,
ruined cassettes, or a damaged mechanism. Cassette tapes should \
be stored
in their cases away from contaminants, direct sunlight, and extreme\
heat.
If
they aren’t, they may not operate properly or cause failure of the tape player.
Your tape player should be cleaned regularly each month
or after 15 hours of
use. If you notice a reduction in sound quality, try a known good cassette to
see if the tape or the player is at fault. If this other cassette has no
improvement in sound quality, clean the tape player.
Clean your tape player with a wiping-action, non abrasive clean\
ing cassette,
and follow the directions provided with it.
Cassettes are subject to wear and the sound quality may degrad\
e over time.
Always make sure that the cassette tape is in good condition before you
have your tape player serviced.
I
K1313
3-22
Page 157 of 345
Downloaded from www.Manualslib.com manuals search engine AM402003
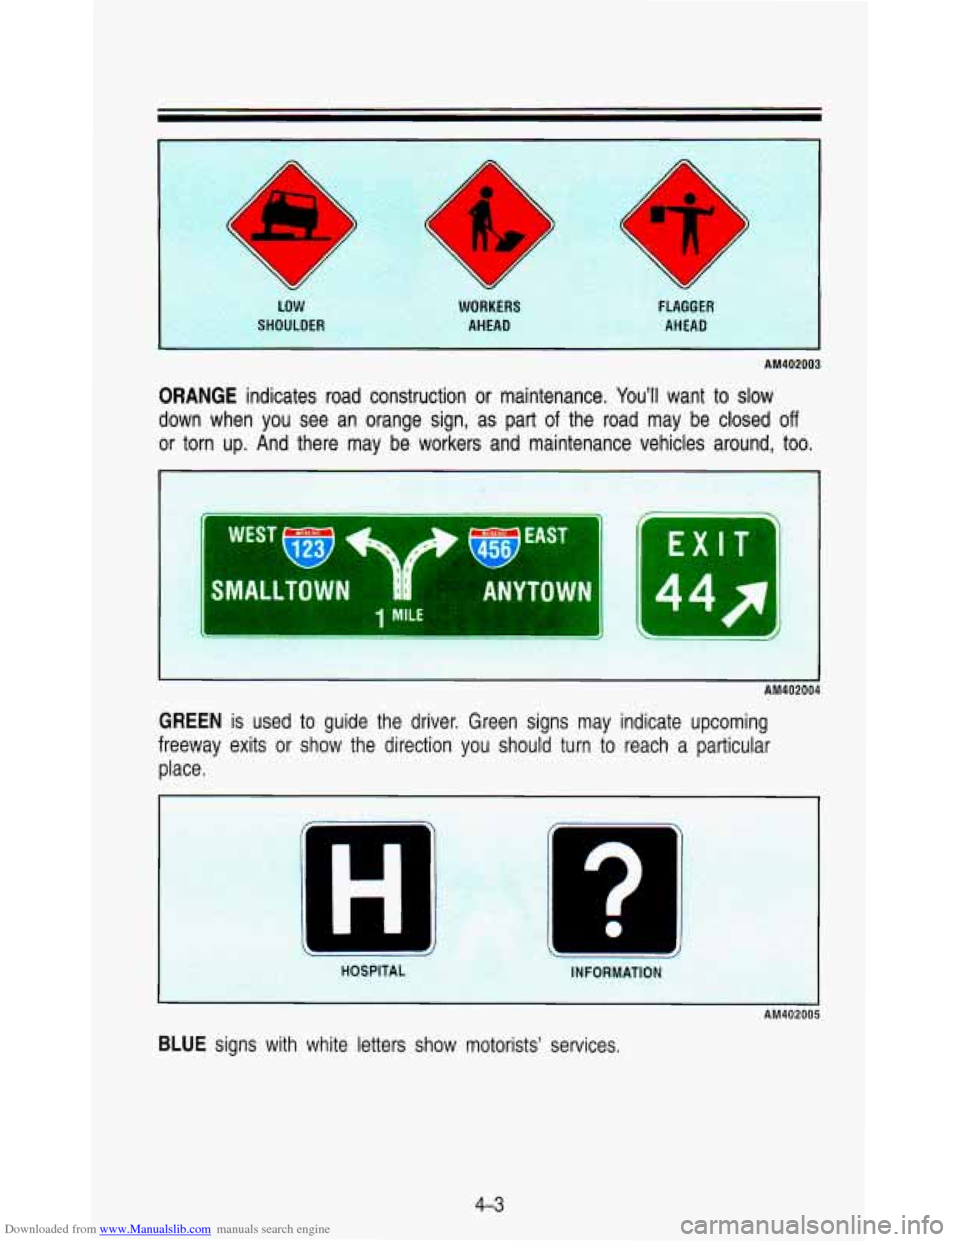
ORANGE indicates road construction or maintenance. You’ll want to slow
down when you see an orange sign, as part
of the road may be closed off
or torn up. And there may be workers and maintenance vehicles around, too.
SMALLTOMIN
A ‘AILE
ANYTu vu 14
- A
AM402004
GREEN is used to guide the driver. Green signs may indicate upcoming
freeway exits or show the direction you should turn to reach a particular
place.
BLUE signs with white letters show motorists’ services.
4-3
Page 170 of 345
Downloaded from www.Manualslib.com manuals search engine Brake System Warning Light
Standard Cluster Digital Cluster
PO641
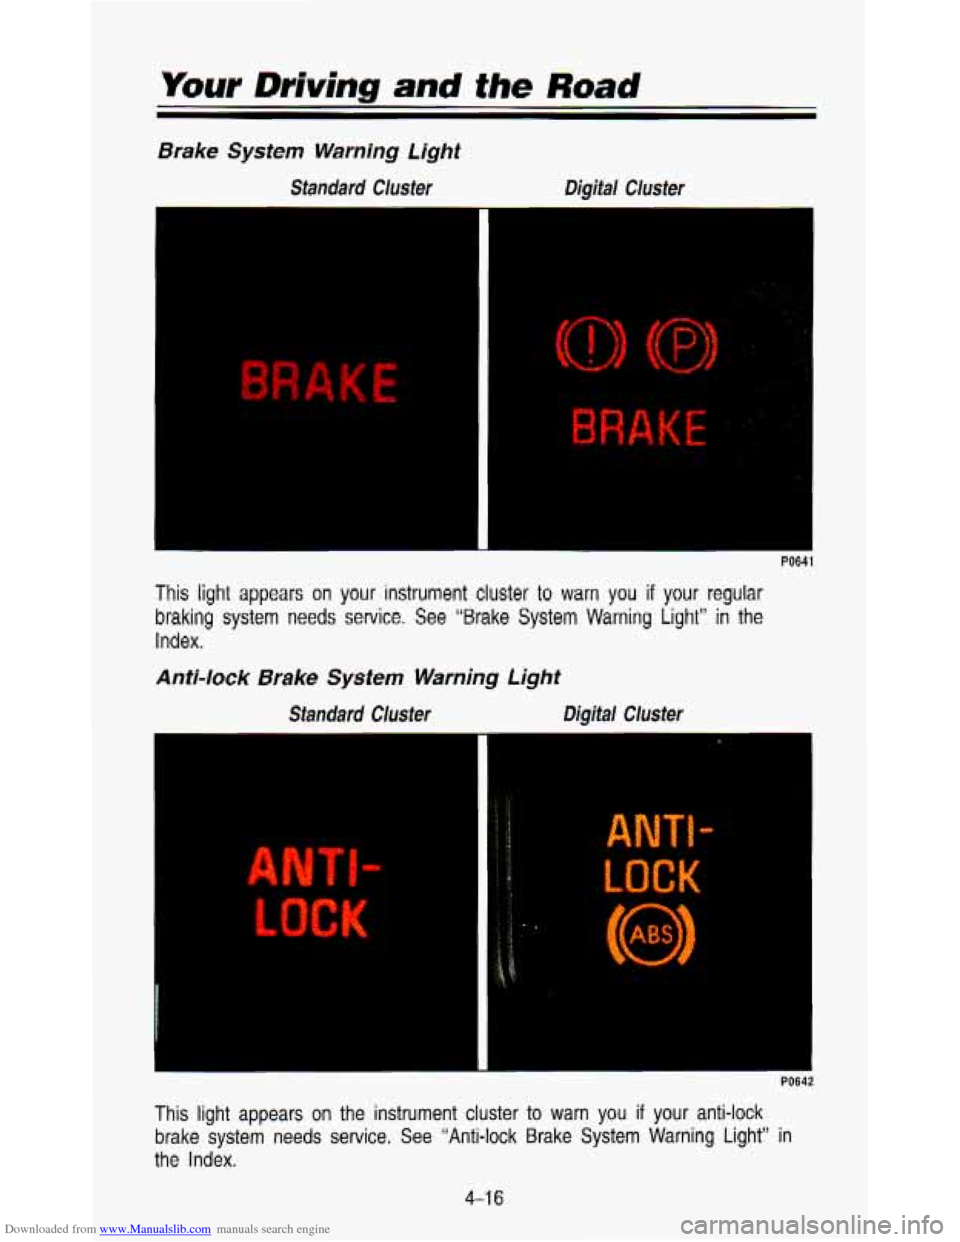
This light appears on your instrument cluster to warn you if your regular
braking system needs service. See “Brake System Warning Light” in the
Index.
Anti-lock Brake System Warning Light
Standard CIusfer Digital Cluster
This light appears on the instrument cluster to warn you if your anti-lock
brake system needs service. See “Anti-lock Brake System Warning Light” in
the Index.
4-1 6
Page 171 of 345
Downloaded from www.Manualslib.com manuals search engine Disc Brake Wear Indicators
Your vehicle has front disc brakes and rear drum brakes. Disc brake\
pads
have built-in wear indicators that make a high-pitched warning sound when
the brake pads are worn and new pads are needed. The sound m\
ay come and go or be heard all the time your vehicle is moving (except when you are
pushing on the brake pedal firmly).
I CAUTION
A The brake wear warning sound means that sooner or later your
4 brakes won’t work well. That could lead to an accident. When you
hear the brake wear warning sound, have your vehicle serviced. \
I
NCTICE
Some driving conditions or climates may cause a brake squeal when the
brakes are first applied or lightly applied. This does not mean something is
wrong with your brakes.
Rear Drum Brakes
Your rear drum brakes don’t have the wear indicators, but if you ever hear a
rear brake rubbing noise, have the rear brake linings inspected\
. Also, the rear
brake drums should be removed and inspected each time the tires are
removed for rotation or changing. When
have the rear brakes inspected, too.
Brake linings should always be replaced
Brake Pedal Travel
See your dealer if the brake pedal does
there
is a rapid increase in pedal travel.
trouble.
Brake Adjustment
Every time you make a brake stop, your you have
the front brakes replaced,
as complete axle sets.
not return to normal height, or
if
This could be a sign of brake
disc brakes adjust for wear.
If your
brake pedal goes down farther than normal, your rear drum brak\
es may need
adjustment. Adjust them by backing up and firmly applying the brakes a few
times.
4-1 7
Page 178 of 345
Downloaded from www.Manualslib.com manuals search engine Your Driving and the Road
Since you can’t see as well, you may need to slow down an\
d keep more space between you and other vehicles. It’s hard to tel\
l how fast
the vehicle ahead is going just by looking at its taillights. \
Slow down, especially on higher speed roads. Your headlights can light
up only
so much road ahead.
In remote areas, watch for animals.
If you’re tired, pull off the road in a safe place and rest.
Night Vision
No one can see as well at night as in the daytime. But as we \
get older
these differences increase.
A 50-year-old driver may require at least twice as
much light to see the same thing at night as a 20-year-old.
What you
do in the daytime can also affect your night vision. For example, if
you spend the day in bright sunshine you are wise to wear su\
nglasses. Your
eyes will have less trouble adjusting to night.
But
if you’re driving, don’t wear sunglasses at night. They may \
cut down on
glare from headlights, but they also make a lot of things inv\
isible that should remain visible-such as parked cars, obstacles, pedestrians,
or even trains
blocking railway crossings. You may want to put on your sunglasses after you
have pulled into a brightly-lighted service
or refreshment area. Eyes shielded
from that glare may adjust more quickly to darkness back on t\
he road. But be sure to remove your sunglasses before you leave the service area.
You can be temporarily blinded by approaching lights. It can take a second
or
two, or even several seconds, for your eyes to readjust to the dark. When
you are faced with severe glare (as from a driver who doesn’\
t lower the high beams,
or a vehicle with misaimed headlights), slow down a little. Avoid\
staring directly into the approaching lights.
If there is a line of opposing
traffic, make occasional glances over the line
of headlights to make certain
that one of the vehicles isn’t starting to move into your \
lane. Once you are past the bright lights, give your eyes time to readjust before resuming speed.
High Beams
If the vehicle approaching you has its high beams on, signal by \
flicking yours
to high and then back to low beam. This is the usual signal \
to lower the
headlight beams.
If the other driver still doesn’t lower the beams, resist the
temptation to put your high beams on. This only makes
two half-blinded
drivers.
4-24
Page 187 of 345
Downloaded from www.Manualslib.com manuals search engine Driving On a Long nip
Although most long trips today are made on freeways, there are still many
made on regular highways.
Long-distance driving on freeways and regular highways is the same in some
ways. The trip has to be planned and the vehicle prepared, you drive at
higher-than-city speeds, and there are longer turns behind the wheel. You’ll
enjoy your trip more
if you and your vehicle are in good shape. Here are
some tips for a successful long trip.
Before Leaving on a Long Trip
Make sure you’re ready. Try to be well rested. If you must start when you’re
not fresh-such as after a day’s work-don’t plan to make too many miles
that first part of the journey. Wear comfortable clothing and shoes you can
easily drive in.
Is your vehicle ready for a long trip? If you keep it serviced and maintained,
it’s ready to
go. If it needs service, have it done before starting out. Of
course, you’ll find experienced and able service experts in
GM dealerships all
across North America. They’ll be ready and willing to help
if you need it.
Here are some things you can check before a trip:
Windshield Washer Fluid: Is the reservoir full? Are all windows clean
Wiper Blades: Are they in good shape?
Fuel, Engine Oil, Other Fluids: Have you checked all levels?
Lights: Are they all working? Are the lenses clean?
Tires: They are vitally important to a safe, trouble-free trip. Is the tread
good enough for long-distance driving? Are the tires all inflated to the
recommended pressure?
Should you delay your trip a short time to avoid a major storm system?
inside and outside?
Weather Forecasts: What’s the weather outlook along your route?
Maps: Do you have up-to-date maps?
On the Road
Unless you
are the only driver, it is good to share the driving task with
others. Limit turns behind the wheel to about
100 miles (160 km) or two
hours- at a sitting. Then, either change drivers or stop for some refres\
hment
like coffee, tea or soft drinks and some limbering up. But
do stop and move
around. Eat lightly along the way. Heavier meals tend to make some people
sleepy.
4-33
Page 188 of 345
Downloaded from www.Manualslib.com manuals search engine Your Driving and the Road
On two-lane highways or undivided multilane highways that do not have
controlled access, you’ll want to watch for some situations not usually found
on freeways. Examples are: stop signs and signals, shopping cen\
ters with
direct access to the highway, no passing zones and school zones, vehicles
turning left and right
off the road, pedestrians, cyclists, parked vehicles, and
even animals.
Highway Hypnosis
Is there actually such a condition as “highway hypnosis?’’ Or is it just plain
falling asleep at the wheel? Call it highway hypnosis, lack of awareness, or
whatever.
There is something about an easy stretch
of road with the same scenery,
along with the hum
of the tires on the road, the drone of the engine, and the
rush
of the wind against the vehicle that can make you sleepy. Don’t le\
t it
happen to you!
If it does, your vehicle can leave the road in less than a
second, and you could crash and be injured.
What can you do about highway hypnosis? First, be aware that it can
happen.
Then here are some tips:
Make sure your vehicle is well ventilated, with a comfortably cool interior.
Keep your eyes moving. Scan the road ahead and to the sides. Check
your rearview mirrors frequently and your instruments from time \
to time.
This can help you avoid a fixed stare.
Wear good sunglasses in bright light. Glare can cause drowsiness. But
don’t wear sunglasses at night. They will drastically reduce \
your overall
vision at the very time you need all the seeing power you have.
If you get sleepy, pull off the road into a rest, service, or parking area
and take a nap, get some exercise, or both. For safety, treat\
drowsiness
on the highway as an emergency.
As in any driving situation, keep pace with traffic and allow adequat\
e
following distances.
4-34
Page 203 of 345
Downloaded from www.Manualslib.com manuals search engine Parking on Hills
You really should not park your vehicle, with a trailer attached, \
on a hill. If
something goes wrong, your rig could start to move. People can be injured,
and both your vehicle and the trailer can be damaged.
But
if you ever have to park your rig on a hill, here’s how to do it:
1. Apply your regular brakes, but don’t shift into P (Park) yet.
2. Have someone place chocks under the trailer wheels.
3. When the wheel chocks are in place, release the regular brakes until the
chocks absorb
the load.
4. Reapply the regular brakes. Then apply your parking brake, and \
shift to
P (Park).
5. Release the regular brakes.
When You Are Ready to Leave After Parking on a Hill
1. Apply your regular brakes and hold the pedal down while you:
Start your engine.
Shift into a gear; and
Release the parking brake.
2. Let up on the brake pedal.
3. Drive slowly until the trailer is clear of the chocks.
4. Stop and have someone pick up and store the chocks.
Maintenance When Trailer Towing
Your vehicle will need service more often when you’re pulling a trailer. See
the Maintenance Schedule for more
on this. Things that are especially
important in trailer operation are automatic transmission fluid (don’t ove\
rfill),
engine oil, axle lubricant, belt, cooling system, and brake adj\
ustment. Each of
these is covered in this manual, and the Index will help you find them
quickly. If you’re trailering, it’s a good idea
to review these sections before
you start your trip.
Check periodically
to see that all hitch nuts and bolts are tight.
mailer Light Wiring
See “Trailer Wiring Harness” in the Index.
4-49