Page 1590 of 1865
MOLDING AND GARNISH 14
REAR WINDOW SIDE MOLDING (SEDAN)
Removal and Installation
1. Remove the rear side seatback bolt, then the rear
side seatback.
2. Remove the rear pillar trim.
3. Remove the window side molding nuts, then the
window side molding.
4. Install in the reverse order of removal.
86U14X-089
Vi
REAR WINDOW LOWER MOLDING
(SEDAN AND COUPE/MX-6)
Removal and Installation
1. Remove the rear window lower molding screws,
then the rear window lower molding.
2. Install in the reverse order of removal.
76G14X-013
REAR WINDOW UPPER MOLDING
(SEDAN, HATCHBACK AND COUPE/MX-6)
Removal and Installation
1. Remove the rear window side molding. (Refer to
page 14—54)
2. Remove the rear window upper molding.
3. Install in the reverse order of removal.
76G14X-014
BONNET MOLDING
(SEDAN AND HATCHBACK)
Removal and Installation
1. Remove the bonnet molding screws, then the bon-
net molding.
2. Install in the reverse order of removal.
76G14X-015
14-39
Page 1591 of 1865

14 MOLDING AND GARNISH
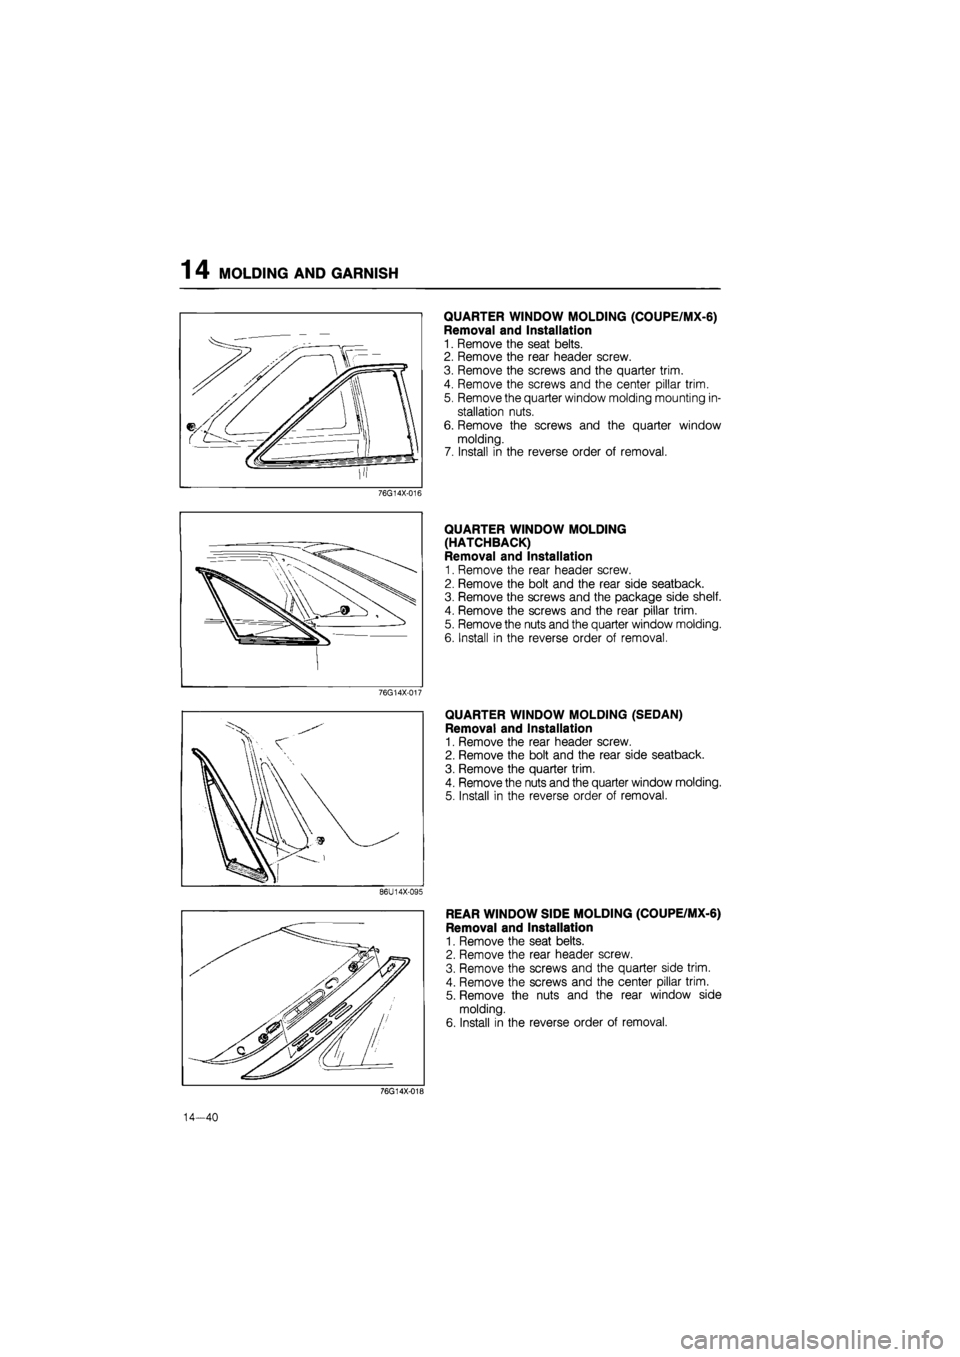
QUARTER WINDOW MOLDING (COUPE/MX-6)
Removal and Installation
1. Remove the seat belts.
2. Remove the rear header screw.
3. Remove the screws and the quarter trim.
4. Remove the screws and the center pillar trim.
5. Remove the quarter window molding mounting in-
stallation nuts.
6. Remove the screws and the quarter window
molding.
7. Install in the reverse order of removal.
76G14X-016
QUARTER WINDOW MOLDING
(HATCHBACK)
Removal and Installation
1. Remove the rear header screw.
2. Remove the bolt and the rear side seatback.
3. Remove the screws and the package side shelf.
4. Remove the screws and the rear pillar trim.
5. Remove the nuts and the quarter window molding.
6. Install in the reverse order of removal.
76G14X-017
QUARTER WINDOW MOLDING (SEDAN)
Removal and Installation
1. Remove the rear header screw.
2. Remove the bolt and the rear side seatback.
3. Remove the quarter trim.
4. Remove the nuts and the quarter window molding.
5. Install in the reverse order of removal.
86U14X-095
REAR WINDOW SIDE MOLDING (COUPE/MX-6)
Removal and Installation
1. Remove the seat belts.
2. Remove the rear header screw.
3. Remove the screws and the quarter side trim.
4. Remove the screws and the center pillar trim.
5. Remove the nuts and the rear window side
molding.
6. Install in the reverse order of removal.
76G14X-018
14-40
Page 1598 of 1865
WINDSHIELD GLASS 1 4
WINDSHIELD GLASS
STRUCTURAL VIEW
86U14X-110
1. Rear view mirror 4. Front pillar trim
2. Sunvisor 5. Wiper arm
3. Front header trim 6. Lower molding
Note
Use window tool set (49 0305 870A) to remove and install the glass.
7. Front windshield molding
8. Windshield glass
9. Spacer
14—47
Page 1599 of 1865
1 4 WINDSHIELD GLASS
REMOVAL
1. Remove the rearview mirror, sunvisors, front pillar
trim, and front header trim.
2. Remove the wiper arms and lower molding.
3. Remove the front window molding.
86U14X-111
Protective tape
Piano wire
Caution
Before removing the sealant, apply adhesive
tape to the body and instrument panel to pro-
tect them from damage.
86U14X-112
86U14X-113
4. Make a small hole through the sealant.
5. Pass the piano wire through the hole.
6. Wind each end of the wire around a bar.
7. Pull the wire to and fro, and saw through the seal-
ant around the edge of the glass. Then remove the
glass.
Caution
a) Use a long sawing action to spread the work
over the whole length of wire to prevent it
from breaking.
b) Be careful that the wire does not rub on the
body or instrument panel.
Note
If the glass is not to be reused, a tool like that
shown in the figure may be used.
Insert the blade in the sealant, and pull on the bars.
86U14X-114
14—48
Page 1601 of 1865

14 WINDSHIELD GLASS
Repair seal
Dam
_5 mm
.(0.19
11 mm
(0.43 in)
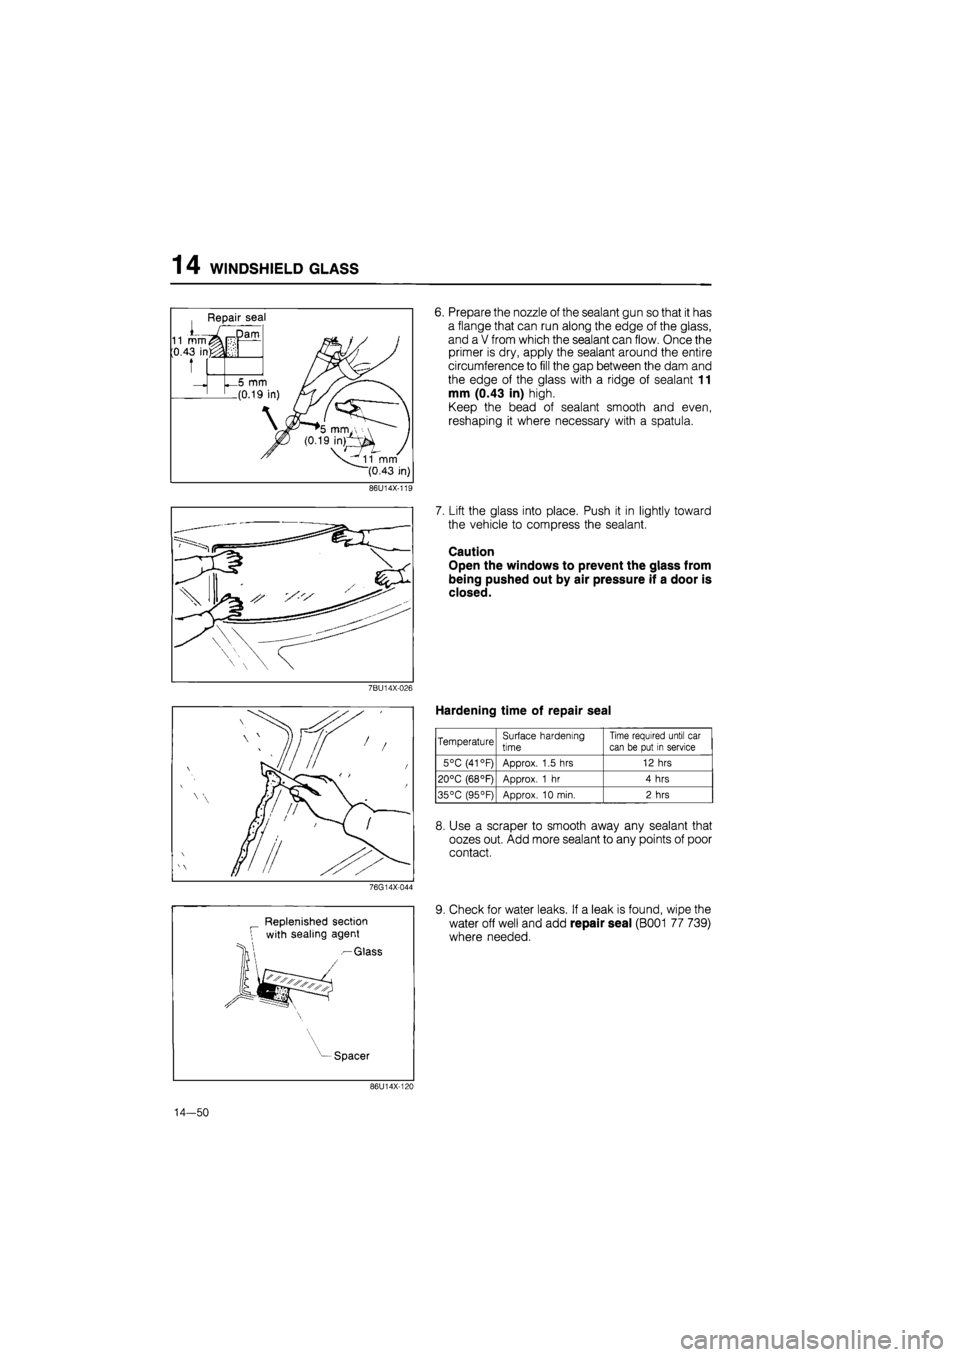
6. Prepare the nozzle of the sealant gun so that it has
a flange that can run along the edge of the glass,
and a V from which the sealant can flow. Once the
primer is dry, apply the sealant around the entire
circumference to fill the gap between the dam and
the edge of the glass with a ridge of sealant 11
mm (0.43 in) high.
Keep the bead of sealant smooth and even,
reshaping it where necessary with a spatula.
86U14X-11E
7BU14X-026
76G14X-044
Replenished section
with sealing agent
— Glass
7. Lift the glass into place. Push it in lightly toward
the vehicle to compress the sealant.
Caution
Open the windows to prevent the glass from
being pushed out by air pressure if a door is
closed.
Hardening time of repair seal
Temperature Surface hardening
time
Time required until car
can be put in service
5°C (41 °F) Approx. 1.5 hrs 12 hrs
20°C (68°F) Approx. 1 hr 4 hrs
35°C (95°F) Approx. 10 min. 2 hrs
8. Use a scraper to smooth away any sealant that
oozes out. Add more sealant to any points of poor
contact.
9. Check for water leaks. If a leak is found, wipe the
water off well and add repair seal (B001 77 739)
where needed.
Spacer
86U14X-120
14-50
Page 1602 of 1865
WINDSHIELD GLASS 1 4
10. Align the alignment mark of the molding with that
on the lap of the glass and push the molding into
place along the top.
Caution
a) Apply primer with a brush to the bonding
area of the molding, and allow it to dry for
approx. 30 minutes.
b) Use a new window molding
86U14X-121
11. Insert the molding ends into the flanges of the lower
molding. Then push it in the along sides.
76G14X-045
86U14X-123
13. Attach the front header trim, pillar trim, sunvisors,
and rearview mirror.
86U14X-124
14—51
Page 1603 of 1865
1 4 REAR WINDOW GLASS
REAR WINDOW GLASS
STRUCTURAL VIEW
Sedan
86U14X-125
1. Rear package tray 4. Rear window side molding 7. Rear window glass
2. Rear header trim 5. Rear window lower molding 8. Spacer
3. Rear pillar trim 6. Rear window upper 9. Seat belt bolts
molding
Note
Use window tool set (49 0305 870A) to remove and install the glass.
14-52
Page 1604 of 1865
REAR WINDOW GLASS 1 4
76G14X-046
1. Seat belt bolts
2. Rear side trim
3. Rear header trim
4. Rear pillar trim
5. Rear window side molding
6. Rear package tray
7. Rear window upper
molding
8. Rear window lower molding
9. Rear window glass
10. Spacer
11. Clips
14—53