1986 CHEVROLET CORVAIR stop start
[x] Cancel search: stop startPage 10 of 56
Downloaded from www.Manualslib.com manuals search engine OPERATING INSTRUCTIONS
I
YOUR CORVAIR'S FIRST FEW HUNDRED MILES OF DRIVING
Sound design and precision manufacturing methods
will permit you to operate your new Corvair without
adhering to a formal "break-in" schedule. However,
during the first few hundred miles of driving you can,
by observing a few simple precautions, odd to the future
performance and economy of your cor.
It is recommended that your speed during the first
500 miles be confined to a maximum of 60 MPH, but
do not drive for extended periods at anyone constant
speed,
either fast or slow. During this period, ovoid full
throttle starts and unnecessary, quick abrupt stops .
Gentle braking during the first few hundred miles of
operation will result in longer broke life and better
future performance. Avoid unnecessary, hard stops espe
cially during the first 200 miles of operation since broke
misuse during this period will destroy much future broke
efficiency.
Always drive at a moderate speed until the engine
has completely warmed up.
DRIVING FOR ECONOMY
Proper maintenance and wise operation will com
bine to help you achieve maximum fuel economy with
your Corvair. Your Authorized Chevrolet Dealer can
properly tune and maintain your car but wise operation
is your responsibility. Give the cor sufficient warm-up
time, do not make "Full Throttle" storts or unnecessary
severe stops,
and drive at reasonable speeds and as
steady as traffic permits to gain the benefits of all the
economy built into your Corvair.
CAUTION: Avoid inhaling exhaust gases especially in an enclosed area such as a garage. Exhaust gases
contain
a percentage of carbon monoxide which is a potentially lethal gas that, by itself, is tasteless, color
less, and odorless. The exhaust system should be inspected for proper mounting, leaks and missing or damaged
parts each time the vehicle is raised for lubrication or oil change service.
7
Page 13 of 56
Downloaded from www.Manualslib.com manuals search engine fully synchronized, may be downshifted into first
gear at any speed below 20 mph.
TO STOP-Release the accelerator and depress the
brake pedal. As car slows down, depress the clutch
pedal and move the gearshift lever into neutral.
NEUTRAL-For use when starting or idling engine.
REVERSE-Operate as for 1 st gear but always at a
slow speed.
CAUTION: When parking or leaving the car unattended,
even for a few minutes, remove the ignition key, place
the selector lever in first gear or reverse if manual trans
mission, and fully apply the parking brake.
DRIVING WITH THE POWERGLIDE TRANSMISSION
The optional Powerglide transmission is a completely
automatic transmission which replaces the standard clutch
and transmission. After starting the engine with the se
lector lever
in N (neutral) position, merely select the
range desired and depress the accelerator. The Power
glide
transmission will do the rest.
Automatic transmission shift
quadrants of all GM
cars continue the uniform sequence of selector positions.
This particularly benefits multicar families and those who
occasionally drive other cars. Shift indicators are ar
ranged as follows: "Reverse", "Neutral" and the forward
driving
ranges. All automatic transmissions are equipped
with a starter interlock system designed to permit start
ing the engine only when the transmission selector is in
the "Neutral" position. For additional engine braking
effect,
as sometimes needed in mountainous driving,
place the transmission in an intermediate or low range.
10
The dash-mounted driving range selector is equipped
with mechanical stops to prevent unintentional shifting
into reverse
and low ranges. Move lever to the left, to
override stop,
and continue shift for selection of reverse
or low ranges.
With
lever in 0 position the transmission starts in
automatic low gear and will shift to cruising gear at
some point between approximately 12 and 50 mph,
depending on the accelerator position. Thus, a slow start
with a steady, gradual increase of pressure on the accel
erator pedal will enable the transmission to shift into the
more economical cruising gear in the shortest possible
time. Hard acceleration for fast starts will cause the trans
mission to remain in low gear for a considerably longer
period.
When driving at speeds below 45 mph, the transmis-
Page 14 of 56
Downloaded from www.Manualslib.com manuals search engine sion may be shifted into low range for extra acceleration
for passing by depressing the
accelerator pedal fully. The
transmission
will automatically shift back into cruising
gear when the accelerator pedal is momentarily released.
CAUTION: It is important that the parking brake be fully engaged, in addition to removing the ignition key,
when your Corvair is parked or otherwise left unattended. The automatic transmission does not hold the car
regardless
of the position of the selector lever.
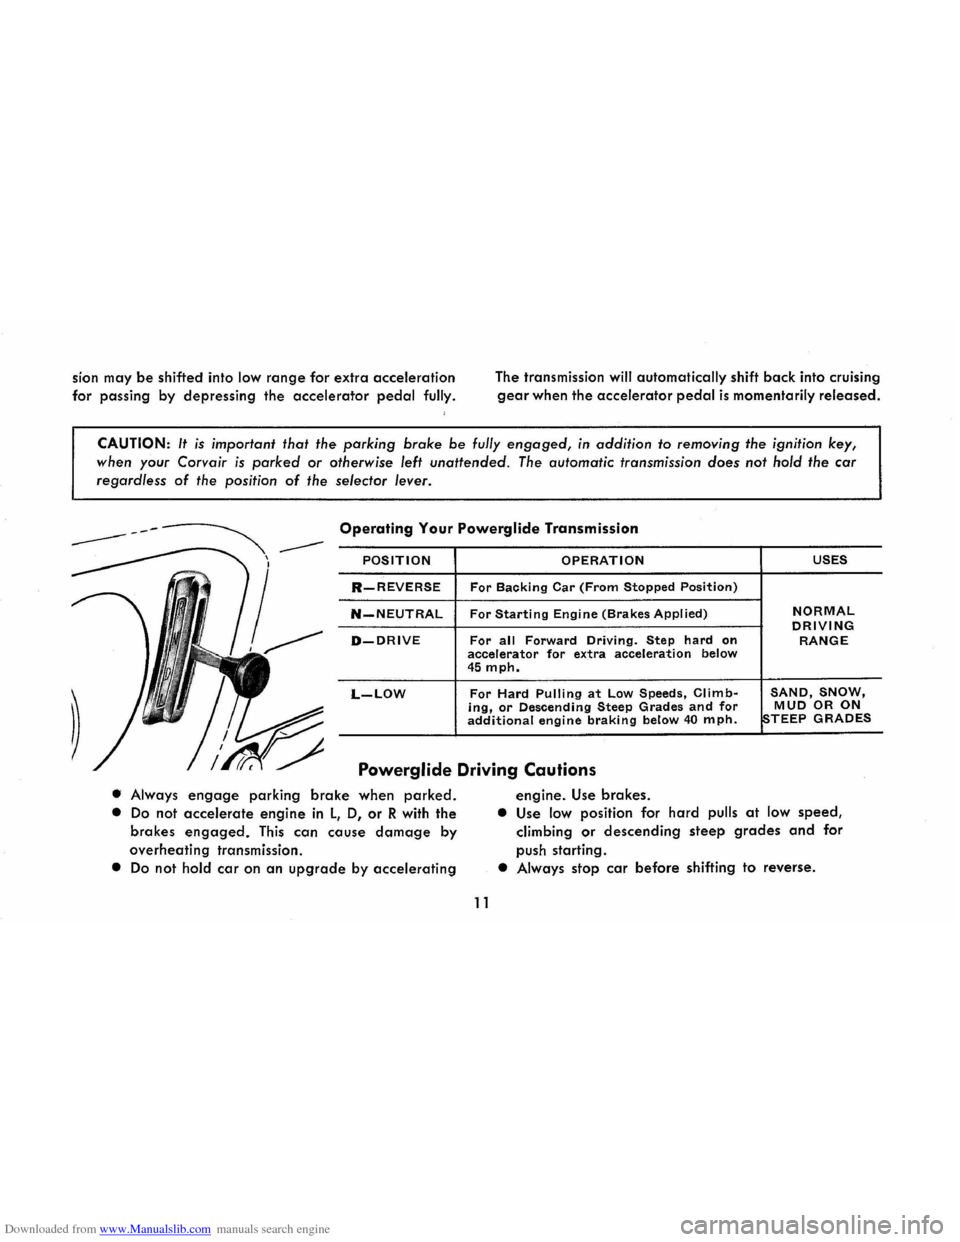
Operating Your Powerglide Transmission
POSITION OPERATION USES
R-REVERSE For Backing Car (From Stopped Position)
N-NEUTRAL For Starting Engine (Brakes Applied) NORMAL DRIVING D-DRIVE For all Forward Driving. Step hard on RANGE accelerator for extra acceleration below 45 mph.
L-LOW For Hard Pulling at Low Speeds, Climb-SAND, SNOW, ing, or Descending Steep Grades and for MUD OR ON additional engine braking below 40 mph. STEEP GRADES
Powerglide Driving Cautions
• Always engage parking brake when parked.
• Do not accelerate engine in l, 0, or R with the
brakes
engaged. This can cause damage by
overheating transmission.
• Do not hold car on an upgrade by accelerating
11
engine. Use brakes.
• Use low position for hard pulls at low speed,
climbing or descending steep grades and for
push starting.
• Always stop car before shifting to reverse.
Page 16 of 56
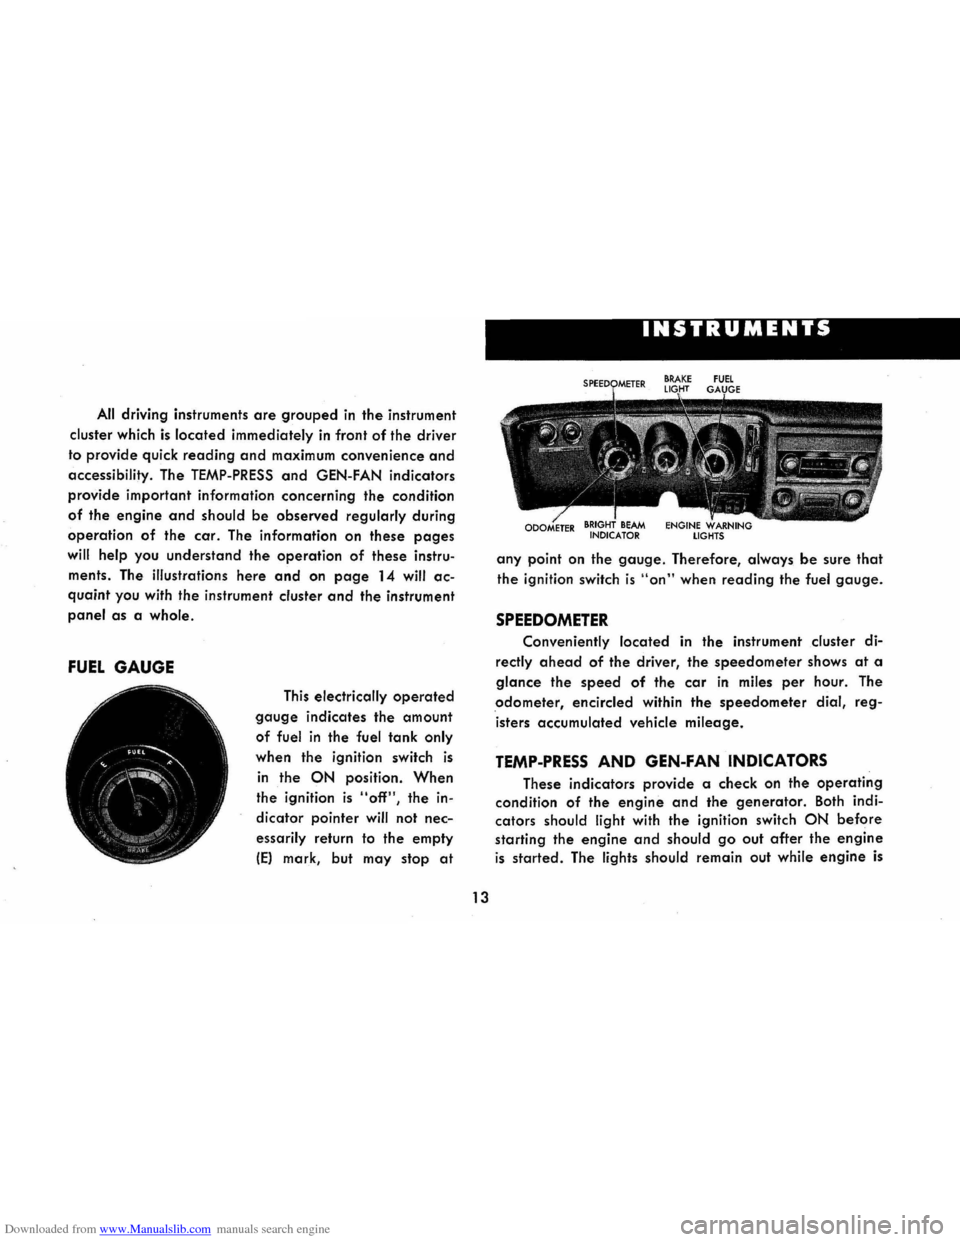
Downloaded from www.Manualslib.com manuals search engine All driving instruments are grouped in the instrument
cluster which
is located immediately in front of the driver
to provide quick
reading and maximum convenience and
accessibility. The TEMP-PRESS and GEN-FAN indicators
provide important information concerning the condition
of the engine and should be observed regularly during
operation of the car. The information on these pages
will help you understand the operation of these instru
ments . The illustrations
here and on page 14 will ac
quaint you with the instrument cluster and the instrument
panel as a whole.
FUEL GAUGE
This electrically operated
gauge indicates the amount
of fuel in the fuel tank only
when the ignition switch is
in the ON position. When
the ignition is "off", the in
dicator pointer
will not nec
essarily return to the empty
IE) mark, but may stop at
I
13
INSTRUMENTS
any point on the gauge. Therefore, always be sure that
the ignition switch is "on" when reading the fuel gauge.
SPEEDOMETER
Conveniently located in the instrument cluster di
rectly ahead of the driver, the speedometer shows at a
glance the speed of the car in miles per hour. The
odometer, encircled within the speedometer dial, reg
isters accumulated vehicle
mileage.
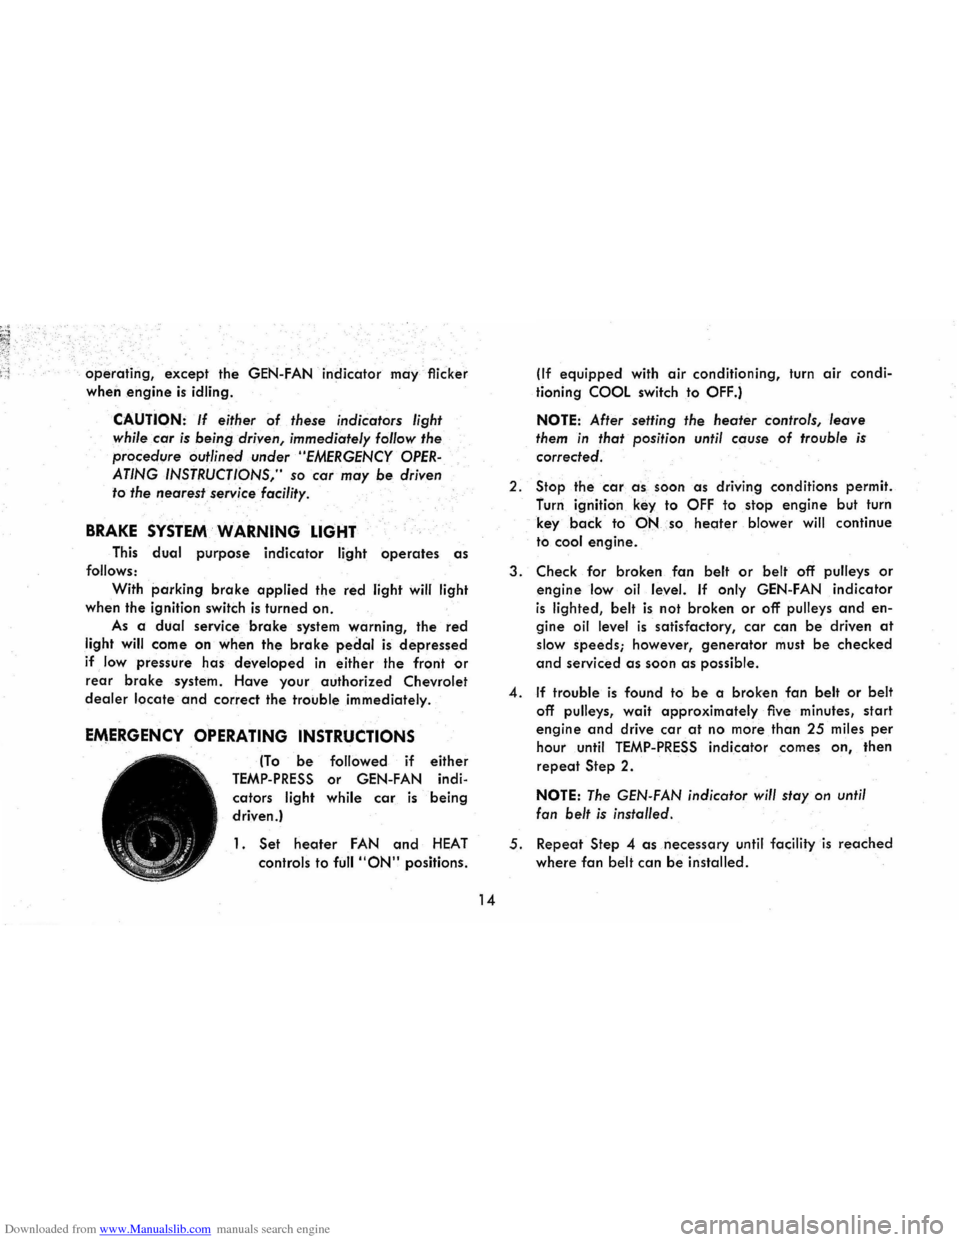
TEMP-PRESS AND GEN-FAN INDICATORS
These indicators provide a check on the operating
condition of the engine and the generator. Both indi
cators
should light with the ignition switch ON before
starting the engine and should go out after the engine
is started. The lights should remain out while engine is
Page 17 of 56
Downloaded from www.Manualslib.com manuals search engine operating, except the GEN-FAN indicator rna)' flicker
when
engine is idling.
CAUTION: If either of these indicators light
while .
car is being. -driYen, immediately follow the
procedure outlined .vnder "EMERGENCY OPER
ATING INSTRUCTIONS," so car may be driyen
to the nearest service facility.
BRAKE SYSTEM WARNING LIGHT
This dual purpose indicator light operates as
follows:
With parking brake applied the red light will light
when
the ignition switch is turned on.
As a dual service brake system warning, the red
light will come on when the brake pedal is depressed
if low pressure has developed in either the front or
rear brake system. Have your authorized Chevrolet
dealer locate and correct the trouble immediately.
EMERGENCY OPERATING INSTRUCTIONS
(To be followed if either
TEMP-PRESS or GEN-FAN indi
cators
light while car is being
driven.)
1. Set heoter FAN and HEAT
controls to full "ON" positions.
14
(If equipped with air conditioning, turn air condi
tioning
COOL switch to OFF.)
NOTE: After setting the heater controls, leave
them in that position until cause of trouble is
corrected.
2.
Stop the car a -s , soon as driving conditions permit.
furn ignition
key to OFF to stop engine but turn
key
back to·-PNso heoter blower will continue
to
cool engine.
3. Check for broken fan belt or belt off pulleys or
engine low oil level. If only GEN-FAN indicator
is lighted, belt is not broken or off pulleys and en
gine oil level is satisfactory, car can be driven at
slow speeds; however, generator must be checked
and serviced as soon as possible.
4. If trouble is found to be a broken fan belt or belt
off pulleys, wait approximately five minutes, start
engine and drive car at no more than 25 miles per
hour until TEMP-PRESS indicator comes on, then
repeat Step 2.
NOTE: The GEN-FAN indicator will stay on until
fan
belt is installed.
5. Repeat Step 4 as necessary until facility is reached
where fan belt can be installed.
Page 36 of 56
Downloaded from www.Manualslib.com manuals search engine ENGINE OIL REQUIREMENTS
Engine Oil Recommendations
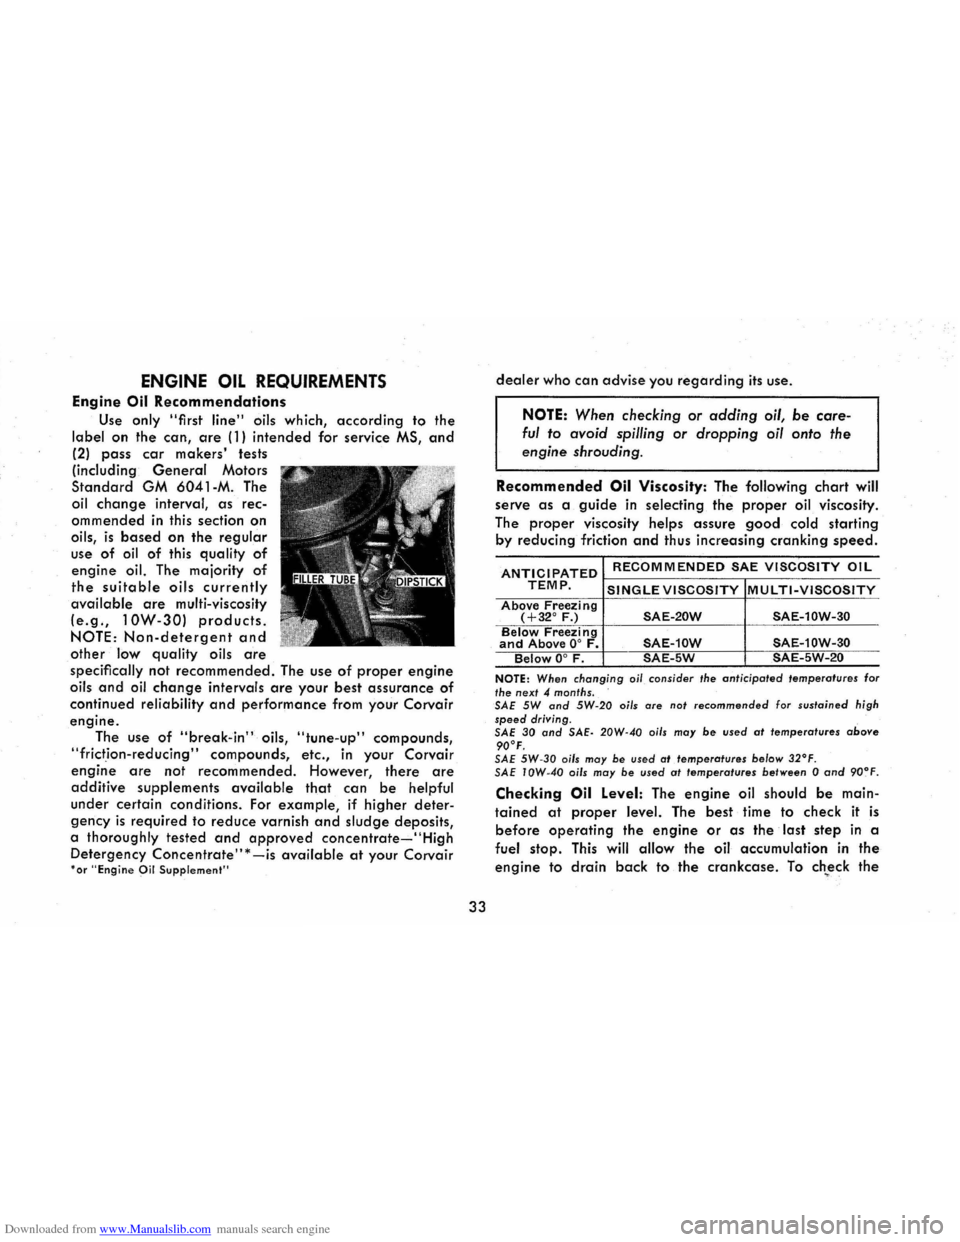
Use only "first line" oils which, according to the
label on the can, are (1) intended for service MS, and
(2) pass car makers' tests
(including
General Motors
Standard GM 6041-M. The
oil
change interval, as rec
ommended in this section on
oils,
is based on the regular
use of oil of this quality of
engine oil. The majority of
the suitable oils currently
available are multi-viscosity
(e.g., 10W-30) products.
NOTE: Non-detergent and
other low quality oils are
specifically not recommended. The use of proper engine
oils and oil change intervals are your best assurance of
continued reliability and performance from your Corvair
engine.
The use of "break-in" oils, "tune-up" compounds,
"frictIon-reducing" compounds, etc., in your Corvair
engine are not recommended. However, there are
additive supplements available that can be helpful
under certain conditIons. For example, if higher deter
gency is required to reduce varnish and sludge deposits,
a thoroughly tested
and approved concentrate-"High
Detergency Concentrate" * -is available at your Corvair 'or "Engine Oil Supplement"'
33
dealer who can advise you regarding its use.
NOTE: When checking or adding oil, be care
ful to avoid spilling or dropping oil onto the
engine shrouding .
Recommended Oil Viscosity: The following chart will
serve
as a guide in selecting the proper oil viscosity.
The
proper viscosity helps assure good cold starting
by reducing friction and thus increasing cranking speed.
ANTICIPATED RECOMMENDED SAE VISCOSITY OIL
TEMP. SINGLE VISCOSITY MULTI-VISCOSITY Above Freezing (+32° F.) SAE-20W SAE-10W-30 Below Freezing and Above 0° F. SAE-10W SAE-10W-30 Below 0° F. SAE-5W SAE-5W-20
NOTE: When changing oi/ consider the anticipoted temperatures for the next 4 months.
SAE 5W and 5W·20 oils are not recommended for sustained high speed driving.
SAE 30 and SAE· 20W-40 oils may be used at temperatures above 90°F. SAE 5W-30 oils may be used at temperatures be/ow 32°F . SAE IOW-40 oils may be used at temperatures between 0 and 90~F.
Checking Oil Level: The engine oil should be main
tained at proper level. The best time to check it is
before operating the engine or as the last step in a
fuel stop.
This will allow the oil accumulation in the
engine to drain back to the crankcase. To ch~eck the