Page 483 of 885

FRONT AXLE AND SUSPENSION - Front Wheel AlignmentFA-3
FRONT WHEEL ALIGNMENT
1. MAKE FOLLOWING CHECKS AND CORRECT ANY
PROBLEMS
(d Check the tires for wear and proper inflation.
Cold tire inflation pressure kg/cm2(psi, kPa)
Tire sizeFront and Rear
FWD
145 SR 13
3A-C 4-speed M/T
Others
2.2 (32.220l.
2.O Q8,2001
155 SR 131.8(26. 180)
165 SR131 .8 (26, 180)
4WD155 SR 132.O Q8,2001
175 SR 131 .8 (26. 180)
(b) Check the front wheel bearings for looseness.
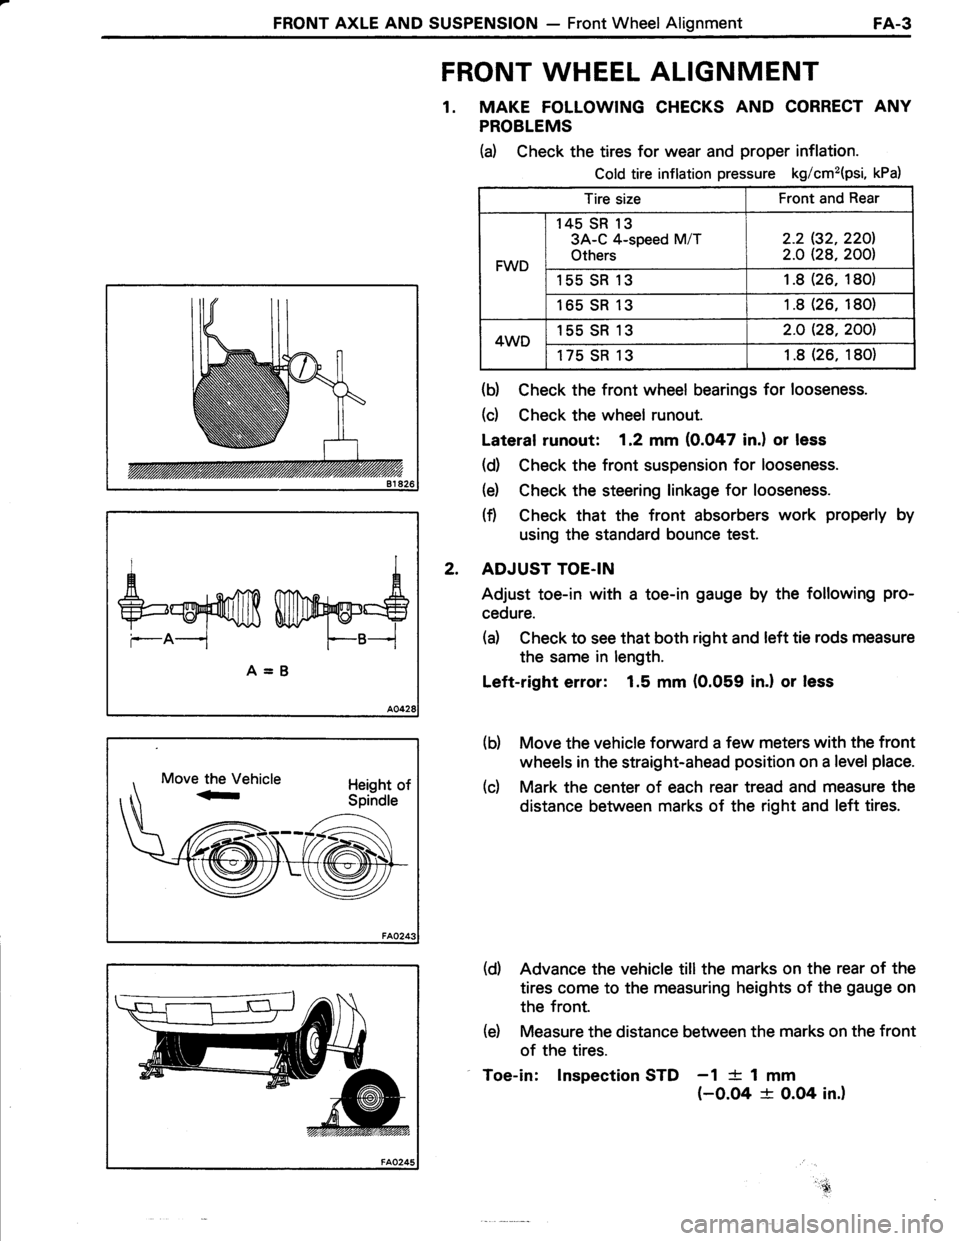
(d Check the wheel runout.
Lateral runout: 1.2 mm (0.047 in.) or less
(d) Check the front suspension for looseness.
(e) Check the steering linkage for looseness.
(f) Check that the front absorbers work properly by
using the standard bounce test.
ADJUST TOE.IN
Adjust toe-in with a toe-in gauge by the following pro-
cedure.
(d Check to see that both right and left tie rods measure
the same in length.
Left-right error: 1.5 mm (0.059 in.l or less
Move the vehicle forward a few meters with the front
wheels in the straight-ahead position on a level place.
Mark the center of each rear tread and measure the
distance between marks of the right and left tires.
(d) Advance the vehicle till the marks on the rear of the
tires come to the measuring heights of the gauge on
the front.
(e) Measure the distance between the marks on the front
of the tires.
Toe-in: lnspection STD -1 {- 1 mm(-0.O4 + O.O4 in.)
AA
+=ruf,ffi Wry@=S
--A-- F--B--i
A=B
2.
(b)
(c)
!,.-!'ru,
Page 511 of 885

REAR AXLE AND SUSPENSION - Rear Wheel Alignment(FwD)RA.3
REAR WHEEL ALIGNMENT (FWD}
1. MAKE FOLLOWING CHECKS AND CORRECT ANY
PROBLEM
(d Check the tires for wear and proper inflation.
(See page FA-3)
(b) Check the rear wheel bearings for looseness.
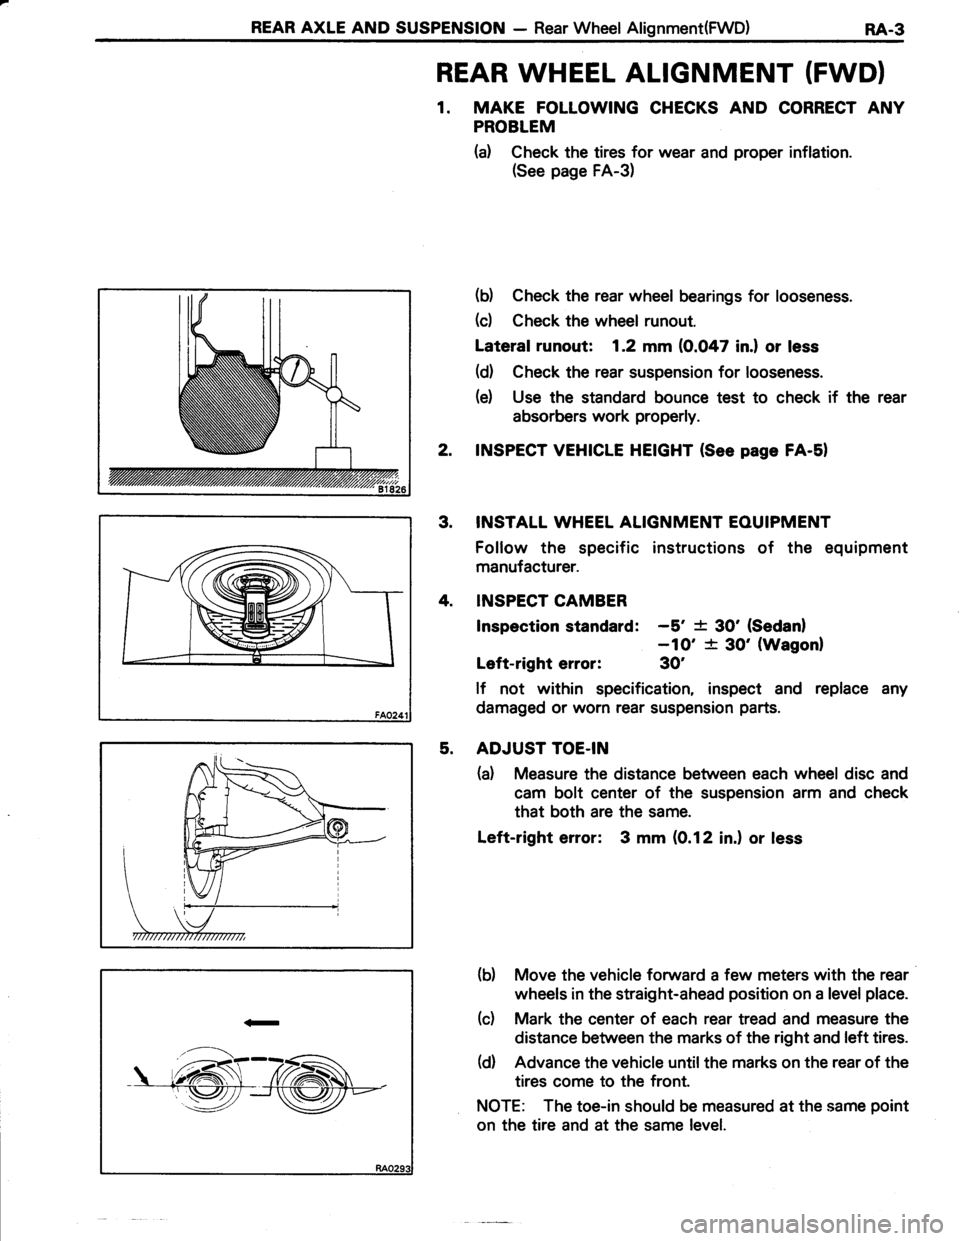
(c) Check the wheel runout.
Lateral runout: 1.2 mm {0.047 in.l or less
(d) Check the rear suspension for looseness.
(e) Use the standard bounce test to check if the rear
absorbers work properly.
2. INSPECT VEHICLE HETGHT (See pase FA-51
INSTALL WHEEL ALIGNMENT EOUIPMENT
Follow the specific instructions of the equipment
manufacturer.
INSPECT CAMBER
Inspection standard: -5' t 3O' (Sedanl
-10' t 3O'(Wagonl
Left-right error: 30'
lf not within specification, inspect and replace any
damaged or worn rear suspension parts.
ADJUST TOE-IN
(a) Measure the distance between each wheel disc and
cam bolt center of the suspension arm and check
that both are the same.
Left-right error: 3 mm (0.12 in.) or less
(b) Move the vehicle forward a few meters with the rear
wheels in the straight-ahead position on a level place.
(c) Mark the center of each rear tread and measure the
distance between the marks of the right and left tires.
(d) Advance the vehicle until the marks on the rear of the
tires come to the front.
NOTE: The toe-in should be measured at the same point
on the tire and at the same level.
3.
5.
Page 543 of 885

REAR AXIE AND SUSPENSION - Differential (4WD)RA-35
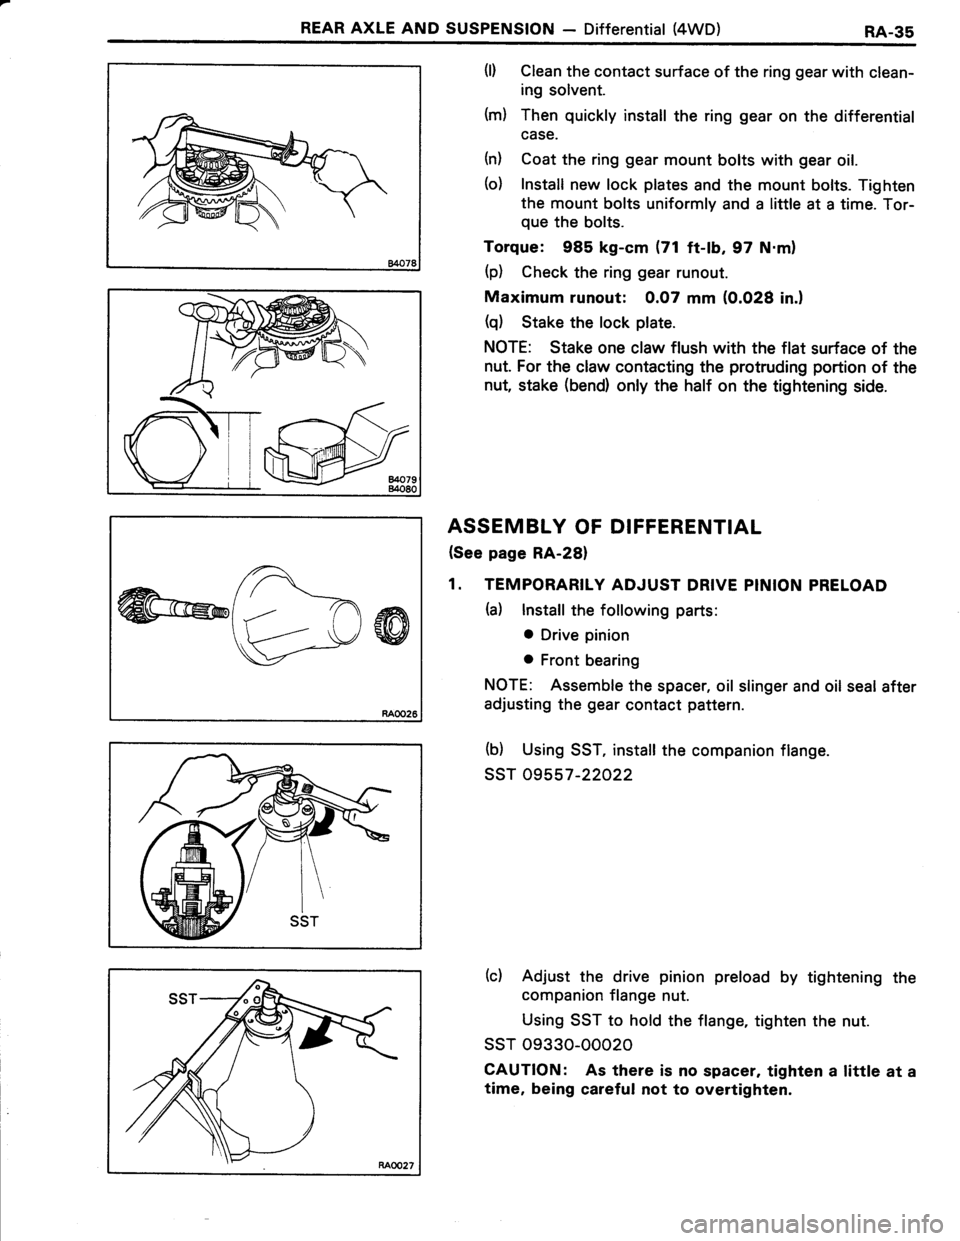
(l) Clean the contact surface of the ring gear with clean-
ing solvent.
(m) Then quickly install the ring gear on the differential
case.
(n) Coat the ring gear mount bolts with gear oil.
(o) Install new lock plates and the mount bolts. Tighten
the mount bolts uniformly and a little at a time. Tor-
que the bolts.
Torque: 985 kg-cm (71 ft-lb, 97 N.m)
(p) Check the ring gear runout.
Maximum runout: 0.07 mm (0.028 in.)
(q) Stake the lock plate.
NOTE: Stake one claw flush with the flat surface of the
nut. For the claw contacting the protruding portion of the
nut, stake (bend) only the half on the tightening side.
ASSEMBLY OF DIFFERENTIAL
(See page RA-28)
1. TEMPORARILY ADJUST DRIVE PINION PRELOAD
(a) lnstall the following parts:
o Drive pinion
o Front bearing
NOTE: Assemble the spacer, oil slinger and oil seal after
adjusting the gear contact pattern.
(b) Using SST, install the companion flange.
ssT 09557-22022
(c) Adjust the drive pinion preload by tightening the
companion flange nut.
Using SST to hold the flange, tighten the nut.
ssT 09330-00020
CAUTION: As there is no spacer, taghten a little at a
time, being careful not to overtighten.