1976 CHEVROLET MONTE CARLO ignition switch
[x] Cancel search: ignition switchPage 3 of 102

Downloaded from www.Manualslib.com manuals search engine ,
BEFORE DRIVING YOUR CHEVROLET
DRIVER CHECKLIST
Before Entering Car
1. See that windows ; mirrors and
lights are clean.
2. Visually note inJIation condition
of tires.
3. Check that area to rear is clear
if about to back up.
Before Driving Off
1. Lock all doors.
2. Position seat, jmd adjust head
restraints, if
so ¢quipped.
3. Adjus!insidean'd outside mirrors.
4. Fasten seat belts.
5. Check that warning bulbs light
when key
is turned to start
position. .
6. Release parking brake ( and see
that brake warning light turns
off). ,
7. Be sure you understand your car
and how
to 'operate it safely.
Keys
Two separate keys are provided
for your car. Each key has a
differ
ent cross section so that it can be
inserted only in certain locks.
• Key with s qua r e hell d
(stamped "e") -for ignition
switch only.
• Key with oval head (stamped
"O")-for all other locks.
,
The code number of each key is
All OTHeR LOCKS
1-1
stamped on the "knock out" plug
in the '
key-bead. Your Chevrolet
dealer removed these plugs
and,.
placed them with the spare set of
keys in the special key envelope
. that was given to you at time of
delivery.
For your protection:
• Record the numbers on the key
envdope and discard the key
plugs.
• Keep the key envelope in a safe
place such
as YOII! wallet, NOT
IN THE CAR.
In the event
the original keys are
lost,
dl!plicates can be made by
your dealer or a locksmith using the
key code information.
Be sure to lock the Klove box
or console
90mpartment and re~
move the key from the car whenever
it is necessary to leave the ignition
key with
an attendant.
Page 5 of 102

Downloaded from www.Manualslib.com manuals search engine Front Seat Back ... ~'""\ ..
Front seat backs on two-door
styles are equipped with a self-lock
ing mechanism to
.• keep the seat
back locked in
phlge while in the
up position. The lock release lever
is located on the upper outboard
portion of the
s~at back.
To tilt the
sell,t back forward,
rotate the levertearward and tilt
the seat back
f?rward. When the
seat back
is r¢turned to the up
position,
• the se~t back will auto
matically 'lock.
Keep
belt re~traints.and buckles
clear of mechanism when tilting
folding seats
forward or backwards,
to help prevent damage
to these
belt systems.
Power Operated Front Seats
The six-way power seat control switch
is located
on the driver's seat
left side panel.
The seat can be operated
as
follows:
I. The front control provides up
and down movement of the
frontof the seat.
2. The center control provides
forward and backward move
ment and up and down move
ment of the entire front seat.
3. The provides up
and of the
Power Windows ,
Power windows have an ignition
interlock
so the windows cannot be
operated unless the ignition switch
is in the "on" position.
1-3
REMINDER: Remove the ignition
key when the vehicle
is not at
tended by a responsible person. A
master control for all windows
is
provided at the driver's position,
Individual switches are provided
under each window for passenger
use.
Inside Rearview Mirrors
Switch mirror to night position
to reduce glare from following
headlights. To raise or lower
mir
ror to achieve desired field of.view,
grasp mirror and exert sufficient
pressure by pushing or pulling up,
down or sideways.
Page 17 of 102

Downloaded from www.Manualslib.com manuals search engine f l
Starting the Engine
Automatic TransmISSion
Models
1. Apply the parking brake.
2. Place transmission selector
in uP" or f~Nn (UP" pre
ferred).
A .starter safety switch prevents
starter
operati on while the trans"
mission selector is in any drive
position.
(Iii! is necessary to
re-start the engine with the car .
moving , place the selector lever
in uN".)
3. Depress accelerator pedal and
acti vate starter
as outlined be
low for di1Ierent conditions .
IMPORTANT: ·00 not keep
the starter engaged for more
than
15 seconds at a time. Wait
1 0 or 15 seconds before trying
again.
• Cold Engine ~ Fully depress
. accelerator pedal and slowly
release .
With foot aU the
pedal,
crank the engine by
turning the ignition
key to the
Start
position -release when
engine starts.
If engine starts, bu t fails to
run,
repeat this procedure.
When engine is running
smoothly (approximately 30
seconds), the idle speed may
be reduced by slightly de
pressing the accel erator pedal
and then slowly releasing.
• Warm Engine-Depress ac
celerator pedal about halfway
and hold while cranking the
engine.
2-3
• Extremely Cold Weather
(Below
0 ° F.) (-18° C.) Or
After Car Has Been Stand
ing Idle Several Days
FuUy depress and release ac
celerator pedal two or three
times before cranking ' the
en
gine. With foot aU the .·accel
erator pedal, crank the engine
by turning the key to the
Start
position and relea se when en
gine starts.
Engine Flooded
Depress accelerator pedal and
hold
to floor while starting until en
gine is cleared of excess fuel and is
running smoothly . Never "pump"
the accelerator peda\. .
Warm-Up
Always let the engine idle for 20
to 30 seconds after starting and
drive at moderate speeds for
sev
eral miles, especially during cold
weather .
Page 19 of 102

Downloaded from www.Manualslib.com manuals search engine Turn Signals and Lane
Change Feature
The tum signal lever is located on
·the l eft side of the steering column
immediately under the steering
wheel. The lever is moved upward
to signal a right tum and down·
ward to signal a left tum. Lamps
on the front and rear of the car
transmit this signal to other motor
ists and pedestrians. The ignition
P PARK R REVERSE N - NEUTRAL
D DRIVE
TURBO HYDRA·MATIC
Use only when vehicle is stopped . For backing vehicle from stop. For standing (Brakes Applied), For forward driving.
Depress accelerator to floor for extra acceleration below 65 mph; depress accelerator half-way at speeds below 30 mph. For driving in hea.vy traffic or on hilly terrain. Shift Into l2 at any veh icle
speed. The transmiss ion will shift into second gear and remain in sec ond until the vehicle speed or throttle are reduced to obtain first gear operation in the same -manner 85 in 0 r a n ge. ~ range posit ion prevents the
transmiss ion from shifti ns to 3rd gear.
For hard pulling through sand, snow or mud, and for climbing or descending steep /lrades. Shift in~o LI at any vehicle speed. Depending upon the axle ratio of the v. ehicte the transmission will shift to sec~nd gear at any
speed above approximately 40 mph and will shift to 1st \gear 2IS speed is reduced below 40. II range position pr~vents the transm iss ion from shifting out of first. gear.
2-5
switch must be in the "ON" posi
tion in order for the turn signals to
be operational. This feature pre
vents battery drain if the lever is left
in an
"ON" position when your car
is not in use.
In a normal turning situation
such
as turning a comer , the turn
signal
is canceled automatically
after the
tum is completed. How
ever, in some driving maneuvers
Page 25 of 102

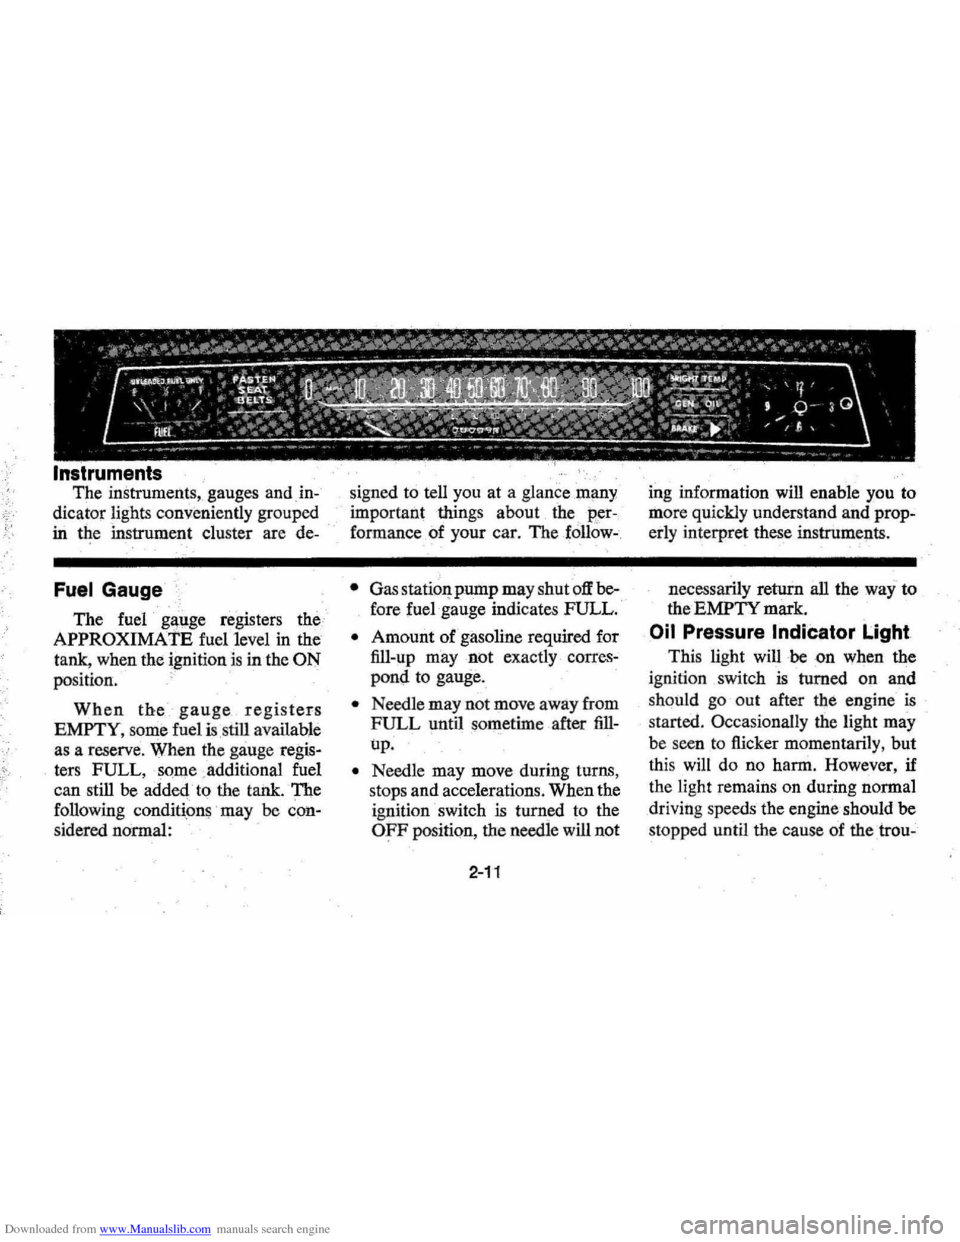
Downloaded from www.Manualslib.com manuals search engine The instruments, gauges and. in
dicator lights conveniently grouped
in the instrument cluster are de-
Fuel Gauge
The fuel g!fllge registers the
APPROXIMATE fuellevel in the
tank , when the ignition
is in the ON
po sition .
When the gauge registers
EMPTY, some fuel is.s till available
as a reserve. When the gauge
regis
ters FULL, sOme .. additional fuel
can still be added to the tank. The
following conditions may
be con
sidered normal: signed
to tell you at a glan ce many
important things about ihe
per
formanceof your car. The follow- .
•
G as station pump may shut off be
fore fuel gauge indicates FULL.
o Amount of gasoline required for
fill-up may not exactly
corres
pond to gauge.
o Needle may not move away from
FULL until sometime after fill
up.
o Needle may move during turns,
stops and accelerations. When the
ignition switch is turned to the
OFF position , the needle will not
2-11
ing information will enable you to
mor e quickly understand and
prop
erly interpret these instrume!lts.
necessarily return all the way
to
the EMPTY mark.
Oil Pressure Indicator Light
This light will be on when the
ignition switch
is turned on and
s hould go out after the engine
is
started . Occasionally the light may
be seen to flicker momentarily , but
this will do no harm. However,
if
the light remains on during normal
drivin g speeds the engine should
be
stopped until the cause of the trou-
Page 26 of 102

Downloaded from www.Manualslib.com manuals search engine ble'can be located and corrected .
. Driying the car with low oil pillS'
sure can:cause · serious ' engine
damage.
Genera~orlndicator Light
The red light will go on when
the
ignition key is in the "on " posi,
tion, b~f before the engine is
started.'J\fter the engine starts, the
light .
sho'uld go out and remain out.
If the Hght remains on when engine
is runlling, have your Authorized
Chevrolet Dealer locate and cor,
reCI the trouble as soon as possible,
Engine Temperature
Indicator Light
, This indicator light is provided
in the instrument cluster to quickly
warn
of an overheated engine. With
the ignition switch in the
5T AR T
position, the red TEMP indicator
will light to let you know that it is
operating properly. When
the engine
is started , the
red light will go out immediately,
It will light up at no other time
unless for some reason the engine
.
reaches a dangerously high oper,
atingtemperature. If the light
comes on during
extreme driving
conditions, such
as an extended
idle, turn
off the air conditioner (if
used }.and run the engine slightly
faster than
idle. speed with the
transmission in neutral gear .
If the
light does not go
off within a short
period of time
(F2 minutes), then
tum the engine off until the cause
of the.
overheating is corrected;
Glance at the
Ins.trument cluster
frequently as you drive to see if
this light
is on. '
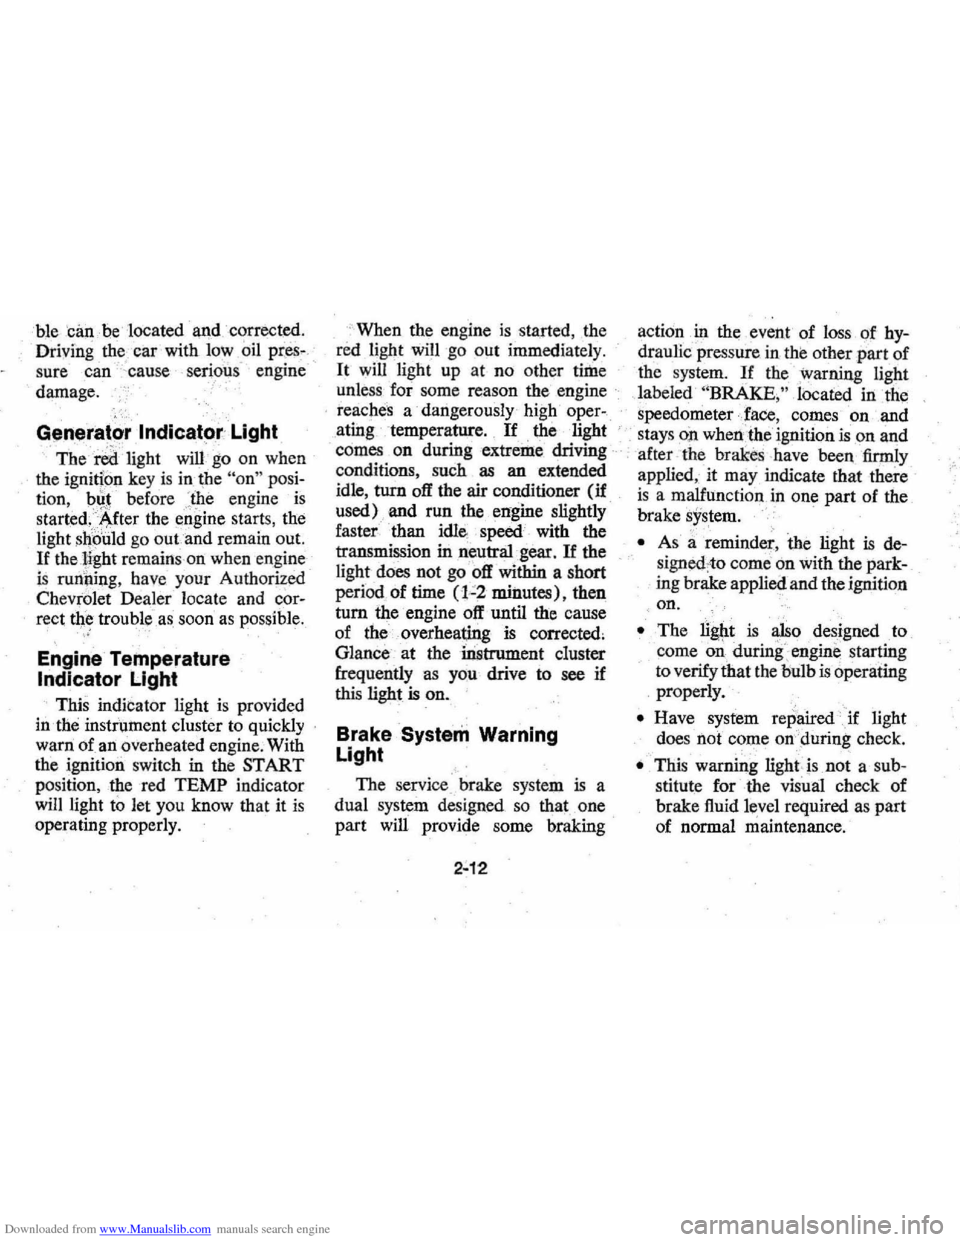
Brake System Warning
Light
.
The service .. brake system is a
dual system designed
so that. one
part will provide some braking
2-12
action in the event of loss of hy'
draulic pressure in the other part of
the system.
If the ,warning light
labeled
"BRAKE," located in the
speedometer face, comes on .and
stays on when the ignition
is on and
'after · the brakes have been firmly
applied, it may indicate that
there
is a malfunction in one part of the
brake system.
'
•
As ~ reminde;, the light is de,
signed:to
come on with the park,
ing brake applied and the ignition
on.
• The light is also designed to
come on, during ;engine starting
to verify that the bulb is operating
. properly.
• Have system repaired '. if light
does not come
on' during check.
• This warning light, is not a sub
stitute for the visual check of
brake fluid level required
as part
of normal maintenance.
Page 32 of 102

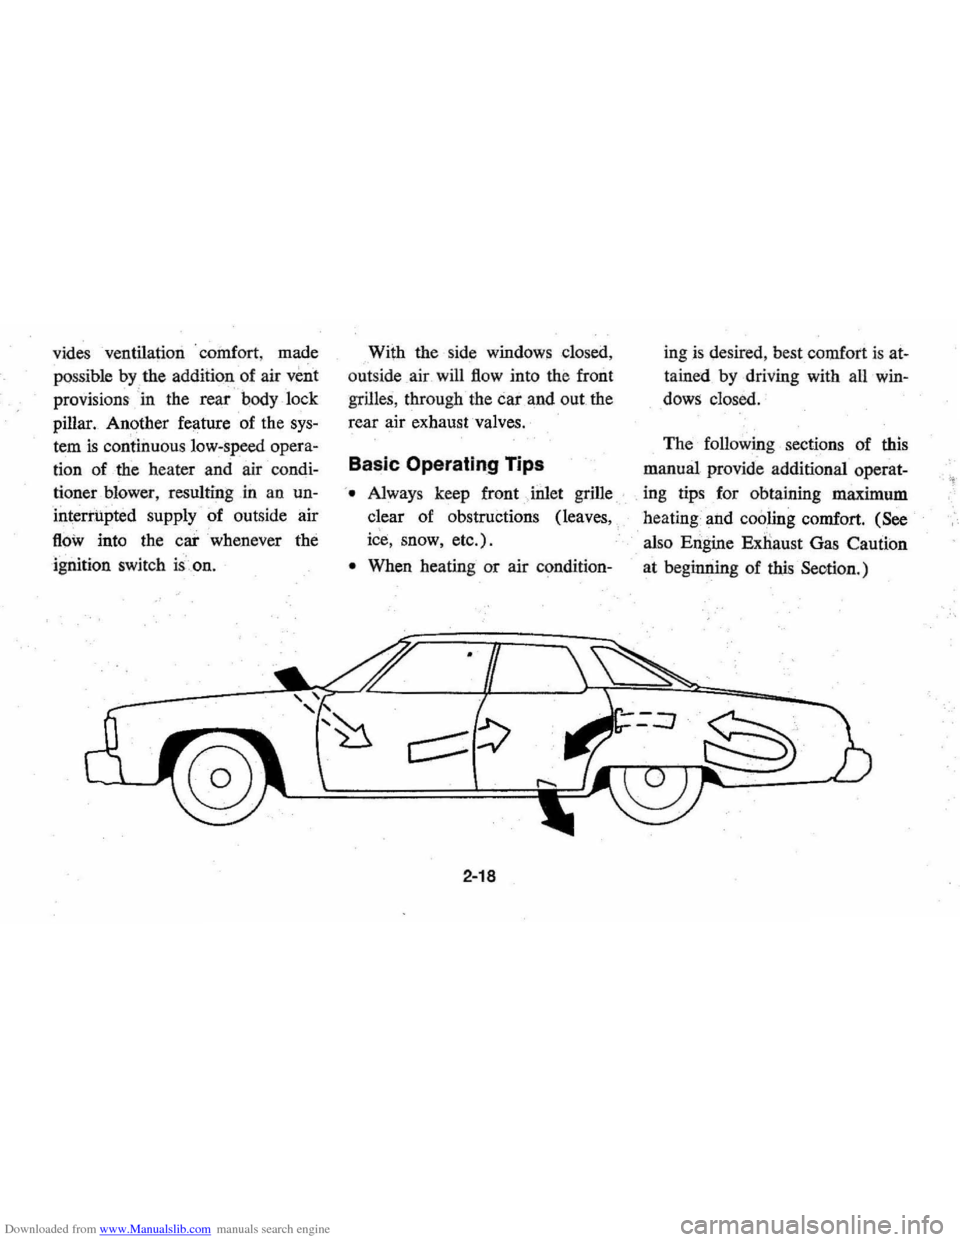
Downloaded from www.Manualslib.com manuals search engine vides ventilation . coillfort , made
possible
by the additionaf air veilt
provisions ' in the rear 1:>ody lock
pillar. Another feature of the
sys
tem is continuous low:speed opera
tion of the heater and air condi
tioner blower , resulting in an un
interrupted
supply of outside air
flOw into the car whenever the
ignition switch is.on. With
the side windows closed,
out side air will
flow into the front
grilles, through the car and out the
rear air exhaust valves.
Basic Operating Tips
'. Always keep front Jnlet grille
clear of obstructions (leaves,
ice, snow, etc.).
• When heating or air condition-
2-18
ingis desired , best comfort is at
tained by driving with all win
dows closed.
The following sections of this
manual provide additional operat-
. ing tips for obtaining maximum
heating and
cooling comfort. (See
also Engine Exnaust Gas Caution
at beginning of
this Seotion.)
Page 33 of 102

Downloaded from www.Manualslib.com manuals search engine Heater
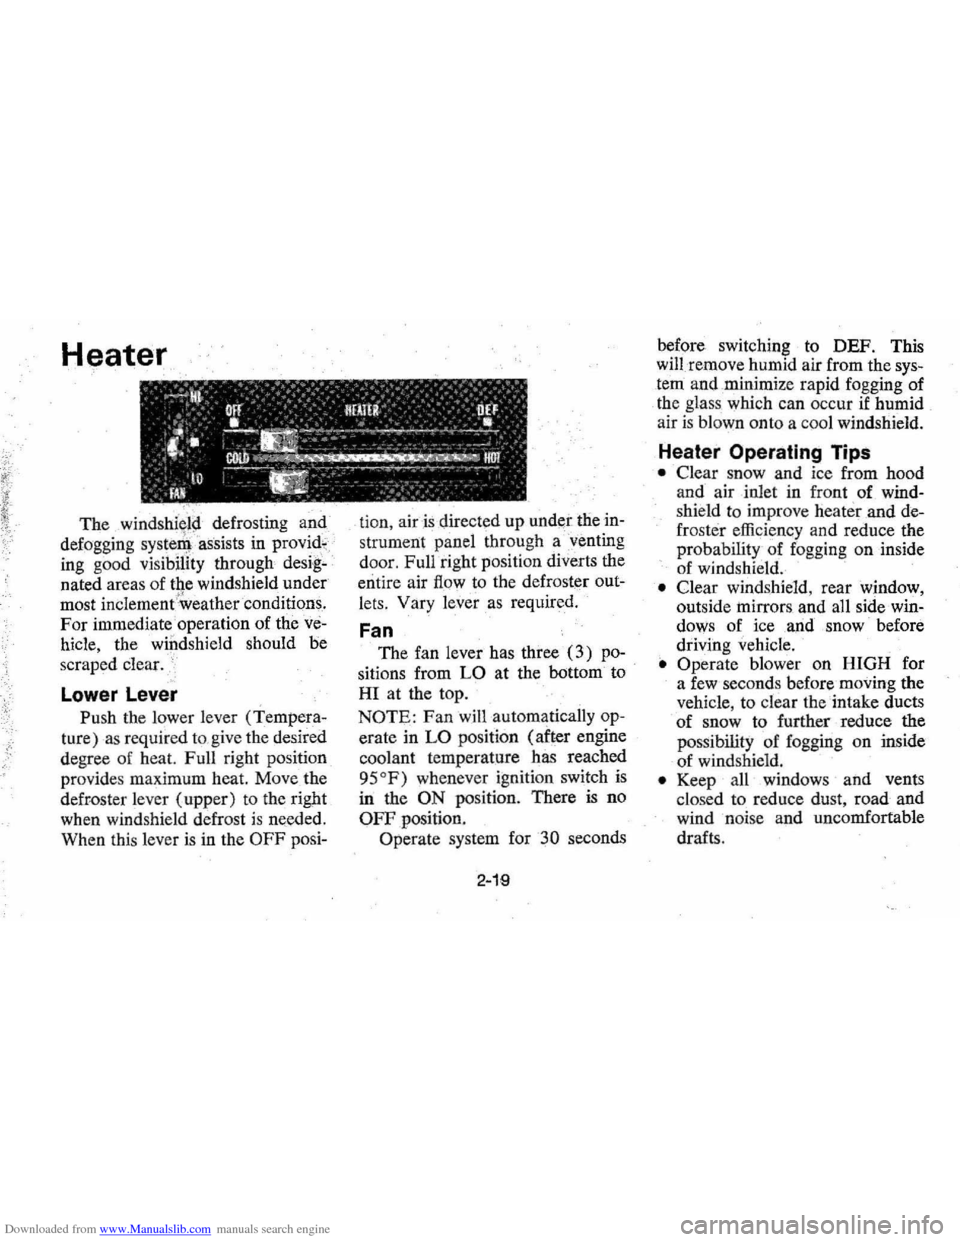
The defrosting and
defogging
systenl assists in provid,
ing good visibility through desig
nated areas of the windshield under
most
inClement'Weather conditions.
For immediate operation of the ve
hicle, the windshield should be
scraped clear.
'
Lower Lever
Push the lower lever (Tempera
ture) as required to,give the desired
degree of heat. Full right position
provides maximum heat.
Move the
defroster lever (upper) to the right
when windshield defrost
is needed.
When this lever
is in the OFF posi- tion,
air is directed
up under the in
strument panel through a'venting
door, Full right position diverts the
entire air
flow to the defroster out
lets, Vary
lever as required.
Fan
The fan lever has three (3) po
sitions from LO at the bottom to
HI at the top.
NOTE: Fan will automatically op
erate in LO position (after engine
coolant temperature has reached
95
OF) whenever ignition switch is
in the ON position. There is no
OFF position.
Operate system for
30 seconds
2-19
before switching to DEF. This
will remove humid air from the
sys
tem and ,minimize rapid fogging of
the glass which can occur
if humid
air is blown onto a coo l windshield.
Heater Operating Tips
• Clear snow and ice from hood
and air inlet in front
of wind
shie ld to improve heater and de
frost er efficiency and reduce the
probability of fogging on inside
of windshield.
• Clear windshield, rear window,
outside
mirrors , and all side win
dows of ice ,and snow before
driving vehicle.
• Operate blower on HIGH for
a few seconds before moving the
vehicle, to clear the intake ducts
of snow to further reduce the
pos sibili
ty of fogging on inside
of windshield.
• Keep all windows and vents
clo sed to reduce dust, road and
wind noise and uncomfortable
drafts .