1976 CHEVROLET MONTE CARLO coolant
[x] Cancel search: coolantPage 33 of 102
Downloaded from www.Manualslib.com manuals search engine Heater
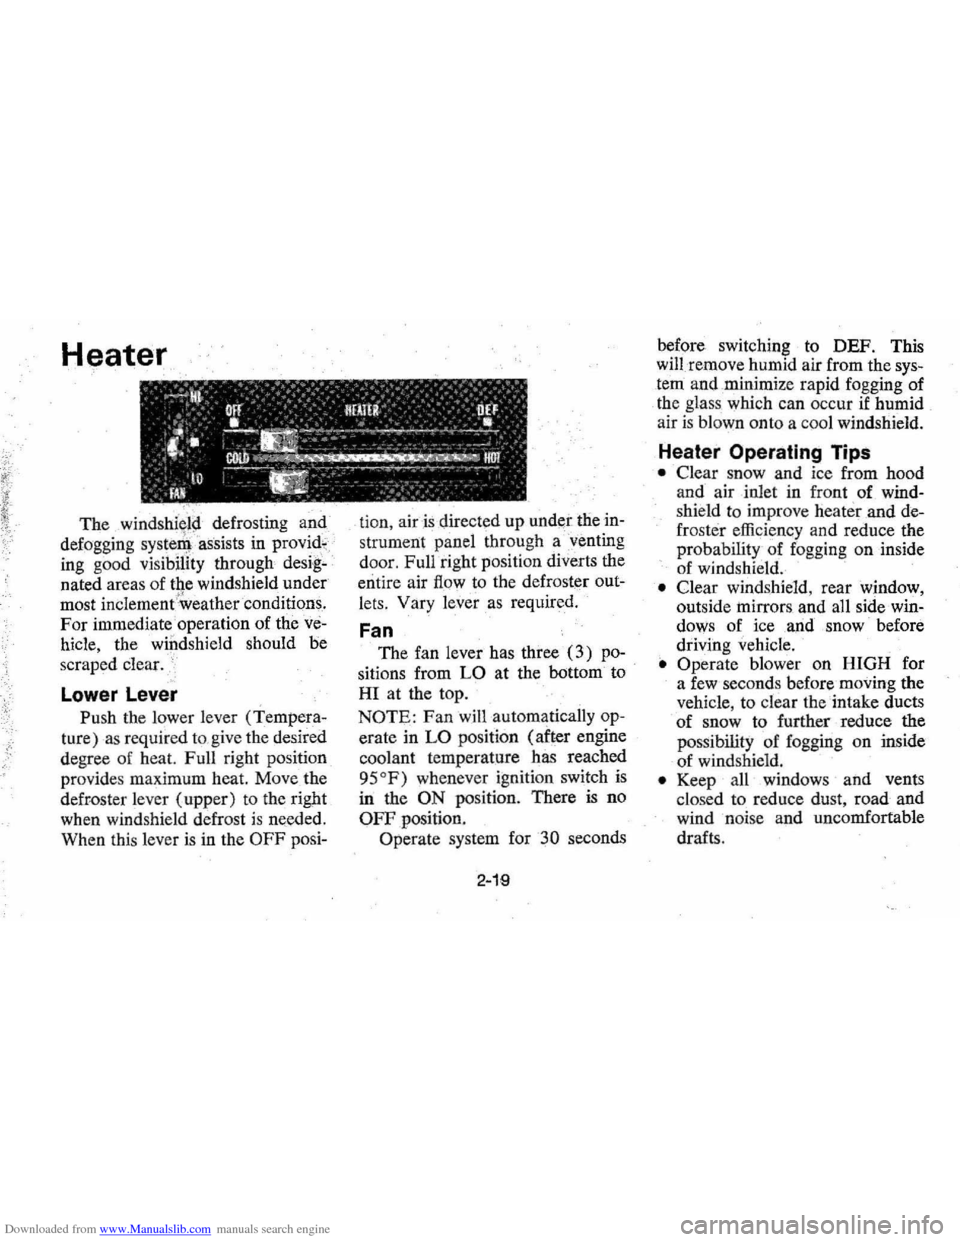
The defrosting and
defogging
systenl assists in provid,
ing good visibility through desig
nated areas of the windshield under
most
inClement'Weather conditions.
For immediate operation of the ve
hicle, the windshield should be
scraped clear.
'
Lower Lever
Push the lower lever (Tempera
ture) as required to,give the desired
degree of heat. Full right position
provides maximum heat.
Move the
defroster lever (upper) to the right
when windshield defrost
is needed.
When this lever
is in the OFF posi- tion,
air is directed
up under the in
strument panel through a'venting
door, Full right position diverts the
entire air
flow to the defroster out
lets, Vary
lever as required.
Fan
The fan lever has three (3) po
sitions from LO at the bottom to
HI at the top.
NOTE: Fan will automatically op
erate in LO position (after engine
coolant temperature has reached
95
OF) whenever ignition switch is
in the ON position. There is no
OFF position.
Operate system for
30 seconds
2-19
before switching to DEF. This
will remove humid air from the
sys
tem and ,minimize rapid fogging of
the glass which can occur
if humid
air is blown onto a coo l windshield.
Heater Operating Tips
• Clear snow and ice from hood
and air inlet in front
of wind
shie ld to improve heater and de
frost er efficiency and reduce the
probability of fogging on inside
of windshield.
• Clear windshield, rear window,
outside
mirrors , and all side win
dows of ice ,and snow before
driving vehicle.
• Operate blower on HIGH for
a few seconds before moving the
vehicle, to clear the intake ducts
of snow to further reduce the
pos sibili
ty of fogging on inside
of windshield.
• Keep all windows and vents
clo sed to reduce dust, road and
wind noise and uncomfortable
drafts .
Page 51 of 102

Downloaded from www.Manualslib.com manuals search engine 4. Attach the remaining jumper
cable
FIRST to the negative
terminal (black color,
"-", or)
"N") of the OTHER vehicle's
battery,
'. (regardless of which
vehicl~ 'has the dis!:harged bat
tery)
and THEN to the negative
tertniDal of the battery in TIllS
car-thus taking advantage of
the
J\ame arrestor feature on the
bat~ in TIllS car, should a
. spark occur .
5. St~the engine in the vehicle
that. is providing the jump start
(iOt was not running). Let run
a
few minutes , then start the en
gin~ in the car that has the dis
charged battery.
6. Reverse the above sequence
EXACTLY when removing the
jumper cables, taking care
to
remove the cable from the nega
tive terminal of the battery
in
THIS
car as the FIRSI' step.
Engine Coolant
'.,"
3-4
JACKING INSTRUCTIONS
Preparation
• Park on level surface and set
parkir)g brake firmly.
• Set automatic ,transmission in
park.
• Activatehazard",vaming flasher.
Instructions
1. After removing spare wheel and
tire, jack, jack
base, and jack
handle (wheel nut wrench), pro
ceed with changing the wheel
as follows: '
2 . When removing rear wheel,
re
move wheel opening cover (if so
Page 60 of 102
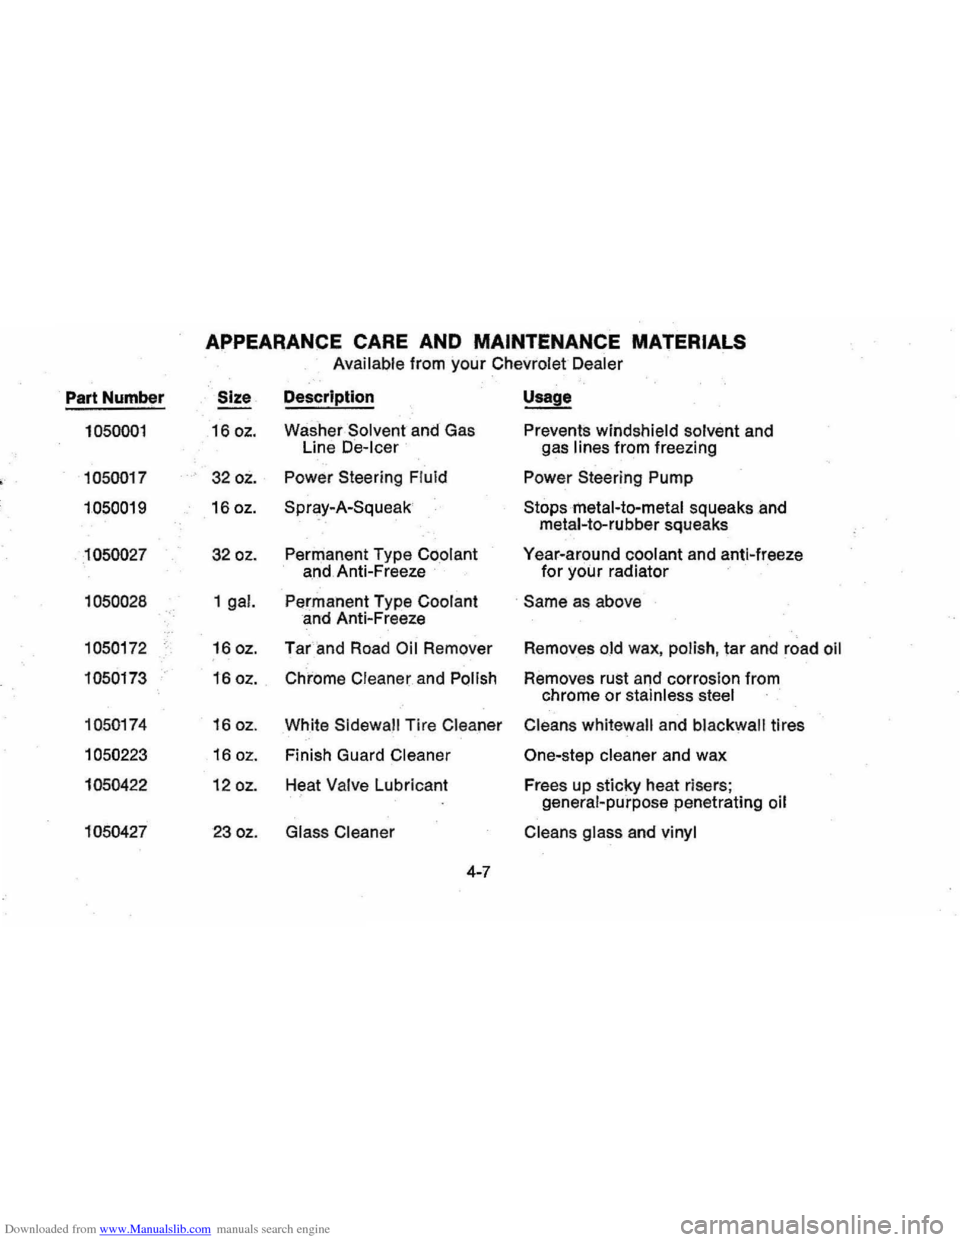
Downloaded from www.Manualslib.com manuals search engine APPEARANCE CARE AND MAINTENANCE MATERIALS
Available from your Chevrolet Dealer
Part Number Size
Description Usage
1050001 16 oz. Washer Solvent and Gas Prevents windshield solvent and
Line
De-Icer gas lines from freezing
, 1050017 32 oz. Power
Steering Fluid Power Steering Pump
1050019 16 oz. Spray-A-Squeak
Stopsmetal-to-metal squeaks .and
metal-ta-rubber squeaks
1050027 32 oz. Permanent Type Coolant Year-around coolant and anti-freeze
and . Anti-Freeze for your radiator
1050028 1 gal. Permanent Type Coolant . Same as above
and Anti-Freeze
1050172 16 oz. Tar and Road Oil Remover Removes old wax, polish , tar and road oil
1050173 16 oz. Chrome Cleaner and Polish Removes rust and corrosion from
chrome
or stainless steel
1050174 16 oz
.
White Sidewall Tire Cleaner Cleans whitewall and blackwall tires
1050223 16 oz. Finish Guard Cleaner One-step cleaner and wax
1050422 12 oz. Heat Valve Lubricant
Frees up sticky heat risers ;
genera l-purpose penetrating oil
1050427 23 oz. Glass Cleaner Cleans glass and vinyl
4-7
Page 68 of 102
Downloaded from www.Manualslib.com manuals search engine ENGINE COOLING
SYSTEM
The recovery type cooling sys
tem is standard on all Chevrolet
pasSenger cars. The coolant ex~
pands with rising temperature and
the overflow
is dOllected in the
recovery tank.
When the system
temperature drops, the coolant is
drawn back
intocthe radiator. The
cooling system has been filled at
the factory with a high-quality, in
hibited , year-around coolant that
meets the standards
of General
Motors Specification I
899"M. This
coolant solution provides freezing
protection
to -20oP (-28°C),
and in Canada to _35°P
( -37°C), and it h~s been formu
lated to be used without replace
ment for two years or 30,000 miles.
After two years
or 30,000 miles,
the coolant should be drained to
prevent rust or corrosion in the
radiator and engine.
Cooling System Care
Do not remove radiator cap to
check coolantlevel , but
checkvisu
ally in the "see 'thru " coolant re
covery tank at least as frequently
as ,needed. LeveL should be at the
"full cold" mark on the recovery
tank when the system
is cold and
at the
"full hot" roark at Iiormal
operating temperature. Add'~ 501
50 mixture of high-quality ethylene
glycol antifreeze and
waler for
coolant additions.
If frequent addi
tionsare required, see your dealer
for
a cooling system check.
NOTE: If recommended quality
antifreeze
is used,supplemental in
hibitors or additives claiming to
provide increased capability are
not
necessary. They may be detrimen
tal to the efficient operation of the
system, and represent an
unneces
sary operating expense.
5-7
The cooling system should be
serviced every year as follows:
1. Wash radiator cap and filler neck
with clean water.
2. Check coolant for proper level
and freeze protection.
3. Test system
and radiator cap for
, properpresslire holding capacity
(15 psi).
Ifreqitired, use cap
designed by
AC for coolant re
co~ery systems, and specified for
your model.
4, Tighten hose clamps and
inspect
all hoses. Replace hoses if swol
len, checked or otherwise deteri
orated.
5. Clean frontal area of radiator
, qcire and air conditioning con
denser.
Page 69 of 102
Downloaded from www.Manualslib.com manuals search engine Every two years or 30,000 miles,
whichever occurs first, the cooling
system should be flushed and re
filled using the following recom
mended procedure:
1. Rem()ve radiator cap when en
gineis cool:
• Rotate cap slowly counter
clockwise to detent (Do not
press down while rotating.)
• Wait until residual pressure
(indicated by a hissing
sound) is relieved, then press
down
on cap and continue
to rotate counterclockwise.
2.
Run engine, with radiator cap
removed, until upper radiator
hose
is hot (indicates thermo
stat
is open).
3. Stop engine and open radiator
valve to drain coolant.
(Opera
tion may be speeded by remov
ing drain plugs in the block.)
4. Close valve (install block drain
plugs, if removed) and add
sufficient water to
fill system.
5. Repeat steps
1, 2, 3" and 4, a
sufficient number of times until
the drained liquid
is nearly
colorless.
6. Allow system to drain com
pletely
and then close radiator
drain valve tightly. (Install
block drain plugs, if removed.)
7. Remove recovery cap leaving
hoses in place. Remove coolant
recovery tank, empty fluid,
scrub
and clean bottom and
sides of tank with detergent and
water, flush well with clean
water, drain
and reinstall.
5-8
8. Add sufficient ethylene glycol
coolant, meeting
OM Specifica
tion
1899~M, to provide the re
quired freezing
and corrosion
protection"-at least a 50 per
cent solution
-34°F, -37°C.
Fill radiator to the base of the
radiator filler neck
and bring
level of coolant in the recovery
tank to the
"FULL HOT"
mark. Reinstall recovery tank
cap.
9.
Run engine, with radiator cap
removed, until .radiator upper
hose becomes hot.
I
O. With engine idlil)g, add coolant
to radiator until level reaches
bottom of filler neck; install
cap
making certain arrows line up
with overflow tube.
It is the owner's responsibility to:
• Maintain cooling system freeze
Page 70 of 102
Downloaded from www.Manualslib.com manuals search engine --;
protection at-20op (-2S0C) or
below to ensure pro;tection against
corrosion and loss
of coolant
from boiling even though freezing '
temperatures are not expected.
• Add ethylene glycol base coolant
that meets
GM Specification
IS99-M when coolant additions
are required because of coolant
loss
Or to provide additional pro"
tection against freezing at tem_
peratures lower than _20oP,
(-2S0C),' and in Canada to
_35°P ( -3JOC).
NOTE: AlcOhol Or methanol base
coolants or plain water are not
recommended for your vehicle at
any time.
Radiator Pressure Cap
The radiator cap, a 15 lb. pres
sure type, must be installed tightly,
otherwise coolant may be lost and
damage
, to engine may result from
overheating. Radiator pressure caps
should
be chef'ked periodically for
' proper operation.
If replacement is
required specify·AC.
Thermostat
The cooling system is protected
and controlled by a thermostat that
maintains a satisfactory
" engine
operating temperature . This
ther
mostat is installed in the engine
coolant outlet
arid is designed for
continuous use through both winter
and
s ·ummer. When replacement is
necessary, Delco parts are recom
mended.
5-9
CHASSIS ITEMS
Rear Axle Lubricant
Standard -
Every 6 months or
7,500 miles , whichever occurs first,
check lubricant level and add
lubri
cant, if necessary, to fill to level of
filler plug hole.
Use SAE SOW or
SAE SOW-90 GL-5 Gear Lubricant.
cant.
(Por vehicles operated in
Canada, use
SAE SOW Gear Lubri
cant.)
Posilraction -Drain and refill
after
the first 15,000 miles then
maintain same
as standard axle but
use only the special positraclion lu-·
bricant available from yo ur Chev
roletDealer , part number 1051022.
Rear Universal Joint Fitting
-Except Wagons
Every 6 months or 7,500 miles
lubricate universal joint with water
resistant
EP Chassis Lubricant
Part number 1050679 which meets
GM Specification 6040M.
Page 93 of 102
Downloaded from www.Manualslib.com manuals search engine Converter, Catalylic .............. .5-22, 5-23 Cooling System Care ............................ 5·7 Coolant "Recommendation ....... ;. 5-7 Overheating Caution. . . . . . . . . . . . .. 3-4 Courtesy Lights ............ ." ..... , 6-2.317 Cowl Air Inlets ...... , ...... , ...... . Cruise Control ............. -. . . . . . .. 2-6 Dealer. Assistance ........... -;. ...... 6-4 Defogger, Rear Window ......... , . .. 2-20 Defroster, Defogger, Windshield ...... 2-19 Dimensions, Vehicle ......• -', ........ ' 6-1 Dimmer Switch, Headlarnp : ........ ' 2-9 Directional Signals .. , . , ...... , . . . . .. 2-5 Door Locks... ....... ............ .. 1·2 Power Doo r Locks .... , •...••...... 2-27 prive Belts, Engine. . . . . . . . . . . . . . . .. 5-4 Driver ' Sj;at Adju stment; .......... , ,..... 1-2 ," D~titfy Conditions. Operating Unqer. .. 5-2 ~ Economy Gauge, Fuel...... .. ..... .. 2~14 Electric Clock ................ , .. , .. 2~15 Electrical System Battery ....................... 5·13. 6-1 Bulbs ........................... 6-3 Fuses ... " ...................... 6-3 Generator Indicator Light ..•...... 2~12 Emergency, In Case Of, . ' . , .. ~ . . . . .. 3~ 1
Brake Warnin~ Light ............. ' 2~12 Generator Indicator Not Charging.. 2-12 Hazard Warning Flasher ........... 3-1 Jacking To Change Wheels......... 3·4 Jump Starting with Auxiliary Battery 3-2
Overheated Radiator ............ ,. 3-4 Pushing To Start ................ ' 3-2 Spare Tire .... , . . . . . . . . . . . • . • . . .. 3-4
Towing .. , ...............•.... , ., 3-1
Engine
Cooling. . . . .. .. .. . .. .. .. .. .. .... 5-7 Exhaust Gas Caution, ........•... , 2-1 Flooded , Starting Procedure. .•• . . .. 2-3 Overheating .. , .. , . .. . . . . . . . . . . . .. 3-4 Serial Number.. .. .. .. .. .. .. .. .... 6-1 Specificati ons ......... , ....... , , .. 6-2
Starting .................. ....... 2·3 Temperature Light.. , ........ -. .. ,. 2-12
Engine Oil Capacity .... ' .... , .... , ....•••. ',," 6-1 Change Interval .......• ' .. , • . . . .. 5-2 Dip Stick........ ........ ........ 5-2 Filter .......... .-. . . . . . . . . . . • . . . .. 5-2
Pressure Indicator .•.......••.... , 2-11 Recommendation. . . . . . . . . . . . . . . .. 5-3 Ethylene Glycol Coolant... . . . . . . . . .. 5·7 Exhaust Gas caution.... .... ...... .. 2 .. 1
Driving With Trunk Open. ........ 2-1 Exhau st System Checks ........ ,' .. 2-1 Parked With Engine Running. , .... 2-1 Pulling A Trailer. .............. " 2_1 Exterior Finish and Trim Care. . . . . .. 4-5
Fabric Care.. .. .. .. .. ... .. .. .. .. ... 4-1 Fan Belt ............................. 5-4 Ventilating .•... , ................ , 2-19 Filter, Oil. .... " ................ , . .. 5-2 Finish Care Exterior .......... , . , .. , 4-5 First Few Hundred Miles of Driving .. , ........... ' .... ; . . . . . .. ii
Flammable Cleaning Solvents. . . . . . .. 4-2 Flashers Hazard Warning .... ~. ............ 3-1 Turn Signal. ..... ' ......... , . . . .. 2-5 Flooded. Engin e, Starting. . . . . • . • . . .. 2-3 Floor Controls. .. .. .. .. .. .. .. .. .... 2·8
6-9
Fluid Capacities ........... ·......... 6.1 Fluid Levels
Battery ..... , ......... Inside Back Cover
Brake Master Cylinder., ..... , .... 5-11 Engine Oil .............. , ........ 5·2 Power Steering .. , ......... '" . . .. 5.10 Radiator .................. ,. ,-... , 5-7 Rear Axle ................... '.... 5-9 Transmission ....... , . , ........... , 5-5
Fluid Recommendations
Brake
........................... 5.11 Power Steering, .......... '. -..... ~'. 5-11 Rad.iat~r, : ......... ....... ,.,."., 5-7 TranslOlsslon ....... , . . . . . . . . . . . .. 5·5 Windshield Washer .. , ., ....... ;--.-, 2-15 Fogging, With Air Conditioner ..... " 2-21 Folding Seat Back Latches ... ........ 1·2 Foreign Countries , Operation In .... ,. 1-12 Four Way Hazard Flasher. , . , , ... , ,. 3-1
Front Suspen sion. . . . . . . .. . . . . . . . . .. 5-10 Front Wheel Bearings ... :: ......... ,. 5·11 Fue l (See Gasoline) Fuel Economy Gauge ..... , ... , ,. . .. 2-14 Fumes, Engine Exhaust., ....•..... , .• 2-1 Fuses Cbart ........................... 6-3 Location.... . .. . . . . .. .. . . . . . . . . . . 6-2 Gas Station Information .,. Inside Back Cover Gasoline, Capacities ..... : , , . . . . . . .. 6-1 Do Not Use For Cleaning .. , . , . , ., 4-2 FlUer Cap Location .... Inside Back Cover
Fumes ........................... 2·1 Gauge ........... ,..... .......... 2·11 Low·Lead............ ...... ...... s· Recommendations, .... ,...... .... 5-1 Gauge, FueL .... ,........ .. ........ 2-11 Gearshift Lever... . . . . . . . . . . . . . . . . .. 2·4 Generator Indicator Light ........... 2·12