1971 CHEVROLET CAMARO lock
[x] Cancel search: lockPage 6 of 88

Downloaded from www.Manualslib.com manuals search engine BEFORE DRIVING YOUR CAR
Keys
Two separate keys are provided
for your car. Each key has a differ
ent cross section
so that it can be
inserted only in certain locks.
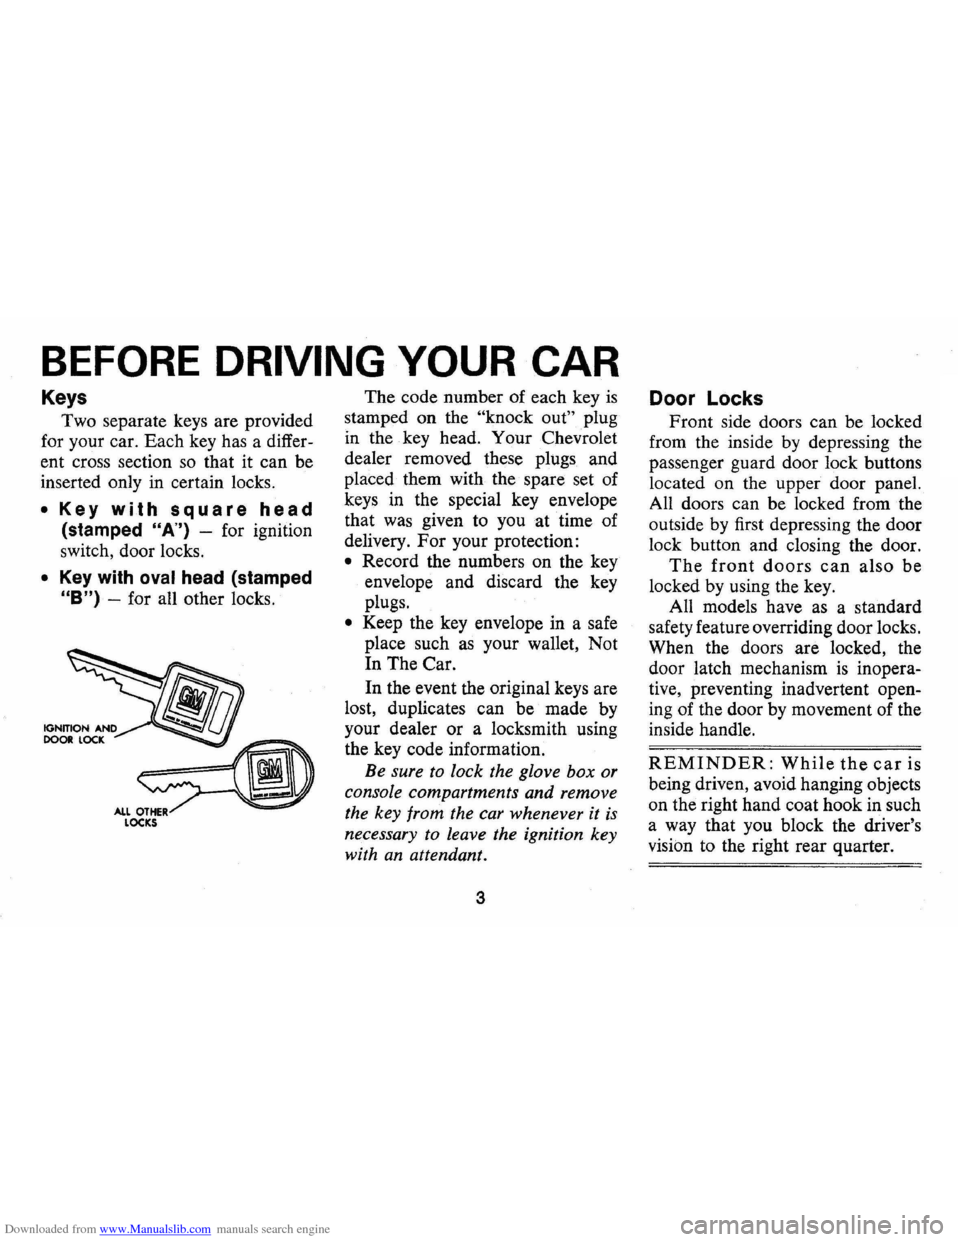
• Key with square head
(stamped "A") -for ignition
switch, door locks.
• Key with oval head (stamped
"B") -for all other locks. The
code number of each key
is
stamped on the "knock out" plug
in the key head. Your Chevrolet
dealer removed these plugs and
placed them with the spare set of
keys in the special key envelope
that was given to you at time of
delivery.
For your protection:
• Record the numbers on the key
envelope and discard the key
plugs.
• Keep the key envelope in a safe
place such
as your wallet, Not
In The Car.
In the event the original keys are
lost, duplicates can be made by
your dealer or a locksmith using
the key code information.
Be sure to lock the glove box or
console compartments and remove
the key from the car whenever it
is
necessary to leave the ignition key
with
an attendant.
3
Door Locks
Front side doors can be locked
from the inside by depressing the
passenger guard door lock buttons
located on the upper door panel.
All doors can be locked from the
outside by first depressing the door
lock button and closing the door.
The front doors can also be
locked by using the key.
All models have
as a standard
safety feature overriding door locks.
When the doors are locked, the
door latch mechanism
is inopera
tive, preventing inadvertent open
ing of the door by movement of the
inside handle.
REMINDER: While the car is
being driven, avoid hanging objects
on the right hand coat hook in such
a way that you block the driver's
vision to the right rear quarter.
Page 7 of 88

Downloaded from www.Manualslib.com manuals search engine REMINDER: Always lock the
doors when driving, for greater
security in the event of an accident
and for security against unauthor
ized entries.
Seats
Folding seat backs are equipped
with self-latching mechanisms and
release controls designed for the
convenience of entering and exiting
passengers.
Back Locks
The release knob is located at the
lower rear of each backrest nearest
the door. Lift the knob upward,
then pull the seatback forward.
Manually Operated
Front
Seats
Push the seat adjuster lever to
the right, located
at the front of
each front seat, to unlock the seat
and allow adjustment to the front
or rear. As the seat slides forward,
it tilts slightly to provide best pos
ture and increased driver ease. Re
lease the lever to lock the seat in
the desired position.
4
CAUTION: Do not adjust a manually oper·< ated driver's seat while the car is movi -the seat could move unexpectedly, c
Ing loss at control.
Inside Rearview Mirrors
• The inside mirror has day/night
control to change reflectivity.
• Switch mirror to night position
to reduce glare from following
headlights.
Page 9 of 88

Downloaded from www.Manualslib.com manuals search engine press the push button located in the
center of the buckle.
Automatic-locking lap belt re
tractors are provided for the added
convenience of the driver and out
board front seat passenger on all
Camaro cars
as an extra cost op
tion. The automatic-locking re
tractors adjust and lock the lap
belts into position automatically
after fastening.
When not in use, shoulder belts
should be secured in the special storage
convenience provision, to
reduce the danger of the metal end
striking an occupant
in a sudden
stop. When storage provisions are
not provided, the loose end
mounted on the upper structure
should be .fastened to the fioor
mounted end, and adjusted to re
move excess · slack.
Passengers in the rear seat of a
convertible must remove any shoul
der belts BEFORE the top
is low
ered. Rear shoulder belts require
readjustment after the top has been
either lowered or raised.
To fasten
a lap belt equipped
with an automatic-locking retrac
tor, pull the webbing across the lap
far enough to permit inserting the
fiat metal "eye" end into the buckle.
If the webbing is not initially pulled
out far enough to permit buckling,
release the webbing, allowing it to
6
rewind in the retractor and release
the locking mechanism,
so the web
bing can be pulled out to the proper
length.
Once the buckle is fastened,
pull the belt firmly across the lap in
the direction of the retractor to
ob.;.
tain a snug fit. The retractor will
automatically take up the excess
webbing.
Shoulder Belts -When properly
worn with a lap belt, a shoulder
belt can provide additional protec-
Page 15 of 88

Downloaded from www.Manualslib.com manuals search engine STEERING COLUMN CONTROLS
Anti-Theft Steering
Column Lock
The anti-theft lock, located on the
right side of the steering column,
has
five positions:
• Accessory -Permits operation
of electrical accessories when
en
gine is not running. To engage,
push key in and
tum toward you
( counterclockwise) .
• Lock-Normal parking position.
Locks ignition and provides
added theft protection by pre
venting normal operation of
steering wheel and shift controls.
Key cannot be returned to
"lock"
position and removed until trans
mission is placed in "park"
(automatic transmission models)
or in reverse on manual
trans
mission models.
• Off-Permits turning engine off
without locking steering wheel
and shift controls.
12
• Run -Normal operating posi
tion.
• Start -Permits engagement of
starter.
NOTE: The anti-theft steering column lock is not a substitute lor the parking brake.
Always set the parking brake when leaving the car unaHended.
When parking-
• Always let go 01 steering wheel belore turning ignition key to lock position.
• When parking on a hill with wheels
turned toward curb, be sure car has
come to complete stop belore turning
key to lock position.
Turning wheels
after car has stopped "winds up" steering system, which can
result in a "spring back" 01 the steering
wheel when the steering column lock is
released. As a lurther precaution, never
reach through the steering wheel lor any
reason.
'"
When leaving your car unaHended, • Set parking brake. ·
• Place automatic transmission selector
in Park (Reverse tor manual transmission). . • Turn key to LOCK position. • Remove key (the buzzer will remind
you).
• Lock all doors.
Page 16 of 88

Downloaded from www.Manualslib.com manuals search engine Starting Engine
Automatic Transmission
Models
1. Apply the foot brake.
2. Place transmission selector
in "P" or "N" (UP" preferred).
A starter safety switch prevents
starter operation while the trans
mission selector
is in any drive
position.
(If it is necessary to
re-start the engine with the car
moving, place the selector lever
in
"N".)
3. Depress accelerator pedal and
activate starter
as outlined be
low for different conditions.
• Cold Engine -Fully de
press
accelerator pedal and
slowly release.
With foot off
the pedal,
crank the engine
by turning the ignition key
to the Start position-release
when engine starts.
If engine starts, but fails to
run, repeat this procedure.
When engine is running
smoothly, the idle speed may
be reduced by slightly de
pressing the accelerator pedal
and then slowly releasing.
• Warm Engine -Depress ac
celerator
pedal about halfway
and hold while cranking the
engine.
• Extremely Cold Weather
(Below
0° F.) Or After Car
Has Been Standing Idle
Several
Days-
Fully depress and release
accelerator pedal two
or three
times before cranking the
engine.
With foot off the ac
celerator pedal,
crank the
engine by turning the key to
the Start position and release
when engine starts.
13
Manual Transmission Models
1. Apply parking brake and shift
transmission to neutral.
2.
Hold clutch pedal to floor
throughout the starting proce
dure. A starter interlock pre
vents starter operation when
clutch
is not fully depressed.
3.
Operate accelerator pedal and
starter
as outlined in step 3
(under Automatic Transmission
Models).
Engine Flooded
Depress accelerator pedal and
hold to floor while starting until
engine
is cleared of excess fuel
and
is running smoothly. Never
"pump" the accelerator pedal.
Warm-Up
Always let the engine idle for
20 to 30 seconds after starting
and drive at moderate speeds for
several miles, especially during
cold weather.
Page 19 of 88

Downloaded from www.Manualslib.com manuals search engine Driving with Manual Transmissions
The 3-speed manual transmis
sion shift positions follow the
stan
dard pattern shown on the illustra
tion. The 4-speed transmission shift
lever, extending from the floor,has
its special shift pattern diagram
lo
cated on the knob or floor plate.
Depress the clutch pedal fully
be
fore attempting to shift to a differ
ent gear, then release the pedal to
move in that gear. Shifting into 2nd
and 3rd gear
as soon as possible
will add appreciably to your fuel
economy.
Both transmissions, being fully
synchronized, may be downshifted
into 1st gear at any speed below
20
m.p.h. Shift into Reverse gear only
after the car has stopped. Always depress
and release the clutch pedal
fully when shifting.
On Four-Speed
transmission the shift linkage may
be adjusted to allow
"short stroke"
shift lever operation. See your
Chevrolet Dealer.
Also, shift into
"Reverse" before
shutting
off engine. This will permit
the ignition key to be turned to the
"Lock" position.
REMINDER: Before descending a
steep or long grade, down a moun
tain or hillside, reduce speed and
shift into a lower gear (for either
automatic or manual transmission
cars).
Use the brakes sparingly to
prevent them from overheating and
thus reducing brake effectiveness.
16
Turn Signals and Lane
Change Feature
The turn signal lever is located
on the left side of the steering
col
umn immediately under the steer
ing wheel. The lever is moved up
ward to signal a right turn and '
downward to signal a left turn.
Lamps on the front and rear of the
car transmit this signal to other
Page 25 of 88

Downloaded from www.Manualslib.com manuals search engine • Stopping distances may be
greater.
• Greater pedal et!ort may be re
quired.
• Pedal travel may be greater.
3. Try out
brak~ operation by
starting and stopping on road
shoulder-then:
• If you judge such operation to be
safe, proceed cautiously at re
duced speed to nearest dealer for
repair.
• Have car towed to dealer for re
pair.
• Continued operation of the car
in this condition
is dangerous.
Headlight Beam Indicator
Light
The headlights of your car have
high and low beams to provide you with
proper night-time visibility
during all driving conditions.
The
"low" beams are used during most
city driving. The
"high" beams are
especially useful when driving on
dark roads since they provide ex
cellent long range illumination.
The headlight beam indicator will
be on whenever the
high beams or
"brights" are in use. The Headlight
Beam Switch controls the headlight
beams (see
Page 32).
Light Switch
The three position light switch
controls the headlights, taillights,
parking lights, side marker lights,
instrument lights and dome lights
as shown. The headlamp circuit is
protected by a circuit breaker in the
light switch.
An overload on the
breaker will cause the lamps to
"flicker" on and ot!. If this condi
tion develops, have your headlamp
wiring checked immediately.
PARKING LAMPS MARKER LAMPS TAIL AND INSTRUMENT
LIGHTS
TURN KNOB TO
VARY INSTRUMENT LIGHTS fULLY COUNTER CLOCKWISE FOR DOME LIGHTS
22
HEADLIGHTS PARKING LAMPS MARKER LAMPS
Page 27 of 88

Downloaded from www.Manualslib.com manuals search engine Clock
Reset the clock, if your car is so
equipped, by pulling out the knob
and turning the hands clockwise
if
slow, counterclockwise if fast. This
will, if the clock error
is five min
utes
or more, automatically com
pensate for time gain or lag.
Sev
eral resettings, several days apart,
may be needed to properly adjust
the clock mechanism. Have your
clock cleaned and oiled by a com
petent clock serviceman at least
every two years.
Cigarette Lighter
The accessory cigarette lighter is
located on the instrument panel
face. To operate, push it in. When
it becomes heated, it automatically
pops out ready for
use.
Windshield Wiper
and Washer
The windshield wiping system
operates at two speeds and
is de
signed to wipe clear designated areas
of the windshield under most
inclement weather conditions. The
windshield wipers work electrically
and are not affected by engine op
eration.
Push the control lever to the
right
to start the electric windshield
wiper. The two-speed electric wiper
has both a
"low" and a "high" speed
position.
Pressing the control will send a
measured amount of water or other
cleaning agent onto the windshield
and will also cause the wiper lever
to move, thus starting the wiper
motor. The wiper will then con
tinue to operate until manually
turned off at the wiper lever.
Fill the washer jar only
% full
during the winter to allow for ex
pansion if the temperature should
fall low enough to freeze the
so
lution.
• Check washer fluid level regu
larly-do it frequently when the
24
weather is bad.
• Use GM OPTIKLEEN to pre
vent freezing damage, and to
provide better cleaning.
• Do not use radiator anti-freeze in
windshield washer; it could
cause paint damage.
• In cold weather, warm the wind
shield with defrosters before
us
ing washer-to help prevent ic
ing that may seriously obscure
vision.
Air Vents
The air vents in each kick panel
admit air from the vent grille just
ahead of the windshield. Control
knobs open and close the vents .
The amount of air entering the
car through this system
is depend
ent upon vehicle speed.
Four Season Air Conditioning
equipped cars have no kick panel
vents since the vents are a part of
the air conditioning system. The
lever beside each instrument panel