1971 CHEVROLET CAMARO low beam
[x] Cancel search: low beamPage 25 of 88

Downloaded from www.Manualslib.com manuals search engine • Stopping distances may be
greater.
• Greater pedal et!ort may be re
quired.
• Pedal travel may be greater.
3. Try out
brak~ operation by
starting and stopping on road
shoulder-then:
• If you judge such operation to be
safe, proceed cautiously at re
duced speed to nearest dealer for
repair.
• Have car towed to dealer for re
pair.
• Continued operation of the car
in this condition
is dangerous.
Headlight Beam Indicator
Light
The headlights of your car have
high and low beams to provide you with
proper night-time visibility
during all driving conditions.
The
"low" beams are used during most
city driving. The
"high" beams are
especially useful when driving on
dark roads since they provide ex
cellent long range illumination.
The headlight beam indicator will
be on whenever the
high beams or
"brights" are in use. The Headlight
Beam Switch controls the headlight
beams (see
Page 32).
Light Switch
The three position light switch
controls the headlights, taillights,
parking lights, side marker lights,
instrument lights and dome lights
as shown. The headlamp circuit is
protected by a circuit breaker in the
light switch.
An overload on the
breaker will cause the lamps to
"flicker" on and ot!. If this condi
tion develops, have your headlamp
wiring checked immediately.
PARKING LAMPS MARKER LAMPS TAIL AND INSTRUMENT
LIGHTS
TURN KNOB TO
VARY INSTRUMENT LIGHTS fULLY COUNTER CLOCKWISE FOR DOME LIGHTS
22
HEADLIGHTS PARKING LAMPS MARKER LAMPS
Page 35 of 88

Downloaded from www.Manualslib.com manuals search engine • Drum brake adjustment is made
automatically
as the brakes are
applied while car
is moving back
wards.
• Disc brake adjustment is made
automatically with each brake
application.
• If excess brake pedal travel de
velops, drive alternately back
ward and forward (several
times) and apply brakes firmly
in each direction.
• See your dealer if normal pedal
travel
is not restored, or if there
is a
rapid increase in pedal
travel, which could be a sign of
other brake trouble.
Clutch Adjustment
Clutch adjustment should be
checked and adjusted periodically
as necessary to compensate for
clutch facing wear. To check,
de
press pedal by hand until resistance
is felt. Free travel of pedal should
be approximately one inch; if very little
or no free travel
is evident,
clutch adjustment
is required.
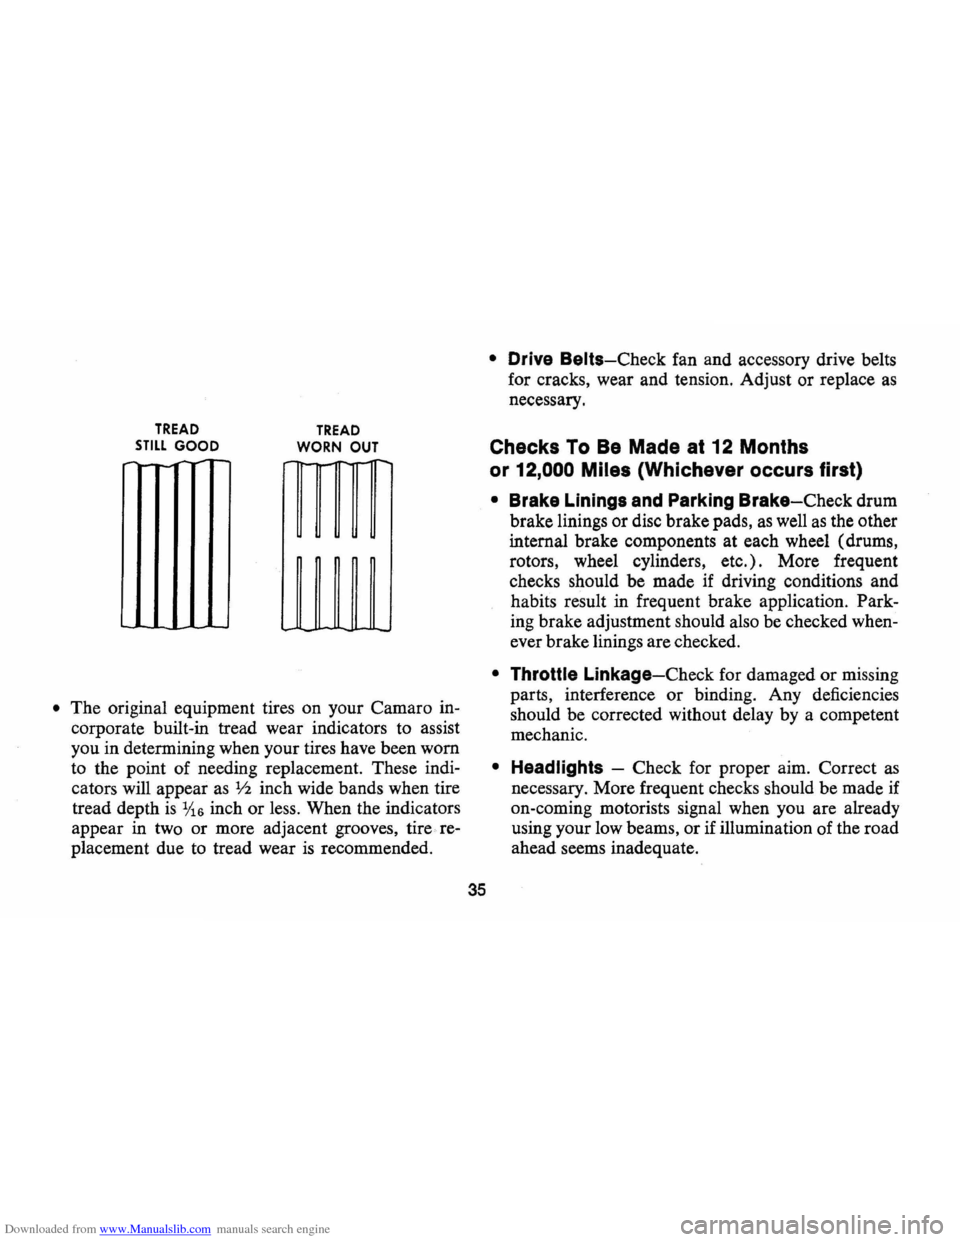
Headlight Beam Switch
"High" and "low" headlight
beams are controlled by the floor
button at your left foot. The
indi
cator, located in the speedometer
dial, will light up when the high
beams are in use.
OTHER CONTROLS AND FEATURES
Positraction Rear Axle
The optional Positraction pro
vides additional traction on snow,
ice, mud, sand, and gravel,
par
ticularly when one rear wheel is on
a surface providing poor traction.
During normal driving and
cor
nering, the Positraction unit func
tions as a standard differential.
32
When one wheel encounters a slip
pery surface, however, the Positrac
tion directs driving force to the rear
wheel having the better traction.
Page 38 of 88

Downloaded from www.Manualslib.com manuals search engine TREAD STILL GOOD
-
TREAD
WORN OUT
• The original equipment tires on your Camaro in
corporate built-in tread wear indicators to assist
you in detennining when your tires have been worn
to the point of needing replacement. These indi
cators will appear
as V2 inch wide bands when tire
tread depth
is 1;16 inch or less. When the indicators
appear in two or more adjacent grooves, tire re
placement due to tread wear
is recommended.
35
• Drive Belts-Check fan and accessory drive belts
for cracks, wear and tension. Adjust or replace
as
necessary.
Checks To Be Made at 12 Months
or
12,000 Miles (Whichever occurs first)
• Brake Linings and Parking Brake-Check drum
brake linings or disc brake pads,
as well as the other
internal brake components at each wheel (drums,
rotors, wheel cylinders, etc.) . More frequent
checks should be made if driving conditions and
habits result in frequent brake application. Park
ing brake adjustment should also be checked when
ever brake linings are checked.
• Throttle Linkage-Check for damaged or missing
parts, interference or binding. Any deficiencies
should be corrected without delay by a competent
mechanic.
• Headlights -Check for proper aim. Correct as
necessary. More frequent checks should be made if
on-coming motorists signal when you are already
using your low beams, or if illumination of the road
ahead seems inadequate.
Page 79 of 88

Downloaded from www.Manualslib.com manuals search engine FUSES AND CIRCUIT BREAKER:
The headlamp circuit is protected by a circuit breaker in the light switch. An overload on the breaker will cause the lamps to "flicker" on and off. If this condition develops, have your headlamp wiring checked immediately. Where current load is too heavy, the circuit breaker intermittently opens and closes, protecting the circuit until the cause is found and eliminated.
Fuses, located in the Junction Block beneath the dash are:
Radio, T.S.C. Sol. Rear Defogger Glove Box lamp .... .. ............. 10 Amp.
Wiper .................... . . . ............... 25 Amp.
Stop and Hazard Warning Lamps .. ...... ... .. ... ... ... .. . 20 Amp.
Dir. Sig. B/U lamps .. ......... . .
.. .. .. ....... 20 Amp.
Heater, A /C. . . . . . .. .. .. .. .. .. . .. .. . .. .. . .......... . . 25 Amp.
Inst. Lamps, Anti·Diesel Relay Dome, Floor Shift lamps ............. ..................... 2 Amp.
Gauges, Warning Lamps .... ................... ........... 10 Amp.
Clock, Lighter, Courtesy ......................... .... .. .. 20 Amp.
Tail, License, Luggage sidemarker and Parking Lamps ............... .................... 20 Amp.
An Air Conditioning high blower speed fuse, 30 amp. is located in an In·line fuse holder running from horn relay to Air Conditioning relay.
Do not use fuses of higher amperage rating than those recommended above.
Fusible Links are incorporated into the wiring system. These are wires of such a gauge that they will fuse (or melt) before damage occurs to an entire wiring harness in the event of an electrical overload. See your Chevrolet Dealer if fusible link replacement becomes necessary.
76
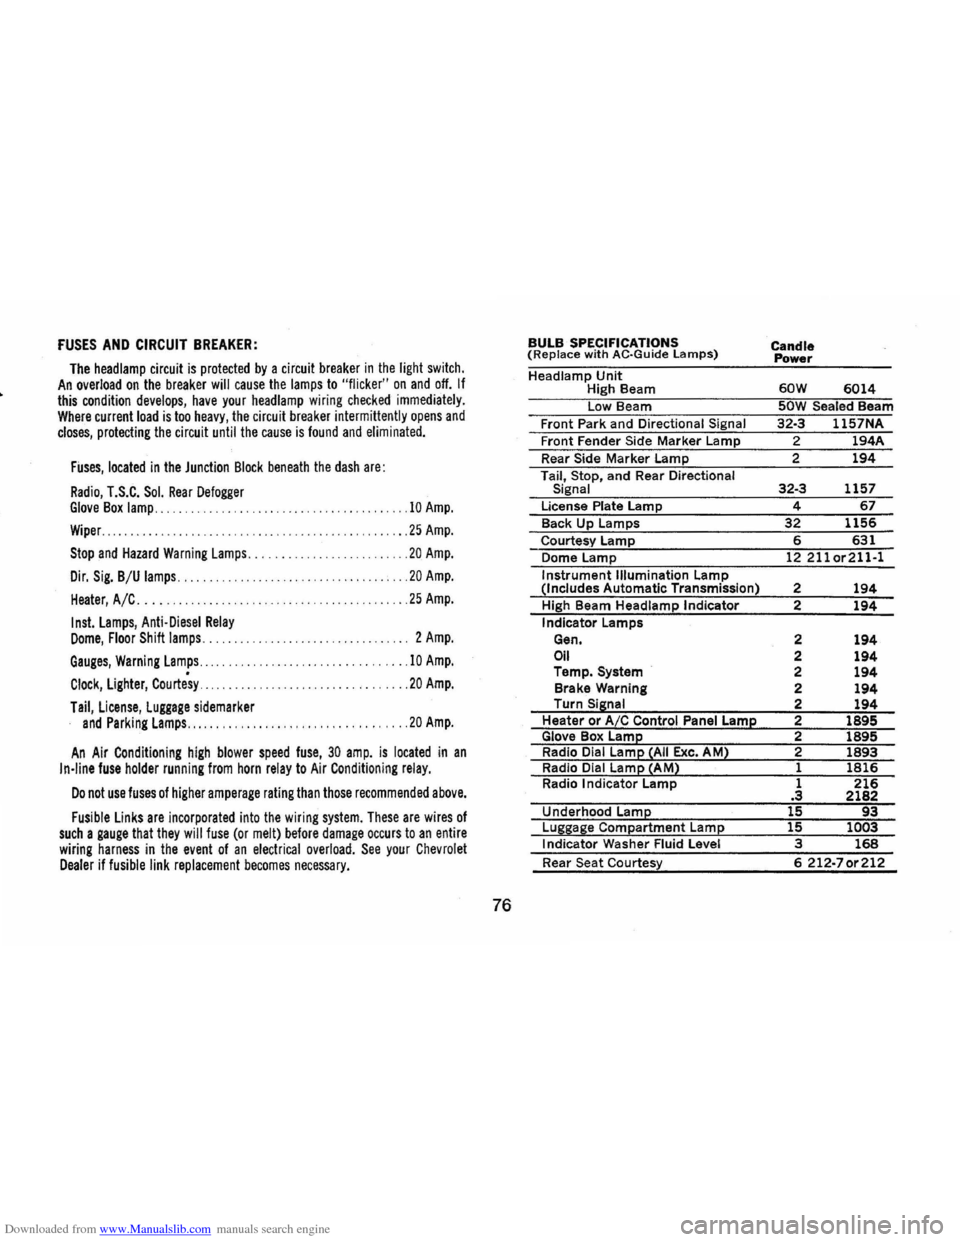
BULB SPECIFICATIONS (Replace with AC·Guide lamps)
Headlamp Unit High Beam
Low Beam
Front Park and Directional Signal
Front Fender Side Marker Lamp
Rear Side Marker Lamp
Tail, Stop, and Rear Directional
Signal
License Plate Lamp
Back Up Lamps
Courtesy Lamp
Dome Lamp
Instrument Illumination Lamp (Includes Automatic Transmission)
High Beam Headlamp Indicator
Indicator Lamps
Gen.
Oil Temp. System
Brake Warning
Turn
Sisnal Heater or A/C Control Panel Lame Glove Box Lame Radio Dial Lame ~AII Exc. AM2 Radio Dial Lame ~AM2 Radio Indicator Lamp
Underhood
Lame
Luggase Compartment Lame Indicator Washer Fluid Level
Rear Seat Courtesy Candle
Power
60W 6014 50W Sealed Beam
32·3 1157NA
2 194A
2
194
32·3 1157
4 67
32 1156
6 631 12211or211·1
2 194 2 194
2 194 2 194 2 194 2 194 2 194 2 1895 2 1895 2
1893
1 1816 1 216 .3 2182 15 93 15 1003 3 168
6 212·70r212