2024 FORD F650/750 warning light
[x] Cancel search: warning lightPage 171 of 386
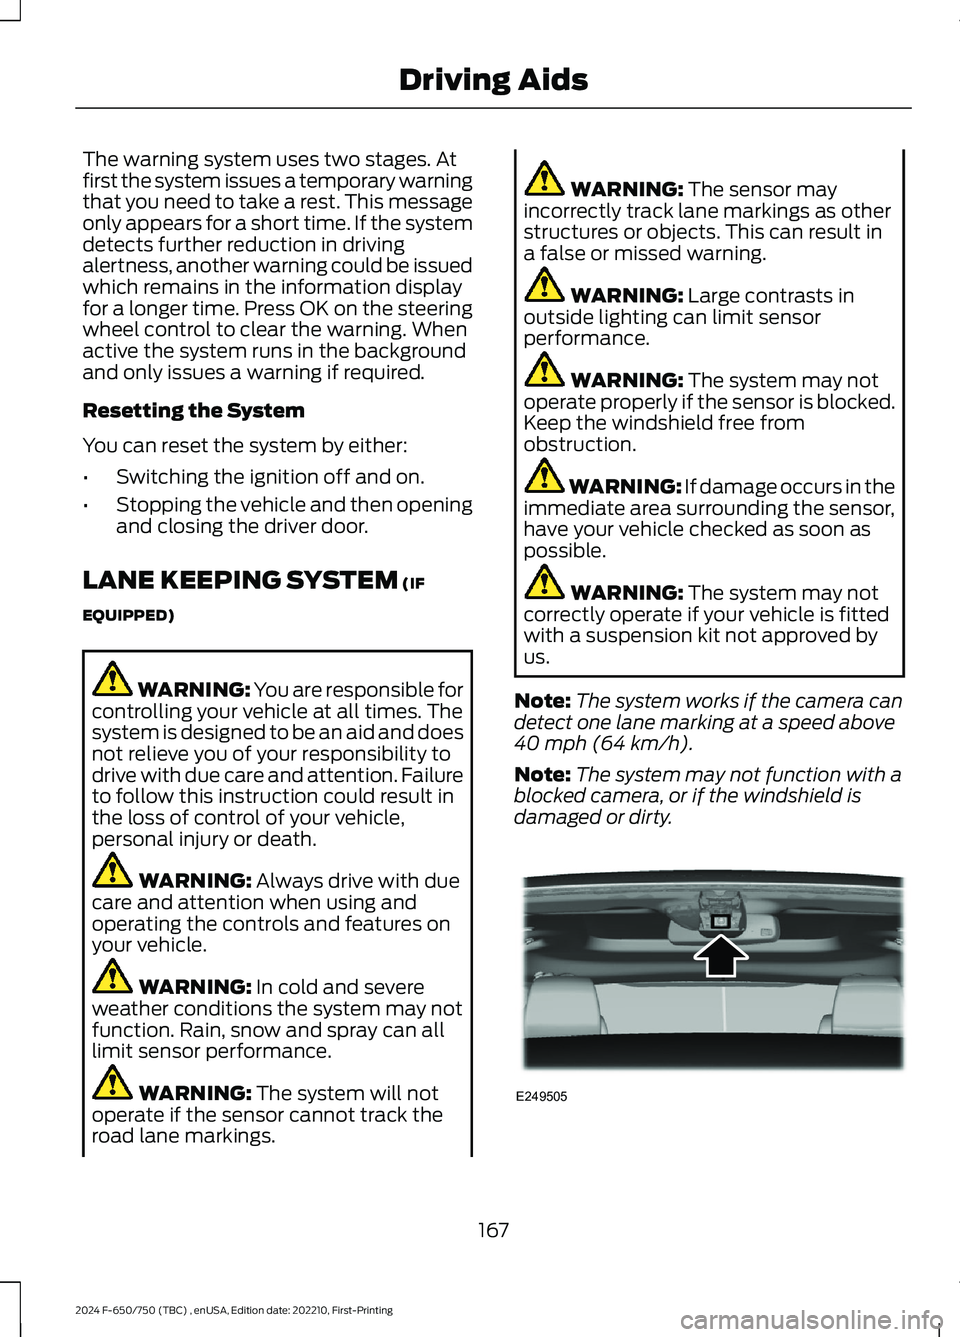
The warning system uses two stages. Atfirst the system issues a temporary warningthat you need to take a rest. This messageonly appears for a short time. If the systemdetects further reduction in drivingalertness, another warning could be issuedwhich remains in the information displayfor a longer time. Press OK on the steeringwheel control to clear the warning. Whenactive the system runs in the backgroundand only issues a warning if required.
Resetting the System
You can reset the system by either:
•Switching the ignition off and on.
•Stopping the vehicle and then openingand closing the driver door.
LANE KEEPING SYSTEM (IF
EQUIPPED)
WARNING: You are responsible forcontrolling your vehicle at all times. Thesystem is designed to be an aid and doesnot relieve you of your responsibility todrive with due care and attention. Failureto follow this instruction could result inthe loss of control of your vehicle,personal injury or death.
WARNING: Always drive with duecare and attention when using andoperating the controls and features onyour vehicle.
WARNING: In cold and severeweather conditions the system may notfunction. Rain, snow and spray can alllimit sensor performance.
WARNING: The system will notoperate if the sensor cannot track theroad lane markings.
WARNING: The sensor mayincorrectly track lane markings as otherstructures or objects. This can result ina false or missed warning.
WARNING: Large contrasts inoutside lighting can limit sensorperformance.
WARNING: The system may notoperate properly if the sensor is blocked.Keep the windshield free fromobstruction.
WARNING: If damage occurs in theimmediate area surrounding the sensor,have your vehicle checked as soon aspossible.
WARNING: The system may notcorrectly operate if your vehicle is fittedwith a suspension kit not approved byus.
Note:The system works if the camera candetect one lane marking at a speed above40 mph (64 km/h).
Note:The system may not function with ablocked camera, or if the windshield isdamaged or dirty.
167
2024 F-650/750 (TBC) , enUSA, Edition date: 202210, First-PrintingDriving AidsE249505
Page 173 of 386
See Troubleshooting for additionalinformation.
Green: Indicates that the system isavailable or ready to provide a warning onthe indicated side(s).
Red: Indicates that the system is providingor has just provided a lane keeping alertwarning.
You can temporarily disable the system atany time by doing the following:
•Quick braking.
•Fast acceleration.
•Using your direction indicator.
•Evasive steering maneuver.
•Driving too close to the lane markings.
Troubleshooting
Why is the feature not available (line markings are gray) when I can see the lane markingson the road?
Your vehicle speed is outside the operational range of the feature.
The sun is shining directly into the camera lens.
A quick intentional lane change has occurred.
Your vehicle stays too close to the lane markings.
Driving at high speeds in curves.
The last feature activation occurred a short time ago.
Ambiguous lane markings, for example in construction zones.
Rapid transition from light to dark, or from dark to light.
Sudden offset in lane markings.
ABS or AdvanceTrac™ is active.
There is a camera blockage due to dirt, grime, fog, frost or water on the windshield.
You are driving too close to the vehicle in front of you.
Transitioning between no lane markings to lane markings or vice versa.
There is standing water on the road.
Faint lane markings, for example partial yellow lane markings on concrete roads.
Lane width is too narrow or too wide.
No one calibrated the camera after replacing the windshield.
Driving on tight roads or on uneven roads.
Vehicle accessories are blocking the camera, for example a snowplow.
169
2024 F-650/750 (TBC) , enUSA, Edition date: 202210, First-PrintingDriving Aids
Page 175 of 386
WARNING: The system is notdesigned to detect non-metallic objectsand does not reliably detect someobjects with limited metallic surfaces.For example, recreational vehicles,motorcycles and guard rails. Apply thebrakes when necessary. Failure to followthis instruction could result in the loss ofcontrol of your vehicle, personal injury ordeath.
WARNING: The system does notoperate during hard acceleration orsteering. Failure to take care may leadto a crash or personal injury.
WARNING: The system may notoperate properly during severe weatherconditions, for example snow, ice, heavyrain and spray. Always drive with duecare and attention. Failure to take caremay result in a crash.
WARNING: Some situations andobjects prevent hazard detection. Forexample low or direct sunlight, inclementweather, unconventional vehicle types,and pedestrians. Apply the brakes whennecessary. Failure to follow thisinstruction could result in the loss ofcontrol of your vehicle, personal injury ordeath.
WARNING: The system cannothelp prevent all crashes. Do not rely onthis system to replace driver judgmentand the need to maintain a safe distanceand speed.
WARNING: Take additional care ifyour vehicle is heavily loaded or you aretowing a trailer. These conditions couldresult in reduced performance of thissystem. Failure to follow this instructioncould result in the loss of control of yourvehicle, personal injury or death.
Using the Pre-Collision AssistSystem
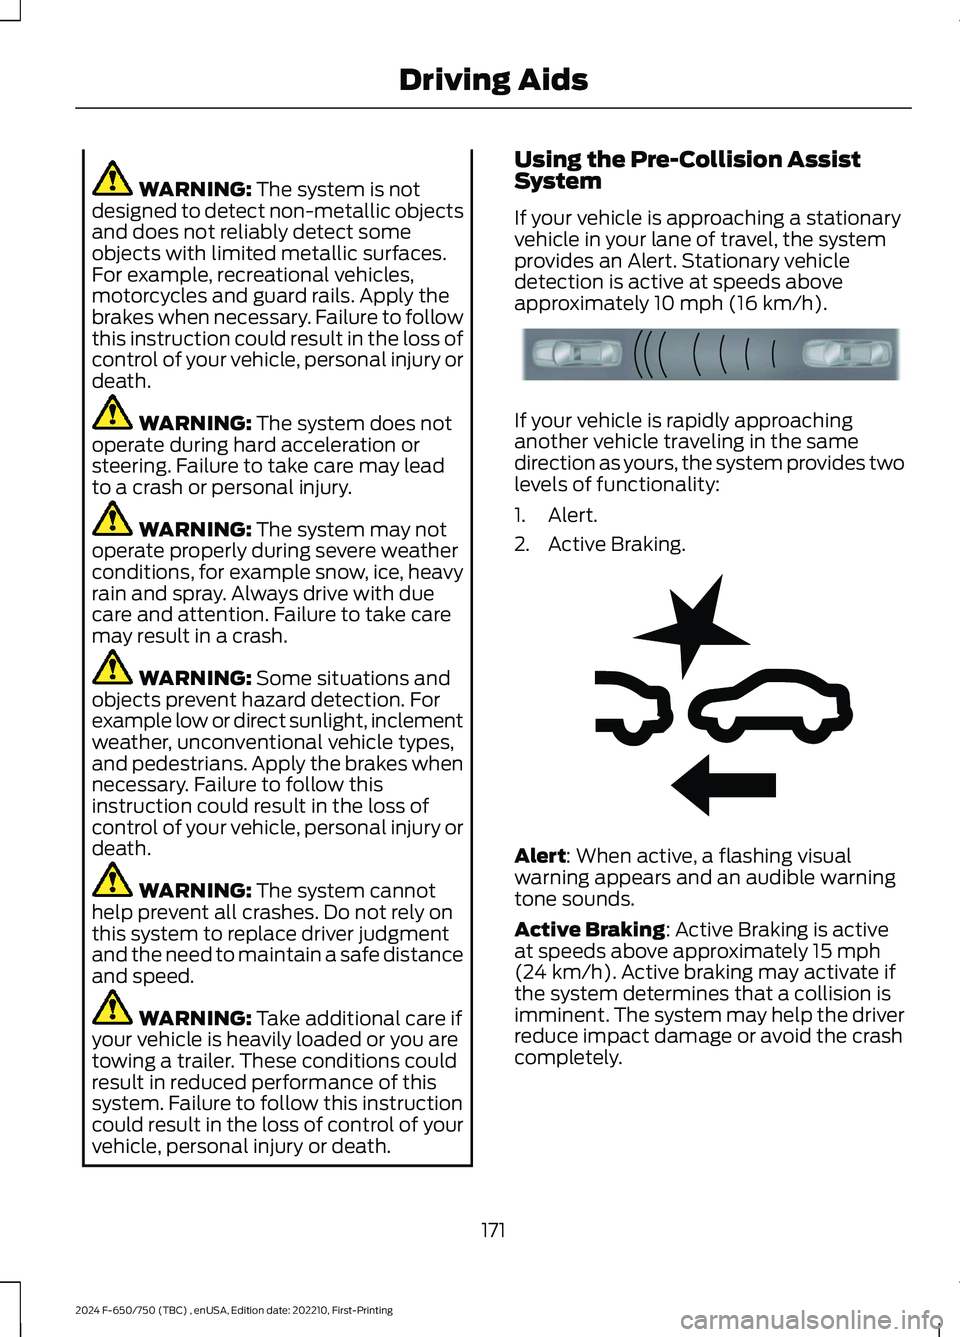
If your vehicle is approaching a stationaryvehicle in your lane of travel, the systemprovides an Alert. Stationary vehicledetection is active at speeds aboveapproximately 10 mph (16 km/h).
If your vehicle is rapidly approachinganother vehicle traveling in the samedirection as yours, the system provides twolevels of functionality:
1.Alert.
2.Active Braking.
Alert: When active, a flashing visualwarning appears and an audible warningtone sounds.
Active Braking: Active Braking is activeat speeds above approximately 15 mph(24 km/h). Active braking may activate ifthe system determines that a collision isimminent. The system may help the driverreduce impact damage or avoid the crashcompletely.
171
2024 F-650/750 (TBC) , enUSA, Edition date: 202210, First-PrintingDriving AidsE156130 E255268
Page 178 of 386
WARNING: The system does notdetect vehicles that are driving in adifferent direction, pedestrians, cyclistsor animals. Apply the brakes whennecessary. Failure to follow thisinstruction could result in the loss ofcontrol of your vehicle, personal injury ordeath.
WARNING: The system does notoperate during hard acceleration orsteering. Failure to take care may leadto a crash or personal injury.
WARNING: The system mayoperate with reduced function duringcold and inclement weather conditions.Snow, ice, rain, spray and fog canadversely affect the system. Keep thefront camera and radar free of snow andice. Failure to follow this instruction mayresult in the loss of control of yourvehicle, serious personal injury or death.
WARNING: Some situations andobjects prevent hazard detection. Forexample low or direct sunlight, inclementweather, unconventional vehicle types,and pedestrians. Apply the brakes whennecessary. Failure to follow thisinstruction could result in the loss ofcontrol of your vehicle, personal injury ordeath.
WARNING: The system cannothelp prevent all crashes. Do not rely onthis system to replace driver judgmentand the need to maintain a safe distanceand speed.
WARNING: Take additional care ifyour vehicle is heavily loaded or you aretowing a trailer. These conditions couldresult in reduced performance of thissystem. Failure to follow this instructioncould result in the loss of control of yourvehicle, personal injury or death.
Using the Pre-Collision AssistSystem
The pre-collision assist system is active atspeeds above 3 mph (5 km/h).
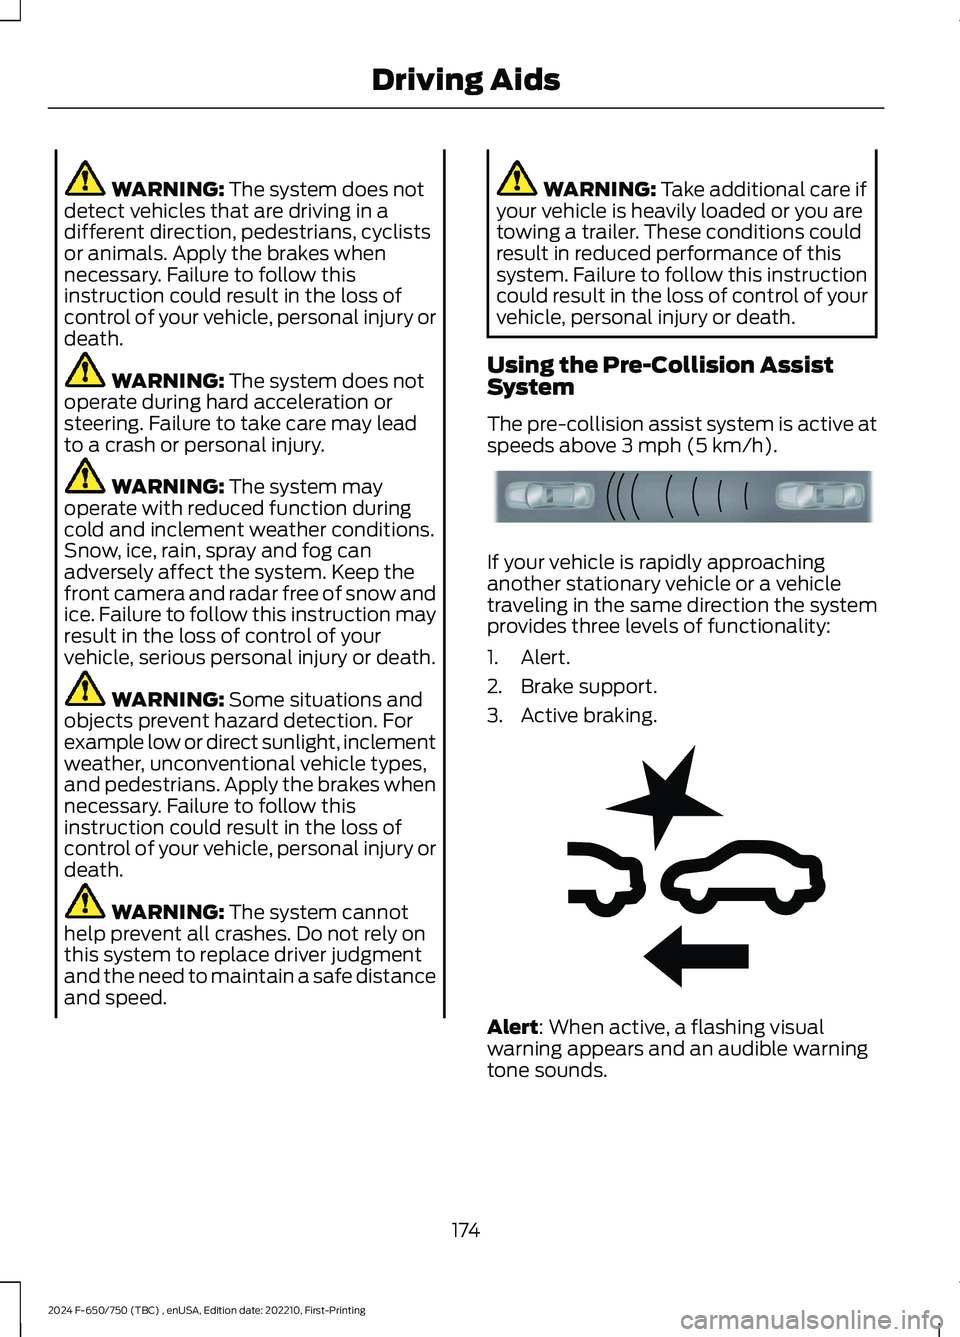
If your vehicle is rapidly approachinganother stationary vehicle or a vehicletraveling in the same direction the systemprovides three levels of functionality:
1.Alert.
2.Brake support.
3.Active braking.
Alert: When active, a flashing visualwarning appears and an audible warningtone sounds.
174
2024 F-650/750 (TBC) , enUSA, Edition date: 202210, First-PrintingDriving AidsE156130 E255268
Page 179 of 386
Brake support: Helps reduce the impactspeed by preparing the brakes for rapidbraking. The system does notautomatically apply the brakes. If you pressthe brake pedal, the system could applyadditional braking up to maximum brakingforce, even if you lightly press the brakepedal.
Active braking: May activate if the systemdetermines that a collision is imminent.The system may help the driver reduceimpact damage or avoid the crashcompletely.
Note:If you perceive pre-collision assistalerts as being too frequent, then you canreduce the alert sensitivity, though themanufacturer recommends using thehighest sensitivity setting where possible.Setting lower sensitivity would lead to fewerand later system warnings.
Distance Indication and Alert
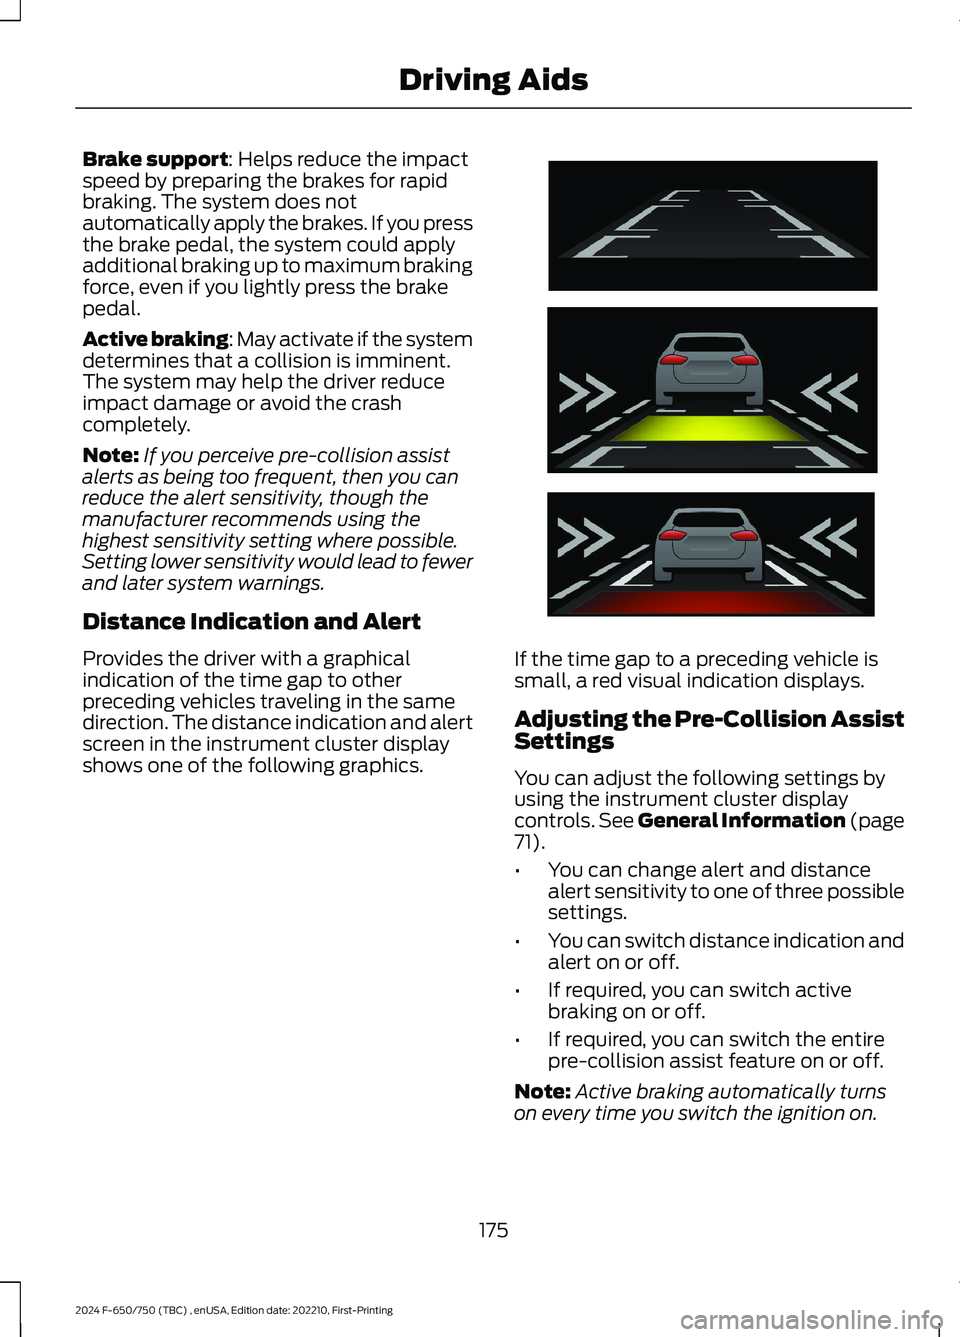
Provides the driver with a graphicalindication of the time gap to otherpreceding vehicles traveling in the samedirection. The distance indication and alertscreen in the instrument cluster displayshows one of the following graphics.
If the time gap to a preceding vehicle issmall, a red visual indication displays.
Adjusting the Pre-Collision AssistSettings
You can adjust the following settings byusing the instrument cluster displaycontrols. See General Information (page71).
•You can change alert and distancealert sensitivity to one of three possiblesettings.
•You can switch distance indication andalert on or off.
•If required, you can switch activebraking on or off.
•If required, you can switch the entirepre-collision assist feature on or off.
Note:Active braking automatically turnson every time you switch the ignition on.
175
2024 F-650/750 (TBC) , enUSA, Edition date: 202210, First-PrintingDriving AidsE254791
Page 182 of 386
LOAD LIMIT
WARNING: Do not exceedthe GVWR or the GAWRspecified on the SafetyCompliance Certification Label.
WARNING: Do not usereplacement tires with lowerload carrying capacities than theoriginal tires because they maylower the vehicle's GVWR andGAWR limitations. Replacementtires with a higher limit than theoriginals do not increase theGVWR and GAWR limitations.
WARNING: Exceeding anyvehicle weight rating limitationcould result in serious damageto the vehicle and/or personalinjury.
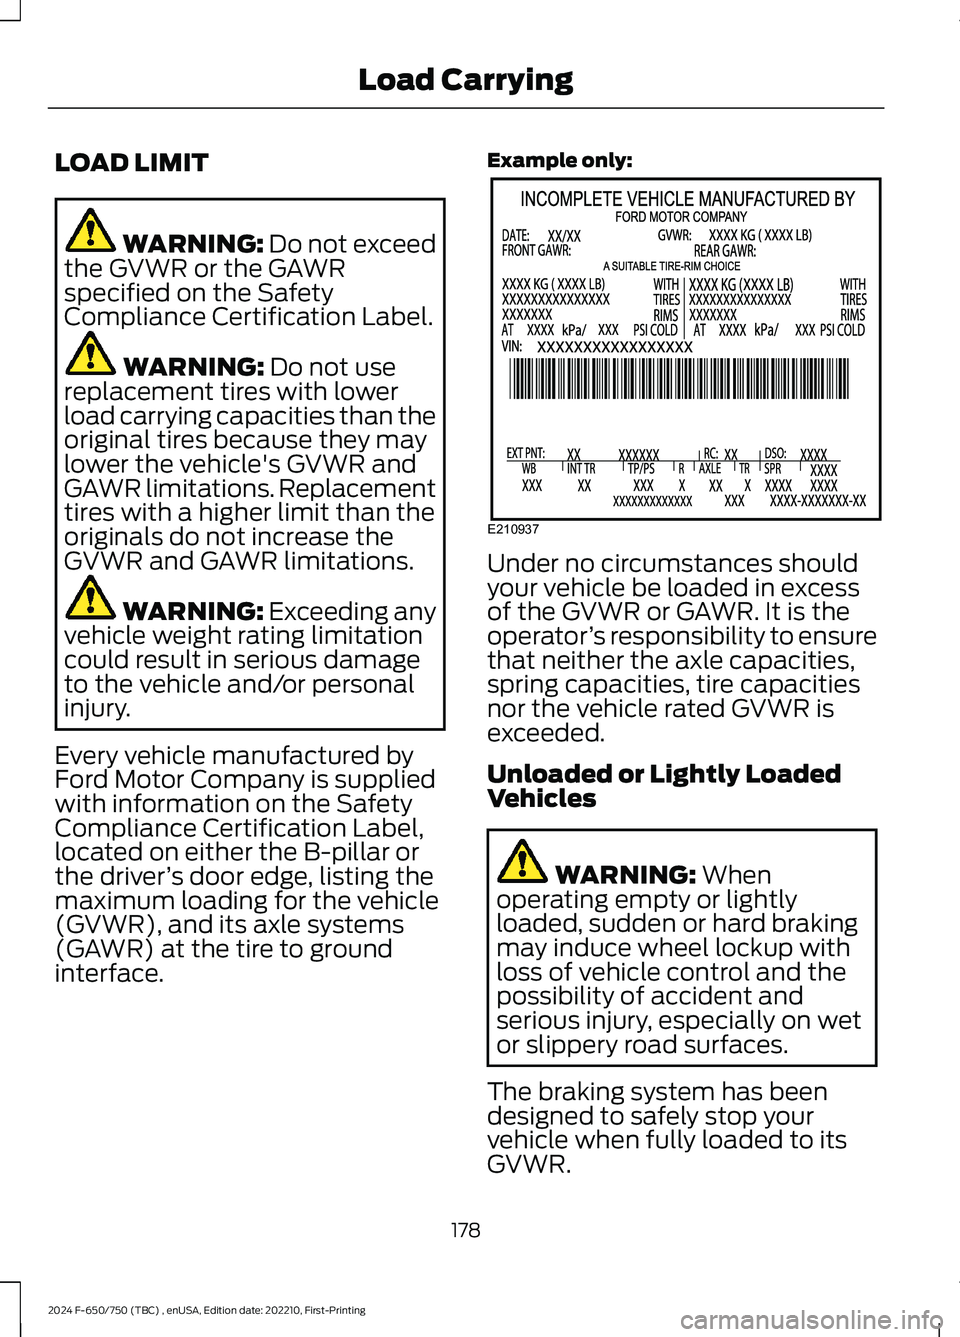
Every vehicle manufactured byFord Motor Company is suppliedwith information on the SafetyCompliance Certification Label,located on either the B-pillar orthe driver’s door edge, listing themaximum loading for the vehicle(GVWR), and its axle systems(GAWR) at the tire to groundinterface.
Example only:
Under no circumstances shouldyour vehicle be loaded in excessof the GVWR or GAWR. It is theoperator’s responsibility to ensurethat neither the axle capacities,spring capacities, tire capacitiesnor the vehicle rated GVWR isexceeded.
Unloaded or Lightly LoadedVehicles
WARNING: Whenoperating empty or lightlyloaded, sudden or hard brakingmay induce wheel lockup withloss of vehicle control and thepossibility of accident andserious injury, especially on wetor slippery road surfaces.
The braking system has beendesigned to safely stop yourvehicle when fully loaded to itsGVWR.
178
2024 F-650/750 (TBC) , enUSA, Edition date: 202210, First-PrintingLoad CarryingE210937
Page 183 of 386
AIR SUSPENSION
Note:Do not operate your vehicle withoutair in the suspension springs. Operating yourvehicle without air in the suspension springsdamages the suspension, degrades rideperformance and may cause propertydamage.
The air suspension system automaticallyadjusts to different loads to maintain aconstant frame height, allows for ease ofvehicle loading, provides improved vehicleride, and increased driver comfort.
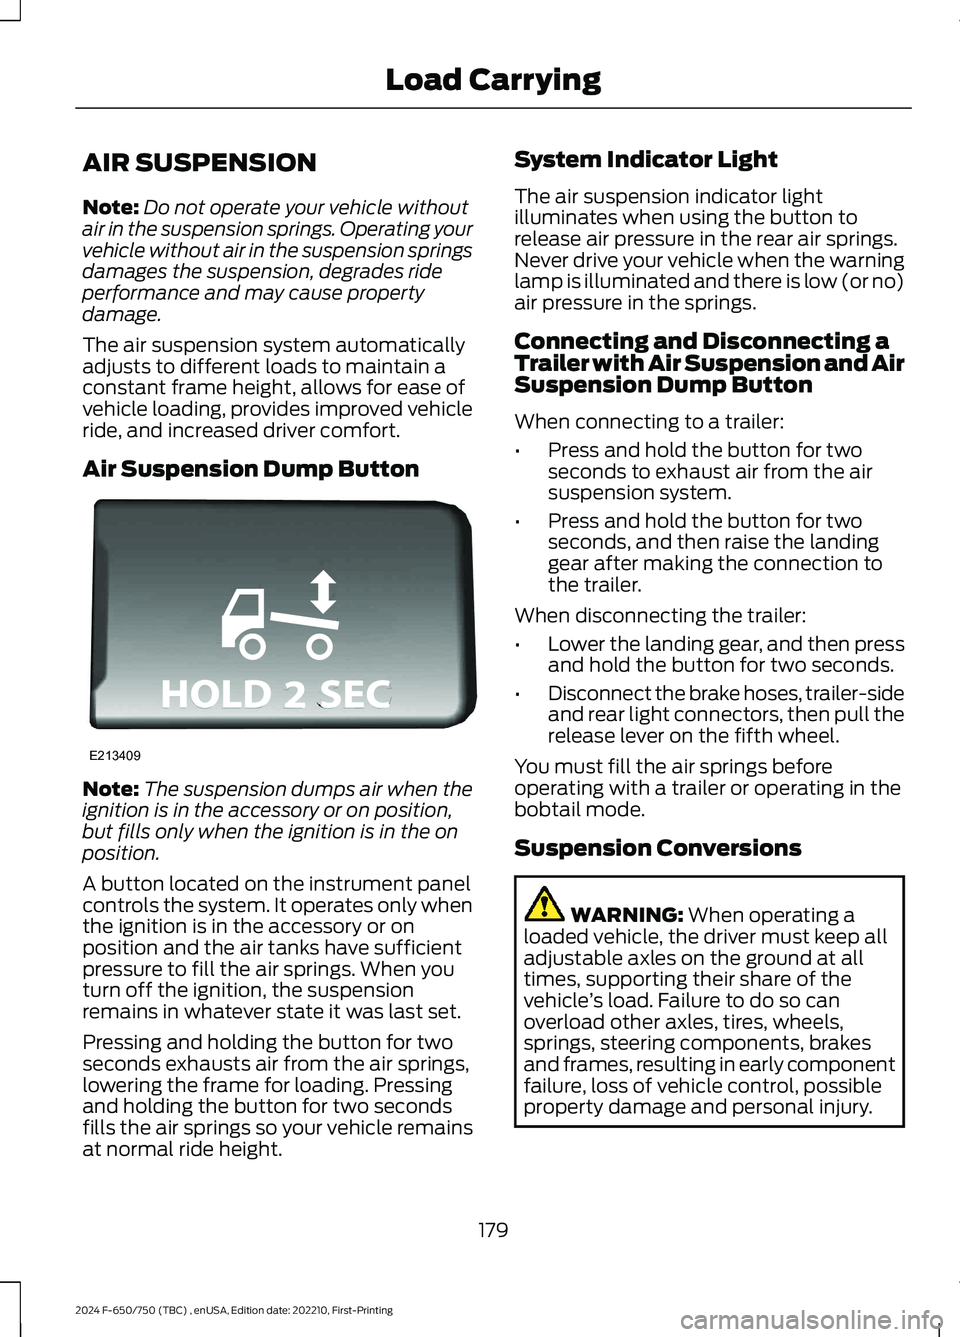
Air Suspension Dump Button
Note:The suspension dumps air when theignition is in the accessory or on position,but fills only when the ignition is in the onposition.
A button located on the instrument panelcontrols the system. It operates only whenthe ignition is in the accessory or onposition and the air tanks have sufficientpressure to fill the air springs. When youturn off the ignition, the suspensionremains in whatever state it was last set.
Pressing and holding the button for twoseconds exhausts air from the air springs,lowering the frame for loading. Pressingand holding the button for two secondsfills the air springs so your vehicle remainsat normal ride height.
System Indicator Light
The air suspension indicator lightilluminates when using the button torelease air pressure in the rear air springs.Never drive your vehicle when the warninglamp is illuminated and there is low (or no)air pressure in the springs.
Connecting and Disconnecting aTrailer with Air Suspension and AirSuspension Dump Button
When connecting to a trailer:
•Press and hold the button for twoseconds to exhaust air from the airsuspension system.
•Press and hold the button for twoseconds, and then raise the landinggear after making the connection tothe trailer.
When disconnecting the trailer:
•Lower the landing gear, and then pressand hold the button for two seconds.
•Disconnect the brake hoses, trailer-sideand rear light connectors, then pull therelease lever on the fifth wheel.
You must fill the air springs beforeoperating with a trailer or operating in thebobtail mode.
Suspension Conversions
WARNING: When operating aloaded vehicle, the driver must keep alladjustable axles on the ground at alltimes, supporting their share of thevehicle’s load. Failure to do so canoverload other axles, tires, wheels,springs, steering components, brakesand frames, resulting in early componentfailure, loss of vehicle control, possibleproperty damage and personal injury.
179
2024 F-650/750 (TBC) , enUSA, Edition date: 202210, First-PrintingLoad CarryingE213409
Page 185 of 386

TOWING A TRAILER
WARNING: Do not exceedthe GVWR or the GAWRspecified on the certificationlabel.
WARNING: Towing trailersbeyond the maximumrecommended gross trailerweight exceeds the limit of thevehicle and could result in enginedamage, transmission damage,structural damage, loss ofvehicle control, vehicle rolloverand personal injury.
Your vehicle may have electricalitems, such as fuses or relays,related to towing. See Fuses(page 202).
Your vehicle's load capacitydesignation is by weight, not byvolume, so you cannot necessarilyuse all available space whenloading a vehicle.
Towing a trailer places an extraload on your vehicle's engine,transmission, axle, brakes, tiresand suspension. Inspect thesecomponents periodically during,and after, any towing operation.
Load Placement
To help minimize how trailermovement affects your vehiclewhen driving:
•Load the heaviest items closestto the trailer floor.
•Load the heaviest itemscentered between the left andright side trailer tires.
•Load the heaviest items abovethe trailer axles or just slightlyforward toward the trailertongue. Do not allow the finaltrailer tongue weight to goabove or below 10-15% of theloaded trailer weight.
When driving with a trailer orpayload, a slight takeoff vibrationor shudder may be present due tothe increased payload weight.Additional information regardingproper trailer loading and settingyour vehicle up for towing islocated in another chapter of thismanual. See Load Limit (page178).
You can also find information inthe RV & Trailer Towing Guideavailable at your authorizeddealer, or online.
RV & Trailer Towing Guide Online
http://www.fleet.ford.com/towing-guides/Website
181
2024 F-650/750 (TBC) , enUSA, Edition date: 202210, First-PrintingTowing