2024 FORD F650/750 power steering
[x] Cancel search: power steeringPage 250 of 386

For detailed interval information, seeScheduled Maintenance in your Owner'sManual or your local maintenance guide.
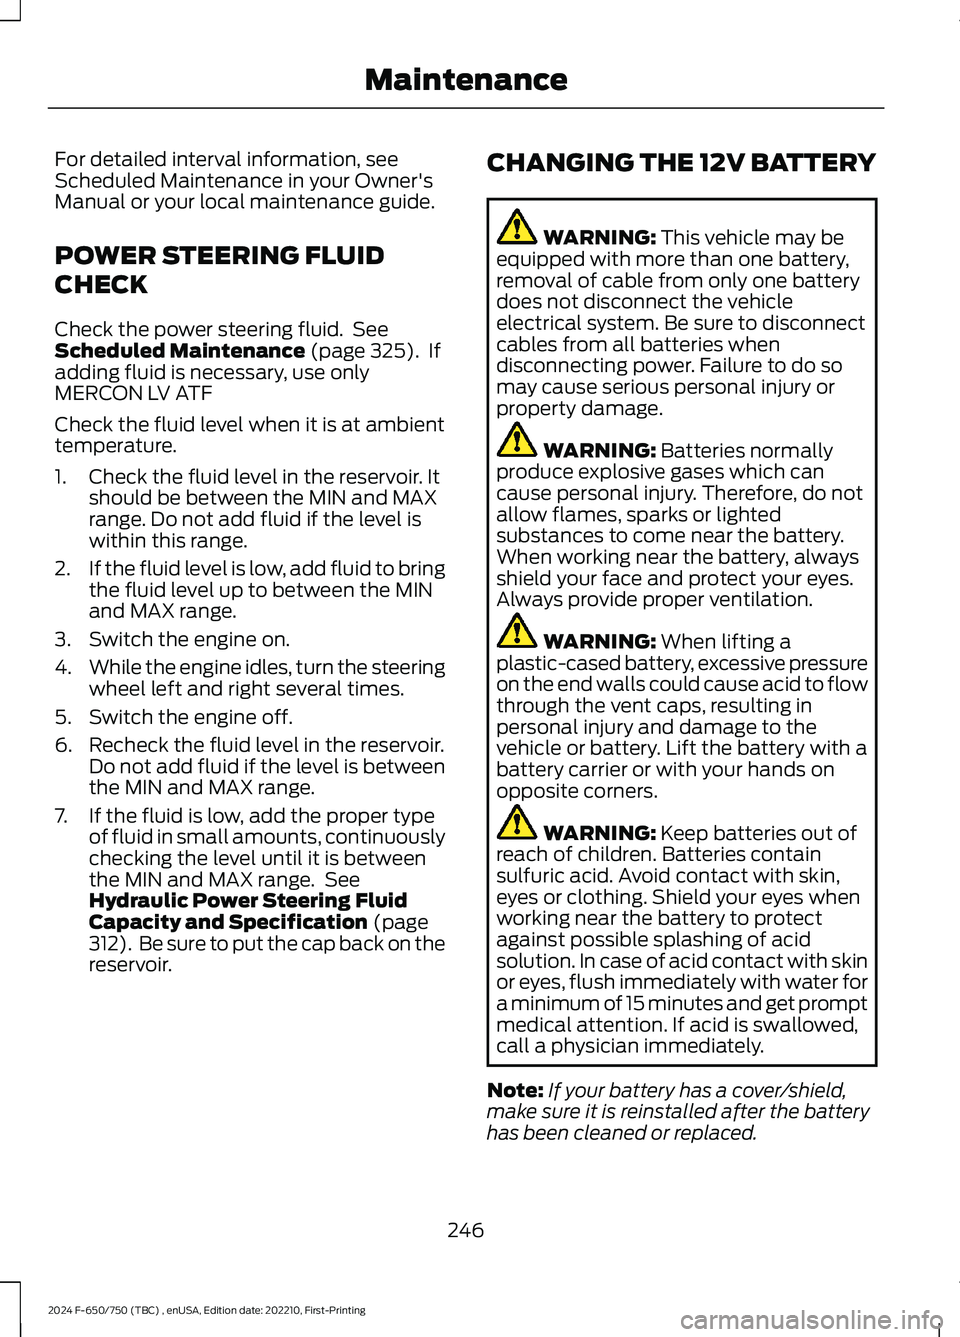
POWER STEERING FLUID
CHECK
Check the power steering fluid. SeeScheduled Maintenance (page 325). Ifadding fluid is necessary, use onlyMERCON LV ATF
Check the fluid level when it is at ambienttemperature.
1.Check the fluid level in the reservoir. Itshould be between the MIN and MAXrange. Do not add fluid if the level iswithin this range.
2.If the fluid level is low, add fluid to bringthe fluid level up to between the MINand MAX range.
3.Switch the engine on.
4.While the engine idles, turn the steeringwheel left and right several times.
5.Switch the engine off.
6.Recheck the fluid level in the reservoir.Do not add fluid if the level is betweenthe MIN and MAX range.
7.If the fluid is low, add the proper typeof fluid in small amounts, continuouslychecking the level until it is betweenthe MIN and MAX range. SeeHydraulic Power Steering FluidCapacity and Specification (page312). Be sure to put the cap back on thereservoir.
CHANGING THE 12V BATTERY
WARNING: This vehicle may beequipped with more than one battery,removal of cable from only one batterydoes not disconnect the vehicleelectrical system. Be sure to disconnectcables from all batteries whendisconnecting power. Failure to do somay cause serious personal injury orproperty damage.
WARNING: Batteries normallyproduce explosive gases which cancause personal injury. Therefore, do notallow flames, sparks or lightedsubstances to come near the battery.When working near the battery, alwaysshield your face and protect your eyes.Always provide proper ventilation.
WARNING: When lifting aplastic-cased battery, excessive pressureon the end walls could cause acid to flowthrough the vent caps, resulting inpersonal injury and damage to thevehicle or battery. Lift the battery with abattery carrier or with your hands onopposite corners.
WARNING: Keep batteries out ofreach of children. Batteries containsulfuric acid. Avoid contact with skin,eyes or clothing. Shield your eyes whenworking near the battery to protectagainst possible splashing of acidsolution. In case of acid contact with skinor eyes, flush immediately with water fora minimum of 15 minutes and get promptmedical attention. If acid is swallowed,call a physician immediately.
Note:If your battery has a cover/shield,make sure it is reinstalled after the batteryhas been cleaned or replaced.
246
2024 F-650/750 (TBC) , enUSA, Edition date: 202210, First-PrintingMaintenance
Page 251 of 386

Note:Battery posts, terminals and relatedaccessories contain lead and leadcompounds. Wash hands after handling.
Note:Electrical or electronic accessoriesor components added to the vehicle by thedealer or the owner may adversely affectbattery performance and durability.
Your vehicle is equipped with a Motorcraftmaintenance-free battery which normallydoes not require additional water duringits life of service.
For longer, trouble-free operation, keep thetop of the battery clean and dry. Also,make certain the battery cables are alwaystightly fastened to the battery terminals.
If you see any corrosion on the battery orterminals, remove the cables from theterminals and clean with a wire brush. Youcan neutralize the acid with a solution ofbaking soda and water.
It is recommended that the negativebattery cable terminal be disconnectedfrom the battery if you plan to store yourvehicle for an extended period of time.
Because your vehicle’s engine iselectronically controlled by a computer,some control conditions are maintainedby power from the battery. When thebattery is disconnected or a new batteryis installed, the engine must relearn its idleand fuel trim strategy for optimumdriveability and performance. To begin thisprocess
1.With the vehicle at a complete stop,set the parking brake.
2.Put the gearshift in park (P) or neutral(N) and turn off all accessories.
3.Start the engine. Run the engine untilit reaches normal operatingtemperature.
4.Allow the engine to idle for at least oneminute.
5.Turn the air conditioning (if equipped)on and allow the engine to idle for atleast one minute.
6.Release the parking brake. With yourfoot on the brake pedal and with theair conditioning on, put the vehicle indrive (D) and allow the engine to idlefor at least one minute.
•If you do not allow the engine torelearn its idle trim, the idle qualityof your vehicle may be adverselyaffected until the idle trim iseventually relearned.
7.Drive the vehicle to complete therelearning process
•The vehicle may need to be driven10 mi (16 km) or more to relearn theidle and fuel trim strategy alongwith the ethanol content for flexiblefuel vehicles.
If the battery has been disconnected or anew battery has been installed, the clockand radio settings must be reset once thebattery is reconnected.
Always dispose of automotivebatteries in a responsible manner.Follow your local authorized standardsfor disposal. Call your local authorizedrecycling center to find out more aboutrecycling automotive batteries.
Battery Management System (IfEquipped)
The battery management system (BMS)monitors battery conditions and takesactions to extend battery life. If excessivebattery drain is detected, the system maytemporarily disable certain electricalfeatures to protect the battery. Thoseelectrical accessories affected include therear defrost, heated/cooled seats, climatecontrol fan, heated steering wheel, audioand navigation system. A message may beshown in the information displays to alert
247
2024 F-650/750 (TBC) , enUSA, Edition date: 202210, First-PrintingMaintenance
Page 264 of 386

•Maintaining proper steering gear andpower steering pump lubricant levels.
•Checking steering column joint boltsand steering linkage, particularly forbody-to-chassis clearance.
Steering Column Joint Bolts
As a good maintenance practice, checksteering column joint bolt tightness every60,000 mi (96,000 km) or annually,whichever occurs first. Do not overtightenthe bolts.
Hydraulic System
Whenever draining and refilling the powersteering's hydraulic system for any reason,bleed air from the system before returningthe vehicle to service. Failure to bleed thehydraulic system properly can result indegradation of power system performance.
Consult an authorized dealer who is awareof the proper procedures for filling andbleeding the system.
SUSPENSION SYSTEM
INSPECTION (IF EQUIPPED)
Note:Do not adjust air suspension heightto any setting other than the specifiedsetting. Altering the height setting changesthe driveline angle and may result inunwarrantable component damage, suchas transmission component damage.
Verify drive axle air suspension height andheight control valve performance at engineoil change intervals.
Periodically check:
•Condition of spring leaves for evidenceof fatigue, bending or breakage.
•Condition of suspension mountingbrackets and bushings.
•Torque rod mounting fasteners fortightness.
•For proper suspension alignment.Maintain proper alignment at all times.
•U-bolts. After the chassis has beenoperating under load for 1,000 mi(1,600 km) or six months (whichevercomes first), the U-bolt nuts must bere-torqued. Re-torque the U-bolt nutsevery 37,000 mi (60,000 km)thereafter. Clean and lubricate theU-bolt and nut threads and seats tomake sure a like new condition whenre-torqueing. See Spring U-BoltCheck (page 261).
FRAME AND TOW HOOK
INSPECTION
Your vehicle's chassis is manufacturedwith frame rails of either HSLA steel orheat-treated steel. Handle each in aspecific manner to make sure maximumservice life. Consult the service manual oran authorized dealer before attemptingframe repair or modification.
It is important, particularly on vehicles thatuse tow hooks frequently, to inspect thefront and rear tow hooks for damage or aloose mounting.
REAR AXLE FLUID CHECK
Your rear axle may have an optionalsynthetic lubricant that allows the use ofextended service intervals. A tag on thefiller plug identifies the use of the syntheticlubricant.
Only use a lubricant that meetsmanufacturer specifications. Use of anon-approved rear axle lubricant maycause internal axle component damage.See Rear Axle Fluid Capacity andSpecification (page 311).
Checking the Fluid Level
1.Park your vehicle on level ground.
260
2024 F-650/750 (TBC) , enUSA, Edition date: 202210, First-PrintingMaintenance
Page 291 of 386

Sometimes irregular tire wear canbe corrected by rotating the tires.
USING SNOW CHAINS
WARNING: Wheels and tires mustbe the same size, load index and speedrating as those originally fitted on thevehicle. Use of any other tire or wheelcan affect the safety and performanceof your vehicle. Additionally, the use ofnon-recommended tires and wheels cancause steering, suspension, axle, transfercase or power transfer unit failure.Follow the recommended tire inflationpressures found on the SafetyCompliance Certification label, or theTire Label on the B-Pillar or the edge ofthe driver door. Failure to follow thisinstruction could result in loss of vehiclecontrol, vehicle rollover, or personal injuryor death.
The tires on your vehicle have all-weathertreads to provide traction in rain and snow.However, in some climates, you may needto use snow tires and cables. If you needto use cables, it is recommended that steelwheels (of the same size andspecifications) be used, as cables may chipaluminum wheels.
Note:The suspension insulation andbumpers help prevent vehicle damage. Donot remove these components from yourvehicle when using snow tires and chains.
Follow these guidelines when using snowtires and chains:
•If possible, avoid fully loading yourvehicle.
•Install chains securely, verifying thatthe chains do not touch any wiring,brake lines or fuel lines.
•Drive cautiously. If you hear the chainsrub or bang against your vehicle, stopand retighten the chains. If this doesnot work, remove the chains to preventdamage to your vehicle.
•Remove the snow chains when theyare no longer needed. Do not use snowchains on dry roads.
Please contact your upfitter for approvedsnow chain types/sizes and otherrecommendations for snow chain use.
CHANGING A ROAD WHEEL
If you get a flat tire while driving, do notapply the brake heavily. Instead, graduallydecrease your speed. Hold the steeringwheel firmly and slowly move to a safeplace on the side of the road.
Tire Change Procedure
WARNING: To help prevent yourvehicle from moving when changing awheel, shift the transmission into park(P), set the parking brake and use anappropriate block or wheel chock tosecure the wheel diagonally opposite tothe wheel being changed. For example,when changing the front left wheel,place an appropriate block or wheelchock on the right rear wheel.
WARNING: Do not get under avehicle that is supported by a jack.
WARNING: Never place anythingbetween the vehicle jack and yourvehicle.
WARNING: Never place anythingbetween the vehicle jack and the ground.
287
2024 F-650/750 (TBC) , enUSA, Edition date: 202210, First-PrintingWheels and Tires
Page 316 of 386

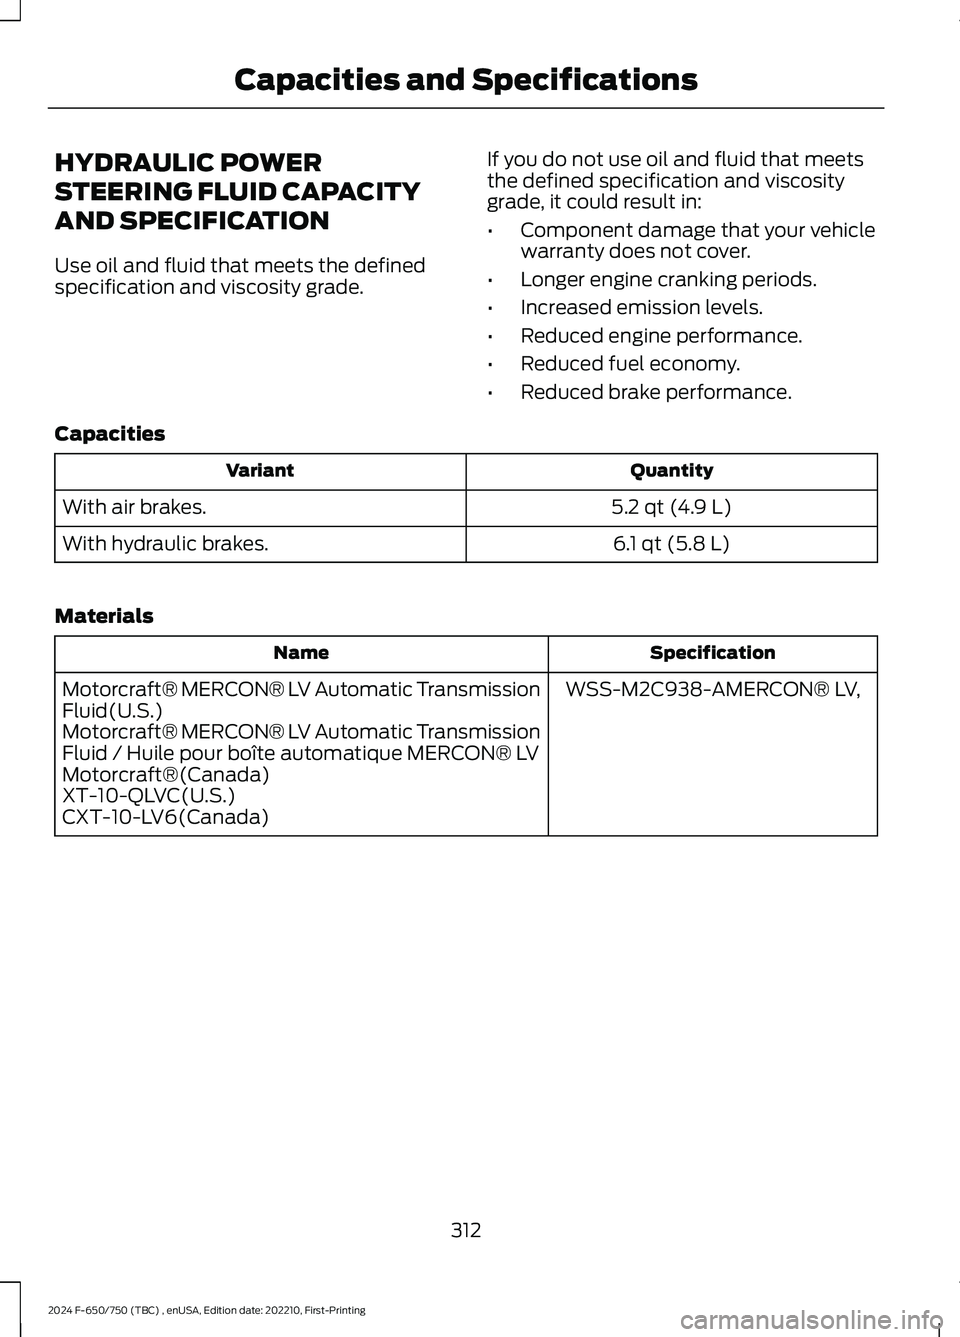
HYDRAULIC POWER
STEERING FLUID CAPACITY
AND SPECIFICATION
Use oil and fluid that meets the definedspecification and viscosity grade.
If you do not use oil and fluid that meetsthe defined specification and viscositygrade, it could result in:
•Component damage that your vehiclewarranty does not cover.
•Longer engine cranking periods.
•Increased emission levels.
•Reduced engine performance.
•Reduced fuel economy.
•Reduced brake performance.
Capacities
QuantityVariant
5.2 qt (4.9 L)With air brakes.
6.1 qt (5.8 L)With hydraulic brakes.
Materials
SpecificationName
WSS-M2C938-AMERCON® LV,Motorcraft® MERCON® LV Automatic TransmissionFluid(U.S.)Motorcraft® MERCON® LV Automatic TransmissionFluid / Huile pour boîte automatique MERCON® LVMotorcraft®(Canada)XT-10-QLVC(U.S.)CXT-10-LV6(Canada)
312
2024 F-650/750 (TBC) , enUSA, Edition date: 202210, First-PrintingCapacities and Specifications
Page 325 of 386

AUXILIARY SWITCHES (IF
EQUIPPED)
For maximum vehicle performance, keepthe following information in mind whenadding accessories or equipment to yourvehicle:
•When adding accessories, equipment,passengers and luggage to yourvehicle, do not exceed the total weightcapacity of the vehicle or of the frontor rear axle (GVWR or GAWR asindicated on the Safety ComplianceCertification label). Ask an authorizeddealer for specific weight information.
•The Federal CommunicationsCommission (FCC) and CanadianRadio TelecommunicationsCommission (CRTC) regulate the useof mobile communications systemsequipped with radio transmitters, forexample, two-way radios, telephonesand theft alarms. Any such equipmentinstalled in your vehicle should complywith Federal CommunicationsCommission (FCC) and CanadianRadio TelecommunicationsCommission (CRTC) regulations, andshould be installed by an authorizeddealer.
•An authorized dealer needs to installmobile communications systems.Improper installation may harm theoperation of your vehicle, particularlyif the manufacturer did not design themobile communication systemspecifically for automotive use.
•If you or an authorized Ford dealer addany non-Ford electrical or electronicaccessories or components to yourvehicle, you may adversely affectbattery performance and durability. Inaddition, you may also adversely affectthe performance of other electricalsystems in the vehicle.
The auxiliary switch option packageprovides four switches, mounted in thecenter of the instrument panel. Theseswitches operate when the ignition is onor from battery power, depending on theswitchable power distribution box fuselocations #82 and #83. We recommend,however, that the engine remain runningto maintain battery charge when using theauxiliary switches for extended periods oftime or higher current draws.
Note:When your vehicle has a dieselengine, use the auxiliary switches only whilethe engine is running. The glow plugs alsodrain battery power when the ignition key isin the on position. Using the auxiliaryswitches, even for limited amounts of time,can cause your battery to drain quickly andprevent your vehicle from restarting.
When switched on, the auxiliary switchesprovide 20 amps or 40 amps of electricalbattery power for a variety of personal orcommercial uses.
The relays for the auxiliary switches are inthe power distribution box under the hoodby the right-hand fender. See yourauthorized dealer for service.
Each switch includes a power lead, ablunt-cut and sealed wire below theinstrument panel and to the left of thesteering column in the driver footwell area.
The power leads are coded as shown:
321
2024 F-650/750 (TBC) , enUSA, Edition date: 202210, First-PrintingAccessoriesE163431
Page 334 of 386

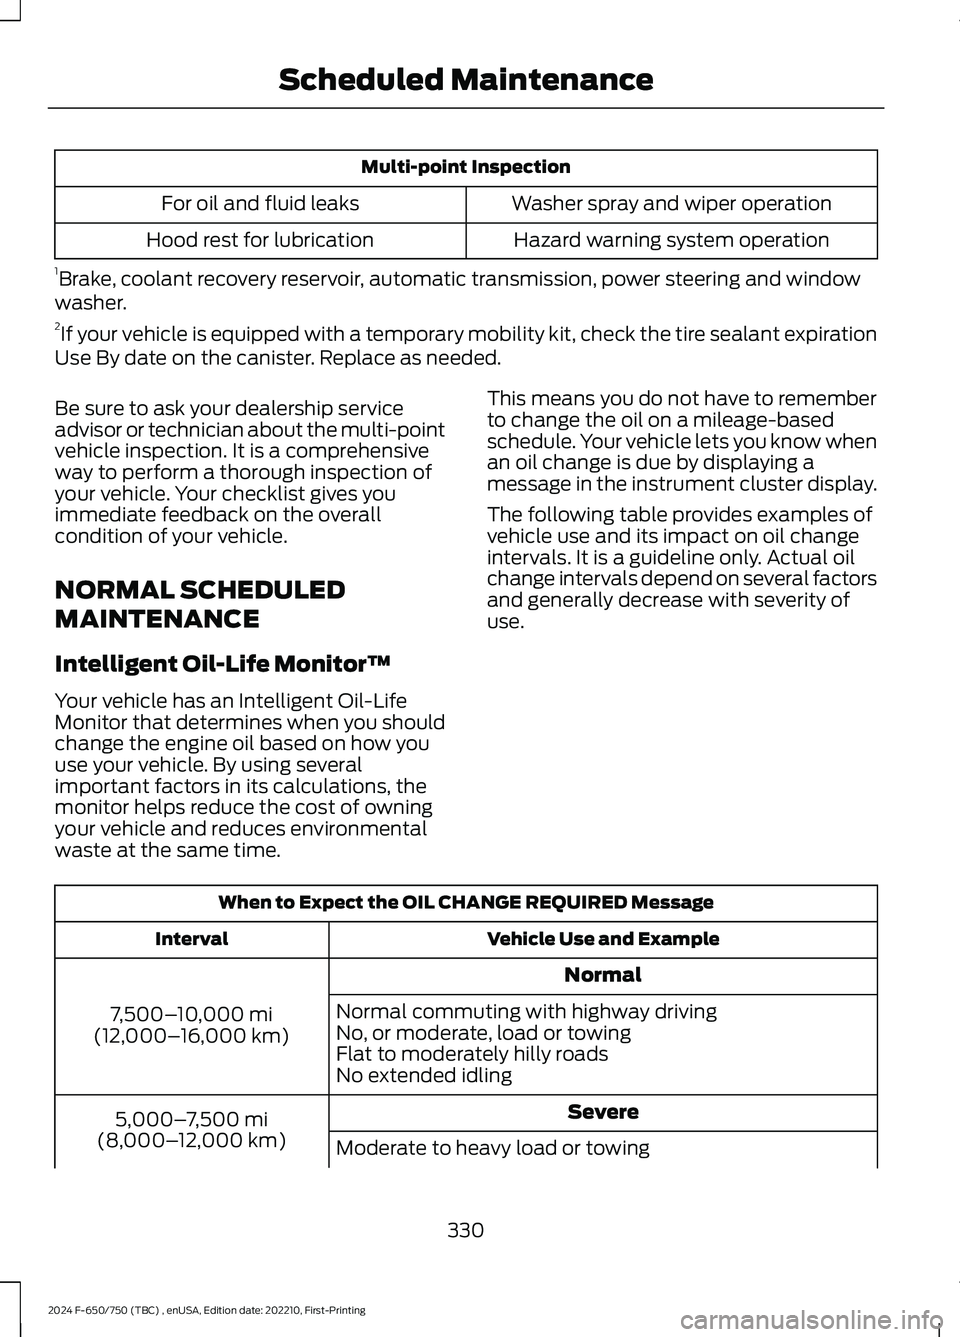
Multi-point Inspection
Washer spray and wiper operationFor oil and fluid leaks
Hazard warning system operationHood rest for lubrication
1Brake, coolant recovery reservoir, automatic transmission, power steering and windowwasher.2If your vehicle is equipped with a temporary mobility kit, check the tire sealant expirationUse By date on the canister. Replace as needed.
Be sure to ask your dealership serviceadvisor or technician about the multi-pointvehicle inspection. It is a comprehensiveway to perform a thorough inspection ofyour vehicle. Your checklist gives youimmediate feedback on the overallcondition of your vehicle.
NORMAL SCHEDULED
MAINTENANCE
Intelligent Oil-Life Monitor™
Your vehicle has an Intelligent Oil-LifeMonitor that determines when you shouldchange the engine oil based on how youuse your vehicle. By using severalimportant factors in its calculations, themonitor helps reduce the cost of owningyour vehicle and reduces environmentalwaste at the same time.
This means you do not have to rememberto change the oil on a mileage-basedschedule. Your vehicle lets you know whenan oil change is due by displaying amessage in the instrument cluster display.
The following table provides examples ofvehicle use and its impact on oil changeintervals. It is a guideline only. Actual oilchange intervals depend on several factorsand generally decrease with severity ofuse.
When to Expect the OIL CHANGE REQUIRED Message
Vehicle Use and ExampleInterval
Normal
7,500–10,000 mi(12,000–16,000 km)
Normal commuting with highway drivingNo, or moderate, load or towingFlat to moderately hilly roadsNo extended idling
Severe5,000–7,500 mi(8,000–12,000 km)Moderate to heavy load or towing
330
2024 F-650/750 (TBC) , enUSA, Edition date: 202210, First-PrintingScheduled Maintenance
Page 381 of 386

2
2-Speed Rear Axle.......................................136
A
A/CSee: Climate Control..........................................86About This Manual...........................................7ABSSee: Brakes...........................................................139ABS driving hintsSee: Hints on Driving With Anti-LockBrakes................................................................140Accessories.....................................................321AccessoriesSee: Replacement PartsRecommendation............................................15ACCSee: Using Adaptive Cruise Control.............159Adjusting the Headlamps........................248Adjusting the Steering Wheel....................52Air Brakes.........................................................144Air ConditioningSee: Climate Control..........................................86Air Conditioning System Capacity andSpecification - 6.7L Diesel....................305Air Conditioning System Capacity andSpecification - 7.3L..................................306Air FilterSee: Changing the Engine Air Filter - 6.7LDiesel.................................................................230See: Changing the Engine Air Filter -7.3L......................................................................232Air Induction System Inspection............255Air Suspension...............................................179Appendices.....................................................351At a Glance.......................................................24Audible Warnings and Indicators.............70Audio Input Jack............................................319Audio System.................................................315General Information..........................................315Audio Unit........................................................315Autolamps........................................................56Automatic Crash Shutoff..........................195Automatic Crash ShutoffPrecautions......................................................195Re-Enabling Your Vehicle................................195
What Is Automatic Crash Shutoff................195Automatic High Beam Control..................57Automatic Transmission...........................130Automatic Transmission Fluid Capacityand Specification - Diesel.....................307Automatic Transmission Fluid Capacityand Specification - Gasoline...............308Automatic Transmission FluidCheck.............................................................243Auxiliary Power Points.................................96Auxiliary Switches........................................321Axle Inspection.............................................259
B
BatterySee: Changing the 12V Battery.....................246Bonnet LockSee: Opening and Closing the Hood...........223Booster Seats..................................................33Brake Fluid Check........................................245Brake Fluid Specification.........................309Brakes...............................................................139General Information..........................................139Brake System Inspection..........................256Breaking-In.....................................................188Bulb Specification Chart..........................296
C
Canceling the Set Speed...........................159Capacities and Specifications.................291Car WashSee: Cleaning the Exterior..............................263Catalytic Converter.......................................118Changing a Bulb..........................................250Changing a Fuse.............................................211Changing a Road Wheel............................287Changing the 12V Battery.........................246Changing the Engine Air Filter - 6.7LDiesel.............................................................230Changing the Engine Air Filter -7.3L..................................................................232Changing the Engine-Mounted andDiesel Fuel Conditioner Module FuelFilters - 6.7L Diesel....................................251Changing the Engine Oil and OilFilter...............................................................228
377
2024 F-650/750 (TBC) , enUSA, Edition date: 202210, First-PrintingIndex