2024 CHEVROLET SILVERADO EV fuses
[x] Cancel search: fusesPage 4 of 429
Chevrolet Silverado EV Owner Manual (GMNA-Localizing-U.S./Canada-
16702912) - 2024 - CRC - 1/17/23
Introduction 3
A circle with a slash through it is a safety
symbol which means“Do not,” “Do not do
this,” or“Do not let this happen.”
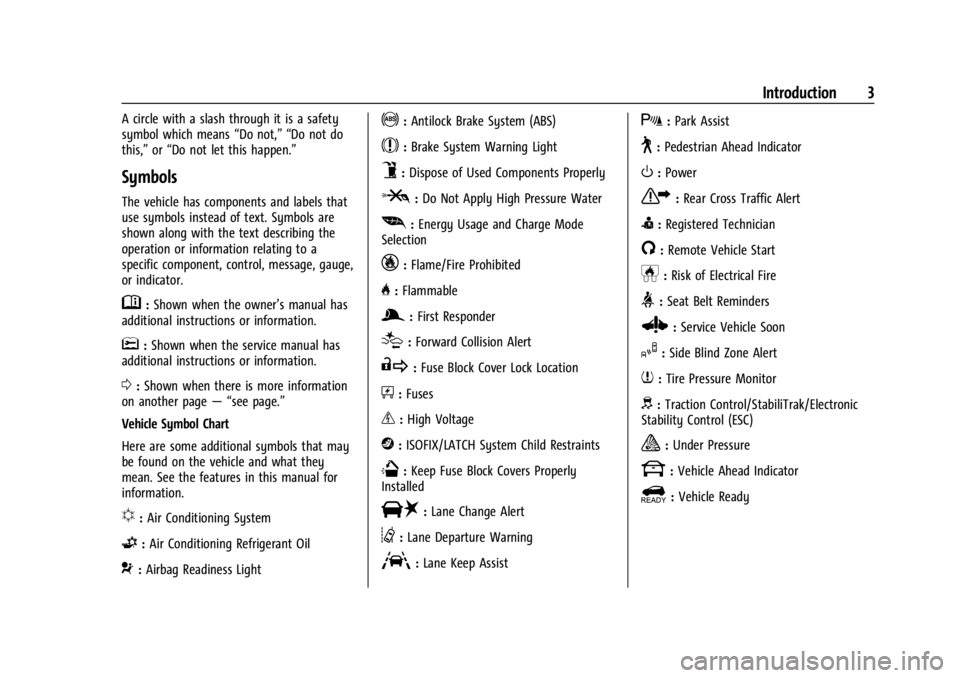
Symbols
The vehicle has components and labels that
use symbols instead of text. Symbols are
shown along with the text describing the
operation or information relating to a
specific component, control, message, gauge,
or indicator.
M:Shown when the owner’s manual has
additional instructions or information.
*: Shown when the service manual has
additional instructions or information.
0: Shown when there is more information
on another page — “see page.”
Vehicle Symbol Chart
Here are some additional symbols that may
be found on the vehicle and what they
mean. See the features in this manual for
information.
u: Air Conditioning System
G:Air Conditioning Refrigerant Oil
9:Airbag Readiness Light
!:Antilock Brake System (ABS)
$:Brake System Warning Light
9:Dispose of Used Components Properly
P:Do Not Apply High Pressure Water
[: Energy Usage and Charge Mode
Selection
_: Flame/Fire Prohibited
H: Flammable
g:First Responder
[:Forward Collision Alert
R:Fuse Block Cover Lock Location
+:Fuses
_:High Voltage
j:ISOFIX/LATCH System Child Restraints
Q:Keep Fuse Block Covers Properly
Installed
|: Lane Change Alert
@:Lane Departure Warning
A:Lane Keep Assist
X: Park Assist
~:Pedestrian Ahead Indicator
O:Power
7:Rear Cross Traffic Alert
I:Registered Technician
/:Remote Vehicle Start
h:Risk of Electrical Fire
>:Seat Belt Reminders
Z: Service Vehicle Soon
I:Side Blind Zone Alert
7:Tire Pressure Monitor
d:Traction Control/StabiliTrak/Electronic
Stability Control (ESC)
a: Under Pressure
k: Vehicle Ahead Indicator
]:Vehicle Ready
Page 101 of 429
Chevrolet Silverado EV Owner Manual (GMNA-Localizing-U.S./Canada-
16702912) - 2024 - CRC - 1/13/23
100 Instruments and Controls
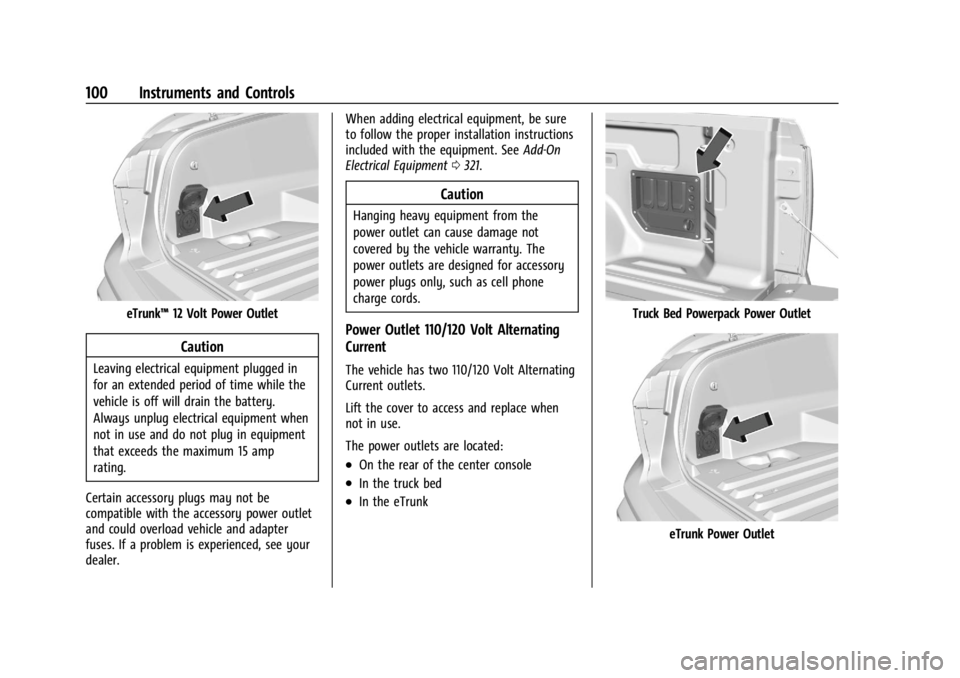
eTrunk™12 Volt Power Outlet
Caution
Leaving electrical equipment plugged in
for an extended period of time while the
vehicle is off will drain the battery.
Always unplug electrical equipment when
not in use and do not plug in equipment
that exceeds the maximum 15 amp
rating.
Certain accessory plugs may not be
compatible with the accessory power outlet
and could overload vehicle and adapter
fuses. If a problem is experienced, see your
dealer. When adding electrical equipment, be sure
to follow the proper installation instructions
included with the equipment. See
Add-On
Electrical Equipment 0321.
Caution
Hanging heavy equipment from the
power outlet can cause damage not
covered by the vehicle warranty. The
power outlets are designed for accessory
power plugs only, such as cell phone
charge cords.
Power Outlet 110/120 Volt Alternating
Current
The vehicle has two 110/120 Volt Alternating
Current outlets.
Lift the cover to access and replace when
not in use.
The power outlets are located:
.On the rear of the center console
.In the truck bed
.In the eTrunk
Truck Bed Powerpack Power Outlet
eTrunk Power Outlet
Page 324 of 429
Chevrolet Silverado EV Owner Manual (GMNA-Localizing-U.S./Canada-
16702912) - 2024 - CRC - 1/13/23
Vehicle Care 323
Vehicle Care
General Information
General Information . . . . . . . . . . . . . . . . . . . 324
California Perchlorate MaterialsRequirements . . . . . . . . . . . . . . . . . . . . . . . . 324
Accessories and Modifications . . . . . . . . . 324
Vehicle Checks
Doing Your Own Service Work . . . . . . . . 324
Underhood Compartment Overview . . . 325
Cooling System . . . . . . . . . . . . . . . . . . . . . . . . 327
Washer Fluid . . . . . . . . . . . . . . . . . . . . . . . . . . 328
Brakes . . . . . . . . . . . . . . . . . . . . . . . . . . . . . . . . . 328
Brake Fluid . . . . . . . . . . . . . . . . . . . . . . . . . . . . 329
Battery - North America . . . . . . . . . . . . . . . 330
Noise Control System (RST Only) . . . . . . 332
Wiper Blade Replacement . . . . . . . . . . . . . 333
Glass Replacement . . . . . . . . . . . . . . . . . . . . . 333
Windshield Replacement . . . . . . . . . . . . . . 334
Gas Strut(s) . . . . . . . . . . . . . . . . . . . . . . . . . . . 334
Headlamp Aiming
Front Headlamp Aiming . . . . . . . . . . . . . . . 335
Bulb Replacement
LED Lighting . . . . . . . . . . . . . . . . . . . . . . . . . . . 335
Electrical System
High Voltage Devices and Wiring . . . . . . 335
Electrical System Overload . . . . . . . . . . . . . 335 Fuses and Circuit Breakers . . . . . . . . . . . . . 337
Underhood Compartment Fuse
Block . . . . . . . . . . . . . . . . . . . . . . . . . . . . . . . . 337
Instrument Panel Fuse Block (Left) . . . . 340
Instrument Panel Fuse Block (Right) . . . 342
Wheels and Tires
Tires . . . . . . . . . . . . . . . . . . . . . . . . . . . . . . . . . . 344
All-Season Tires . . . . . . . . . . . . . . . . . . . . . . . . 345
Winter Tires . . . . . . . . . . . . . . . . . . . . . . . . . . . 345
Tire Sidewall Labeling . . . . . . . . . . . . . . . . . 346
Tire Designations . . . . . . . . . . . . . . . . . . . . . . 347
Tire Terminology and Definitions . . . . . . 347
Tire Pressure . . . . . . . . . . . . . . . . . . . . . . . . . . 349
Tire Pressure for High-Speed Operation . . . . . . . . . . . . . . . . . . . . . . . . . . . 350
Tire Pressure Monitor System . . . . . . . . . . 351
Tire Pressure Monitor Operation . . . . . . . 351
Tire Inspection . . . . . . . . . . . . . . . . . . . . . . . . . 355
Tire Rotation . . . . . . . . . . . . . . . . . . . . . . . . . . 356
When It Is Time for New Tires . . . . . . . . 357
Buying New Tires . . . . . . . . . . . . . . . . . . . . . 358
Different Size Tires and Wheels . . . . . . . 359
Uniform Tire Quality Grading . . . . . . . . . 359
Wheel Alignment and Tire Balance . . . . 360
Wheel Replacement . . . . . . . . . . . . . . . . . . . 360
Tire Chains . . . . . . . . . . . . . . . . . . . . . . . . . . . . 361
If a Tire Goes Flat . . . . . . . . . . . . . . . . . . . . . 362
Tire Sealant and Compressor Kit . . . . . . . 363
Storing the Tire Sealant and
Compressor Kit . . . . . . . . . . . . . . . . . . . . . . 368 Tire Changing . . . . . . . . . . . . . . . . . . . . . . . . . 369
Full-Size Spare Tire . . . . . . . . . . . . . . . . . . . . 374
Jump Starting
Jump Starting - North America . . . . . . . . 375
Towing the Vehicle
Transporting a Disabled Vehicle . . . . . . . 378
Recreational Vehicle Towing . . . . . . . . . . . 379
Appearance Care
Exterior Care . . . . . . . . . . . . . . . . . . . . . . . . . . 379
Interior Care . . . . . . . . . . . . . . . . . . . . . . . . . . 384
Floor Mats . . . . . . . . . . . . . . . . . . . . . . . . . . . . 387
Page 336 of 429
Chevrolet Silverado EV Owner Manual (GMNA-Localizing-U.S./Canada-
16702912) - 2024 - CRC - 1/13/23
Vehicle Care 335
Headlamp Aiming
Front Headlamp Aiming
Headlamp aim has been preset and should
need no further adjustment.
If the vehicle is damaged in a crash, the
headlamp aim may be affected.
If adjustment to the headlamps is necessary,
see your dealer.
Bulb Replacement
LED Lighting
This vehicle has several LED lamps.
For replacement of any LED lighting
assembly, contact your dealer.
Electrical System
High Voltage Devices and Wiring
{Warning
Exposure to high voltage can cause shock,
burns, and even death. The high voltage
components in the vehicle can only be
serviced by technicians with special
training.
High voltage components are identified
by labels. Do not remove, open, take
apart, or modify these components. High
voltage cable or wiring has orange
covering or labels. Do not probe, tamper
with, cut, or modify high voltage cable or
wiring.
Electrical System Overload
The vehicle has fuses and circuit breakers to
protect against an electrical system
overload.
When the current electrical load is too
heavy, the circuit breaker opens and closes,
protecting the circuit until the current load
returns to normal or the problem is fixed.This greatly reduces the chance of circuit
overload and fire caused by electrical
problems.
Fuses and circuit breakers protect the wires
that provide the power to the devices in
your vehicle.
If there is a problem on the road and a fuse
needs to be replaced, the same amperage
fuse can be borrowed. Choose some feature
of the vehicle that is not needed to use and
replace it as soon as possible.
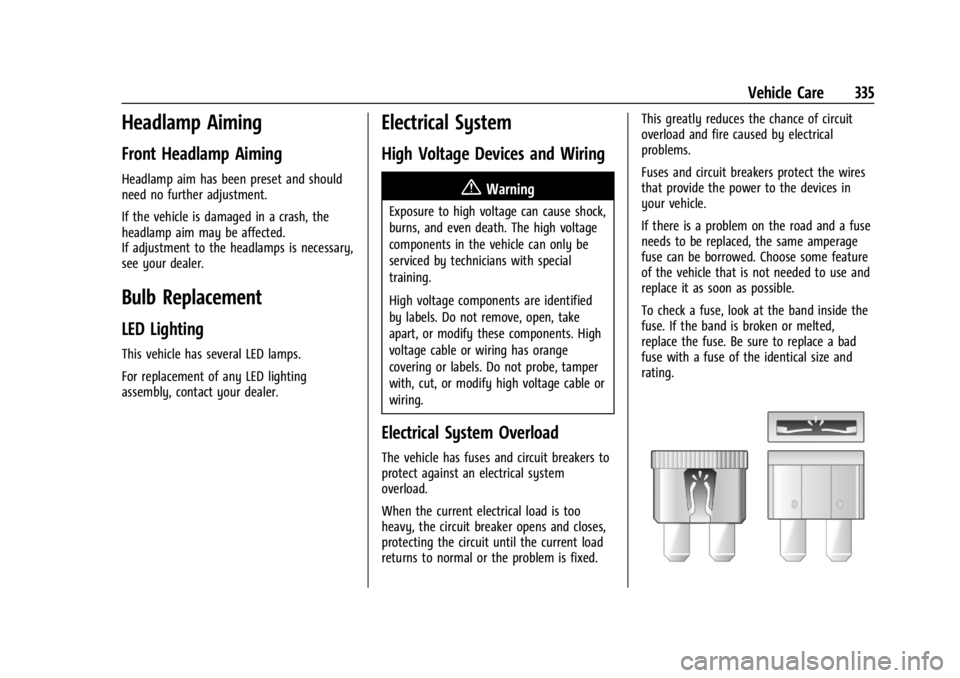
To check a fuse, look at the band inside the
fuse. If the band is broken or melted,
replace the fuse. Be sure to replace a bad
fuse with a fuse of the identical size and
rating.
Page 338 of 429
Chevrolet Silverado EV Owner Manual (GMNA-Localizing-U.S./Canada-
16702912) - 2024 - CRC - 1/13/23
Vehicle Care 337
If the overload is caused by an electrical
problem and not snow or ice, be sure to get
it fixed.
Fuses and Circuit Breakers
The wiring circuits in the vehicle are
protected from short circuits by a
combination of fuses and circuit breakers.
This greatly reduces the chance of damage
caused by electrical problems.
{Danger
Fuses and circuit breakers are marked
with their ampere rating. Do not exceed
the specified amperage rating when
replacing fuses and circuit breakers. Use
of an oversized fuse or circuit breaker can
result in a vehicle fire. You and others
could be seriously injured or killed.
{Warning
Installation or use of fuses that do not
meet GM’s original fuse specifications is
dangerous. The fuses could fail, and result
in a fire. You or others could be injured
or killed, and the vehicle could be
damaged.
See Accessories and Modifications 0324 and
General Information 0324.
To check or replace a blown fuse, see
Electrical System Overload 0335.
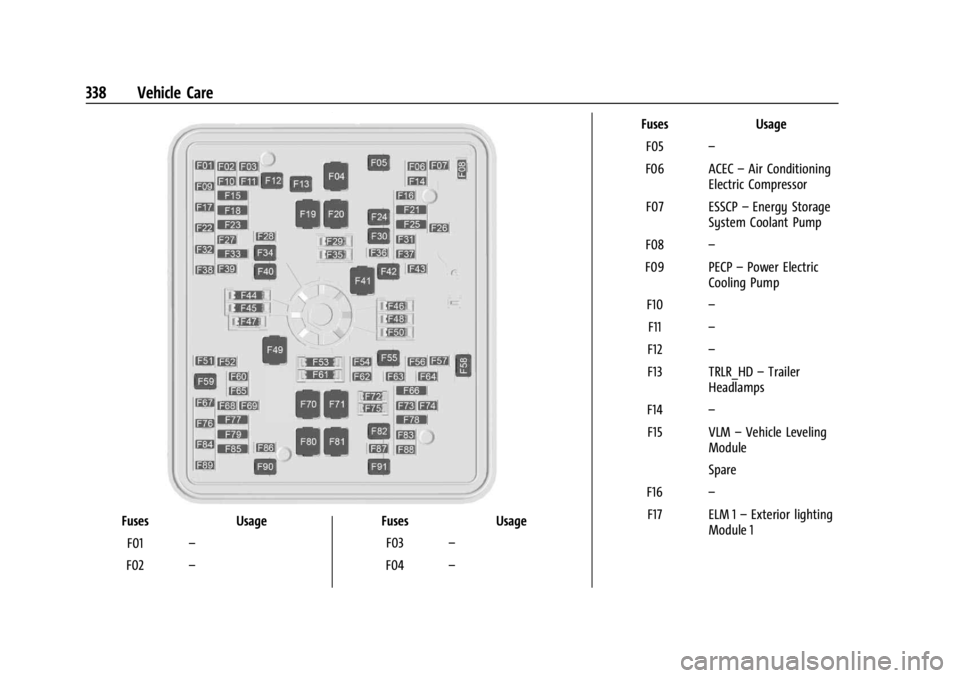
Underhood Compartment Fuse
Block
The underhood compartment fuse block is in
the underhood compartment, on the
passenger side of the vehicle.
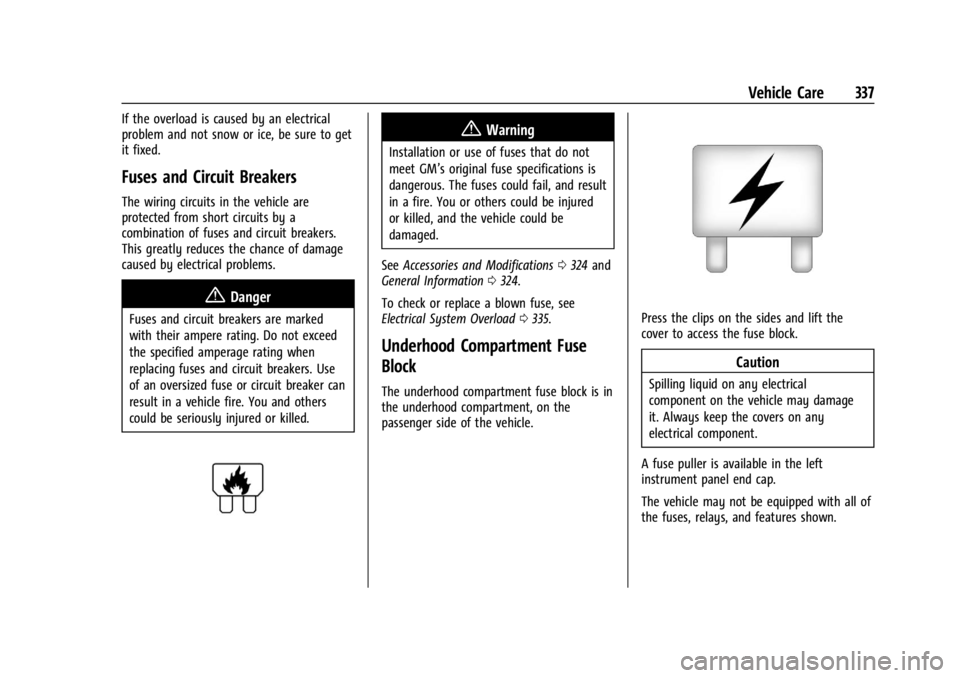
Press the clips on the sides and lift the
cover to access the fuse block.
Caution
Spilling liquid on any electrical
component on the vehicle may damage
it. Always keep the covers on any
electrical component.
A fuse puller is available in the left
instrument panel end cap.
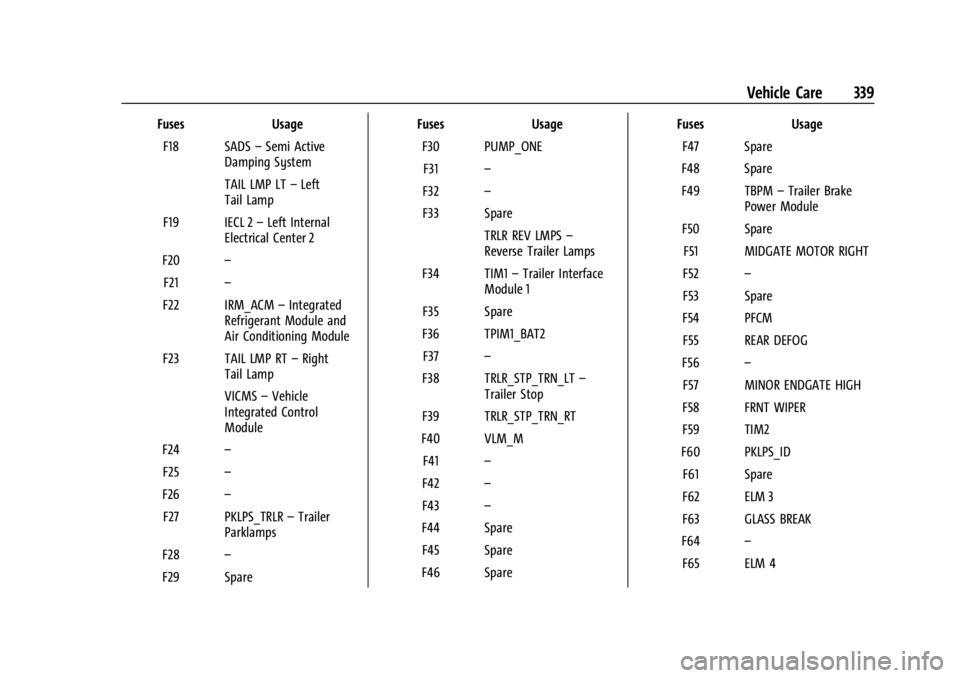
The vehicle may not be equipped with all of
the fuses, relays, and features shown.
Page 339 of 429
Chevrolet Silverado EV Owner Manual (GMNA-Localizing-U.S./Canada-
16702912) - 2024 - CRC - 1/13/23
338 Vehicle Care
FusesUsage
F01 –
F02 – Fuses
Usage
F03 –
F04 – Fuses
Usage
F05 –
F06 ACEC –Air Conditioning
Electric Compressor
F07 ESSCP –Energy Storage
System Coolant Pump
F08 –
F09 PECP –Power Electric
Cooling Pump
F10 –
F11 –
F12 –
F13 TRLR_HD –Trailer
Headlamps
F14 –
F15 VLM –Vehicle Leveling
Module
Spare
F16 –
F17 ELM 1 –Exterior lighting
Module 1
Page 340 of 429
Chevrolet Silverado EV Owner Manual (GMNA-Localizing-U.S./Canada-
16702912) - 2024 - CRC - 1/13/23
Vehicle Care 339
FusesUsage
F18 SADS –Semi Active
Damping System
TAIL LMP LT –Left
Tail Lamp
F19 IECL 2 –Left Internal
Electrical Center 2
F20 –
F21 –
F22 IRM_ACM –Integrated
Refrigerant Module and
Air Conditioning Module
F23 TAIL LMP RT –Right
Tail Lamp
VICMS –Vehicle
Integrated Control
Module
F24 –
F25 –
F26 –
F27 PKLPS_TRLR –Trailer
Parklamps
F28 –
F29 Spare Fuses
Usage
F30 PUMP_ONE F31 –
F32 –
F33 Spare TRLR REV LMPS –
Reverse Trailer Lamps
F34 TIM1 –Trailer Interface
Module 1
F35 Spare
F36 TPIM1_BAT2 F37 –
F38 TRLR_STP_TRN_LT –
Trailer Stop
F39 TRLR_STP_TRN_RT
F40 VLM_M F41 –
F42 –
F43 –
F44 Spare F45 Spare
F46 Spare Fuses
Usage
F47 Spare
F48 Spare
F49 TBPM –Trailer Brake
Power Module
F50 Spare F51 MIDGATE MOTOR RIGHT
F52 –
F53 Spare
F54 PFCM F55 REAR DEFOG
F56 –
F57 MINOR ENDGATE HIGH
F58 FRNT WIPER
F59 TIM2
F60 PKLPS_ID F61 Spare
F62 ELM 3
F63 GLASS BREAK
F64 –
F65 ELM 4
Page 341 of 429
Chevrolet Silverado EV Owner Manual (GMNA-Localizing-U.S./Canada-
16702912) - 2024 - CRC - 1/13/23
340 Vehicle Care
FusesUsage
F66 –
F67 EMB/GRILL LIGHT
F68 HDLP_LT
F69 MIDGATE LEFT MOTOR F70 EBCM 1 F71 DC/AC INV
F72 Spare
F73 –
F74 –
F75 Spare
F76 HDLP_RT F77 –
F78 MIDGATE CROSS BAR MOTOR 2
MIDGATE CROSS BAR
MOTOR 1
F79 PCV_PEEV_ALD FR RADAR/VIRTUAL KEY
F80 IECR 2 F81 IECL 1 Fuses
Usage
F82 –
F83 –
F84 V2LIM F85 Spare HVS (HIGH VOLTAGE
SERVICE DISCONNECT)
F86 HORN F87 FRT WSHR PMP
F88 –
F89 –
F90 –
F91 –Instrument Panel Fuse Block (Left)
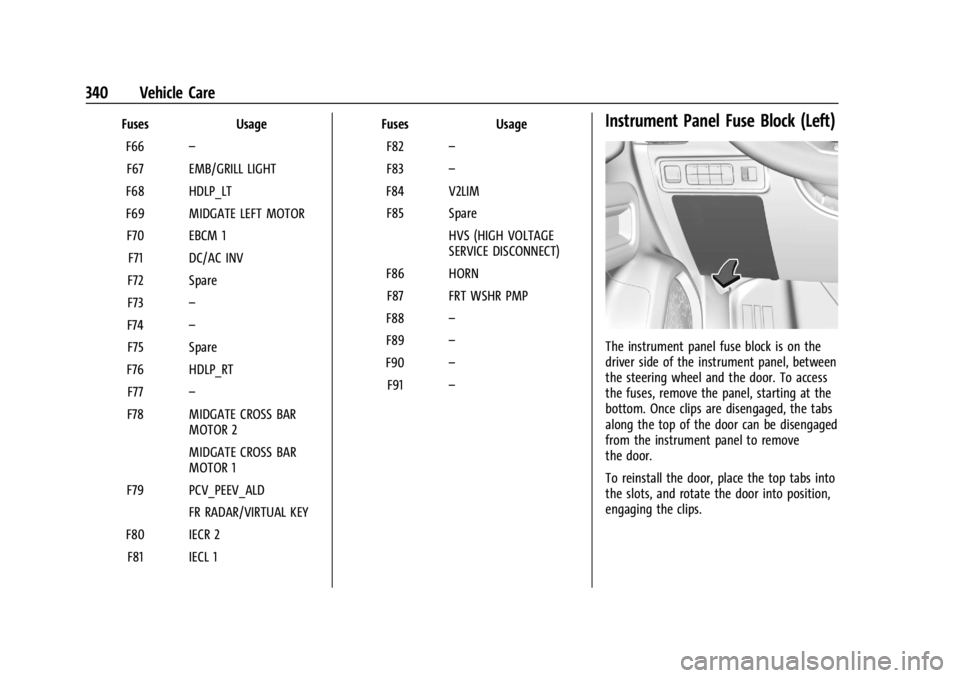
The instrument panel fuse block is on the
driver side of the instrument panel, between
the steering wheel and the door. To access
the fuses, remove the panel, starting at the
bottom. Once clips are disengaged, the tabs
along the top of the door can be disengaged
from the instrument panel to remove
the door.
To reinstall the door, place the top tabs into
the slots, and rotate the door into position,
engaging the clips.