2023 TOYOTA SUPRA steering wheel
[x] Cancel search: steering wheelPage 134 of 372

1343-1. CONTROLS
To shift down: press the
selector lever forward.
To shift up: pull the selector
lever rearwards.
Push the selector lever to the
right.
D is displayed in the instrument
cluster.
The shift paddles on the steer-
ing wheel allow you to shift
gears quickly while keeping both
hands on the steering wheel.
■Shifting
The vehicle only shifts at suit-
able engine and road speeds.
■Short-term manual mode
In selector lever position D,
actuating a shift paddle switches
into manual mode temporarily.
After conservative driving in
manual mode without accelera-
tion or shifting via the shift pad-
dles for a certain amount of
time, the transmission switches
back to automatic mode. It is possible to switch into auto-
matic mode as follows:
Pull and hold right shift pad-
dle.
In addition to the briefly pulled
right shift paddle, briefly pull
the left shift paddle.
■Continuous manual mode
In selector lever position M,
actuating a shift paddle switches
into manual mode permanently.
Shifting up: pull the right shift
paddle.
Shifting down: pull left shift
paddle.
Downshifting to the lowest
possible gear: keep the left
shift paddle pulled.
The selected gear is briefly dis-
played in the instrument cluster,
followed by the current gear.
Shifting
Ending the manual mode
Shift paddles
Concept
General information
Shifting
Page 136 of 372
1363-1. CONTROLS
Do not use Launch Control
during the break-in, refer to
page 258, period.
Do not steer the steering wheel
when driving off with Launch
Control.
Launch Control is available
when the engine is at operating
temperature. The engine is at
operating temperature after an
uninterrupted trip of at least 6
miles/10 km.
1Switch on drive-ready state.
2 Press the sport button.
SPORT will be dis played on the
instrument cluster, indicating sport
mode has been selected.
3 Press the button.
TRACTION will be displayed on the
instrument cluster and the VSC
OFF indicator la mp will illuminate.
4Select the D selector lever
position.
5 Firmly depress the brake
pedal with your left foot.
6 Fully depress and hold the
accelerator pedal at the kick-
down position.
A flag symbol will be shown in the
instrument cluster.
7The engine speed will be
adjusted for launching. Release the brake pedal
within 3 seconds.
After Launch Control has been
used, the transmission must
cool down for approx. 5 minutes
before Launch Control can be
used again. Launch Control
adjusts to the surrounding con-
ditions, when used again.
To increase vehicle stability,
activate VSC Vehicle Stability
Control System again as soon
as possible.
An experienced driver may be
able to achieve better accelera-
tion values in VSC OFF mode.
The Sport mode button influ-
ences the driving dynamics
properties of the vehicle.
The following systems are
affected, for instance:
Engine characteristics.
Automatic transmission.
Functional requirements
Start with launch control
Repeated use during a trip
After using Launch Control
System limits
Sport mode button
Concept
General information
Page 149 of 372
1493-1. CONTROLS
3
CONTROLS
Items displayed may differ
depending on the specifications
of the vehicle.
The lists can be displayed and
operated using the buttons on
the steering wheel.
The Onboard Computer dis-
plays different vehicle data in
the instrument cluster, such as average values.
Press and hold the button on the
turn signal lever.
Information is displayed in the
instrument cluster. Pressing the
button repeatedly displays addi-
tional information.
The following information can be
displayed on the Onboard Com-
puter:
Miles and trip miles.
Current drivable range.
Consumption display.
Average consumption and
average speed.
Average consumption since
leaving the factory.
For some information of the
Onboard Computer, it is possi-
ble to set whether it can be
Display
Displaying and using the
list
ButtonFunction
Change the entertain-
ment source.
Pressing the button
again will close the cur-
rently displayed list.
Show list of most
recent telephone calls.
Turn the thumbwheel:
select entertainment
source or list entry.
Press the thumbwheel
to confirm the setting.
The currently selected
list can be displayed
again in the instrument
cluster by turning the
thumbwheel.
Onboard Computer in the
instrument cluster
Concept
Calling up information
Information at a glance
Adjusting information for
Onboard Computer
Page 156 of 372
1563-1. CONTROLS
glass of the Head-up Display.
Windshield dirty on inside or
outside.
Sunglasses with certain polar-
ization filters.
Wet roads.
Unfavorable light conditions.
If the image is distorted, have
the basic settings checked by
your Toyota dealer.
The windshield is part of the
system.
The shape of the windshield
makes it possible to display a
precise image.
A film in the windshield prevents
double images from being gen-
erated.
For this reason, it is strongly
suggested to have the special
windshield replaced by your
Toyota dealer if necessary. This chapter describes all stan-
dard, country-specific and
optional features offered with
the series. It also describes fea-
tures and functions that are not
necessarily available in your
vehicle, e.g., due to the selected
options or country versions. This
also applies to safety-related
functions and systems. When
using these functions and sys-
tems, the applicable laws and
regulations must be observed.
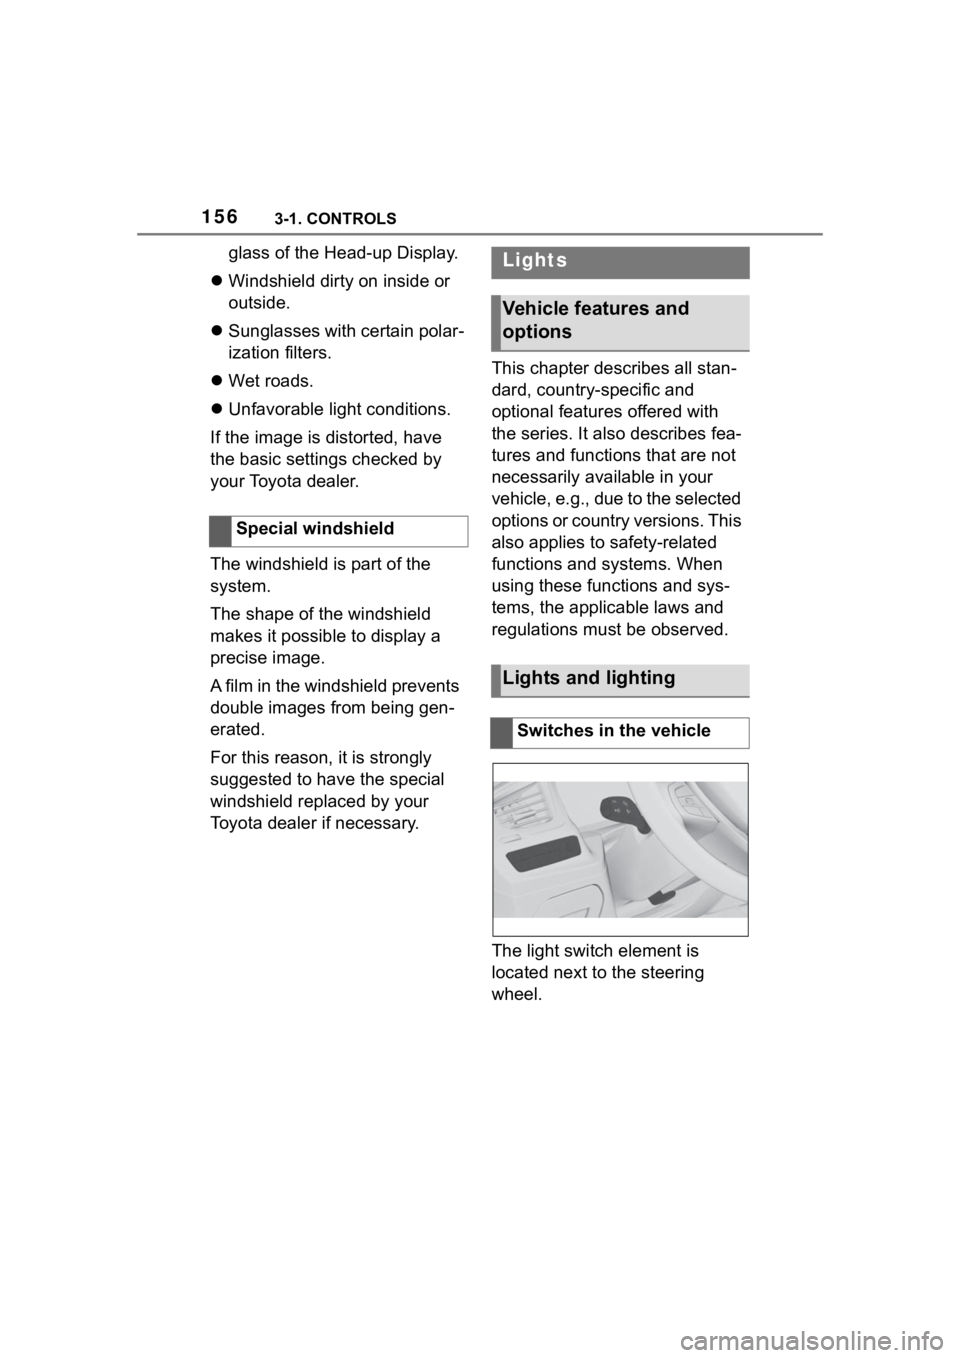
The light switch element is
located next to the steering
wheel.
Special windshieldLights
Vehicle features and
options
Lights and lighting
Switches in the vehicle
Page 165 of 372
1653-1. CONTROLS
3
CONTROLS
Airbags are not triggered in
every impact situation, for
instance in less severe acci-
dents.
Keep a distance from the air-
bags.
Always grasp the steering
wheel on the steering wheel
rim. Hold your hands at the 3
o'clock and 9 o'clock posi-
tions, to keep the risk of injury
to your hands or arms as low
as possible when the airbag is
triggered.
Adjust seat and steering
wheel so that hands can be
crossed over the steering
wheel. Select the settings so
that the shoulder rests against
the backrest when crossing
the hands and the upper body is as far back as possible
while still maintaining a com-
fortable grip on the steering
wheel.
Make sure that the front pas-
senger is sitting correctly, i.e.,
keeps his or her feet and legs
in the floor area and does not
support them on the dash-
board.
Make sure that occupants
keep their heads away from
the side airbag.
There should be no addi-
tional persons, animals or
objects between an airbag
and a person.
Dashboard and windshield on
the front passenger side must
stay clear - do not attach
adhesive labels or coverings
and do not attach brackets or
cables, for instance for GPS
devices or mobile phones.
Do not apply adhesive materi-
als to the airbag cover panels,
do not cover them or modify
them in any way.
Do not use the cover of the
front airbag on the front pas-
senger side as a storage
area.
Do not attach slip covers, seat
cushions or other objects to
the front passenger seat that
are not specifically suited for
seats with integrated side air-
bags.
Protective effect
General information
Information on optimum
effect of the airbags
WARNING
If the seat position is incorrect or
the deployment area of the air-
bags is impaired, the airbag sys-
tem cannot provide protection as
intended and ma y cause addi-
tional injuries due to triggering.
There is a risk o f injuries or dan-
ger to life. Follow the information
on achieving the optimum protec-
tive effect of the airbag system.
Page 166 of 372
1663-1. CONTROLS
Do not hang pieces of cloth-
ing, such as jackets, over the
backrests.
Never modify either the indi-
vidual components or the wir-
ing in the airbag system. This
also applies to steering wheel
covers, the dashboard, and
the seats.
Do not remove the airbag sys-
tem.
Even when you follow all
instructions very closely, injury
from contact with the airbags
cannot be fully ruled out in cer-
tain situations.
The ignition and inflation noise
may lead to short-term and, in
most cases, temporary hearing
impairment in sensitive occu-
pants.
Vehicle modifications for a per-
son with disabilities may affect
the air bag system; contact the
Toyota dealer for further infor-
mation.
Warnings and information on the
airbags are also found on the
sun visors. Functional readiness of
the airbag system
Safety information
WARNING
Individual components can be hot
after triggering of the airbag sys-
tem. There is a risk of injury. Do
not touch individual components.
WARNING
Improperly executed work can
lead to failure, malfunction or
unintentional triggering of the air-
bag system. In the case of a mal-
function, the airbag system might
not trigger as intended despite the
accident severity. There is a risk
of injuries or danger to life. Have
the airbag system checked,
repaired, dismantled and
scrapped by your Toyota dealer.
Display in the instrument
cluster
When drive-ready state is
switched on, the warning
light in the instrument
cluster lights up briefly and
thereby indicates the func-
tion readiness of the entire
airbag system and the belt
tensioners.
Malfunction
Warning light does not
come on when
drive-ready state is
switched on.
The warning light lights
up continuously.
Page 167 of 372

1673-1. CONTROLS
3
CONTROLS
Have the system checked.
The power that deploys the
driver's/front passenger airbags
depends on the position of the
driver's/front passenger seat.
To maintain the accuracy of this
function, calibrate the electrical
front seats as soon as a respec-
tive message appears on the
control display.
For further information:
Electrically adjustable seats,
see page P.101.
The airbags are not designed to
be used in place of the seat
belts.
The SRS front airbags and SRS
knee airbags are designed to
supplement the seat belts, not
be used in place of them, to
increase their effectiveness as
an occupant protection device.
SRS is an acronym for Supplemen-
tal Restraint System
In the event of a collision, the
seat belts restrain the occupants
in their seats, but if the impact of
the collision is especially
severe, there is danger of an
occupant’s head and chest con-
tacting the steering wheel, dash- board and windshield. In this
case, the SRS front airbags and
SRS knee airbags deploy
(inflate), instantly creating an air
cushion to help reduce the
impact on the occupants and
restrain them from contacting
the steering wheel, etc. with
their head, chest and knees.
The SRS front air bags and SRS
knee airbags deploy only when
an impact exceeding a certain
threshold is detected. In a colli-
sion, even if the impact is
severe enough to cause the
vehicle body to deform, the SRS
airbags may not deploy if the
impact of the collision is suffi-
ciently dispersed by the crash
structures of the vehicle body. If
the force of the collision does
not cause the airbags to deploy,
the seatbelts will protect the
occupants.
When an airbag deploys, as it
will inflate nearly instantly, it may
impact an occupant and cause
an injury, or the loud noise emit-
ted by ignition or deployment
may cause temporary partial
loss of hearing. Also, as an air-
bag and nearby parts will be
extremely hot after the airbag
deploys, touching them may
cause burns. For these reasons,
deployment of the airbags is not
entirely risk free. Therefore, in
order to reduce this risk, the air-
bags are designed to only
Setting the front seat posi-
tions
SRS front airbag/SRS knee
airbag
Page 168 of 372
1683-1. CONTROLS
deploy when additional reduc-
tion of the impact applied to the
occupants in a collision is nec-
essary.
WARNING
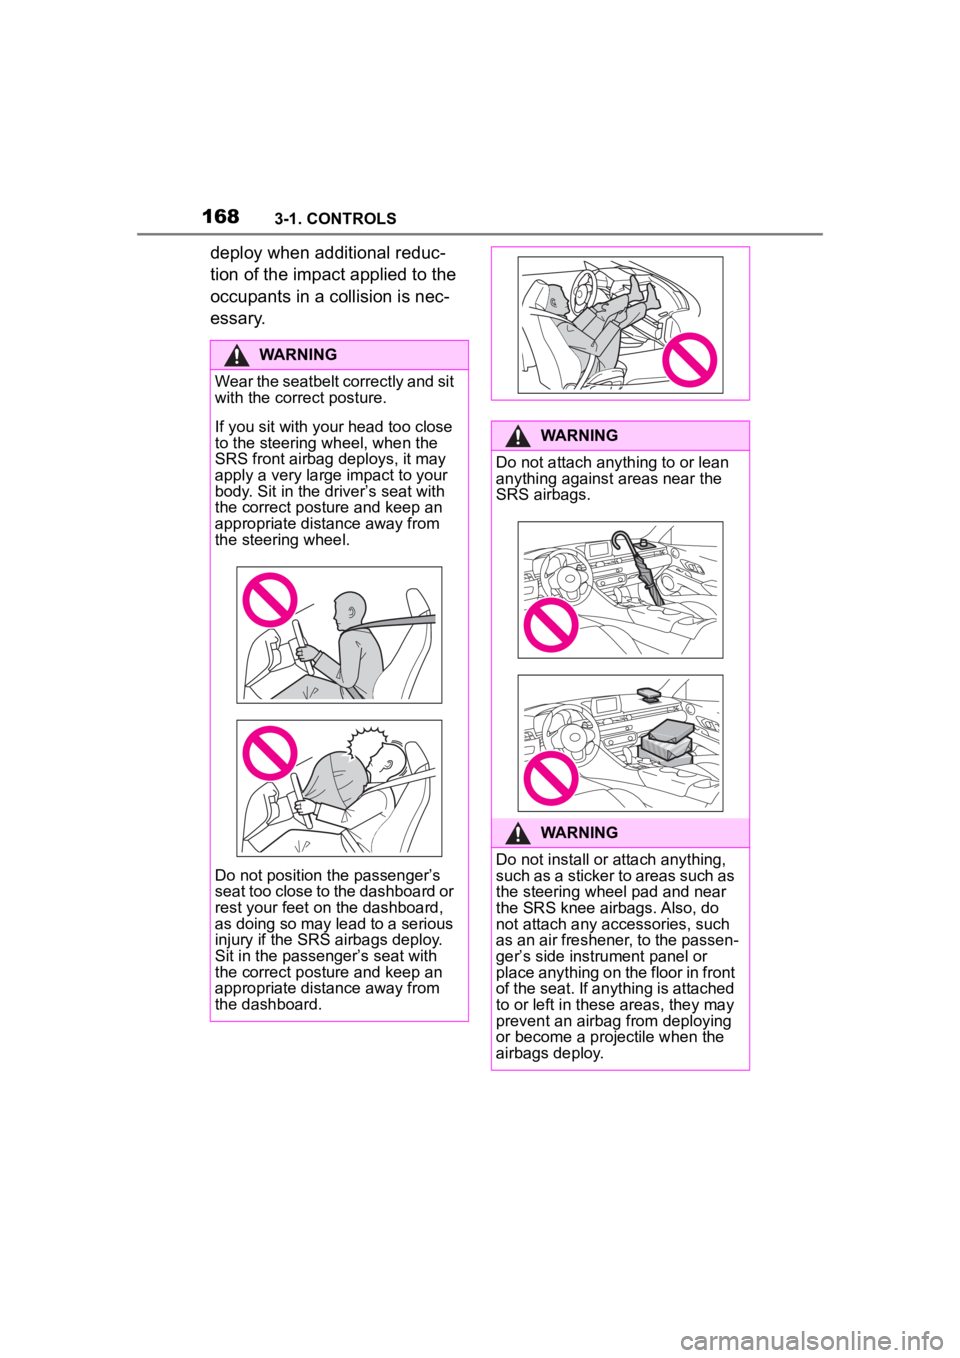
Wear the seatbelt correctly and sit
with the correct posture.
If you sit with your head too close
to the steering wheel, when the
SRS front airbag deploys, it may
apply a very large impact to your
body. Sit in the driver�