2023 FORD EXPEDITION remove seats
[x] Cancel search: remove seatsPage 168 of 658
WARNING: Always drive and ridewith your seatback upright and the lapbelt snug and low across the hips.
WARNING: Do not place cargo orany objects behind the seat backrestbefore returning it to the original position.Pull on the seat backrest to make surethat it has fully latched after returningthe seat backrest to its original position.An unlatched seat may becomedangerous if you stop suddenly or havea crash.
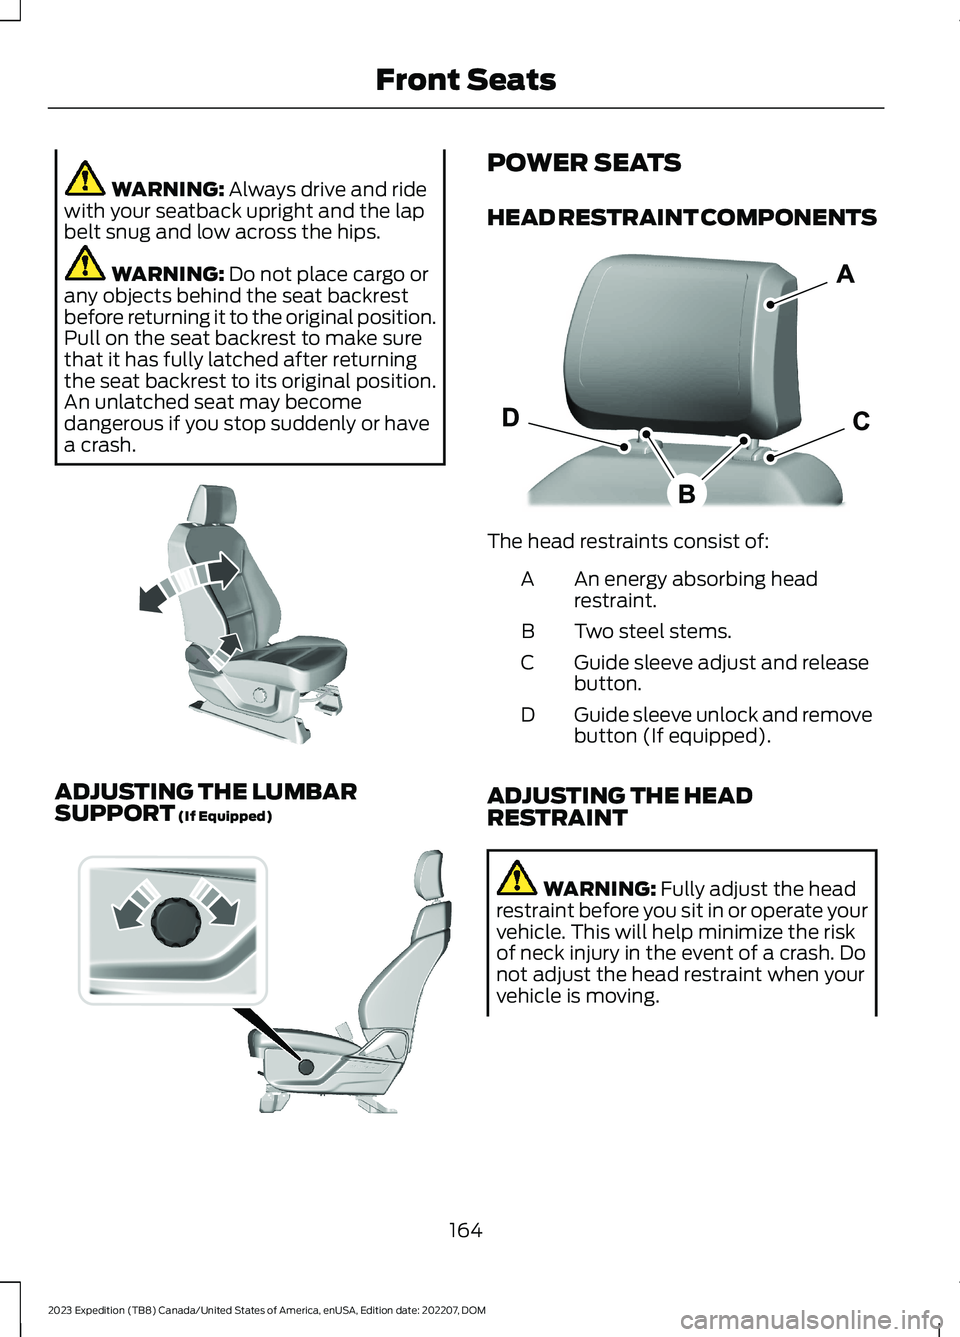
ADJUSTING THE LUMBARSUPPORT (If Equipped)
POWER SEATS
HEAD RESTRAINT COMPONENTS
The head restraints consist of:
An energy absorbing headrestraint.A
Two steel stems.B
Guide sleeve adjust and releasebutton.C
Guide sleeve unlock and removebutton (If equipped).D
ADJUSTING THE HEADRESTRAINT
WARNING: Fully adjust the headrestraint before you sit in or operate yourvehicle. This will help minimize the riskof neck injury in the event of a crash. Donot adjust the head restraint when yourvehicle is moving.
164
2023 Expedition (TB8) Canada/United States of America, enUSA, Edition date: 202207, DOMFront SeatsE175315 E308334 E327921
Page 169 of 658
WARNING: The head restraint is asafety device. Whenever possible itshould be installed and properlyadjusted when the seat is occupied.Failure to adjust the head restraintproperly could reduce its effectivenessduring certain impacts.
WARNING: Adjust the headrestraints for all passengers before youdrive your vehicle. This will help minimizethe risk of neck injury in the event of acrash. Do not adjust the head restraintswhen your vehicle is moving.
To raise the head restraint, pull the headrestraint up.
To lower the head restraint:
1.Press and hold the adjust and releasebutton.
2.Push the head restraint down.
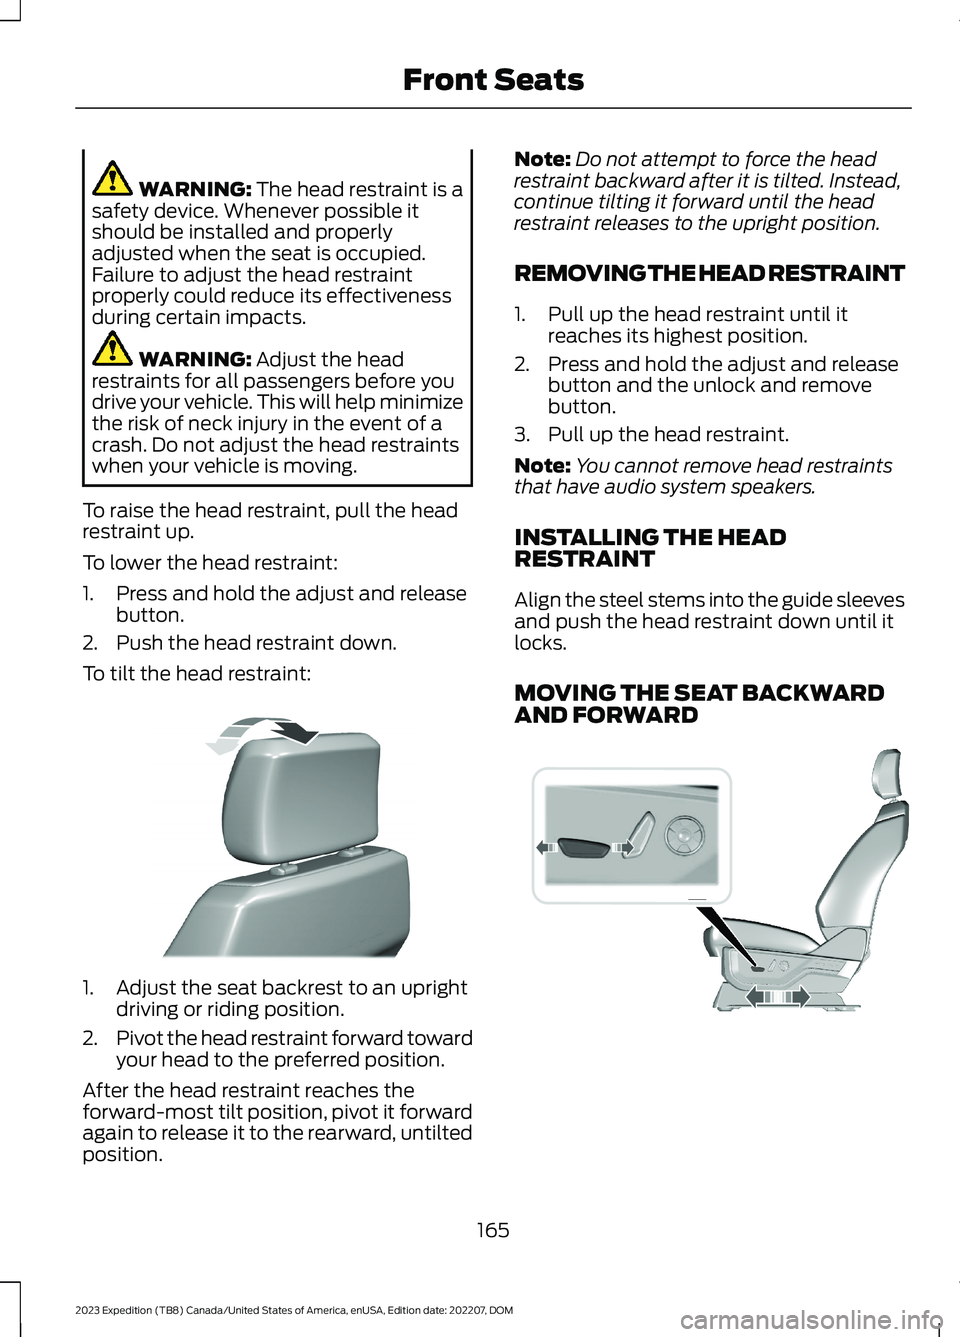
To tilt the head restraint:
1.Adjust the seat backrest to an uprightdriving or riding position.
2.Pivot the head restraint forward towardyour head to the preferred position.
After the head restraint reaches theforward-most tilt position, pivot it forwardagain to release it to the rearward, untiltedposition.
Note:Do not attempt to force the headrestraint backward after it is tilted. Instead,continue tilting it forward until the headrestraint releases to the upright position.
REMOVING THE HEAD RESTRAINT
1.Pull up the head restraint until itreaches its highest position.
2.Press and hold the adjust and releasebutton and the unlock and removebutton.
3.Pull up the head restraint.
Note:You cannot remove head restraintsthat have audio system speakers.
INSTALLING THE HEADRESTRAINT
Align the steel stems into the guide sleevesand push the head restraint down until itlocks.
MOVING THE SEAT BACKWARDAND FORWARD
165
2023 Expedition (TB8) Canada/United States of America, enUSA, Edition date: 202207, DOMFront SeatsE327919 E308339
Page 173 of 658
MANUAL SEATS
HEAD RESTRAINT COMPONENTS
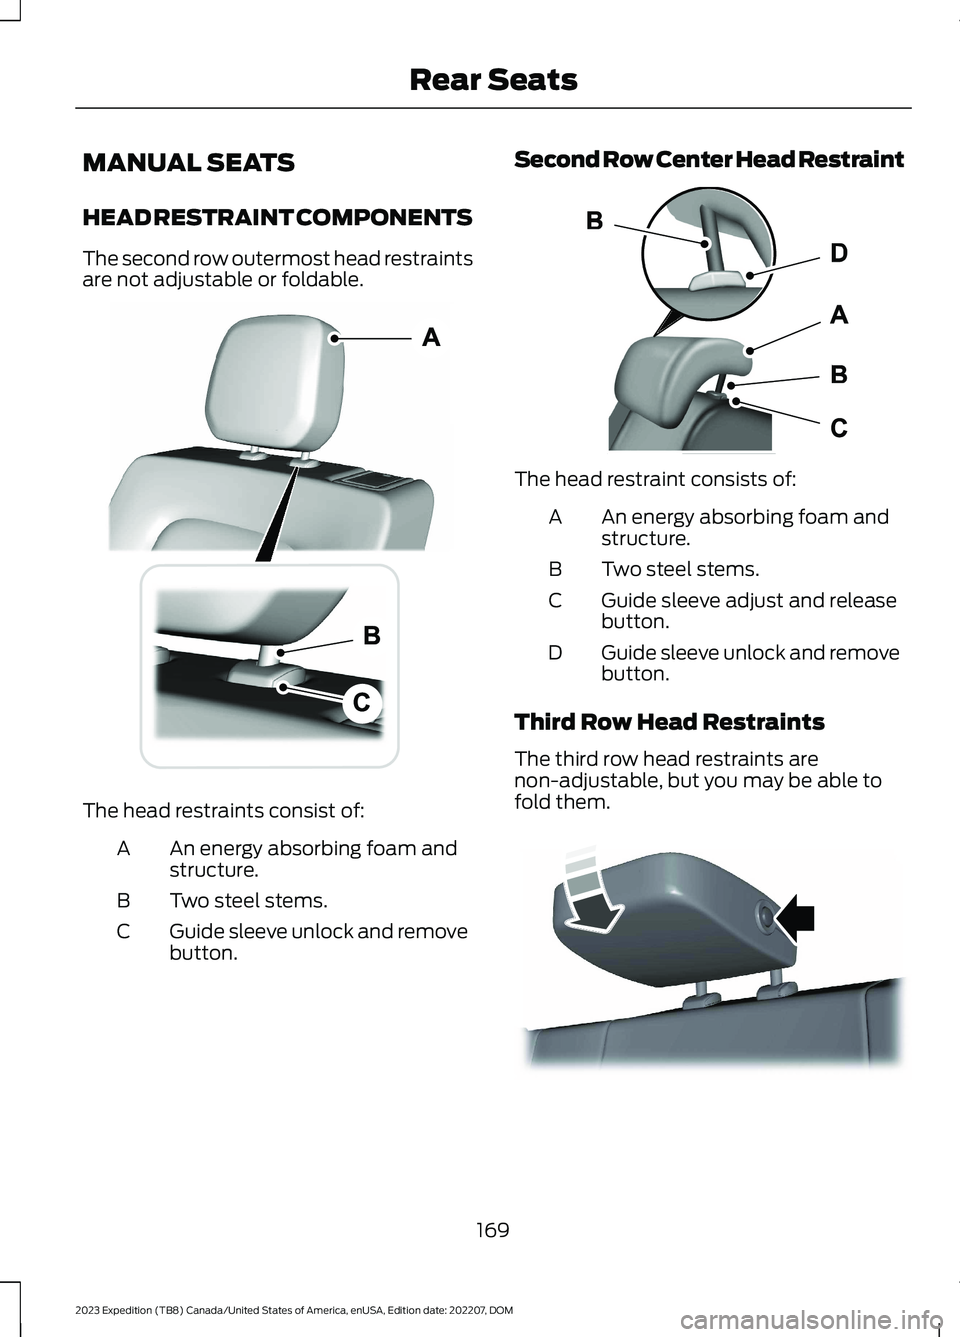
The second row outermost head restraintsare not adjustable or foldable.
The head restraints consist of:
An energy absorbing foam andstructure.A
Two steel stems.B
Guide sleeve unlock and removebutton.C
Second Row Center Head Restraint
The head restraint consists of:
An energy absorbing foam andstructure.A
Two steel stems.B
Guide sleeve adjust and releasebutton.C
Guide sleeve unlock and removebutton.D
Third Row Head Restraints
The third row head restraints arenon-adjustable, but you may be able tofold them.
169
2023 Expedition (TB8) Canada/United States of America, enUSA, Edition date: 202207, DOMRear SeatsE354503 E138645 E193964
Page 174 of 658
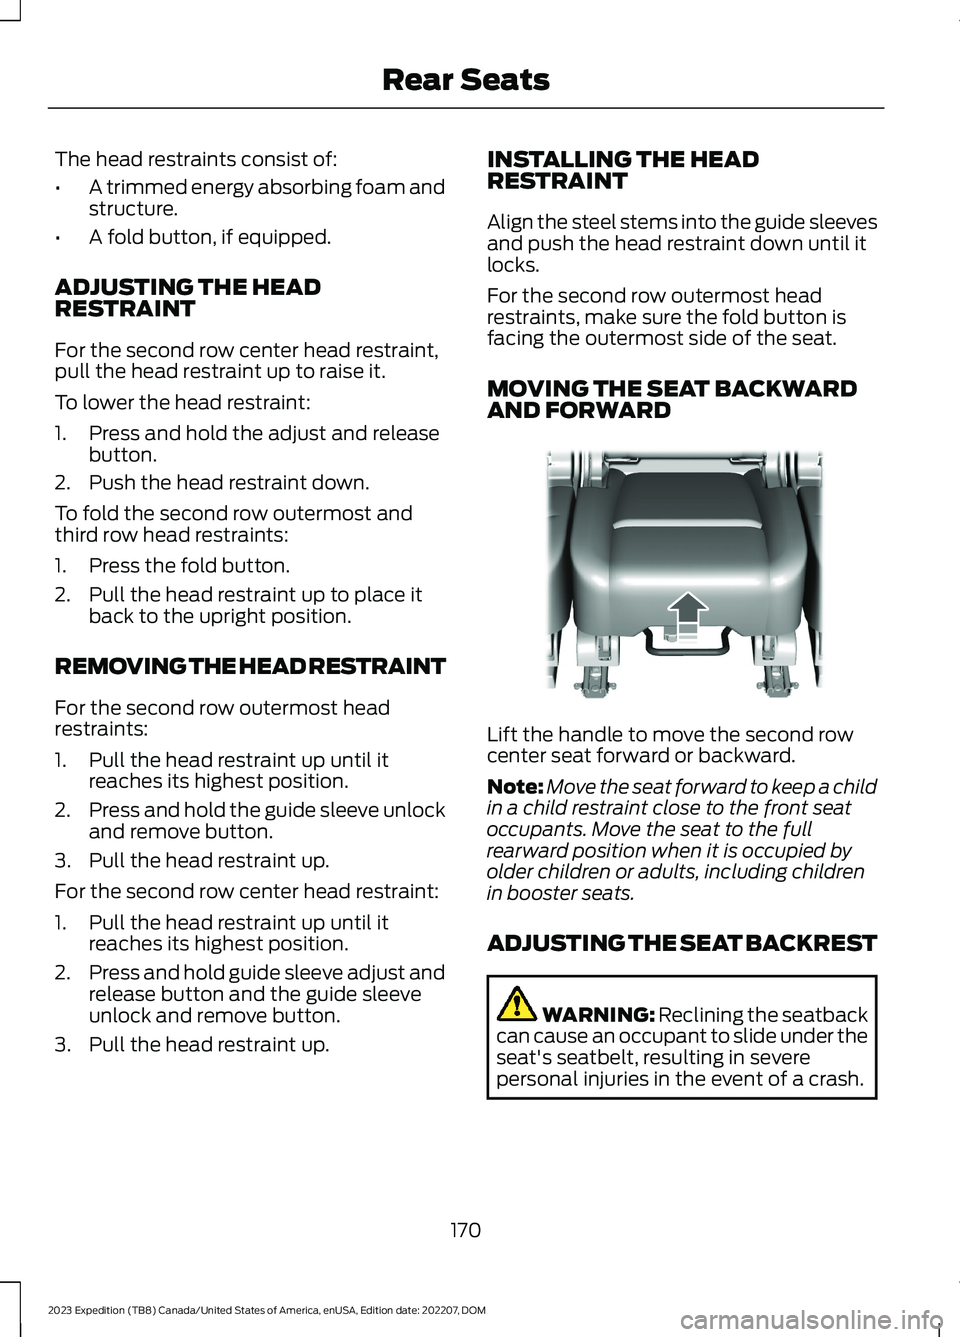
The head restraints consist of:
•A trimmed energy absorbing foam andstructure.
•A fold button, if equipped.
ADJUSTING THE HEADRESTRAINT
For the second row center head restraint,pull the head restraint up to raise it.
To lower the head restraint:
1.Press and hold the adjust and releasebutton.
2.Push the head restraint down.
To fold the second row outermost andthird row head restraints:
1.Press the fold button.
2.Pull the head restraint up to place itback to the upright position.
REMOVING THE HEAD RESTRAINT
For the second row outermost headrestraints:
1.Pull the head restraint up until itreaches its highest position.
2.Press and hold the guide sleeve unlockand remove button.
3.Pull the head restraint up.
For the second row center head restraint:
1.Pull the head restraint up until itreaches its highest position.
2.Press and hold guide sleeve adjust andrelease button and the guide sleeveunlock and remove button.
3.Pull the head restraint up.
INSTALLING THE HEADRESTRAINT
Align the steel stems into the guide sleevesand push the head restraint down until itlocks.
For the second row outermost headrestraints, make sure the fold button isfacing the outermost side of the seat.
MOVING THE SEAT BACKWARDAND FORWARD
Lift the handle to move the second rowcenter seat forward or backward.
Note:Move the seat forward to keep a childin a child restraint close to the front seatoccupants. Move the seat to the fullrearward position when it is occupied byolder children or adults, including childrenin booster seats.
ADJUSTING THE SEAT BACKREST
WARNING: Reclining the seatbackcan cause an occupant to slide under theseat's seatbelt, resulting in severepersonal injuries in the event of a crash.
170
2023 Expedition (TB8) Canada/United States of America, enUSA, Edition date: 202207, DOMRear SeatsE247034
Page 177 of 658
To return the seat to the seating position,slide the seat rearward while pulling downon the seat backrest until the latch fullyengages.
To move the seat further back, pull thelever under the front of the seat and slideit backward.
Note: You must move the seat to the fullforward position before you move itrearward. Otherwise, the seat may not slideproperly rearward.
Note:You can slide the outermost seatsforward when using a child restraint.
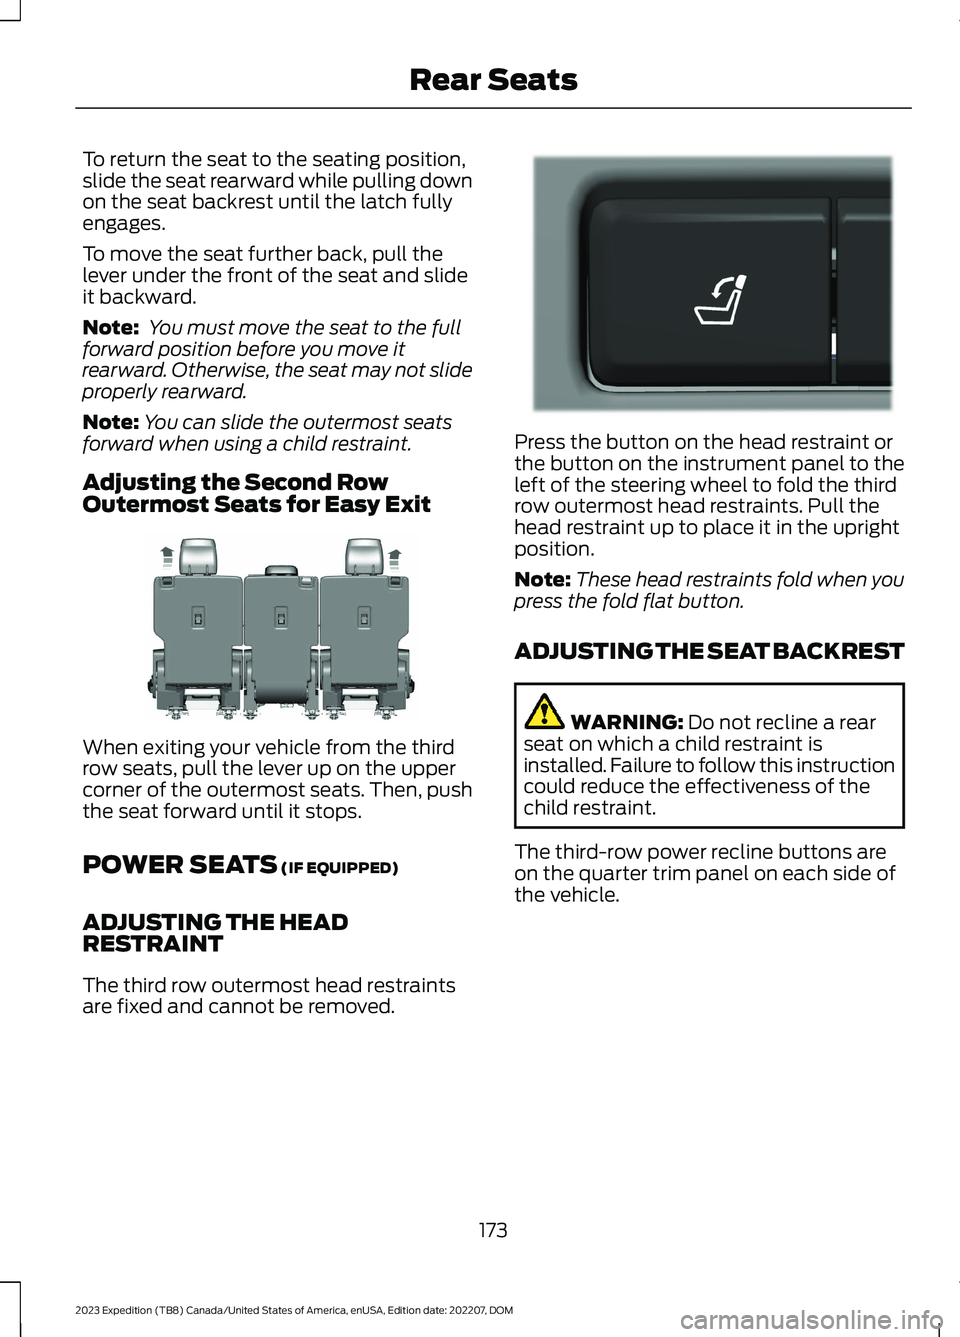
Adjusting the Second RowOutermost Seats for Easy Exit
When exiting your vehicle from the thirdrow seats, pull the lever up on the uppercorner of the outermost seats. Then, pushthe seat forward until it stops.
POWER SEATS (IF EQUIPPED)
ADJUSTING THE HEADRESTRAINT
The third row outermost head restraintsare fixed and cannot be removed.
Press the button on the head restraint orthe button on the instrument panel to theleft of the steering wheel to fold the thirdrow outermost head restraints. Pull thehead restraint up to place it in the uprightposition.
Note:These head restraints fold when youpress the fold flat button.
ADJUSTING THE SEAT BACKREST
WARNING: Do not recline a rearseat on which a child restraint isinstalled. Failure to follow this instructioncould reduce the effectiveness of thechild restraint.
The third-row power recline buttons areon the quarter trim panel on each side ofthe vehicle.
173
2023 Expedition (TB8) Canada/United States of America, enUSA, Edition date: 202207, DOMRear SeatsE246708 E272543
Page 182 of 658
Semiannual Reminder (If Equipped)
When you switch the system off, amessage appears every six months as areminder that the system is off. You canswitch the system back on or leave it off.
SWITCHING REAR OCCUPANT
ALERT SYSTEM ON AND OFF -
VEHICLES WITH: 15 INCH
SCREEN
1.Access the vehicle drawer on thetouchscreen.
2.Press SETTINGS.
3.Press Vehicle.
4.Switch Rear Occupant Alert on or off.
Note:The default setting is on.
Note:Performing a master reset causes thesystem to switch on again.
Semiannual Reminder (If Equipped)
When you switch the system off, amessage appears every six months as areminder that the system is off. You canswitch the system back on or leave it off.
REAR OCCUPANT ALERT
SYSTEM INDICATORS
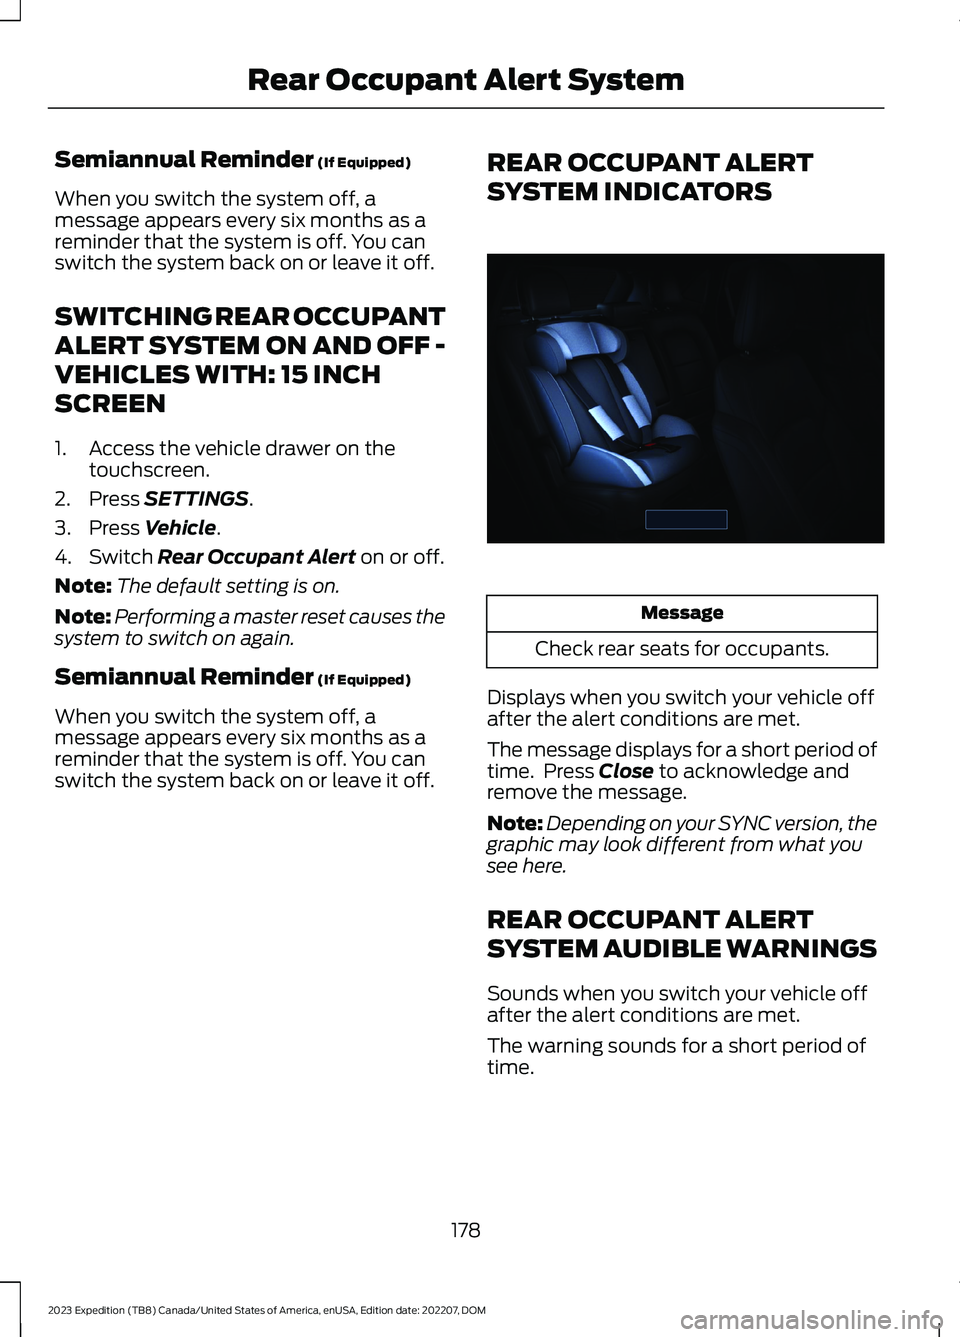
Message
Check rear seats for occupants.
Displays when you switch your vehicle offafter the alert conditions are met.
The message displays for a short period oftime. Press Close to acknowledge andremove the message.
Note:Depending on your SYNC version, thegraphic may look different from what yousee here.
REAR OCCUPANT ALERT
SYSTEM AUDIBLE WARNINGS
Sounds when you switch your vehicle offafter the alert conditions are met.
The warning sounds for a short period oftime.
178
2023 Expedition (TB8) Canada/United States of America, enUSA, Edition date: 202207, DOMRear Occupant Alert SystemE350472
Page 425 of 658

If you replace the battery make sure itmatches the electrical requirements ofyour vehicle.
If you disconnect or replace the batteryand your vehicle has an automatictransmission, it must relearn its adaptivestrategy. Because of this, the transmissionmay shift firmly when first driven. This isnormal operation while the transmissionfully updates its operation to optimumshift feel.
Battery Sensor Reset
When you install a new battery, reset thebattery sensor by doing the following:
1.Switch the ignition on, and leave theengine off.
Note:Complete Steps 2 and 3 within 10seconds.
2.Flash the high beam headlamps fivetimes, ending with the high beams off.
3.Press and release the brake pedal threetimes.
The battery warning lamp flashes threetimes to confirm that the reset issuccessful.
Battery Management System (If
Equipped)
The system monitors battery conditionsand takes actions to extend battery life. Ifexcessive battery drain is detected, thesystem temporarily disables someelectrical systems to protect the battery.
Systems included are:
•Heated rear window.
•Heated seats.
•Climate control.
•Heated steering wheel.
•Audio unit.
•Navigation system.
A message may appear in the informationdisplay to alert you that battery protectionactions are active. This message is only fornotification that an action is taking place,and not intended to indicate an electricalproblem or that the battery requiresreplacement.
After battery replacement, or in somecases after charging the battery with anexternal charger, the battery managementsystem requires eight hours of vehicle sleeptime to relearn the battery state of charge.During this time, your vehicle must remainfully locked with the ignition switched off.
Note:Prior to relearning the battery stateof charge, the battery management systemmay temporarily disable some electricalsystems.
Electrical Accessory Installation
To make sure the battery managementsystem works correctly, do not connect anelectrical device ground connectiondirectly to the battery negative post. Thiscan cause inaccurate measurements ofthe battery condition and potentialincorrect system operation.
Note:If you add electrical accessories orcomponents to the vehicle, it may adverselyaffect battery performance and durability.This may also affect the performance ofother electrical systems in the vehicle.
Remove and Reinstall the Battery
Install a battery approved for use by ourspecifications. See Capacities andSpecifications (page 463).
To disconnect or remove the battery, dothe following:
1.Apply the parking brake and switch theignition off.
2.Switch all electrical equipment off, forexample lights and radio.
421
2023 Expedition (TB8) Canada/United States of America, enUSA, Edition date: 202207, DOMMaintenance
Page 436 of 658
Note:Avoid cleaners or polishes thatincrease the gloss of the upper portion ofthe instrument panel. The dull finish in thisarea helps protect you from undesirablewindshield reflection.
CLEANING PLASTIC
We recommend that you only use a mildsoap and water solution on a soft cloth.Dry the area with a clean, soft cloth.
CLEANING DISPLAYS ANDSCREENS
We recommend that you only use amicrofiber cloth in a circular motion toclean off the fingerprint or dust.
If dirt or fingerprints are still on the screen,apply a small amount of alcohol to thecloth and try to clean it again.
Note:Do not pour or spray alcohol onto thetouchscreen.
Note: Do not use detergent or any type ofsolvent to clean the touchscreen.
CLEANING SEATS AND THEHEADLINER
WARNING: On vehicles equippedwith seat-mounted airbags, do not usechemical solvents or strong detergents.Such products could contaminate theside airbag system and affectperformance of the side airbag in a crash.
Cleaning Fabric Seats and theHeadliner
We recommend that you only clean thefabric seats and headliners in the followingway:
1.Remove dust and loose dirt with avacuum cleaner.
2.Wipe the surface with a soft, dampcloth and a mild soap and watersolution. Dry the area with a clean, softcloth.
3.For additional information andassistance, we recommend that youcontact an authorized dealer.
For heavy stains, spot clean the area. If aring forms on the fabric, immediately cleanthe entire area, but do not oversaturate orthe ring could set.
Cleaning Vinyl and Leather
We recommend that you only clean theleather and vinyl surfaces in the followingway:
1.Remove dust and loose dirt with avacuum cleaner.
2.Wipe the surface with a soft, dampcloth and a mild soap and watersolution. Dry the area with a clean, softcloth.
3.For additional information andassistance, we recommend that youcontact an authorized dealer.
With King Ranch Edition
Your vehicle has seating covered inpremium, top-grain leather that isextremely durable, but still requires specialcare and maintenance in order to preservelongevity and comfort.
Regular cleaning and conditioningmaintains the appearance of the leather.
Scratches
Because the leather in the seat comesfrom genuine steer hides, there may beevidence of naturally occurring markings,such as small scars. These markings givecharacter to the seating covers and areconsidered to be proof of a genuine leatherproduct.
432
2023 Expedition (TB8) Canada/United States of America, enUSA, Edition date: 202207, DOMVehicle Care