2022 TOYOTA SUPRA mirror controls
[x] Cancel search: mirror controlsPage 103 of 498
101
3
3-1. CONTROLS
CONTROLS
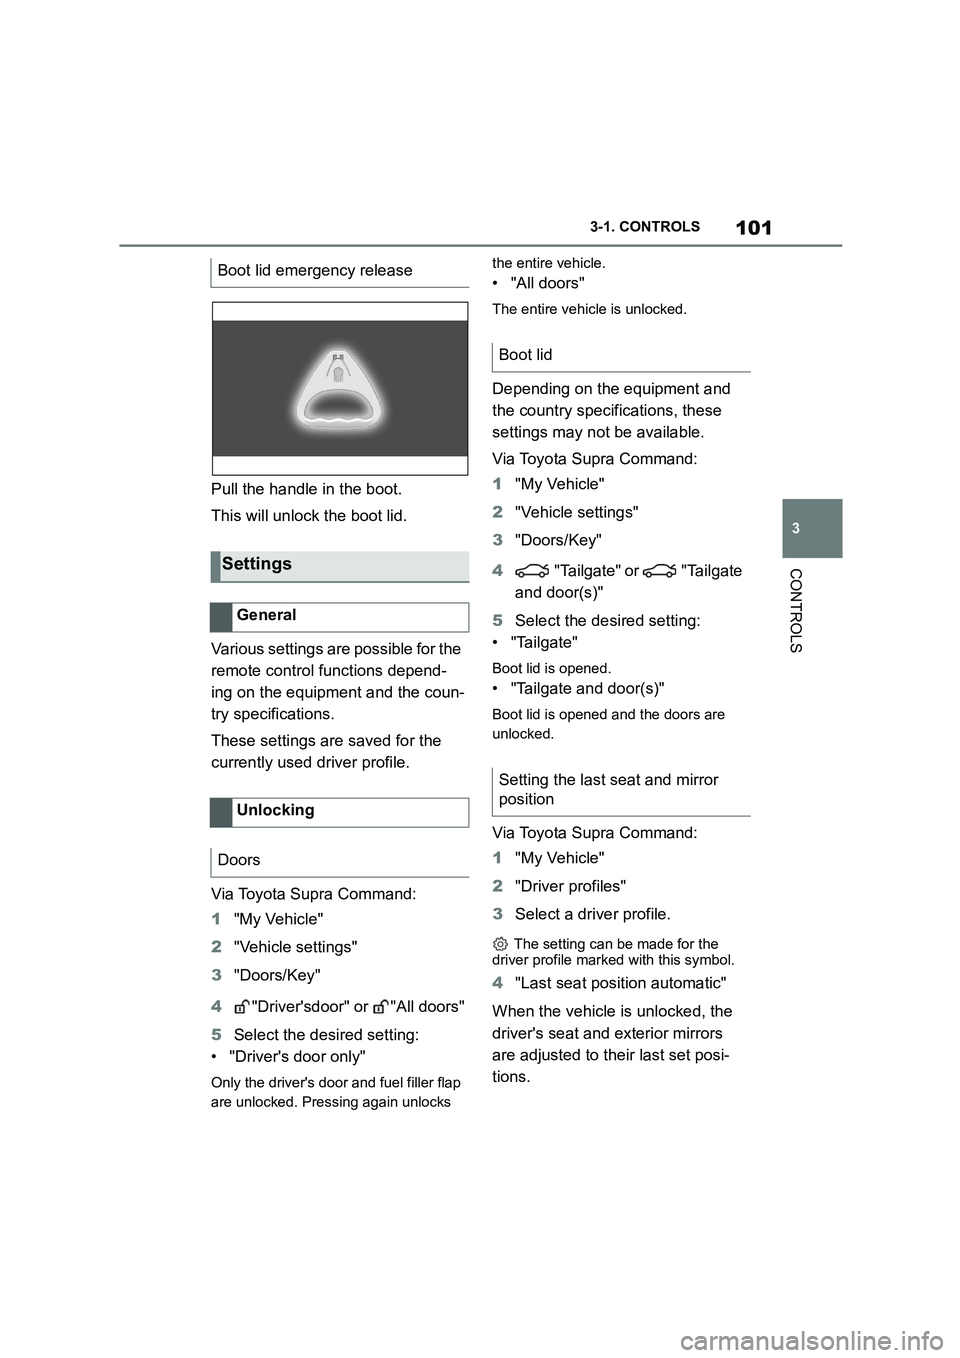
Pull the handle in the boot.
This will unlock the boot lid.
Various settings are possible for the
remote control functions depend-
ing on the equipment and the coun-
try specifications.
These settings are saved for the
currently used driver profile.
Via Toyota Supra Command:
1 "My Vehicle"
2 "Vehicle settings"
3 "Doors/Key"
4 "Driver'sdoor" or "All doors"
5 Select the desired setting:
• "Driver's door only"
Only the driver's door and fuel filler flap
are unlocked. Pressing again unlocks
the entire vehicle.
• "All doors"
The entire vehicle is unlocked.
Depending on the equipment and
the country specifications, these
settings may not be available.
Via Toyota Supra Command:
1 "My Vehicle"
2 "Vehicle settings"
3 "Doors/Key"
4 "Tailgate" or "Tailgate
and door(s)"
5 Select the desired setting:
• "Tailgate"
Boot lid is opened.
• "Tailgate and door(s)"
Boot lid is opened and the doors are
unlocked.
Via Toyota Supra Command:
1 "My Vehicle"
2 "Driver profiles"
3 Select a driver profile.
The setting can be made for the
driver profile marked with this symbol.
4 "Last seat position automatic"
When the vehicle is unlocked, the
driver's seat and exterior mirrors
are adjusted to their last set posi-
tions.
Boot lid emergency release
Settings
General
Unlocking
Doors
Boot lid
Setting the last seat and mirror
position
Page 104 of 498
1023-1. CONTROLS
The last position setting is inde-
pendent of the positions saved via
the seat memory.
Via Toyota Supra Command:
1 "My Vehicle"
2 "Vehicle settings"
3 "Doors/Key"
4 "Flash for lock/unlock"
Unlocking is acknowledged by flashing
twice, locking by flashing once.
Via Toyota Supra Command:
1 "My Vehicle"
2 "Vehicle settings"
3 "Doors/Key"
4 "Relock automatically"
The vehicle is automatically locked
again after a short while if no door is
opened after unlocking.
Via Toyota Supra Command:
1 "My Vehicle"
2 "Vehicle settings"
3 "Doors/Key"
4 Select the desired setting:
• "Unlock doors when in Park"
• "Unlock at end of journey"
After the drive-ready state has been
switched off by pressing the start/stop
button, the locked vehicle is automati-
cally unlocked.
Via Toyota Supra Command:
1 "My Vehicle"
2 "Vehicle settings"
3 "Doors/Key"
4 "Fold mirrors in when locked"
The exterior mirrors are folded in auto-
matically when the vehicle is locked.
Via Toyota Supra Command:
1 "My Vehicle"
2 "Vehicle settings"
3 "Doors/Key"
4 "Switch off after door opening"
Idle state, see page 53, is established
when the front doors are opened.
The alarm system visually and
acoustically signals when some-
one attempts to open the locked
vehicle.
The alarm system responds to the
following changes when the vehicle
is locked:
• A door, the bonnet or the boot lid
Acknowledgement signals of
the vehicle
Automatic locking
Automatic unlocking
Folding the mirrors automati-
cally
Establishing idle state after
opening the front doors
Alarm system
Principle
General
Page 105 of 498

103
3
3-1. CONTROLS
CONTROLS
is opened.
• Movements inside the vehicle.
• A change in the vehicle's incline,
for instance if an attempt is made
to jack it up and steal the wheels
or to raise it prior to towing away.
• An interruption in the power sup-
ply from the battery.
• Improper use of the socket for
on-board diagnosis OBD.
• The vehicle is locked while a
device is connected to the socket
for on-board diagnosis OBD.
Socket for on-board diagnosis
OBD, see page 332.
The alarm system indicates the fol-
lowing changes visually and audi-
bly:
• Audible alarm: Depending on
local regulations, the acoustic
alarm may be suppressed.
• Visual alarm: By flashing of the
hazard warning lights and, if
applicable, the headlights.
To safeguard the function of the
alarm system, do not modify the
system.
The alarm system is switched off
and on at the same time as the
vehicle is unlocked and locked via
the remote control or Smart Key
System.
The alarm system is triggered on
opening a door if the door has been
unlocked using the integrated key
in the door lock.
To stop the alarm, see page 104.
The boot lid can be opened even
with the alarm system switched on.
On closing the boot lid, it is locked
again and monitored, as long as the
doors are locked. The hazard warn-
ing lights flash once.
• Indicator lamp flashes every 2
seconds: The alarm system is
switched on.
• Indicator lamp flashes for
approximately 10 seconds
before it flashes every 2 sec-
onds: The interior movement
detector and tilt alarm sensor are
not active because doors, bon-
Switching on/off
Opening the doors when the
alarm system is switched on
Opening the boot lid with the
alarm system switched on
Indicator lamp on the
rear-view mirror
Page 109 of 498
107
3
3-1. CONTROLS
CONTROLS
This chapter describes all standard,
country-specific and special equip-
ment available for the model series.
It may therefore describe equip-
ment and functions which are not
installed in your vehicle, for exam-
ple on account of the special equip-
ment selected or the country
specification. This also applies to
safety-relevant functions and sys-
tems. Please comply with the rele-
vant laws and regulations when
using the corresponding functions
and systems.
A seating position that suitably
reflects the requirements of the
occupants is essential for relaxed
driving with minimum fatigue.
In an accident, the correct seating
position plays an important role.
Comply with the notes in the follow-
ing chapters:
• Seats, see page 107.
• Seat belts, see page 111.
• Head restraints, see page 116.
• Airbags, see page 192.
Seats, mirrors and steer-
ing wheel
Vehicle equipment
Safe seating position
Seats
Safety notes
WA R N I N G
Adjusting the seat during a journey
could cause the seat to move unex-
pectedly. You could lose control of the
vehicle. There is a danger of acci- dents. Only adjust the seat on the
driver's side when at a standstill.
WA R N I N G
If the backrest is angled back too far,
the protective effect of the seat belt
will no longer be guaranteed. There is a danger of sliding under the seat belt
in the event of an accident. There is a
danger of injury or even death. Adjust the seat before starting the journey.
Adjust the backre st to the most
upright position possible, and do not change it during the journey.
WA R N I N G
There is a risk of entrapment when
the seats are being moved. There is a danger of injury or damage to prop-
erty. Before making any adjustment,
make sure that the area of movement of the seat is clear.
Page 119 of 498
117
3
3-1. CONTROLS
CONTROLS
The head restraints are integrated
into the seatback and cannot be
adjusted.
The distance from the back of the
head is set via the backrest angle.
Adjust the distance so that the head
restraint is as close as possible to
the back of the head.
The head restraints cannot be
removed.
The mirror setting is saved for the
current driver profile. When the
vehicle is unlocked with the vehicle
key, this setting is called up auto-
matically if the f unction, see page
76, for this has been activated.
The current exterior mirror position
can be saved with the memory
function, see page 119.
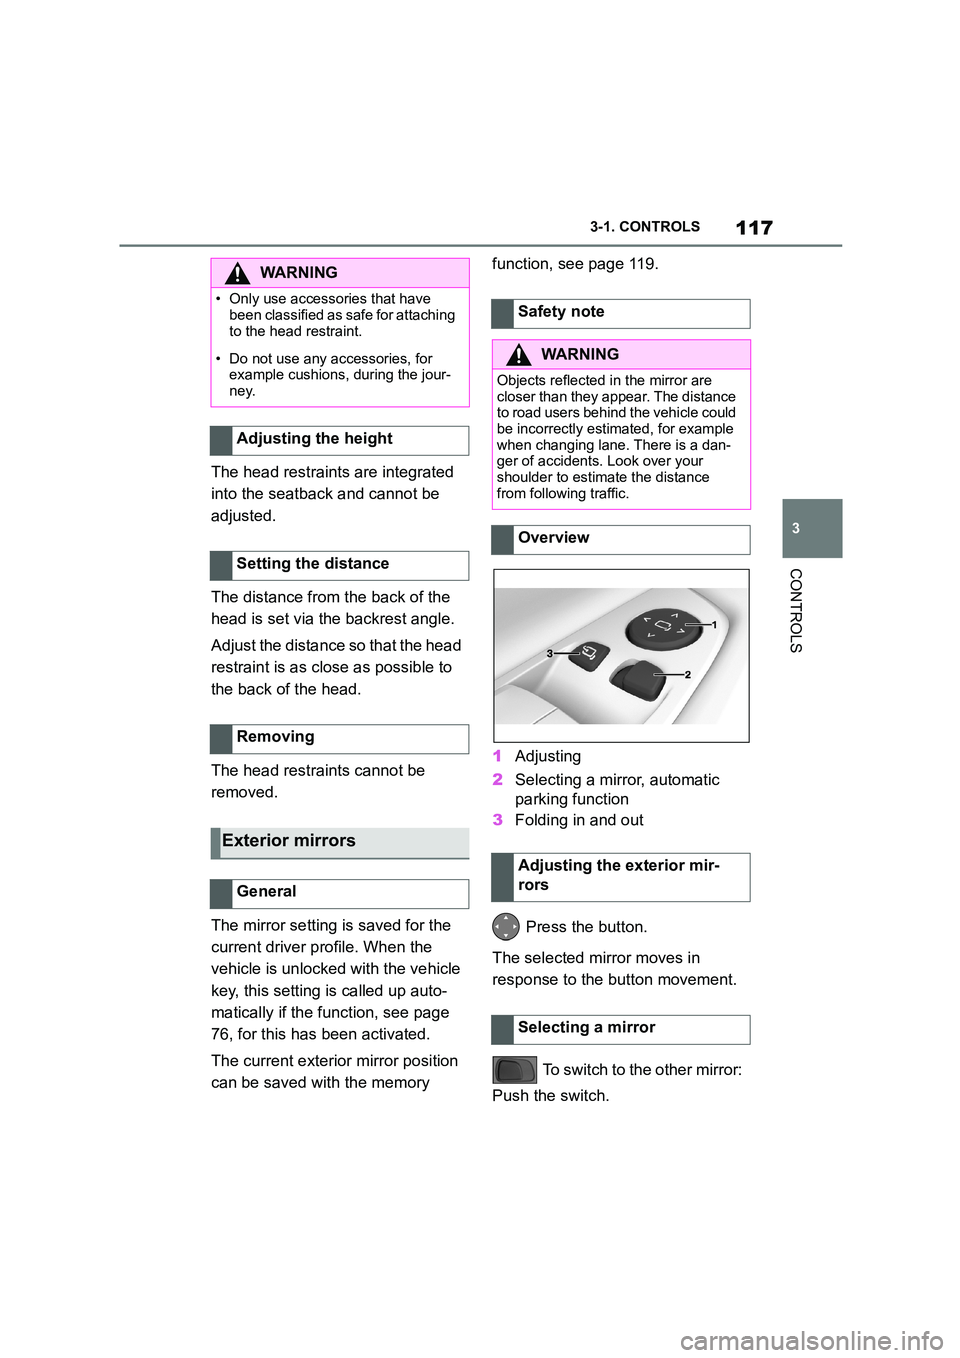
1 Adjusting
2 Selecting a mirror, automatic
parking function
3 Folding in and out
Press the button.
The selected mirror moves in
response to the button movement.
To switch to the other mirror:
Push the switch.
WA R N I N G
• Only use accessories that have
been classified as safe for attaching
to the head restraint.
• Do not use any accessories, for
example cushions, during the jour- ney.
Adjusting the height
Setting the distance
Removing
Exterior mirrors
General
Safety note
WA R N I N G
Objects reflected in the mirror are
closer than they appear. The distance to road users behind the vehicle could
be incorrectly estimated, for example
when changing lane. There is a dan-
ger of accidents. Look over your shoulder to estimate the distance
from following traffic.
Overview
Adjusting the exterior mir-
rors
Selecting a mirror
Page 120 of 498
1183-1. CONTROLS
In the event of an electrical fault,
press the edges of the mirror glass
to adjust the mirror.
Press the button.
Folding in is possible up to a speed
of approx. 20 km/h, 15 mph.
Folding the mirrors in and out is
useful in the following situations:
•In car washes.
• In narrow streets.
Folded-in mirrors automatically fold
out when the vehicle reaches a
speed of approx. 40 km/h, 25 mph.
If required, both exterior mirrors are
automatically heated when
drive-ready state is switched on.
The exterior mirror on the driver's
side is automatically dimmed. Pho-
tocells in the rear -view mirror, see
page 118, to control this function.
When reverse gear is engaged, the
mirror glass on the front passenger
side is tilted downwards. This
improves the view of the kerb or
other obstacles near the ground, for
example when parking.
1 Push the switch to the
driver's mirror position.
2 Engage selector lever position
R.
Push the switch to the front passen-
ger's mirror position.
The rear-view mirror is dimmed
automatically.
The function is controlled by photo-
cells:
• In the mirror glass.
• On the back of the mirror.
Malfunction
Folding in and out
NOTICE
Because of its width, the vehicle could
sustain damage in car washes. There is a danger of damage to property.
Before washing, fold the mirrors in
manually or with the button.
Automatic heating
Automatically dimming
Automatic parking function,
exterior mirror
Principle
Activating
Deactivating
Rear-view mirror, automatic
dim
General
Page 121 of 498
119
3
3-1. CONTROLS
CONTROLS
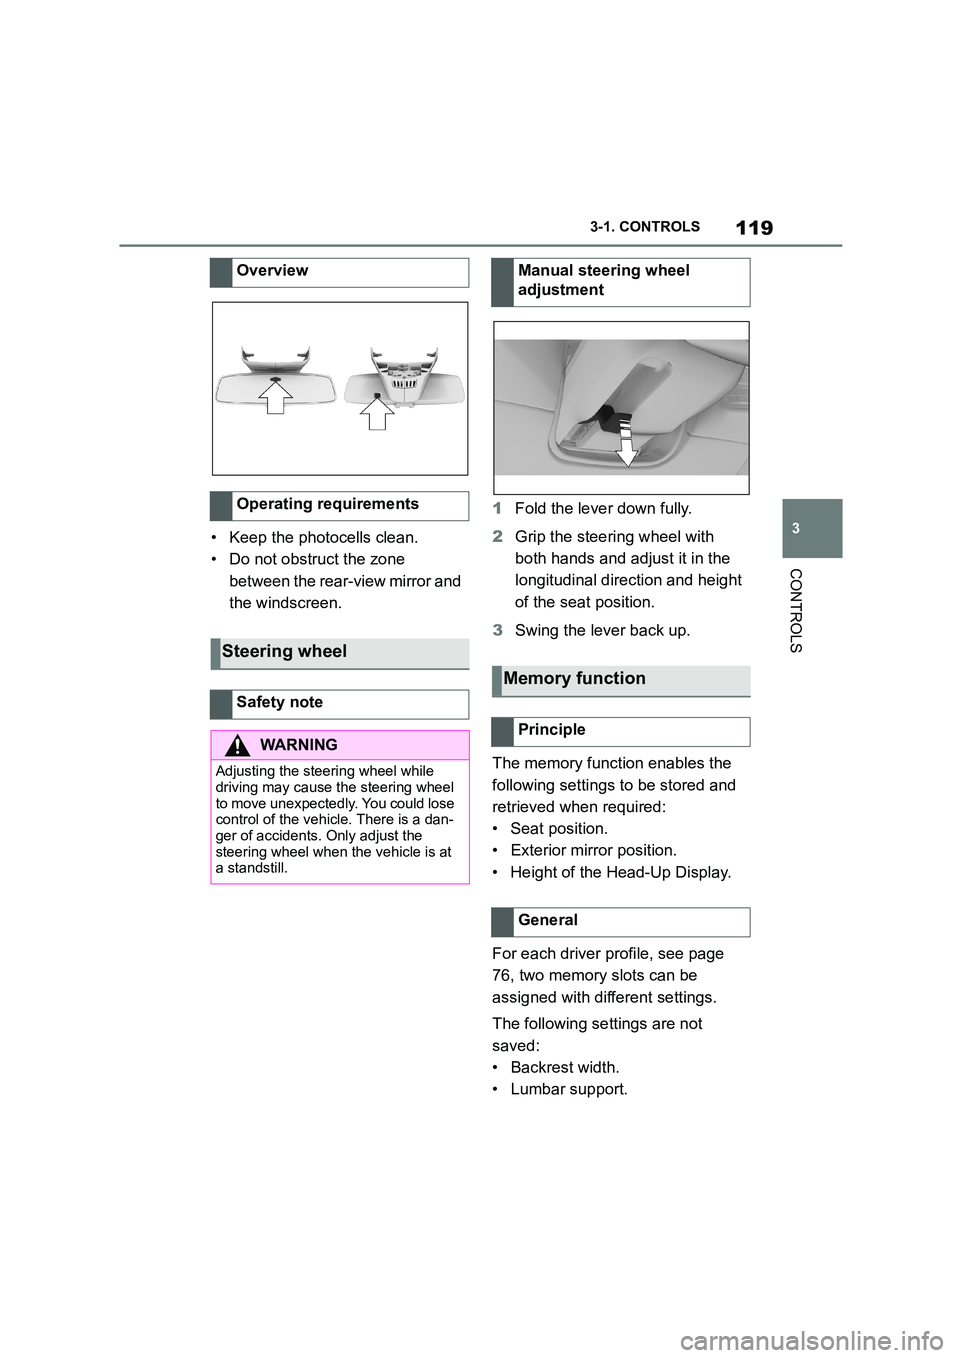
• Keep the photocells clean.
• Do not obstruct the zone
between the rear-view mirror and
the windscreen.
1 Fold the lever down fully.
2 Grip the steering wheel with
both hands and adjust it in the
longitudinal direction and height
of the seat position.
3 Swing the lever back up.
The memory function enables the
following settings to be stored and
retrieved when required:
• Seat position.
• Exterior mirror position.
• Height of the Head-Up Display.
For each driver profile, see page
76, two memory slots can be
assigned with different settings.
The following settings are not
saved:
• Backrest width.
• Lumbar support.
Overview
Operating requirements
Steering wheel
Safety note
WA R N I N G
Adjusting the steering wheel while
driving may cause the steering wheel
to move unexpectedly. You could lose control of the vehicle. There is a dan-
ger of accidents. Only adjust the
steering wheel when the vehicle is at a standstill.
Manual steering wheel
adjustment
Memory function
Principle
General
Page 152 of 498
1503-1. CONTROLS
tor lever position P engaged and
then press it.
The procedure can take a few sec-
onds. Any sounds that occur are
normal.
Do not fold in the exterior mirrors
while driving or while operating the
turn indicators or hazard warning
lights to ensure that the turn indica-
tors in the exterior mirrors are well
recognisable.
Press the lever beyond the resist-
ance point.
Briefly press the lever up or down.
The duration of the triple turn signal
can be set.
Via Toyota Supra Command:
1 "My Vehicle"
2 "Vehicle settings"
3 "Exterior lighting"
4 "One-touch turn signal"
5 Select the desired setting.
Press the lever as far as the resist-
ance point and hold it there for as
long as you wish to indicate a turn.
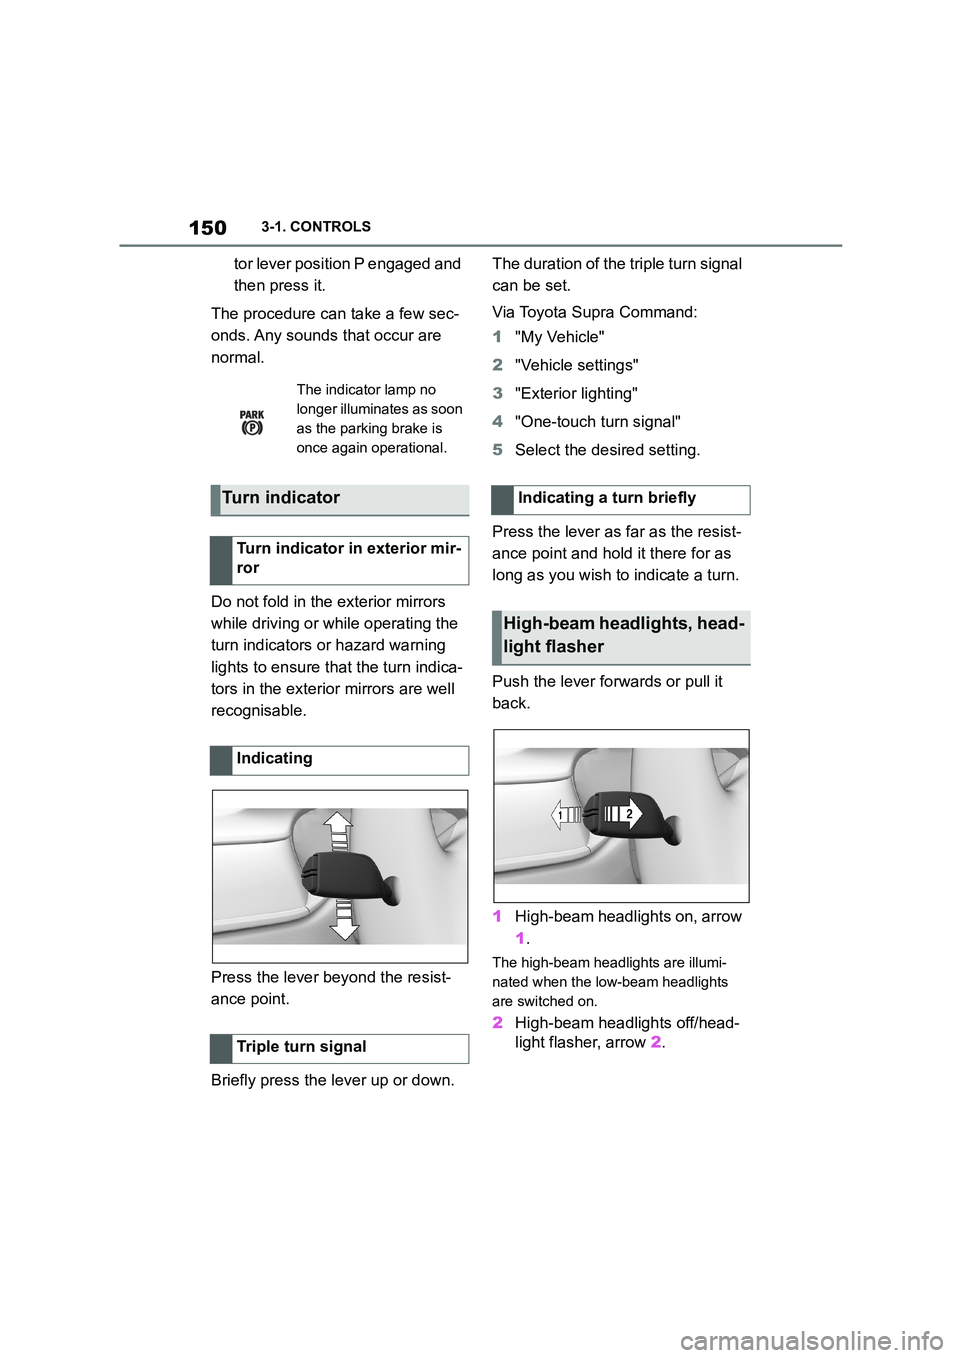
Push the lever forwards or pull it
back.
1 High-beam headlights on, arrow
1 .
The high-beam headlights are illumi-
nated when the low-beam headlights
are switched on.
2 High-beam headlights off/head-
light flasher, arrow 2.
The indicator lamp no
longer illuminates as soon
as the parking brake is
once again operational.
Turn indicator
Turn indicator in exterior mir-
ror
Indicating
Triple turn signal
Indicating a turn briefly
High-beam headlights, head-
light flasher