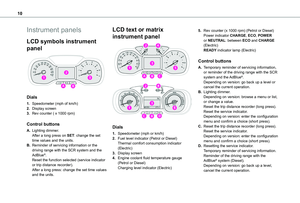
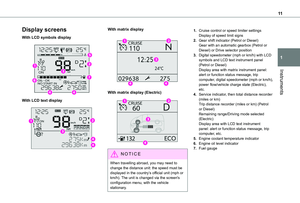
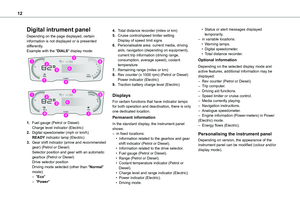
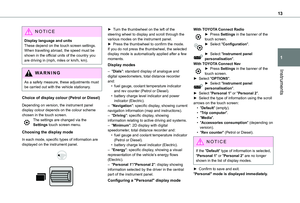
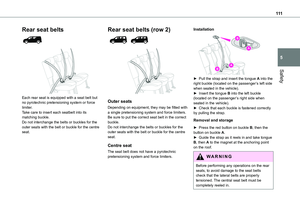
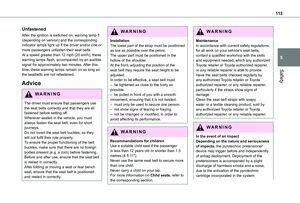
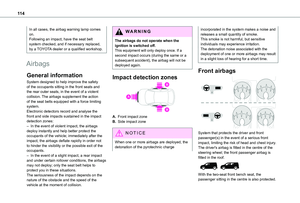
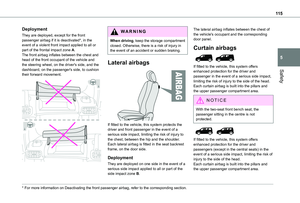
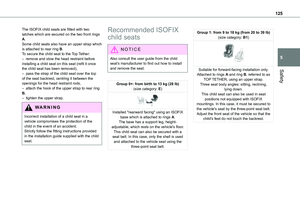
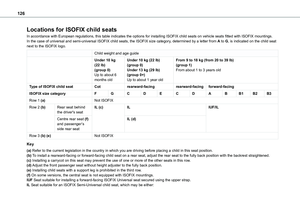
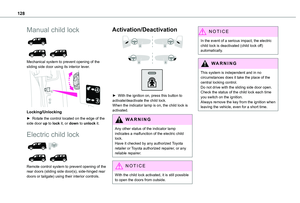
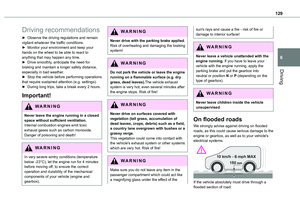
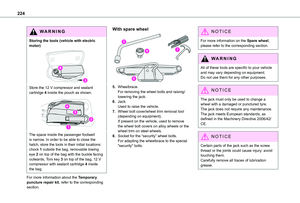
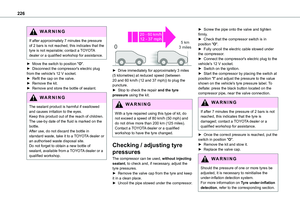
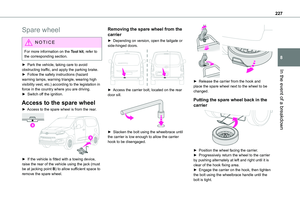
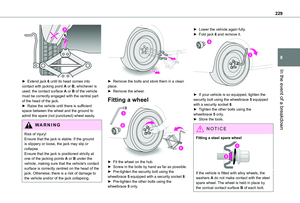
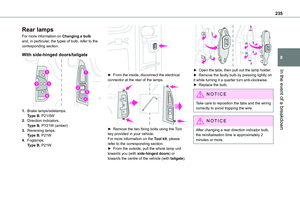
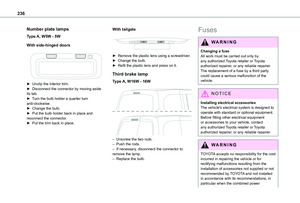
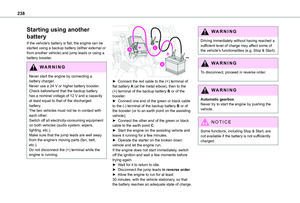
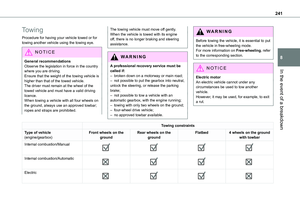
Page 265 of 320

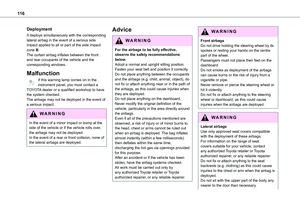
265
TOYOTA Connect Radio
11
TOYOTA Connect Radio
Multimedia audio system -
Applications - Bluetooth®
telephone
NOTIC E
The functions and settings described vary
according to the vehicle version and configuration, as well as the country of sale.
WARNI NG
For safety reasons and because they require sustained attention by the driver, the following operations must be carried out with the vehicle stationary and the ignition on:– Pairing the smartphone with the system via Bluetooth.– Using the smartphone.– Connecting to the CarPlay® or Android Auto applications (certain applications stop displaying when the vehicle is moving).– Changing the system settings and configuration.
NOTIC E
The system is protected so that it only operates in the vehicle.The message Energy economy mode is displayed when the system is about to go into standby.
First steps
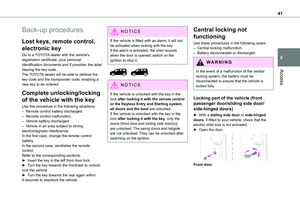
With the engine running, a press mutes the sound.With the ignition off, a press turns the system on.Increase or decrease the volume using the wheel or the "plus" or "minus" buttons (depending on the equipment).Use the buttons on either side of or below the touch screen to access the menus, then press the virtual buttons on the touch screen.Depending on the model, use the "Source" and "Menu" buttons on the left of the touch screen to access the menus, then press the virtual buttons
on the touch screen.At all times it is possible to display the rolling menus by pressing the screen briefly with three fingers.All touch-sensitive areas on the screen are white.On pages with multiple tabs at the bottom of the screen, you can switch between pages either by tapping the tab for the desired page or by
swiping the pages to the left or right with your finger.Press in the shaded area to go back up a level or confirm.Press the back arrow to go back a level or confirm.
WARNI NG
The touch screen is of the "capacitive" type.
To clean the screen, use a soft, non-abrasive cloth (e.g. spectacles cloth) with no additional product.Do not use sharp objects on the screen.Do not touch the screen with wet hands.
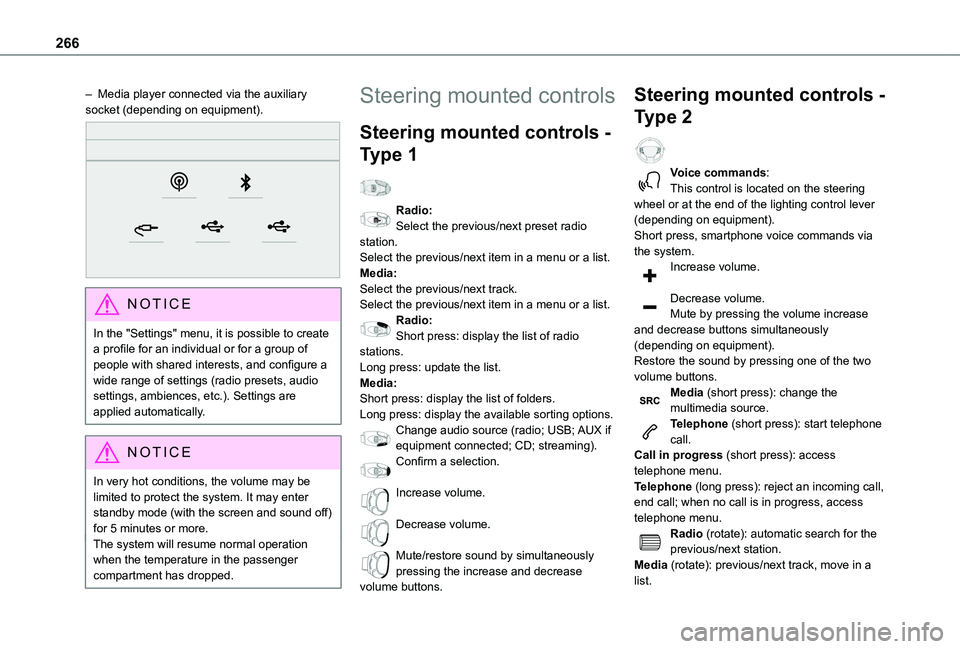
Certain information is displayed permanently in the upper bar of the touch screen:– Air conditioning status information (depending on version), and direct access to the corresponding menu.– Radio Media and Telephone menu status information.– Privacy status information.– Access to the touch screen and digital instrument panel settings.Audio source selection (depending on equipment):– FM/DAB/AM radio stations (depending on equipment).– Telephone connected via Bluetooth and Bluetooth multimedia broadcast (streaming).– USB Memory stick.
Page 266 of 320

266
– Media player connected via the auxiliary socket (depending on equipment).
NOTIC E
In the "Settings" menu, it is possible to create a profile for an individual or for a group of people with shared interests, and configure a wide range of settings (radio presets, audio settings, ambiences, etc.). Settings are applied automatically.
NOTIC E
In very hot conditions, the volume may be limited to protect the system. It may enter standby mode (with the screen and sound off) for 5 minutes or more.The system will resume normal operation when the temperature in the passenger compartment has dropped.
Steering mounted controls
Steering mounted controls -
Type 1
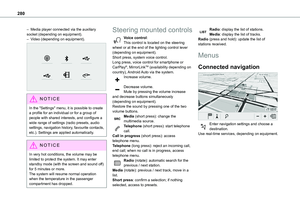
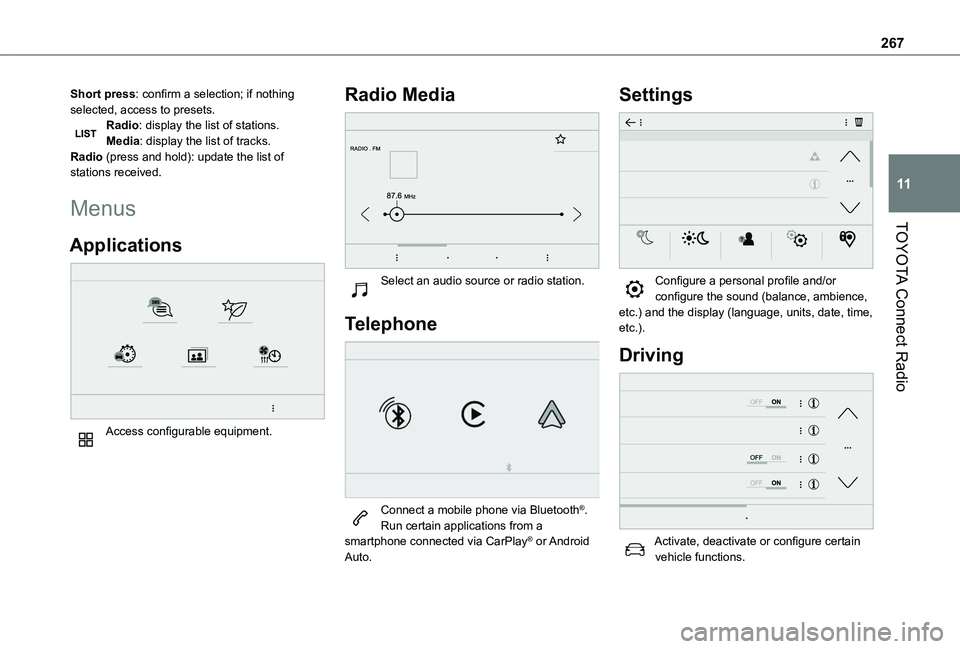
Radio:Select the previous/next preset radio station.Select the previous/next item in a menu or a list.Media:Select the previous/next track.Select the previous/next item in a menu or a list.Radio:Short press: display the list of radio stations.Long press: update the list.Media:Short press: display the list of folders.Long press: display the available sorting options.Change audio source (radio; USB; AUX if
equipment connected; CD; streaming).Confirm a selection.
Increase volume.
Decrease volume.
Mute/restore sound by simultaneously pressing the increase and decrease volume buttons.
Steering mounted controls -
Type 2
Voice commands:This control is located on the steering wheel or at the end of the lighting control lever (depending on equipment).Short press, smartphone voice commands via the system.Increase volume.
Decrease volume.Mute by pressing the volume increase and decrease buttons simultaneously (depending on equipment).Restore the sound by pressing one of the two volume buttons.Media (short press): change the multimedia source.Telephone (short press): start telephone call.
Call in progress (short press): access telephone menu.Telephone (long press): reject an incoming call, end call; when no call is in progress, access telephone menu.Radio (rotate): automatic search for the previous/next station.Media (rotate): previous/next track, move in a list.
Page 267 of 320
267
TOYOTA Connect Radio
11
Short press: confirm a selection; if nothing selected, access to presets.Radio: display the list of stations.Media: display the list of tracks.Radio (press and hold): update the list of stations received.
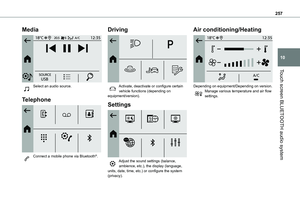
Menus
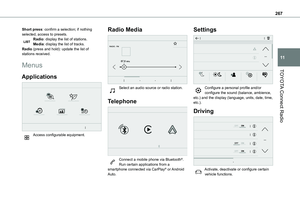
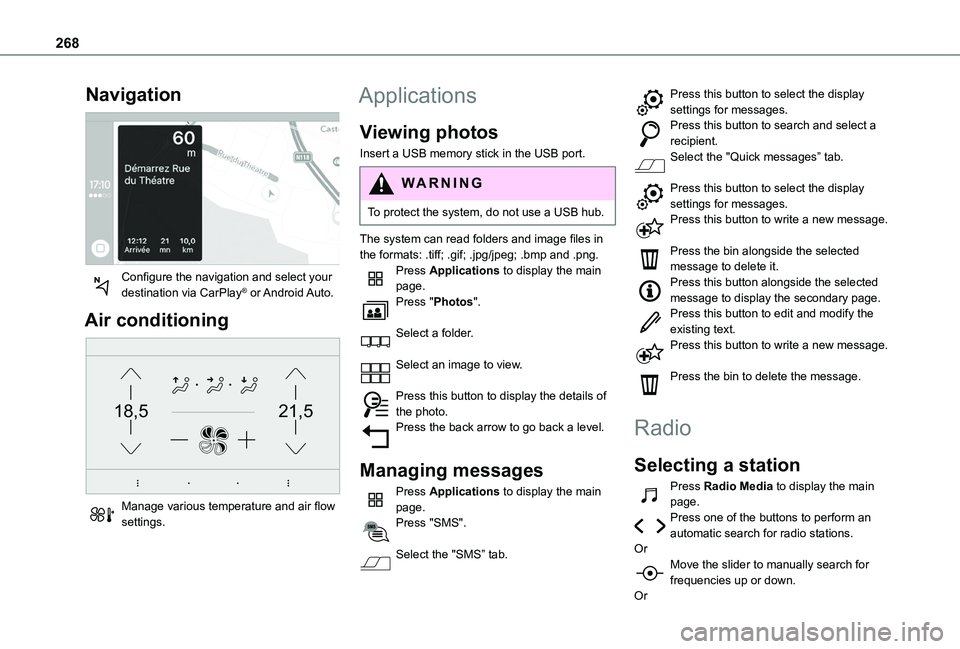
Applications
Access configurable equipment.
Radio Media
Select an audio source or radio station.
Telephone
Connect a mobile phone via Bluetooth®.Run certain applications from a smartphone connected via CarPlay® or Android Auto.
Settings
Configure a personal profile and/or configure the sound (balance, ambience, etc.) and the display (language, units, date, time, etc.).
Driving
Activate, deactivate or configure certain vehicle functions.
Page 268 of 320

268
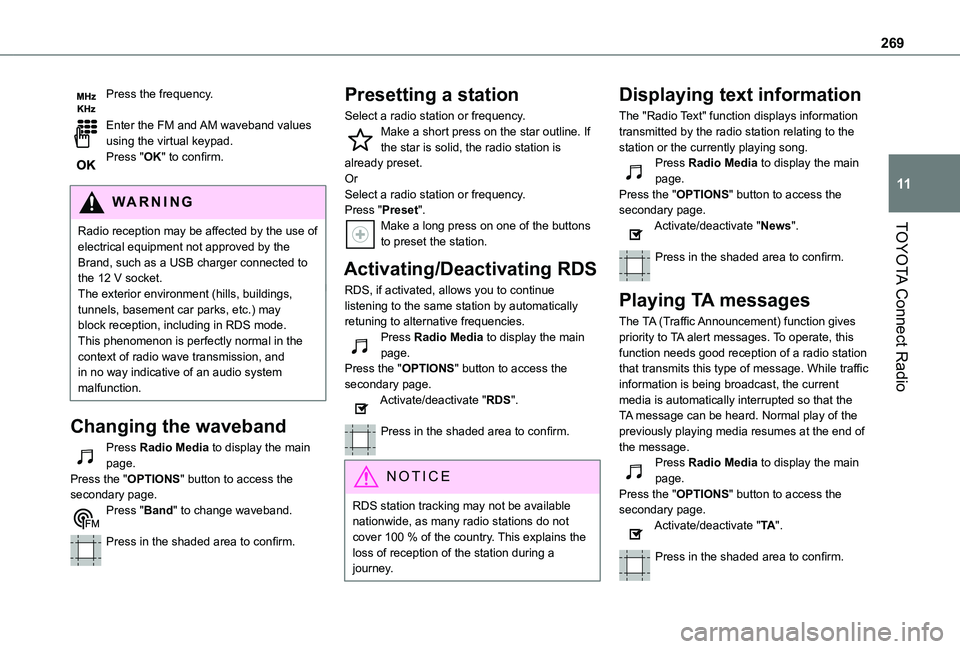
Navigation
Configure the navigation and select your destination via CarPlay® or Android Auto.
Air conditioning
21,518,5
Manage various temperature and air flow settings.
Applications
Viewing photos
Insert a USB memory stick in the USB port.
WARNI NG
To protect the system, do not use a USB hub.
The system can read folders and image files in
the formats: .tiff; .gif; .jpg/jpeg; .bmp and .png.Press Applications to display the main page.Press "Photos".
Select a folder.
Select an image to view.
Press this button to display the details of the photo.Press the back arrow to go back a level.
Managing messages
Press Applications to display the main page.Press "SMS".
Select the "SMS” tab.
Press this button to select the display settings for messages.Press this button to search and select a recipient.Select the "Quick messages” tab.
Press this button to select the display settings for messages.Press this button to write a new message.
Press the bin alongside the selected message to delete it.Press this button alongside the selected message to display the secondary page.Press this button to edit and modify the existing text.Press this button to write a new message.
Press the bin to delete the message.
Radio
Selecting a station
Press Radio Media to display the main page.Press one of the buttons to perform an automatic search for radio stations.OrMove the slider to manually search for frequencies up or down.
Or
Page 269 of 320

269
TOYOTA Connect Radio
11
Press the frequency.
Enter the FM and AM waveband values using the virtual keypad.Press "OK" to confirm.
WARNI NG
Radio reception may be affected by the use of
electrical equipment not approved by the Brand, such as a USB charger connected to the 12 V socket.The exterior environment (hills, buildings, tunnels, basement car parks, etc.) may block reception, including in RDS mode. This phenomenon is perfectly normal in the context of radio wave transmission, and in no way indicative of an audio system malfunction.
Changing the waveband
Press Radio Media to display the main page. Press the "OPTIONS" button to access the secondary page.Press "Band" to change waveband.
Press in the shaded area to confirm.
Presetting a station
Select a radio station or frequency.Make a short press on the star outline. If the star is solid, the radio station is already preset.OrSelect a radio station or frequency.Press "Preset".Make a long press on one of the buttons to preset the station.
Activating/Deactivating RDS
RDS, if activated, allows you to continue listening to the same station by automatically retuning to alternative frequencies.Press Radio Media to display the main page.Press the "OPTIONS" button to access the secondary page.Activate/deactivate "RDS".
Press in the shaded area to confirm.
NOTIC E
RDS station tracking may not be available nationwide, as many radio stations do not cover 100 % of the country. This explains the loss of reception of the station during a journey.
Displaying text information
The "Radio Text" function displays information transmitted by the radio station relating to the station or the currently playing song.Press Radio Media to display the main page.Press the "OPTIONS" button to access the secondary page.Activate/deactivate "News".
Press in the shaded area to confirm.
Playing TA messages
The TA (Traffic Announcement) function gives priority to TA alert messages. To operate, this function needs good reception of a radio station that transmits this type of message. While traffic information is being broadcast, the current media is automatically interrupted so that the TA message can be heard. Normal play of the previously playing media resumes at the end of
the message.Press Radio Media to display the main page.Press the "OPTIONS" button to access the secondary page.Activate/deactivate "TA".
Press in the shaded area to confirm.
Page 270 of 320

270
Audio settings
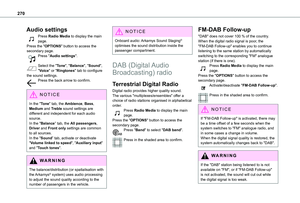
Press Radio Media to display the main page.Press the "OPTIONS" button to access the secondary page.Press "Audio settings".
Select the "Tone", "Balance", "Sound", "Voice" or "Ringtones" tab to configure the sound settings.Press the back arrow to confirm.
NOTIC E
In the "Tone" tab, the Ambience, Bass, Medium and Treble sound settings are different and independent for each audio source.In the "Balance” tab, the All passengers, Driver and Front only settings are common to all sources.In the "Sound” tab, activate or deactivate "Volume linked to speed", "Auxiliary input" and "Touch tones".
WARNI NG
The balance/distribution (or spatialisation with
the Arkamys© system) uses audio processing to adjust the sound quality according to the number of passengers in the vehicle.
NOTIC E
Onboard audio: Arkamys Sound Staging© optimises the sound distribution inside the passenger compartment.
DAB (Digital Audio
Broadcasting) radio
Terrestrial Digital Radio
Digital radio provides higher quality sound.The various "multiplexes/ensembles" offer a choice of radio stations organised in alphabetical order.Press Radio Media to display the main page.Press the "OPTIONS" button to access the secondary page.Press "Band" to select "DAB band".
Press in the shaded area to confirm.
FM-DAB Follow-up
"DAB" does not cover 100 % of the country.When the digital radio signal is poor, the "FM-DAB Follow-up" enables you to continue listening to the same station by automatically switching to the corresponding "FM" analogue station (if there is one).Press Radio Media to display the main page.Press the "OPTIONS" button to access the secondary page.Activate/deactivate "FM-DAB Follow-up".
Press in the shaded area to confirm.
NOTIC E
If "FM-DAB Follow-up" is activated, there may be a time offset of a few seconds when the system switches to "FM" analogue radio, and in some cases a change in volume.When the digital signal quality is restored, the system automatically changes back to "DAB".
WARNI NG
If the "DAB" station being listened to is not available on "FM", or if "FM-DAB Follow-up"
is not activated, the sound will cut out while the digital signal is too weak.
Page 271 of 320

271
TOYOTA Connect Radio
11
Media
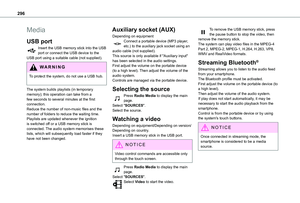
USB port
Insert the USB memory stick into the USB port or connect the USB device to the USB port using a suitable cable (not supplied).
WARNI NG
To protect the system, do not use a USB hub.
The system builds playlists (in temporary memory); this operation can take from a few seconds to several minutes at the first connection.Reduce the number of non-music files and the number of folders to reduce the waiting time.Playlists are updated whenever the ignition is switched off or a USB memory stick is connected. The audio system memorises these lists, which will subsequently load faster if they have not been changed.
Auxiliary (AUX) jack socket
Depending on equipmentConnect a portable device (MP3 player, etc.) to the auxiliary jack socket using an audio cable (not supplied).This source is only available if "Auxiliary input" has been selected in the audio settings.
First adjust the volume on the portable device (to a high level). Then adjust the volume of the audio system.Controls are managed via the portable device.
Selecting the source
Press Radio Media to display the main page.Press the "SOURCES" button.Select the source.
BluetoothStreaming®
Streaming allows you to listen to the audio feed from your smartphone.The Bluetooth profile must be activated.First adjust the volume on the portable device (to a high level). Then adjust the volume of the system.If play does not start automatically, it may be necessary to start the audio playback from the smartphone.Control is from the portable device or by using the system's touch buttons.
NOTIC E
Once connected in Streaming mode, the smartphone is considered to be a media source.
Connecting Apple® players
Connect the Apple® player to the USB socket using a suitable cable (not supplied).Play starts automatically.Control is via the audio system.
NOTIC E
The classifications available are those of the portable device connected (artists/albums/
genres/playlists/audio books/podcasts). It is also possible to use a classification structured in the form of a library.The default classification used is by artist. To modify the classification used, return to the first level of the menu then select the desired classification (playlists for example) and confirm to go down through the menu to the desired track.
The version of software in the audio system may not be compatible with the generation of the Apple® player.
Information and advice
The system supports USB mass storage devices, BlackBerry® devices or Apple® players via the USB ports. The adapter cable is not supplied.Devices are managed using the audio system controls.Other devices, not recognised on connection, must be connected to the auxiliary socket using
Page 272 of 320

272
a jack cable (not supplied) or via Bluetooth streaming, if compatible.
WARNI NG
To protect the system, do not use a USB hub.
The audio system will only play audio files with ".wav", ".wma", ".aac", ".ogg" and ".mp3" file extensions, at bit rates between 32 Kbps and
320 Kbps.It also supports VBR (Variable Bit Rate) mode.No other file types (".mp4", etc.) can be read.All ".wma" files must be standard WMA 9 files.The supported sampling rates are 11, 22, 44 and 48 KHz.To avoid reading and display problems, we recommend choosing file names less than 20 characters long that do not contain any special characters (e.g. “ ? . ; ù).Use only USB memory sticks in FAT32 format (File Allocation Table).
NOTIC E
We recommend using the original USB cable for the portable device.
Telephone
USB sockets
Depending on equipment, for more information on the USB sockets compatible with CarPlay® or Android Auto applications, refer to the "Ease of use and comfort" section.
NOTIC E
For the list of compatible smartphones, visit the Manufacturer's website in your country.
NOTIC E
Synchronising a smartphone enables users to display applications that support the smartphone’s CarPlay® or Android Auto technology on the vehicle’s screen. For CarPlay® technology, the CarPlay® function must first be activated on the smartphone.Unlock the smartphone for the communication process between the smartphone and the system to work.As principles and standards are constantly changing, we recommend keeping the smartphone's operating system up-to-date, together with the date and time on the smartphone and the system.
CarPlay® smartphone
connection
Depending on country.
NOTIC E
On connecting the USB cable, the CarPlay® function deactivates the system's Bluetooth® mode.
The "CarPlay" function requires the use of a compatible smartphone and compatible applications.
Connect the USB cable. The smartphone charges when connected by the USB cable.From the system, press Telephone to display the CarPlay® interface.OrIf the smartphone has already connected by Bluetooth®.Connect the USB cable. The smartphone charges when connected by the USB cable.From the system, press "Telephone" to display the main page.Press the "PHONE" button to go to the secondary page.Press "CarPlay" to display the CarPlay® interface.