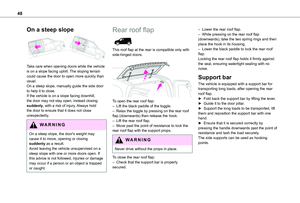
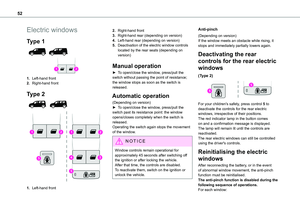
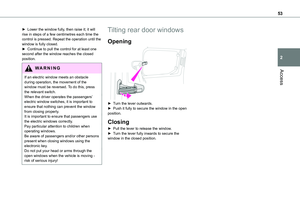
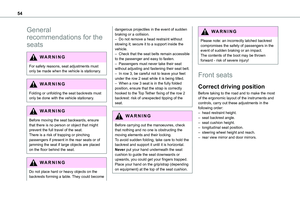
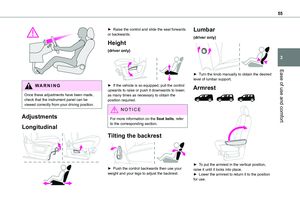
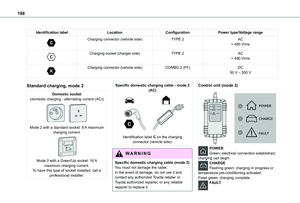
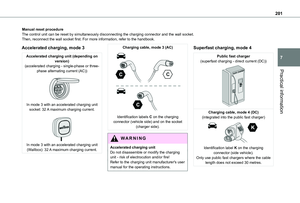
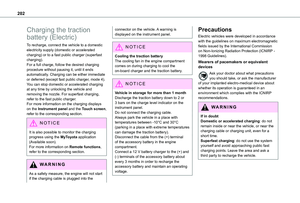
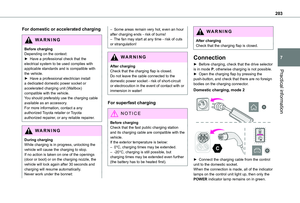
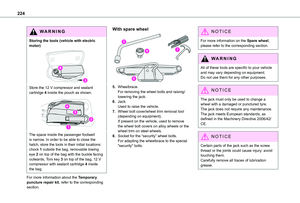
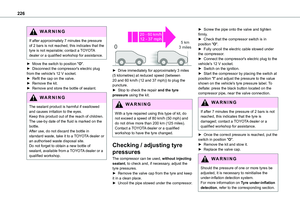
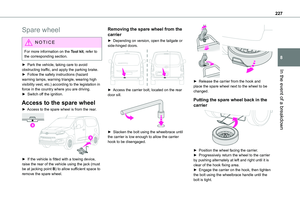
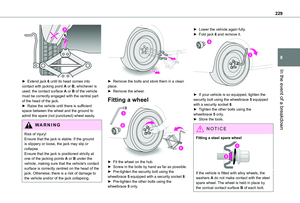
Page 185 of 320

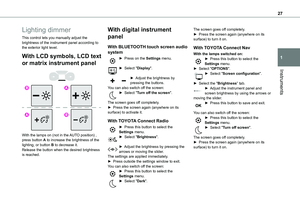
185
Driving
6
The reproduction screen comes on.► With the engine running, press button 2 to switch the reproduction screen off.
NOTIC E
The function is automatically paused (the reproduction screen becomes grey) in reverse, above 15 km/h (9 mph).The function restarts when the vehicle is
once more travelling at a speed below this threshold.
Operation
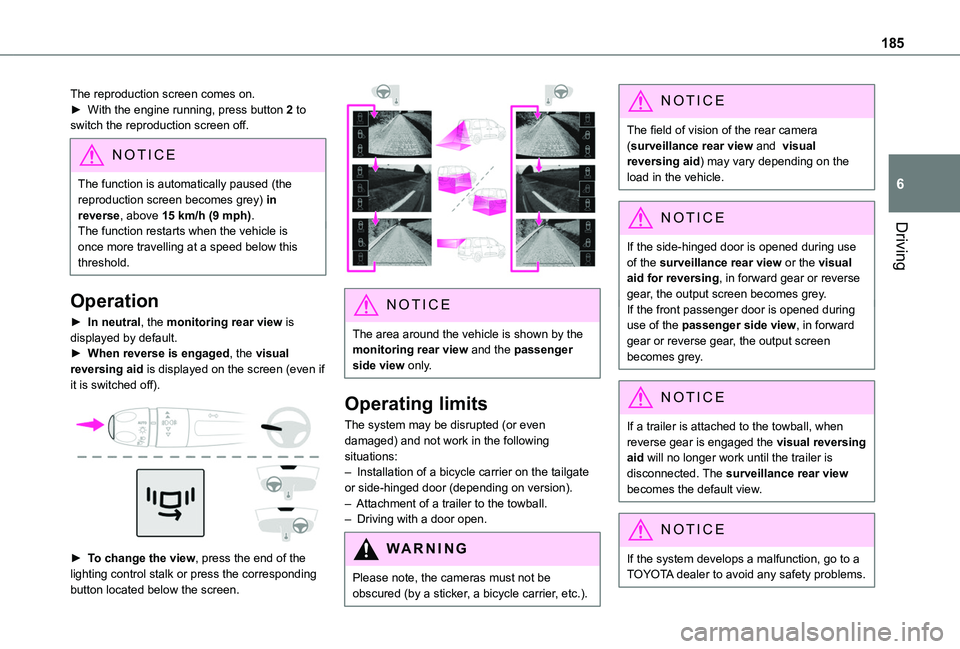
► In neutral, the monitoring rear view is displayed by default.► When reverse is engaged, the visual reversing aid is displayed on the screen (even if it is switched off).
► To change the view, press the end of the lighting control stalk or press the corresponding button located below the screen.
NOTIC E
The area around the vehicle is shown by the monitoring rear view and the passenger side view only.
Operating limits
The system may be disrupted (or even damaged) and not work in the following situations:– Installation of a bicycle carrier on the tailgate or side-hinged door (depending on version).– Attachment of a trailer to the towball.– Driving with a door open.
WARNI NG
Please note, the cameras must not be obscured (by a sticker, a bicycle carrier, etc.).
NOTIC E
The field of vision of the rear camera (surveillance rear view and visual reversing aid) may vary depending on the load in the vehicle.
NOTIC E
If the side-hinged door is opened during use of the surveillance rear view or the visual aid for reversing, in forward gear or reverse gear, the output screen becomes grey.If the front passenger door is opened during use of the passenger side view, in forward gear or reverse gear, the output screen becomes grey.
NOTIC E
If a trailer is attached to the towball, when reverse gear is engaged the visual reversing aid will no longer work until the trailer is disconnected. The surveillance rear view becomes the default view.
NOTIC E
If the system develops a malfunction, go to a TOYOTA dealer to avoid any safety problems.
Page 186 of 320

186
Top Rear Vision
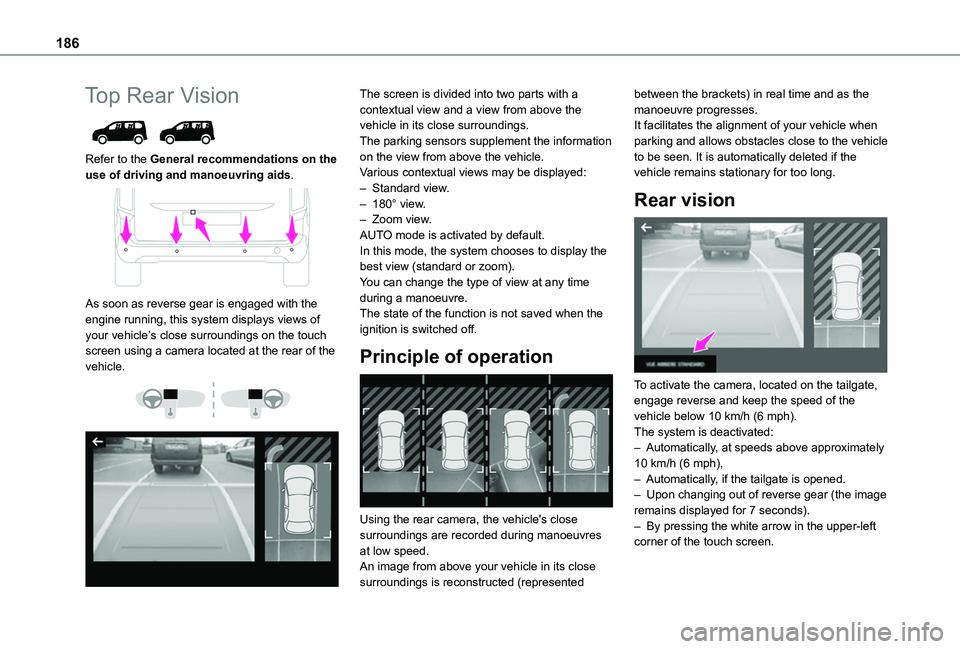
Refer to the General recommendations on the use of driving and manoeuvring aids.
As soon as reverse gear is engaged with the engine running, this system displays views of your vehicle’s close surroundings on the touch screen using a camera located at the rear of the vehicle.
The screen is divided into two parts with a contextual view and a view from above the vehicle in its close surroundings.The parking sensors supplement the information on the view from above the vehicle.Various contextual views may be displayed:– Standard view.– 180° view.– Zoom view.AUTO mode is activated by default.In this mode, the system chooses to display the best view (standard or zoom).You can change the type of view at any time during a manoeuvre.The state of the function is not saved when the ignition is switched off.
Principle of operation
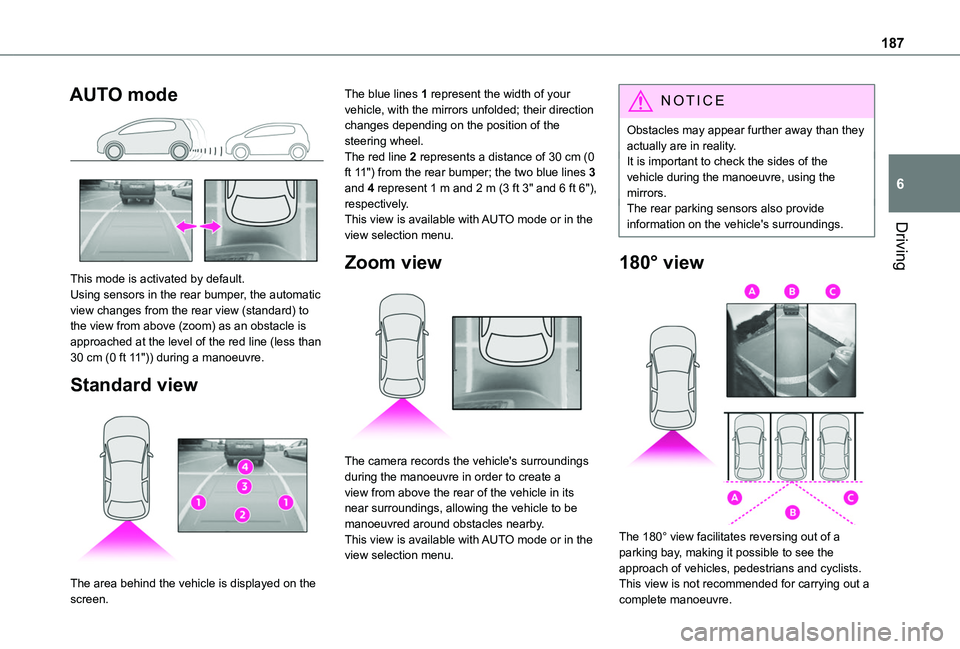
Using the rear camera, the vehicle's close surroundings are recorded during manoeuvres
at low speed.An image from above your vehicle in its close surroundings is reconstructed (represented
between the brackets) in real time and as the manoeuvre progresses.It facilitates the alignment of your vehicle when parking and allows obstacles close to the vehicle to be seen. It is automatically deleted if the vehicle remains stationary for too long.
Rear vision
To activate the camera, located on the tailgate, engage reverse and keep the speed of the vehicle below 10 km/h (6 mph).The system is deactivated:– Automatically, at speeds above approximately 10 km/h (6 mph),– Automatically, if the tailgate is opened.– Upon changing out of reverse gear (the image remains displayed for 7 seconds).– By pressing the white arrow in the upper-left corner of the touch screen.
Page 187 of 320

187
Driving
6
AUTO mode
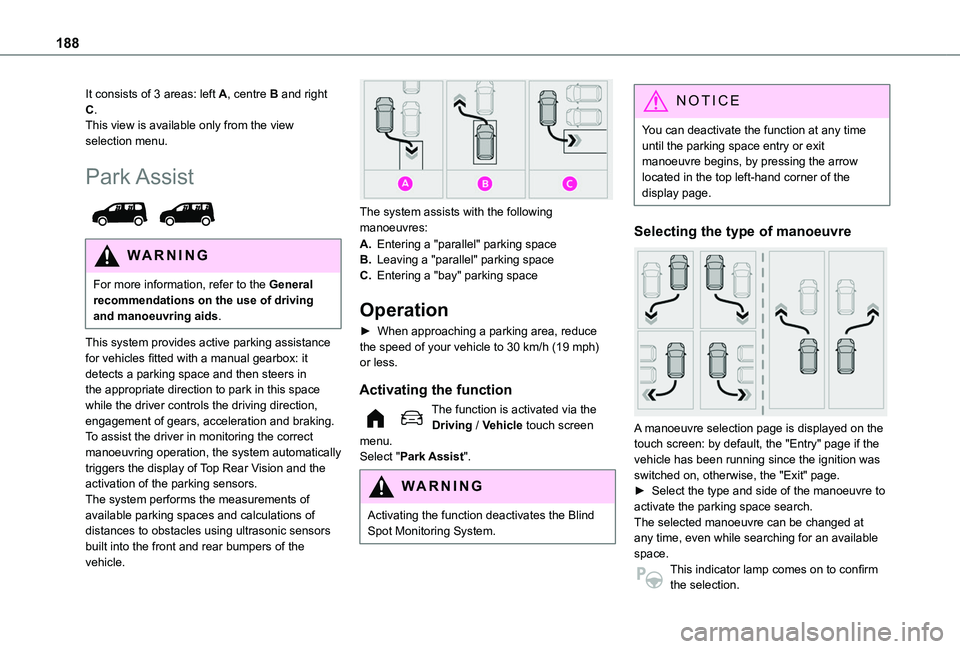
This mode is activated by default.Using sensors in the rear bumper, the automatic view changes from the rear view (standard) to the view from above (zoom) as an obstacle is approached at the level of the red line (less than 30 cm (0 ft 11")) during a manoeuvre.
Standard view
The area behind the vehicle is displayed on the
screen.
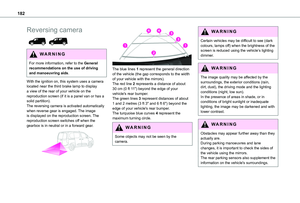
The blue lines 1 represent the width of your vehicle, with the mirrors unfolded; their direction changes depending on the position of the steering wheel.The red line 2 represents a distance of 30 cm (0 ft 11") from the rear bumper; the two blue lines 3 and 4 represent 1 m and 2 m (3 ft 3" and 6 ft 6"), respectively.This view is available with AUTO mode or in the view selection menu.
Zoom view
The camera records the vehicle's surroundings during the manoeuvre in order to create a view from above the rear of the vehicle in its near surroundings, allowing the vehicle to be manoeuvred around obstacles nearby.This view is available with AUTO mode or in the view selection menu.
NOTIC E
Obstacles may appear further away than they actually are in reality.It is important to check the sides of the vehicle during the manoeuvre, using the mirrors.The rear parking sensors also provide information on the vehicle's surroundings.
180° view
The 180° view facilitates reversing out of a parking bay, making it possible to see the approach of vehicles, pedestrians and cyclists.This view is not recommended for carrying out a
complete manoeuvre.
Page 188 of 320

188
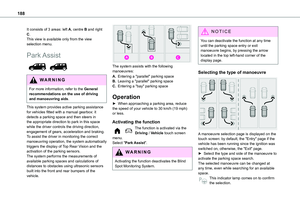
It consists of 3 areas: left A, centre B and right C.This view is available only from the view selection menu.
Park Assist
WARNI NG
For more information, refer to the General recommendations on the use of driving and manoeuvring aids.
This system provides active parking assistance for vehicles fitted with a manual gearbox: it detects a parking space and then steers in the appropriate direction to park in this space while the driver controls the driving direction, engagement of gears, acceleration and braking.To assist the driver in monitoring the correct manoeuvring operation, the system automatically triggers the display of Top Rear Vision and the activation of the parking sensors.The system performs the measurements of available parking spaces and calculations of distances to obstacles using ultrasonic sensors built into the front and rear bumpers of the vehicle.
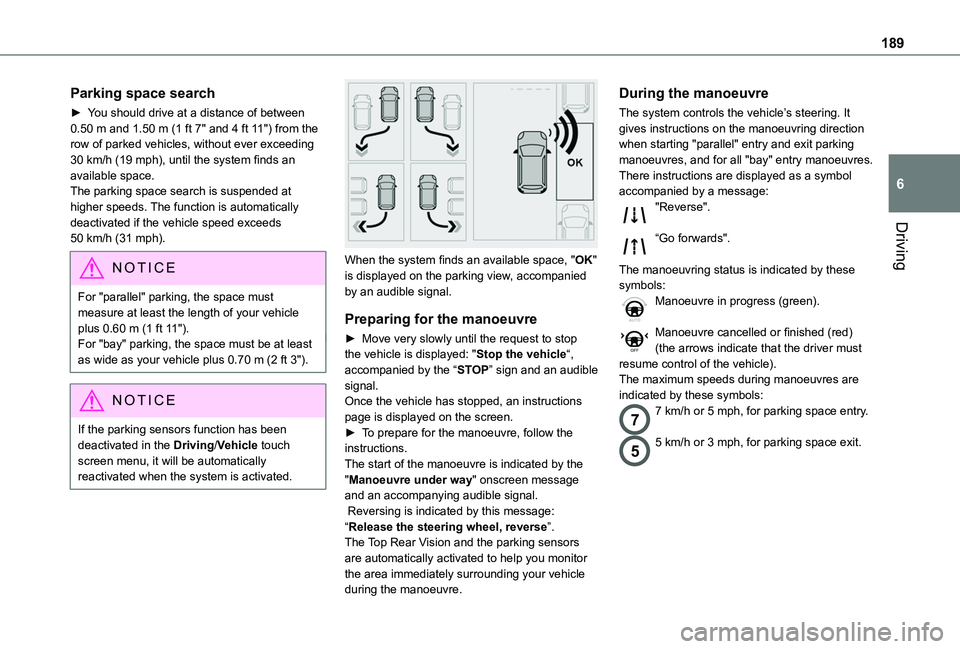
The system assists with the following manoeuvres:
A.Entering a "parallel" parking space
B.Leaving a "parallel" parking space
C.Entering a "bay" parking space
Operation
► When approaching a parking area, reduce the speed of your vehicle to 30 km/h (19 mph) or less.
Activating the function
The function is activated via the Driving / Vehicle touch screen menu.
Select "Park Assist".
WARNI NG
Activating the function deactivates the Blind Spot Monitoring System.
NOTIC E
You can deactivate the function at any time until the parking space entry or exit manoeuvre begins, by pressing the arrow located in the top left-hand corner of the display page.
Selecting the type of manoeuvre
A manoeuvre selection page is displayed on the touch screen: by default, the "Entry" page if the
vehicle has been running since the ignition was switched on, otherwise, the "Exit" page.► Select the type and side of the manoeuvre to activate the parking space search.The selected manoeuvre can be changed at any time, even while searching for an available space.This indicator lamp comes on to confirm the selection.
Page 189 of 320

189
Driving
6
Parking space search
► You should drive at a distance of between 0.50 m and 1.50 m (1 ft 7" and 4 ft 11") from the row of parked vehicles, without ever exceeding 30 km/h (19 mph), until the system finds an available space.The parking space search is suspended at higher speeds. The function is automatically deactivated if the vehicle speed exceeds 50 km/h (31 mph).
NOTIC E
For "parallel" parking, the space must measure at least the length of your vehicle plus 0.60 m (1 ft 11").For "bay" parking, the space must be at least as wide as your vehicle plus 0.70 m (2 ft 3").
NOTIC E
If the parking sensors function has been deactivated in the Driving/Vehicle touch screen menu, it will be automatically reactivated when the system is activated.
When the system finds an available space, "OK" is displayed on the parking view, accompanied by an audible signal.
Preparing for the manoeuvre
► Move very slowly until the request to stop the vehicle is displayed: "Stop the vehicle“, accompanied by the “STOP” sign and an audible signal.Once the vehicle has stopped, an instructions page is displayed on the screen.► To prepare for the manoeuvre, follow the instructions. The start of the manoeuvre is indicated by the "Manoeuvre under way" onscreen message and an accompanying audible signal. Reversing is indicated by this message: “Release the steering wheel, reverse”.The Top Rear Vision and the parking sensors are automatically activated to help you monitor the area immediately surrounding your vehicle during the manoeuvre.
During the manoeuvre
The system controls the vehicle’s steering. It gives instructions on the manoeuvring direction when starting "parallel" entry and exit parking manoeuvres, and for all "bay" entry manoeuvres.There instructions are displayed as a symbol accompanied by a message:"Reverse".
“Go forwards".
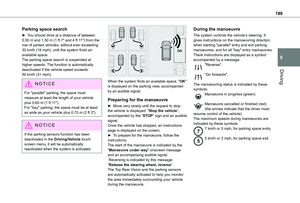
The manoeuvring status is indicated by these symbols:Manoeuvre in progress (green).
Manoeuvre cancelled or finished (red) (the arrows indicate that the driver must resume control of the vehicle).The maximum speeds during manoeuvres are indicated by these symbols:
77 km/h or 5 mph, for parking space entry.
55 km/h or 3 mph, for parking space exit.
Page 190 of 320

190
WARNI NG
During manoeuvring phases, the steering wheel performs rapid turns: do not hold the steering wheel or put your hands between the spokes of the steering wheel. Watch out for any objects that could interfere with the manoeuvre (loose clothing, scarf, tie, etc.). Risk of injury!It is the driver's responsibility to constantly monitor the traffic, especially vehicles coming towards you.The driver should check that no objects or people are obstructing the vehicle’s path.
NOTIC E
The images from the camera(s) displayed on the touch screen may be distorted by the terrain.In shady areas, or in inadequate sunlight or lighting conditions, the image may be darkened and with lower contrast
The manoeuvre can be permanently interrupted at any time, either by the driver or automatically by the system.Interruption by the driver:– taking over control of the steering.
– activating the direction indicator lamps on the opposite side to that of the manoeuvre.– unfastening the driver's seat belt.– switching off the ignition.Interruption by the system:– vehicle exceeding the speed limit of 7 km/h (5 mph) during parking space entry manoeuvres, or 5 km/h (3 mph) during parking space exit manoeuvres.– activation of anti-slip regulation on a slippery road.– opening of a door or the boot.– engine stall.– system malfunction.– after 10 manoeuvres to enter or exit a parallel parking space and after 7 manoeuvres to enter a parking bay.Interrupting the manoeuvre automatically deactivates the function.The manoeuvre symbol is displayed in red, accompanied by the "Manoeuvre cancelled" message on the touch screen.A message prompts the driver to take back
control of the vehicle.The function is deactivated after a few seconds; this warning lamp goes off and the function returns to the initial display.
End of the parking space entry or exit
manoeuvre
The vehicle stops as soon as the manoeuvre is completed.The manoeuvre symbol is displayed in red, accompanied by the message “Manoeuvre completed” on the touch screen.When the function is deactivated, this indicator lamp goes off, accompanied by an audible signal.When entering a parking space, the driver may be required to complete the manoeuvre.
Page 191 of 320

191
Driving
6
Operating limits
– The system may suggest an inappropriate parking space (parking prohibited, work in progress with damaged road surface, location alongside a ditch, etc.).– The system may indicate that a space has been found but not offer it because of a fixed obstacle on the opposite side of the manoeuvre, which would not allow the vehicle to follow the necessary trajectory required for parking.– The system may indicate that a space has been found but the manoeuvre will not be triggered, because the width of the lane is insufficient.– The system is not designed to perform the parking manoeuvre on a sharp bend.– The system does not detect spaces that are much larger than the vehicle itself or that are delimited by obstacles that are too low (pavements, studs, etc.) or too thin (trees, posts, wire fences, etc.).– If the boot is heavily loaded, the tilt of the
vehicle towards the rear may interfere with the distance measurements.
WARNI NG
Do not use the function under the following exterior conditions:– Alongside a soft shoulder (e.g. ditch) or quay or on the edge of a drop.– When the road surface is slippery (e.g. ice).
WARNI NG
If any of the following malfunctions occurs, do not use the system:– If a tyre is under-inflated.– If one of the bumpers is damaged.– If one of the cameras is faulty.
WARNI NG
If the vehicle has undergone any of the following modifications, do not use the function:– When carrying an object extending beyond the dimensions of the vehicle (ladder on the roof bars, bicycle carrier on the tailgate, etc.).– With a non-approved towball in place.– With snow chains fitted.– When driving on a small-diameter or "space-saver" type spare wheel.– When the wheels fitted are a different size from the original ones.
– After modifying one or both bumpers (added protection).– If the sensors have been repainted other than by the TOYOTA dealer network.– With sensors not approved for the vehicle.
Malfunctions
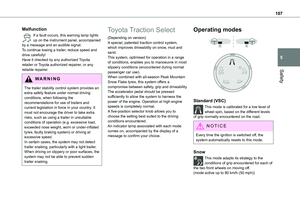
When the function is not activated, this indicator lamp will flash briefly and an audible signal will be emitted to indicate a system malfunction.If the malfunction occurs while the system is in use, the warning lamp goes off.If the parking sensor malfunction occurs during use, indicated by this warning lamp coming on, it causes the function to deactivate.In the event of a malfunction, have the system checked by a TOYOTA dealer or a qualified workshop.In the event of a power steering malfunction, this warning lamp is displayed on the instrument panel, accompanied by a warning message.
WARNI NG
You must stop the vehicle.Stop as soon as it is safe to do so and switch off the ignition.Contact a TOYOTA dealer or a qualified workshop.
Page 192 of 320

192
Compatibility of fuels
Petrol fuels conforming to the EN228 standard containing up to 5% and 10% ethanol respectively.
Diesel fuels conforming to the EN590, EN16734 and EN16709 standards and containing up to 7%, 10%, 20% and 30% fatty acid methyl ester respectively. The use of B20 or B30 fuels, even occasionally, imposes special maintenance conditions referred to as "Arduous conditions".
Paraffinic Diesel fuel conforming to the EN15940 standard.
WARNI NG
The use of any other type of (bio) fuel (vegetable or animal oils, pure or diluted, domestic fuel, etc.) is strictly prohibited (risk of damage to the engine and fuel system).
NOTIC E
The only fuel additives authorised for use are those that meet the B715001 (petrol) or B715000 (Diesel) standards.
Diesel at low temperature
At temperatures below 0 °C (+32 °F), the formation of paraffins in summer-type Diesel fuels could prevent the engine from operating correctly. In these temperature conditions, use winter-type Diesel fuel and keep the fuel tank more than 50 % full.At temperatures below -15 °C (+5 °F) to avoid problems starting, it is best to park the vehicle under shelter (heated garage).
Travelling abroad
Certain fuels could damage your vehicle’s engine.In certain countries, the use of a particular fuel may be required (specific octane rating, specific trade name, etc.) to ensure correct operation of the engine.For all additional information, consult a dealer.
Refuelling
Fuel tank capacity: approximately 61 litres (petrol) or 50 litres (Diesel).Reserve level: approximately 6 litres.
Low fuel level
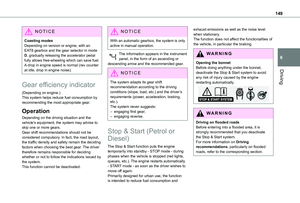
/2
1 1When the low fuel level is reached, this warning lamp comes on on the instrument panel, accompanied by an onscreen message and an audible signal. When it first comes on, about 6 litres of fuel remain in the tank.Until sufficient fuel is added, this warning lamp appears every time the ignition is switched on, accompanied by an onscreen message and an audible signal. When driving, this message and audible signal are repeated with increasing frequency as the fuel level drops towards 0.You must refuel as soon as possible to avoid running out of fuel.For more information on Running out of fuel (Diesel), refer to the corresponding section.
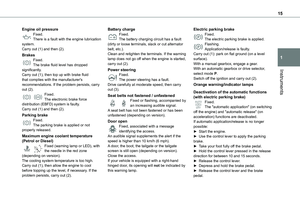
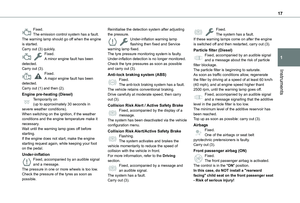
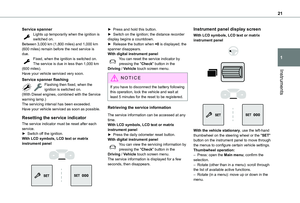
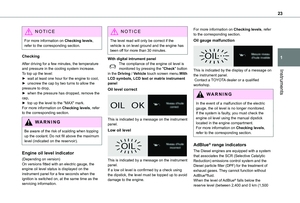
N
OTIC E
A small arrow by the warning lamp indicates which side of the vehicle the fuel filler flap is located on.