2022 TOYOTA GR SUPRA wheel
[x] Cancel search: wheelPage 121 of 356
1213-1. CONTROLS
3
CONTROLS
a speed of approx. 2 mph/3
km/h the parking brake is set.
1Switch on drive-ready state.
2 Press the switch while
the brake is pressed or selec-
tor lever position P is set.
The LED and indicator light go out.
The parking brake is released.
The parking brake is released
automatically when you drive
away.
The LED and indicator light go
out.
In the event of a failure or mal-
function of the parking brake:
Secure the vehicle against roll-
ing away, for instance with a
wheel chock, after existing the
vehicle.
To reestablish parking brake
functionality after a power fail-
ure:
1 Switch on standby state. 2
Pull the switch while
stepping on the brake pedal
or selector lever position P is
set and then push.
This process may take a few
seconds. Any sounds associ-
ated with this are normal.
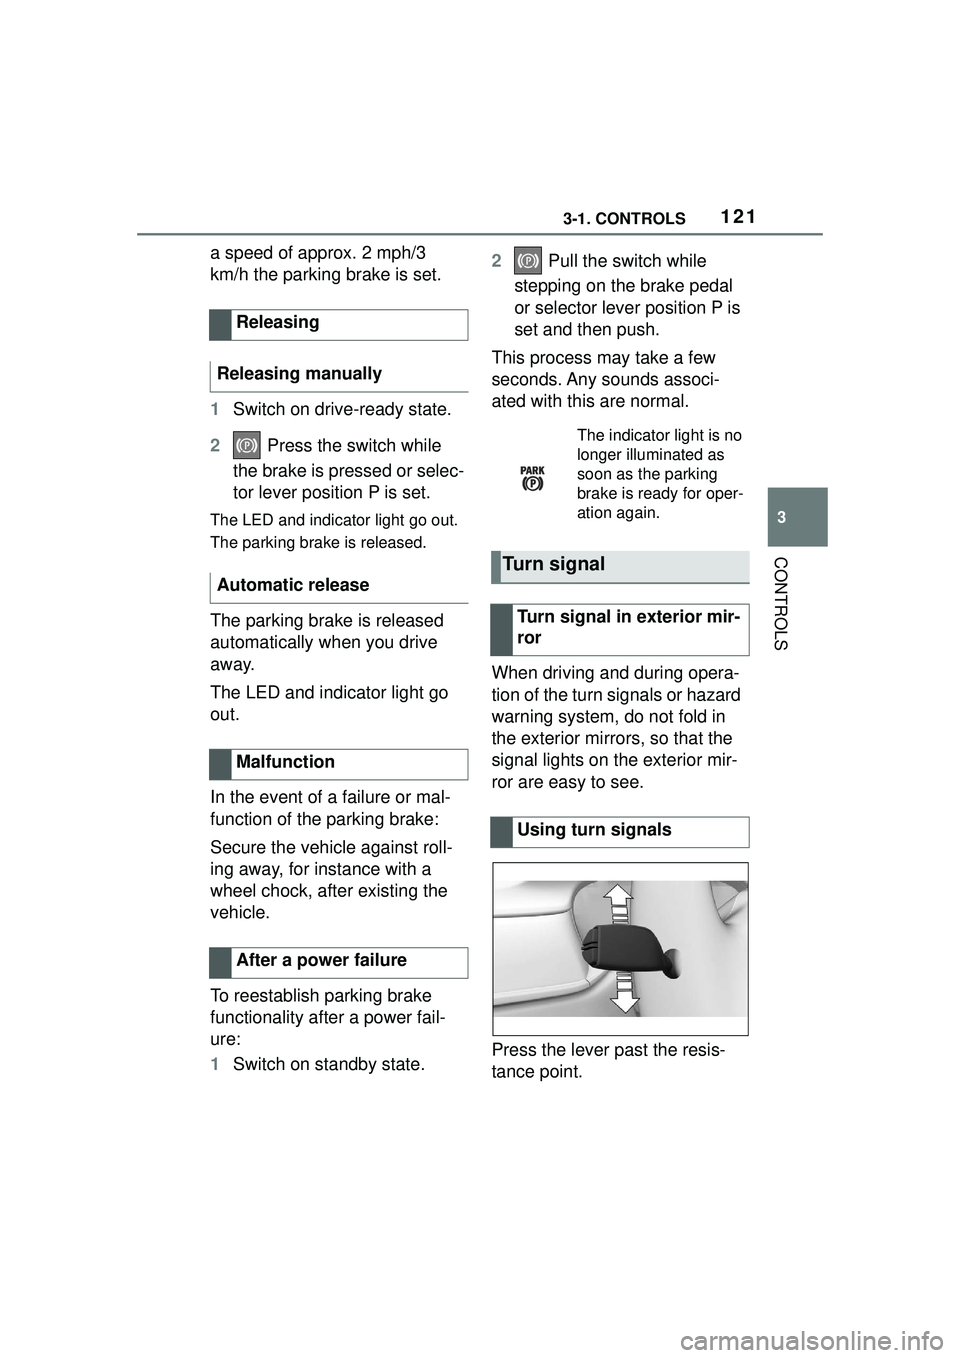
When driving and during opera-
tion of the turn signals or hazard
warning system, do not fold in
the exterior mirrors, so that the
signal lights on the exterior mir-
ror are easy to see.
Press the lever past the resis-
tance point.
Releasing
Releasing manually
Automatic release
Malfunction
After a power failure
The indicator light is no
longer illuminated as
soon as the parking
brake is ready for oper-
ation again.
Turn signal
Turn signal in exterior mir-
ror
Using turn signals
Page 124 of 356

1243-1. CONTROLS
Press the lever up once from its
standard position, arrow 1.
Wiping is started.
The LED in the wiper lever is
illuminated.
In frosty conditions, wiper oper-
ation may not start.
Press the lever back into the
standard position.
Turn the thumbwheel to adjust
the sensitivity of the rain sensor.
Upward: high rain sensor sensi-
tivity. Downward: low rains sensor
sensitivity.
Pull the lever.
The system sprays washer fluid
on the windshield and activates
the wipers briefly.
Activating
Deactivating
Adjusting the rain sensor
sensitivity
Windshield washer system
Safety information
WARNING
The washer fluid can freeze onto
the window at low temperatures
and obstruct the view. There is a
risk of an accident. Only use the
washer systems, if the washer
fluid cannot freeze. Use washer
fluid with antifreeze, if needed.
NOTICE
When the washer fluid reservoir is
empty, the wash pump cannot
work as intended. There is a risk
of damage to property. Do not use
the washer system when the
washer fluid reservoir is empty.
Cleaning the windshield
Page 126 of 356
1263-1. CONTROLS
3Wipers return to their resting
position and are ready again
for operation.
The Automatic transmission
combines the functions of man-
ual shifting, if needed.
Selector lever position for nor-
mal vehicle operation. All gears
for forward travel are activated
automatically. Engage selector lever position R
only when the vehicle is station-
ary.
The vehicle may be pushed or
roll without power, for instance
in vehicle washes, refer to page
128, in selector lever position N.
Selector lever position, for
instance for parking the vehicle.
The transmission blocks the
drive wheels in selector lever
position P.
Engage selector lever position P
only when the vehicle is station-
ary.
■P is engaged automatically
Selector lever position P is
engaged automatically in situa-
tions such as the following:
After the drive-ready state is
switched off and selector
lever position R, D or M is
engaged.
After the standby state has
been switched off when selec-
tor lever position N is
engaged.
If the driver's safety belt is
unbuckled, the driver's door is
opened, and the brake pedal
is not pressed while the vehi-
Automatic transmission
Concept
Safety information
WARNING
An unsecured vehicle can begin
to move and possibly roll away.
There is a risk of an accident.
Before exiting, secure the vehicle
against rolling.
In order to ensure that the vehicle
is secured against rolling away,
follow the following:
●Set the parking brake.
●On uphill grades or on a down-
hill slope, turn the front wheels
in the direction of the curb.
●On uphill grades or on a down-
hill slope, also secure the vehi-
cle, for instance with a wheel
chock.
Selector lever positions
Drive mode D
Reverse R
Neutral N
Parking position P
Page 129 of 356
1293-1. CONTROLS
3
CONTROLS
To shift down: press the
selector lever forward.
To shift up: pull the selector
lever rearwards.
Push the selector lever to the
right.
D is displayed in the instrument
cluster.
The shift paddles on the steer-
ing wheel allow you to shift
gears quickly while keeping both
hands on the steering wheel.
■Shifting
The vehicle only shifts at suit-
able engine and road speeds.
■Short-term manual mode
In selector lever position D,
actuating a shift paddle switches
into manual mode temporarily.
After conservative driving in
manual mode without accelera-
tion or shifting via the shift pad-
dles for a certain amount of
time, the transmission switches
back to automatic mode. It is possible to switch into auto-
matic mode as follows:
Pull and hold right shift pad-
dle.
In addition to the briefly pulled
right shift paddle, briefly pull
the left shift paddle.
■Continuous manual mode
In selector lever position M,
actuating a shift paddle switches
into manual mode permanently.
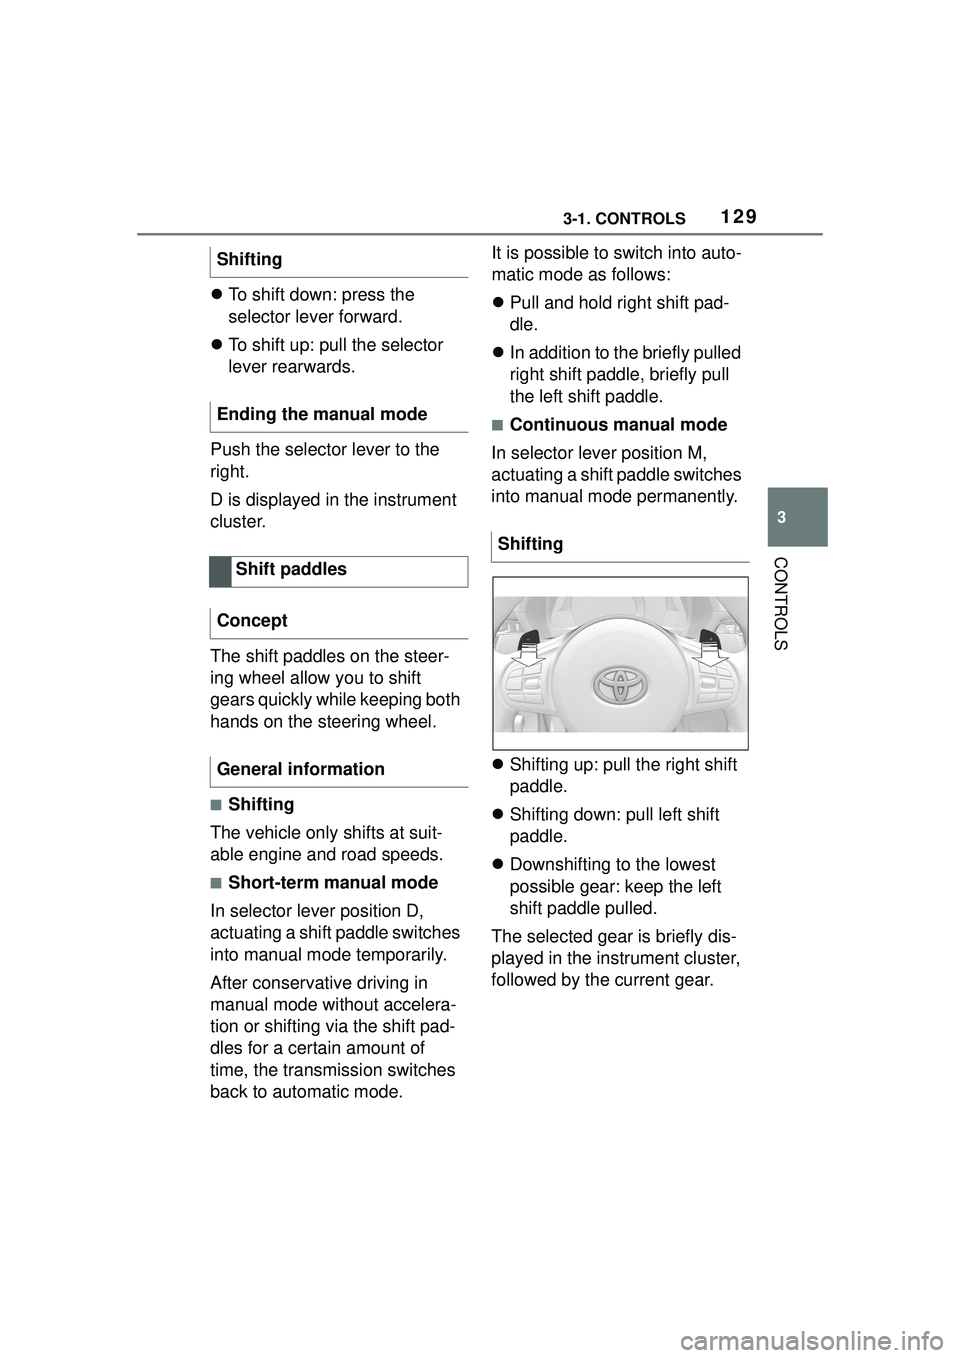
Shifting up: pull the right shift
paddle.
Shifting down: pull left shift
paddle.
Downshifting to the lowest
possible gear: keep the left
shift paddle pulled.
The selected gear is briefly dis-
played in the instrument cluster,
followed by the current gear.
Shifting
Ending the manual mode
Shift paddles
Concept
General information
Shifting
Page 131 of 356
1313-1. CONTROLS
3
CONTROLS
Do not use Launch Control
during the break-in, refer to
page 252, period.
Do not steer the steering wheel
when driving off with Launch
Control.
Launch Control is available
when the engine is at operating
temperature. The engine is at
operating temperature after an
uninterrupted trip of at least 6
miles/10 km.
1Switch on drive-ready state.
2 Press the sport button.
SPORT will be displayed on the
instrument cluster, indicating sport
mode has been selected.
3 Press the button.
TRACTION will be displayed on the
instrument cluster and the VSC
OFF indicator la mp will illuminate.
4Select the D selector lever
position.
5 Firmly depress the brake
pedal with your left foot.
6 Fully depress and hold the
accelerator pedal at the kick-
down position.
A flag symbol will be shown in the
instrument cluster.
7The engine speed will be
adjusted for launching. Release the brake pedal
within 3 seconds.
After Launch Control has been
used, the transmission must
cool down for approx. 5 minutes
before Launch Control can be
used again. Launch Control
adjusts to the surrounding con-
ditions, when used again.
To increase vehicle stability,
activate VSC Vehicle Stability
Control System again as soon
as possible.
An experienced driver may be
able to achieve better accelera-
tion values in VSC OFF mode.
The Sport mode button influ-
ences the driving dynamics
properties of the vehicle.
The following systems are
affected, for instance:
Engine characteristics.
Automatic transmission.
Functional requirements
Start with launch control
Repeated use during a trip
After using Launch Control
System limits
Sport mode button
Concept
General information
Page 137 of 356
1373-1. CONTROLS
3
CONTROLS
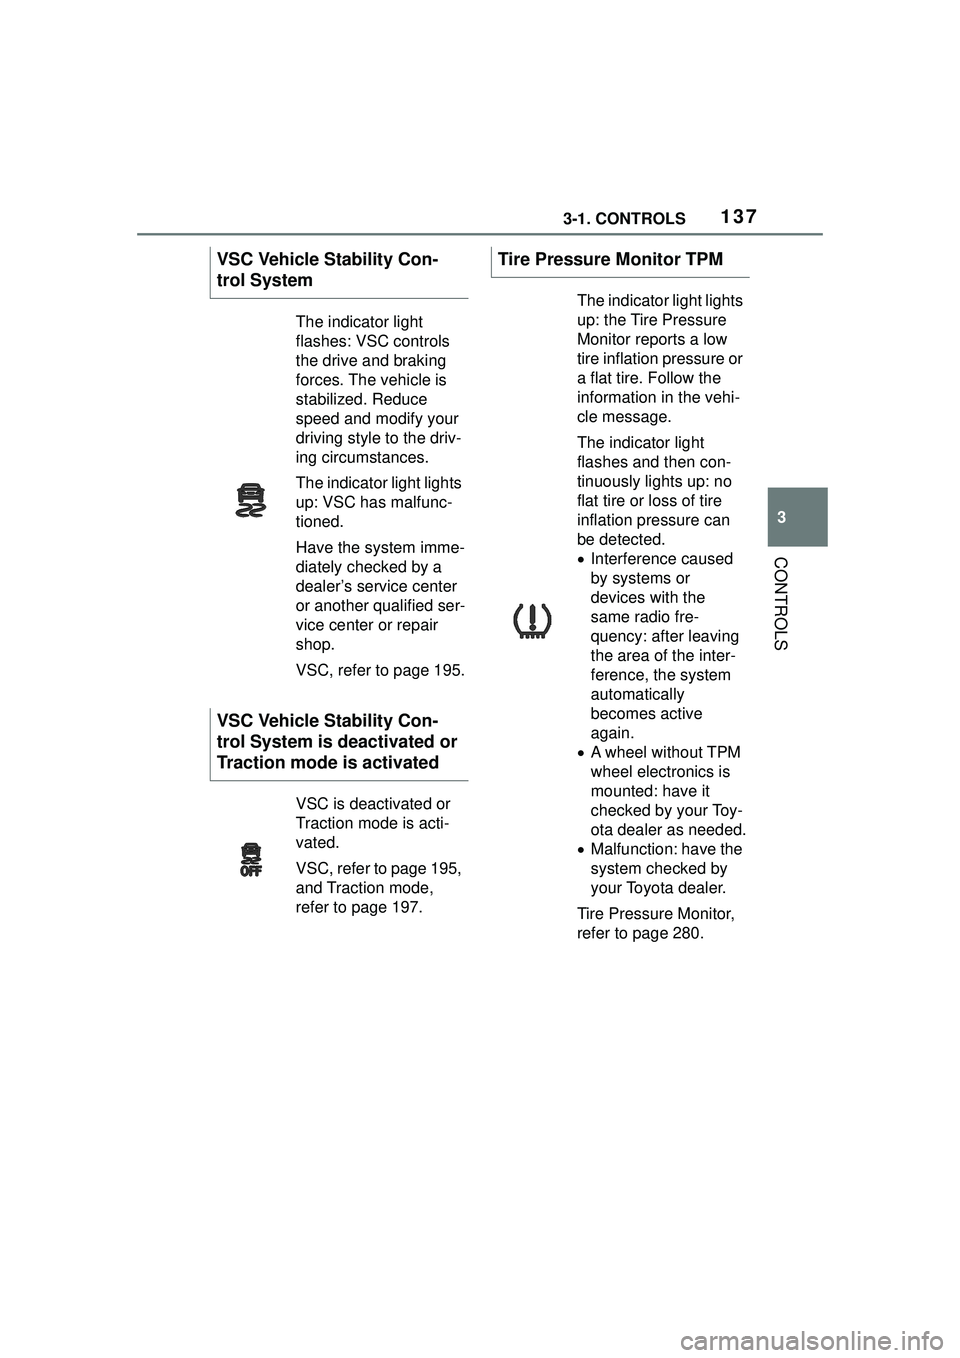
VSC Vehicle Stability Con-
trol System
The indicator light
flashes: VSC controls
the drive and braking
forces. The vehicle is
stabilized. Reduce
speed and modify your
driving style to the driv-
ing circumstances.
The indicator light lights
up: VSC has malfunc-
tioned.
Have the system imme-
diately checked by a
dealer’s service center
or another qualified ser-
vice center or repair
shop.
VSC, refer to page 195.
VSC Vehicle Stability Con-
trol System is deactivated or
Traction mode is activated
VSC is deactivated or
Traction mode is acti-
vated.
VSC, refer to page 195,
and Traction mode,
refer to page 197.
Tire Pressure Monitor TPM
The indicator light lights
up: the Tire Pressure
Monitor reports a low
tire inflation pressure or
a flat tire. Follow the
information in the vehi-
cle message.
The indicator light
flashes and then con-
tinuously lights up: no
flat tire or loss of tire
inflation pressure can
be detected.
Interference caused
by systems or
devices with the
same radio fre-
quency: after leaving
the area of the inter-
ference, the system
automatically
becomes active
again.
A wheel without TPM
wheel electronics is
mounted: have it
checked by your Toy-
ota dealer as needed.
Malfunction: have the
system checked by
your Toyota dealer.
Tire Pressure Monitor,
refer to page 280.
Page 145 of 356

1453-1. CONTROLS
3
CONTROLS
When passing buses or trucks
with traffic signs applied to
them.
If the traffic signs are
non-conforming.
When signs that are valid for
a parallel road are detected.
In the presence of coun-
try-specific signs and road
configurations.
The display can be operated
when necessary.
Entertainment source.
Current audio source.
List of most recent telephone
calls.
If necessary, the corresponding
menu will open on the Control
Display.
Items displayed may differ
depending on the specifications
of the vehicle.
The lists can be displayed and
operated using the buttons on
the steering wheel. The Onboard Computer dis-
plays different vehicle data in
the instrument cluster, such as
average values.
Selection lists
Concept
Display
Displaying and using the
list
ButtonFunction
Change the entertain-
ment source.
Pressing the button
again will close the cur-
rently displayed list.
Show list of most
recent telephone calls.
Turn the thumbwheel:
select entertainment
source or list entry.
Press the thumbwheel
to confirm the setting.
The currently selected
list can be displayed
again in the instrument
cluster by turning the
thumbwheel.
Onboard Computer in the
instrument cluster
Concept
Calling up information
Page 152 of 356
1523-1. CONTROLS
The visibility of the displays in
the Head-up Display is influ-
enced by the following factors:
Seat position.
Objects on the cover of the
Head-up Display.
Sunglasses with certain polar-
ization filters.
Wet roads.
Unfavorable light conditions.
If the image is distorted, have
the basic settings checked by
your Toyota dealer.
The windshield is part of the
system.
The shape of the windshield
makes it possible to display a
precise image.
A film in the windshield prevents
double images from being gen-
erated.
For this reason, it is strongly
suggested to have the special
windshield replaced by your
Toyota dealer if necessary. This chapter describes all stan-
dard, country-specific and
optional features offered with
the series. It also describes fea-
tures and functions that are not
necessarily available in your
vehicle, e.g., due to the selected
options or country versions. This
also applies to safety-related
functions and systems. When
using these functions and sys-
tems, the applicable laws and
regulations must be observed.
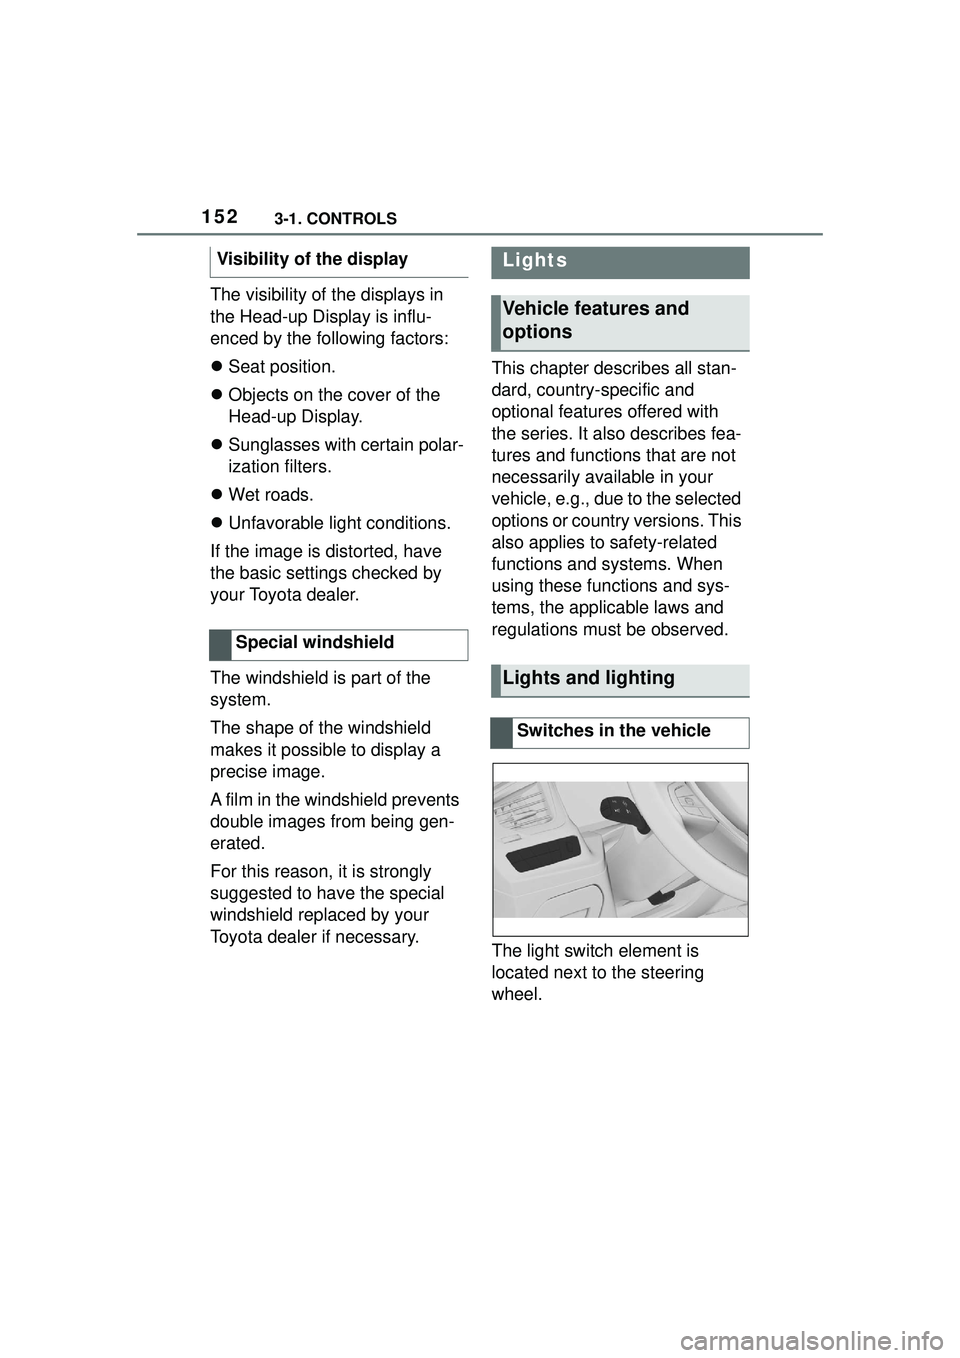
The light switch element is
located next to the steering
wheel.
Visibility of the display
Special windshield
Lights
Vehicle features and
options
Lights and lighting
Switches in the vehicle