2022 TOYOTA GR SUPRA instrument cluster
[x] Cancel search: instrument clusterPage 20 of 356

202-1. QUICK REFERENCE
Close the trunk lid manually.
1Wipers
2 Instrument cluster
3 Turn signal indicator, high
beams
4 Light switch element
The indicator/warning lights can light up in a variety of combina-
tions and colors.
Several of the lights are
checked for proper functioning
and light up temporarily when
the engine is started or standby
state is switched on.
1
Exterior mirrors
2 Power windows
3 Central locking system
4 Unlocking the trunk lid
1 Selector lever
2 Controller
3 Auto Start/Stop cancel button
4 Sport mode button
5 Park Assistant button
Trunk lid
Opening
Press and hold the but-
ton on the remote con-
trol for approximately 1
second. Depending on
the setting, the doors
may also unlock, refer
to page 78.
Closing
Displays and control ele-
ments
In the vicinity of the steer-
ing wheel
Indicator/warning lights
1
2
3
4
Driver's door
Switch console
321
4
Page 24 of 356

242-1. QUICK REFERENCE
3"Mobile devices"
4 "Connect new device"
5 Select the functions for which
the mobile phone is to be
used.
The Bluetooth name of the vehicle
is displayed on the Control Display.
6To perform additional steps
on the mobile phone, refer to
the mobile phone owner's
manual: e.g., search for or
connect the Bluetooth device
or a new device.
The Bluetooth name of the vehicle
appears on the mobile phone dis-
play. Select the Bluetooth name of
the vehicle.
7Depending on the mobile
device, a control number is
displayed or the control num-
ber must be entered.
• Compare the control number displayed on the Control Dis-
play with the control number
on the display of the device.
Confirm the control number on the
device and on the Control Display.
• Enter and confirm the same control number on the device
and via Toyota Supra Com-
mand.
The device is connected and
displayed in the device list.
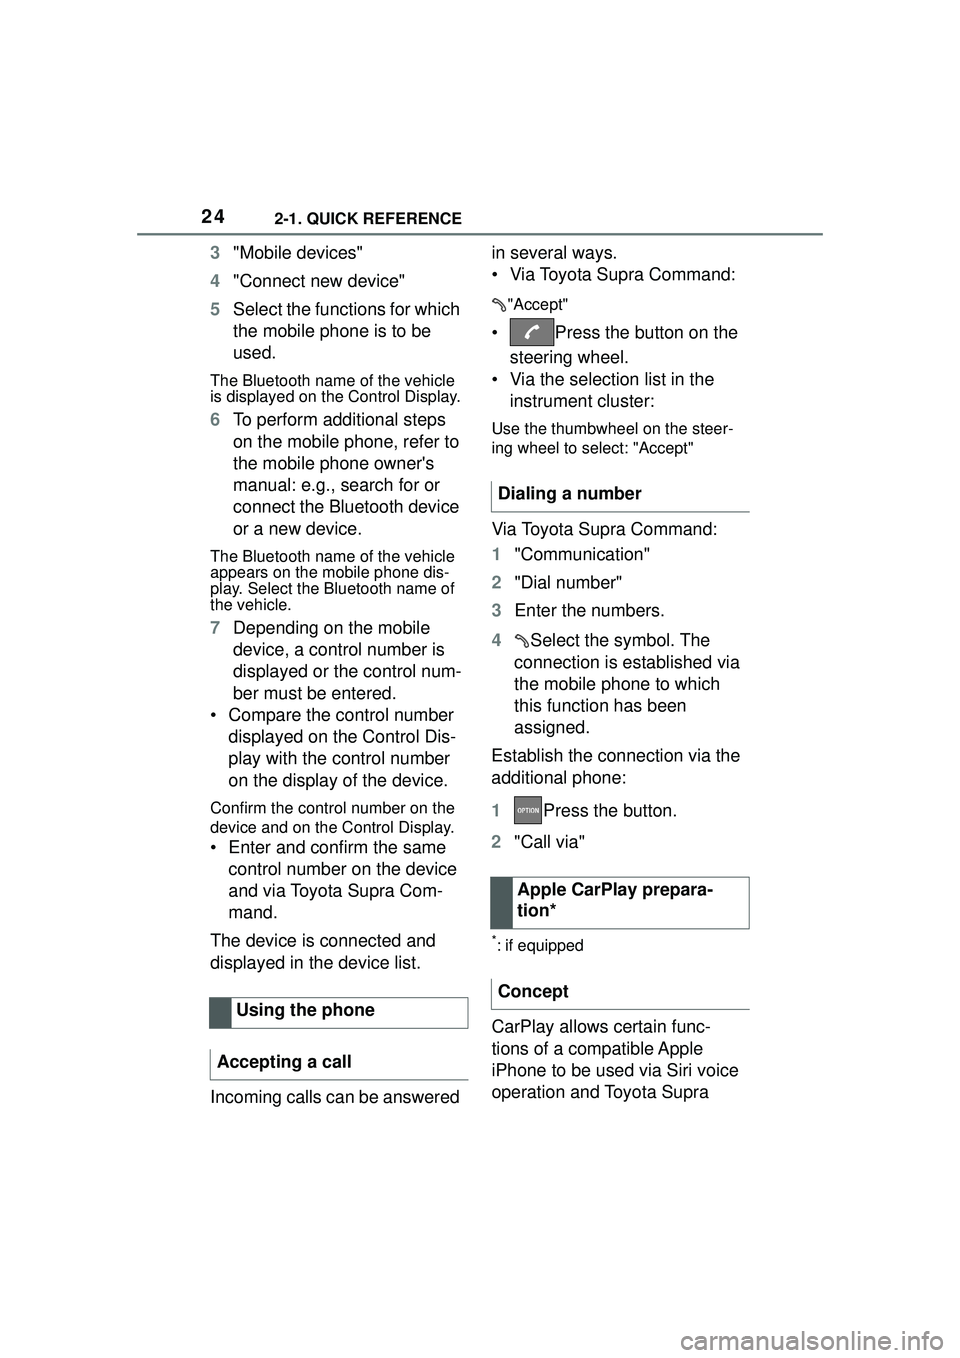
Incoming calls can be answered in several ways.
• Via Toyota Supra Command:
"Accept"
• Press the button on the
steering wheel.
• Via the selection list in the instrument cluster:
Use the thumbwheel on the steer-
ing wheel to select: "Accept"
Via Toyota Supra Command:
1 "Communication"
2 "Dial number"
3 Enter the numbers.
4 Select the symbol. The
connection is established via
the mobile phone to which
this function has been
assigned.
Establish the connection via the
additional phone:
1 Press the button.
2 "Call via"
*: if equipped
CarPlay allows certain func-
tions of a compatible Apple
iPhone to be used via Siri voice
operation and Toyota Supra
Using the phone
Accepting a call
Dialing a number
Apple CarPlay prepara-
tion*
Concept
Page 26 of 356

262-1. QUICK REFERENCE
The LED and indicator light go
out.
The parking brake is released.
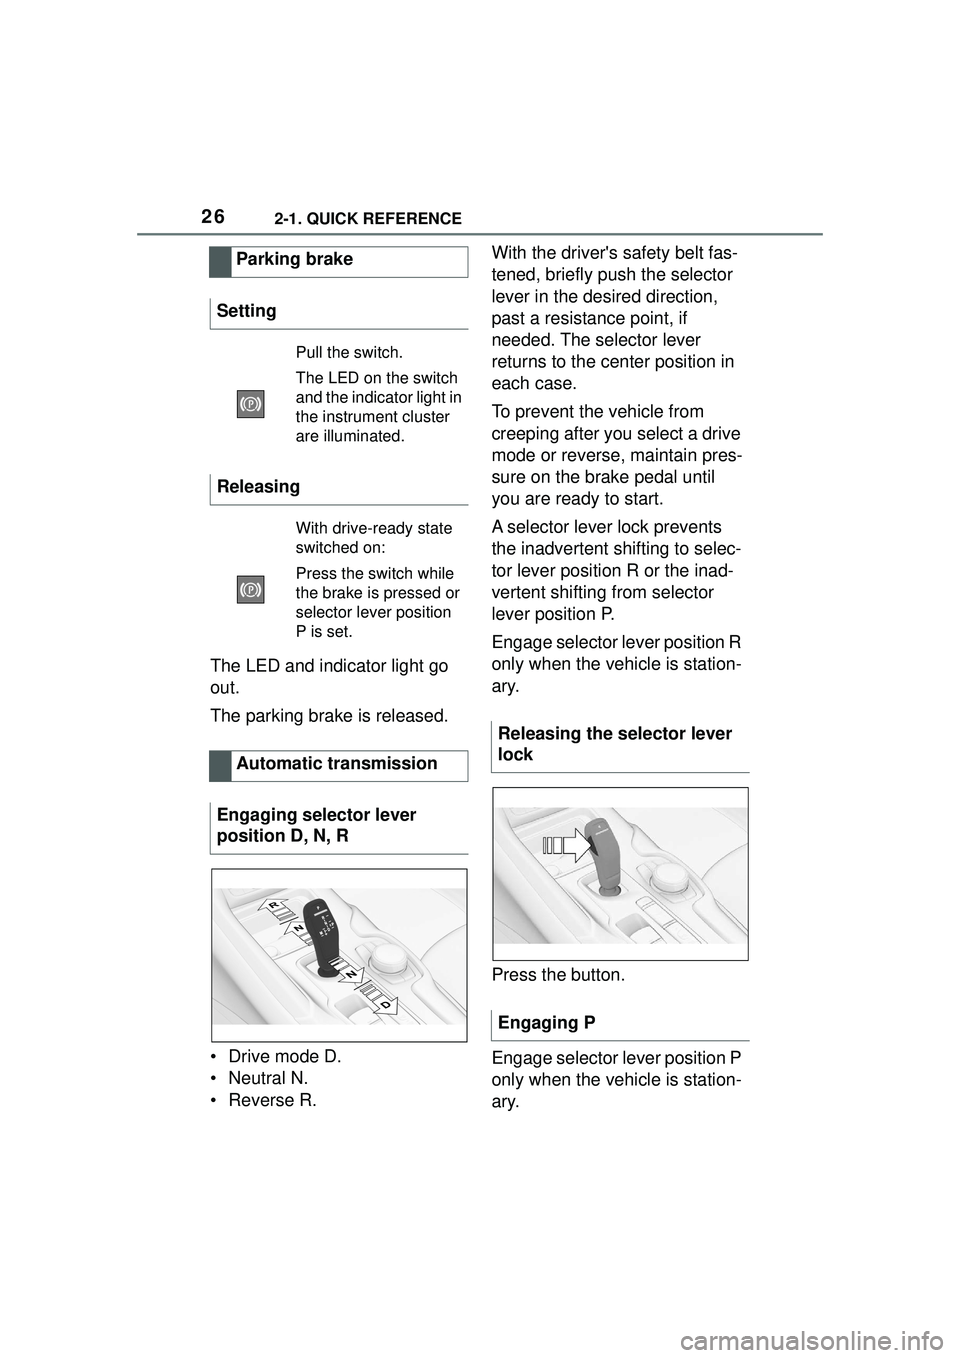
• Drive mode D.
• Neutral N.
•Reverse R.With the driver's safety belt fas-
tened, briefly push the selector
lever in the desired direction,
past a resistance point, if
needed. The selector lever
returns to the center position in
each case.
To prevent the vehicle from
creeping after you select a drive
mode or reverse, maintain pres-
sure on the brake pedal until
you are ready to start.
A selector lever lock prevents
the inadvertent shifting to selec-
tor lever position R or the inad-
vertent shifting from selector
lever position P.
Engage selector lever position R
only when the vehicle is station-
ary.
Press the button.
Engage selector lever position P
only when the vehicle is station-
ary.
Parking brake
Setting
Pull the switch.
The LED on the switch
and the indica tor light in
the instrument cluster
are illuminated.
Releasing
With drive-ready state
switched on:
Press the switch while
the brake is pressed or
selector lever position
P is set.
Automatic transmission
Engaging selector lever
position D, N, R
Releasing the selector lever
lock
Engaging P
Page 31 of 356

312-1. QUICK REFERENCE
2
QUICK REFERENCE
The friction during hard braking
may produce brake dust and
make the rims dirty. Brake dust
can be removed by cleaning the
rims. Toyota recommends using
vehicle care and cleaning prod-
ucts from Toyota.
Depending on the previous dis-
plays, the status display
appears when the engine is run-
ning or after the vehicle has
been driven for at least 30 min-
utes.
Via Toyota Supra Command:
1"My Vehicle"
2 "Vehicle status"
3 "Engine oil level"
Different messages appear on
the Control Display depending
on the engine oil level. Pay
attention to these messages.
Safely park the vehicle and switch off drive-ready state
before adding engine oil.
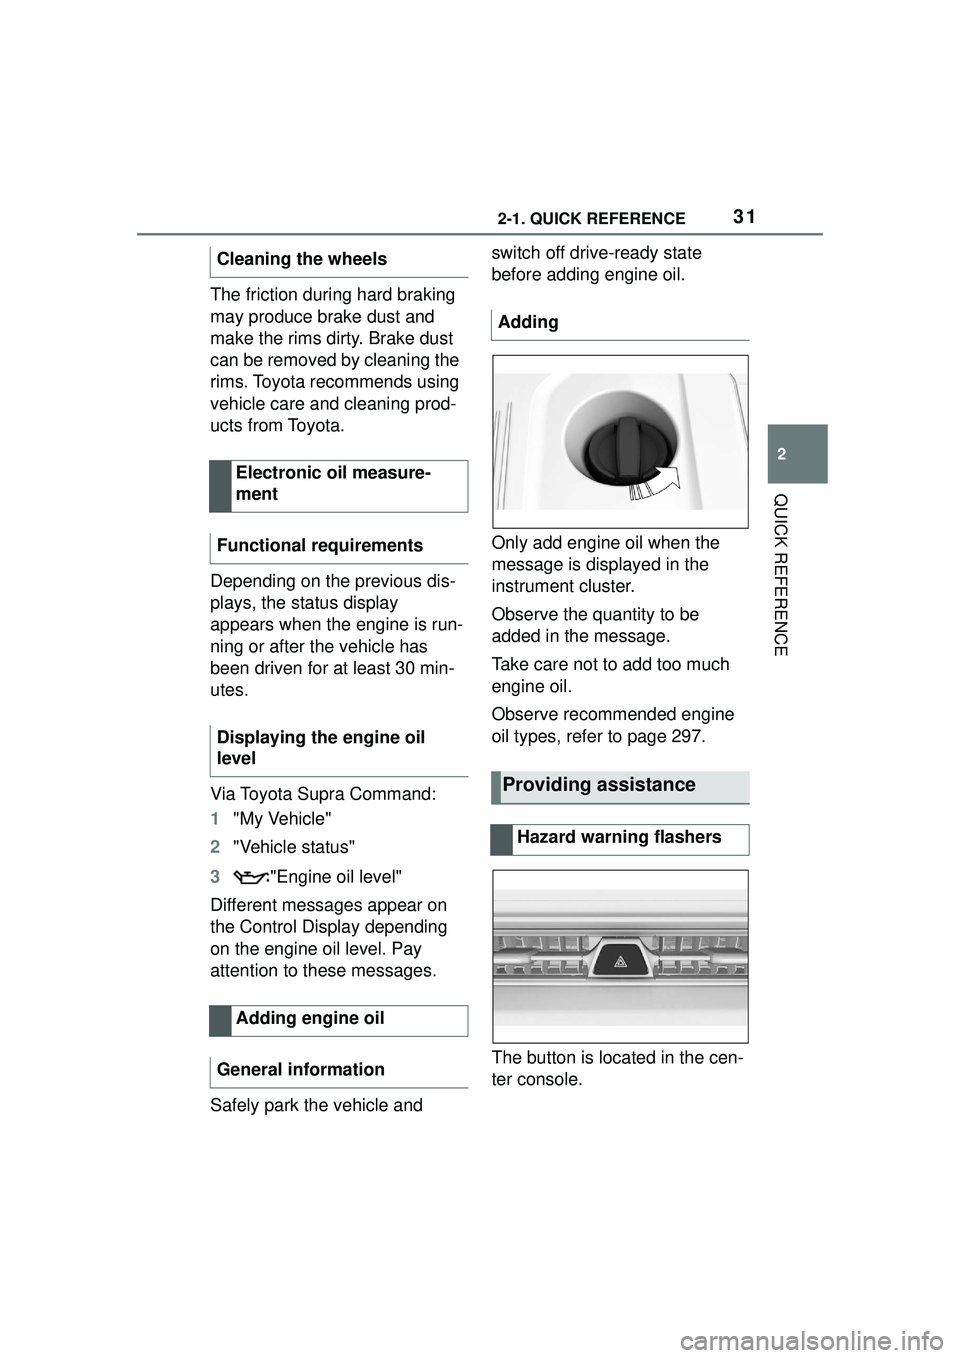
Only add engine oil when the
message is displayed in the
instrument cluster.
Observe the quantity to be
added in the message.
Take care not to add too much
engine oil.
Observe recommended engine
oil types, refer to page 297.
The button is located in the cen-
ter console.
Cleaning the wheels
Electronic oil measure-
ment
Functional requirements
Displaying the engine oil
level
Adding engine oil
General information
Adding
Providing assistance
Hazard warning flashers
Page 37 of 356

373-1. CONTROLS
3
CONTROLS
Automatic high-beam P.156 Low beams P.154
Instrument lighting
P.158
Right roadside parking
light P.154
Left roadside parking
light P.154
5 Steering column stalk, left
Turn signal P.121
High beams, headlight
flasher P.122
Automatic high-beam
P.156
Onboard Computer
P.133
6 Shift paddle P.129
7 Steering wheel buttons, left
Cruise control on/off
P.199
Dynamic radar cruise
control on/off P.203
Cruise control: store
speed
Speed Limit Assist: take over
suggested speed P.211
Continuing cruise con-
trol/Pausing cruise control P. 1 9 9
Dynamic radar cruise
control: increase distance
P. 1 9 9
Dynamic radar cruise
control: reduce distance
P. 1 9 9
Cruise control rocker switch
P. 1 9 9
8 Instrument cluster P.133
9 Steering wheel buttons, right
Selection lists P.145
Volume, see Owner's
Manual for Navigation, Enter-
tainment and Communication
Voice activation system
P. 5 7
Telephone, see
Owner's Manual for Naviga-
tion, Entertainment and Com-
munication
Thumbwheel for selection
lists P.145
10Shift paddle P.129
11Steering column stalk, right
Wiper P.122
Rain sensor P.123
Clean the windshield
P. 1 2 4
12Adjust the steering wheel P. 1 0 7
Page 44 of 356

443-1. CONTROLS
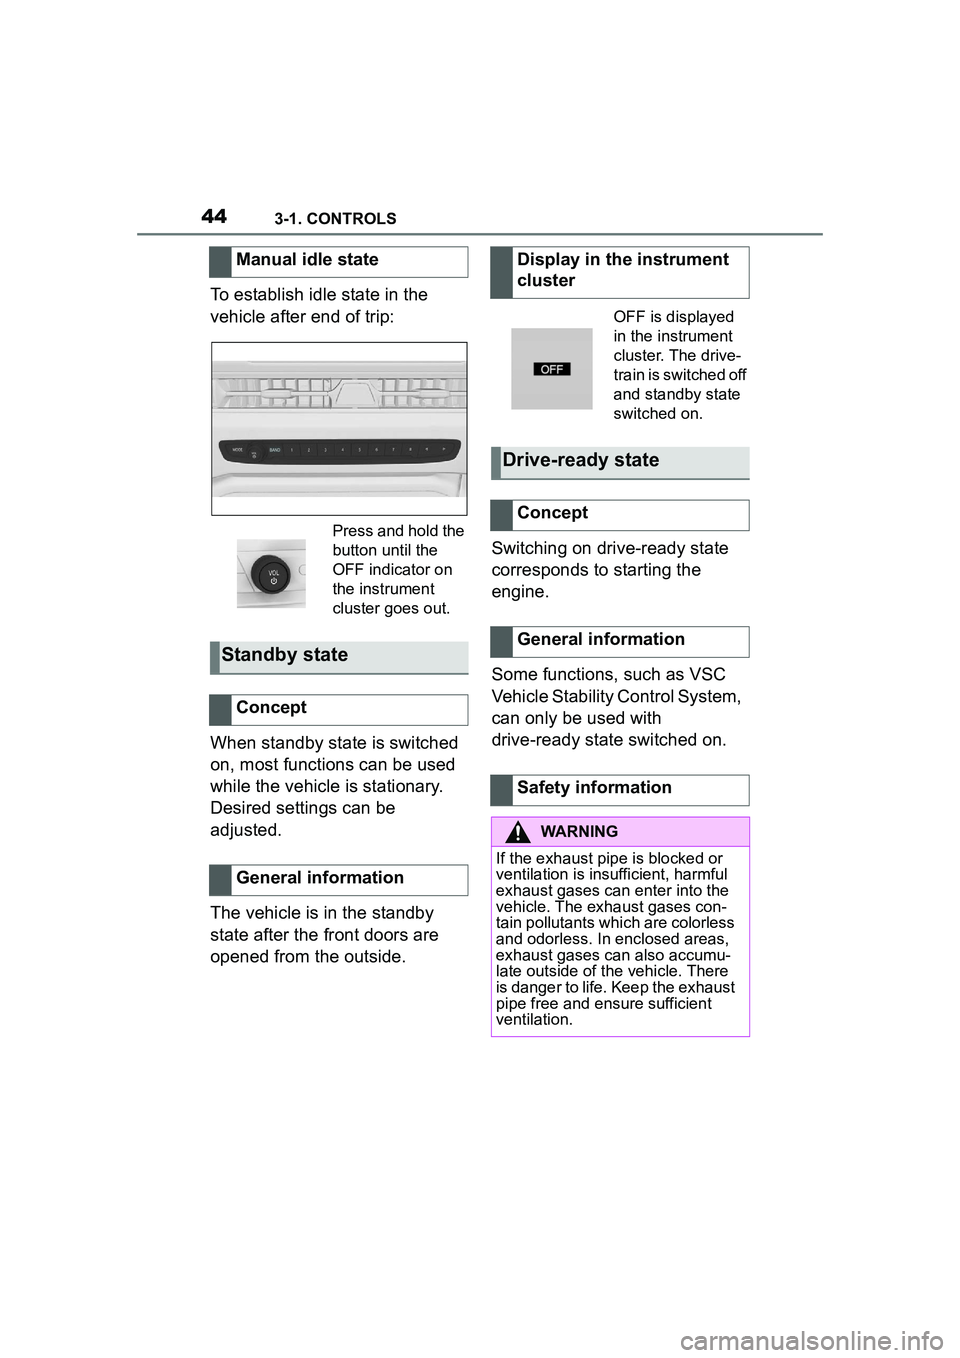
To establish idle state in the
vehicle after end of trip:
When standby state is switched
on, most functions can be used
while the vehicle is stationary.
Desired settings can be
adjusted.
The vehicle is in the standby
state after the front doors are
opened from the outside.Switching on drive-ready state
corresponds to starting the
engine.
Some functions, such as VSC
Vehicle Stability Control System,
can only be used with
drive-ready state switched on.
Manual idle state
Press and hold the
button until the
OFF indicator on
the instrument
cluster goes out.
Standby state
Concept
General information
Display in the instrument
cluster
OFF is displayed
in the instrument
cluster. The drive-
train is switched off
and standby state
switched on.
Drive-ready state
Concept
General information
Safety information
WARNING
If the exhaust pipe is blocked or
ventilation is insufficient, harmful
exhaust gases can enter into the
vehicle. The exhaust gases con-
tain pollutants which are colorless
and odorless. In enclosed areas,
exhaust gases can also accumu-
late outside of the vehicle. There
is danger to life. Keep the exhaust
pipe free and ensure sufficient
ventilation.
Page 45 of 356

453-1. CONTROLS
3
CONTROLS
1Depress the brake pedal.
2 Press the Start/Stop button. The ignition is activated auto-
matically for a brief time and is
stopped as soon as the engine
starts.
Most of the indicator/warning
lights in the instrument cluster
light up for a varied length of
time.
Depending on the engine condi-
tion, the full drive power may not
be available for approximately
30 seconds after starting the
engine. In this case, the vehicle
will not accelerate as usual.
READY in the instrument cluster
indicates that drive-ready state
is switched on.
1
Engage selector lever posi-
tion P with the vehicle
stopped.
2 Press the Start/Stop button.
The engine is switched off. The
vehicle switches into standby state.
3Set the parking brake.
WARNING
An unsecured vehicle can begin
to move and possibly roll away.
There is a risk of an accident.
Before exiting, secure the vehicle
against rolling.
In order to ensure that the vehicle
is secured against rolling away,
follow the following:
• Set the parking brake.
• On uphill grades or on a down-
hill slope, turn the front wheels
in the direction of the curb.
• On uphill grades or on a down- hill slope, also secure the vehi-
cle, for instance with a wheel
chock.
NOTICE
In the case of repeated starting
attempts or repeated starting in
quick succession, the fuel is not
burned or is inadequately burned.
The catalytic converter can over-
heat. There is a risk of damage to
property. Avoid repeated starting
in quick succession.
Switching on drive-ready
state
Concept
Drive-ready state
is switched on via
the Start/Stop but-
ton:
Automatic transmission
Gasoline engine
Display in the instrument
cluster
Switching off drive-ready
state
Page 66 of 356

663-1. CONTROLS
The settings for the following
systems and functions are
stored in the active driver profile.
The scope of storable settings
depends on country and equip-
ment.
• Unlocking and locking.
• Lights.
• Climate control.
•Radio.
• Instrument cluster.
• Programmable memory but-tons.
• Volumes, tone.
• Control Display.
•TV.
• Parking Sensors.
• Rearview camera.
• Head-up Display.
• Sport mode switch.
• Seat position, exterior mirror position.
Both the positions saved via the
seat memory and the last position
set are saved.
• Toyota Supra Safety.
Regardless of the remote con-
trol in use, a different driver pro-
file may be activated. This
allows you to call up personal
vehicle settings, even if you did
not unlock the vehicle with your
own remote control. Via Toyota Supra Command:
1
"My Vehicle"
2 "Driver profiles"
3 Select driver profile.
4 "OK"
• All settings stored in the called-up driver profile are
automatically applied.
• The called-up driver profile is assigned to the remote con-
trol being used at the time.
• If the driver profile is already assigned to a different remote
control, this driver profile will
apply to both remote controls.
The guest profile is for individual
settings that are stored in none
of the three personal driver pro-
files.
Via Toyota Supra Command:
1 "My Vehicle"
2 "Driver profiles"
3 "Drive off (guest)"
4 "OK"
The guest profile cannot be
renamed. It is not assigned to
the current remote control.
A personal name can be
assigned to the active driver
profile to avoid confusion
between the driver profiles.
Adjusting
Profile management
Selecting a driver profile
Guest profile
Renaming a driver profile