2022 TOYOTA GR SUPRA warning lights
[x] Cancel search: warning lightsPage 104 of 356
1043-1. CONTROLS
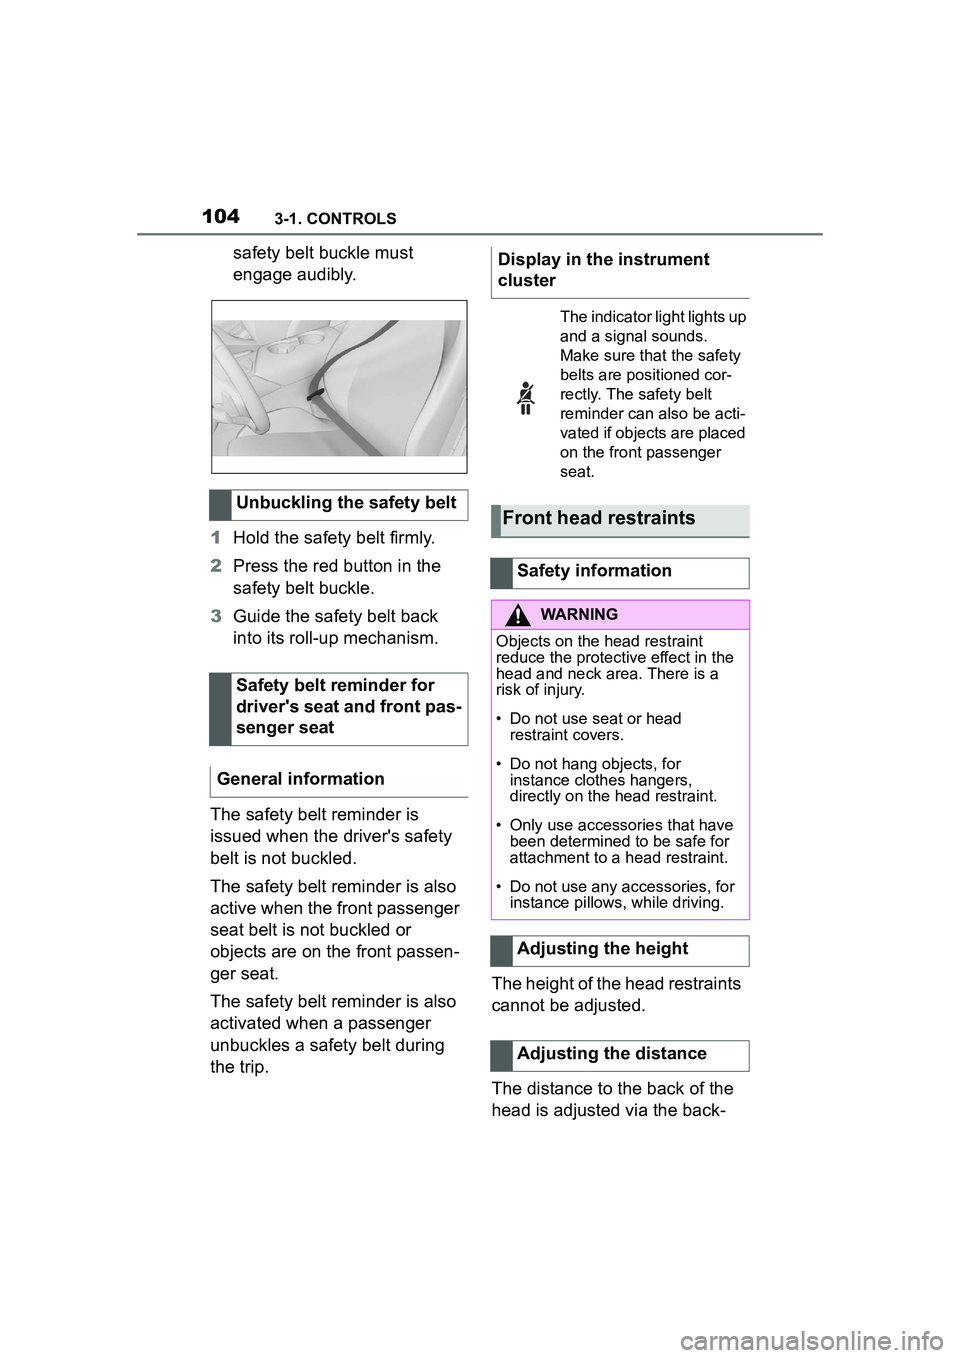
safety belt buckle must
engage audibly.
1 Hold the safety belt firmly.
2 Press the red button in the
safety belt buckle.
3 Guide the safety belt back
into its roll-up mechanism.
The safety belt reminder is
issued when the driver's safety
belt is not buckled.
The safety belt reminder is also
active when the front passenger
seat belt is not buckled or
objects are on the front passen-
ger seat.
The safety belt reminder is also
activated when a passenger
unbuckles a safety belt during
the trip. The height of the head restraints
cannot be adjusted.
The distance to the back of the
head is adjusted via the back-
Unbuckling the safety belt
Safety belt reminder for
driver's seat and front pas-
senger seat
General informationDisplay in the instrument
cluster
The indicator light lights up
and a signal sounds.
Make sure that the safety
belts are positioned cor-
rectly. The safety belt
reminder can also be acti-
vated if objects are placed
on the front passenger
seat.
Front head restraints
Safety information
WARNING
Objects on the head restraint
reduce the protective effect in the
head and neck area. There is a
risk of injury.
• Do not use seat or head restraint covers.
• Do not hang objects, for instance clothes hangers,
directly on the head restraint.
• Only use accessories that have been determined to be safe for
attachment to a head restraint.
• Do not use any accessories, for instance pillows, while driving.
Adjusting the height
Adjusting the distance
Page 108 of 356

1083-1. CONTROLS
• Backrest width.
• Lumbar support.
The memory buttons are located
on the driver's seat.
1Set the desired position.
2 Press the button. The
writing on the button lights
up. 3
Press desired button 1 or 2
while the LED is lit. A signal
sounds.
The stored position is called up
automatically.
Press the desired button 1 or 2.
The stored position is called up.
The procedure stops when a
switch for setting the seat is
pressed or one of the memory
buttons is pressed again.
While driving, the seat position
adjustment on the driver's side
is interrupted after a short time.
*: if equipped
Safety information
WARNING
Using the memory function while
driving can lead to unexpected
seat movements. Vehicle control
could be lost. There is a risk of an
accident. Only retrieve the mem-
ory function when the vehicle is
stationary.
WARNING
There is a risk of jamming when
moving the seats. There is a risk
of injury or risk of damage to prop-
erty. Make sure that the area of
movement of the seat is clear
prior to any adjustment.
Overview
Storing
Calling up settings
Seat heating*
Overview
Seat heating
Page 111 of 356

1113-1. CONTROLS
3
CONTROLS
After using a child restraint sys-
tem on the front passenger seat,
ensure that the front, knee, and
side airbags on the front pas-
senger side are deactivated. For
automatic deactivation of front-
seat passenger airbags, refer to
page 170.
The right place for chil-
dren
Safety information
WARNING
Unattended children or animals in
the vehicle can cause the vehicle
to move and endanger them-
selves and traffic, for instance due
to the following actions:
●Pressing the Start/Stop button.
●Releasing the parking brake.
●Opening and closing the doors
or windows.
●Engaging selector lever position
N.
●Using vehicle equipment.
There is a risk of accidents or inju-
ries. Do not leave children or ani-
mals unattended in the vehicle.
Take the remote control with you
when exiting and lock the vehicle.
WARNING
A heated vehicle may result in
death to persons, especially chil-
dren and animals. There is a risk
of injuries or danger to life. Do not
leave persons, especially chil-
dren and animals unattended in
the vehicle.
WARNING
Exposure to intense sunlight can
cause child restraint systems and
their components to become very
hot. Persons may sustain burn
injuries when touching the hot
components. There is a risk of
injury. Do not expose the child
restraint system to direct sunlight
or cover where necessary. If nec-
essary, let the child restraint sys-
tem cool down before transporting
a child. Do not leave children
unattended in the vehicle.
Children on the front pas-
senger seat
General information
Safety information
WARNING
Active front-seat passenger air-
bags can injure a child in a child
restraint system when the airbags
are activated. There is a risk of
injury. Make sure that the
front-seat passenger airbags are
deactivated and that the PAS-
SENGER AIRBAG OFF indicator
light lights up.
Page 113 of 356

1133-1. CONTROLS
3
CONTROLS
Before installing a child restraint
system in the front passenger
seat, make sure that the front,
knee and side airbags on the
front passenger side are deacti-
vated.
Deactivate the front-seat pas-
senger airbags automatically,
refer to page 170.
After installing a child restraint
system, move the front passen-
ger seat as far back as it will go
and, if possible, bring it up to
medium height. This seat posi-
tion and height ensure the best
possible position for the belt and
offers optimal protection in the
event of an accident.
If the upper anchor of the safety
belt is located in front of the belt
guide of the child seat, move the
front passenger seat carefully forward until the best possible
belt guide position is reached.
Adjustable backrest width:
before installing a child restraint
system in the front passenger
seat, open the backrest width
completely. Do not change the
backrest width again and do not
call up a memory position.
The safety belt on the passen-
ger's side can be locked to fas-
ten child restraint systems.
1
Pull out the belt strap com-
pletely.
2 Secure the child restraint
system with the safety belt.
3 Allow the belt strap to be
pulled in and pull it tight
against the child restraint
system. The safety belt is
locked.
On the front passenger
seat
Deactivating airbags
WARNING
Active front-seat passenger air-
bags can injure a child in a child
restraint system when the airbags
are activated. There is a risk of
injury. Make sure that the
front-seat passenger airbags are
deactivated and that the PAS-
SENGER AIRBAG OFF indicator
light lights up.
Seat position and height
Backrest width
Child seat security
Locking the safety belt
Page 120 of 356
1203-1. CONTROLS
■General information
To use as emergency brake
while driving:
Pull the switch and hold it. The
vehicle brakes hard while the
switch is being pulled.
A vehicle message is displayed.
If the vehicle is slowed down to
Safety information
WARNING
An unsecured vehicle can begin
to move and possibly roll away.
There is a risk of an accident.
Before exiting, secure the vehicle
against rolling.
In order to ensure that the vehicle
is secured against rolling away,
follow the following:
●Set the parking brake.
●On uphill grades or on a down-
hill slope, turn the front wheels
in the direction of the curb.
●On uphill grades or on a down-
hill slope, also secure the vehi-
cle, for instance with a wheel
chock.
WARNING
Unattended children or animals in
the vehicle can cause the vehicle
to move and endanger them-
selves and traffic, for instance due
to the following actions:
●Pressing the Start/Stop button.
●Releasing the parking brake.
●Opening and closing the doors
or windows.
●Engaging selector lever position
N.
●Using vehicle equipment.
There is a risk of accidents or inju-
ries. Do not leave children or ani-
mals unattended in the vehicle.
Take the remote control with you
when exiting and lock the vehicle.
Overview
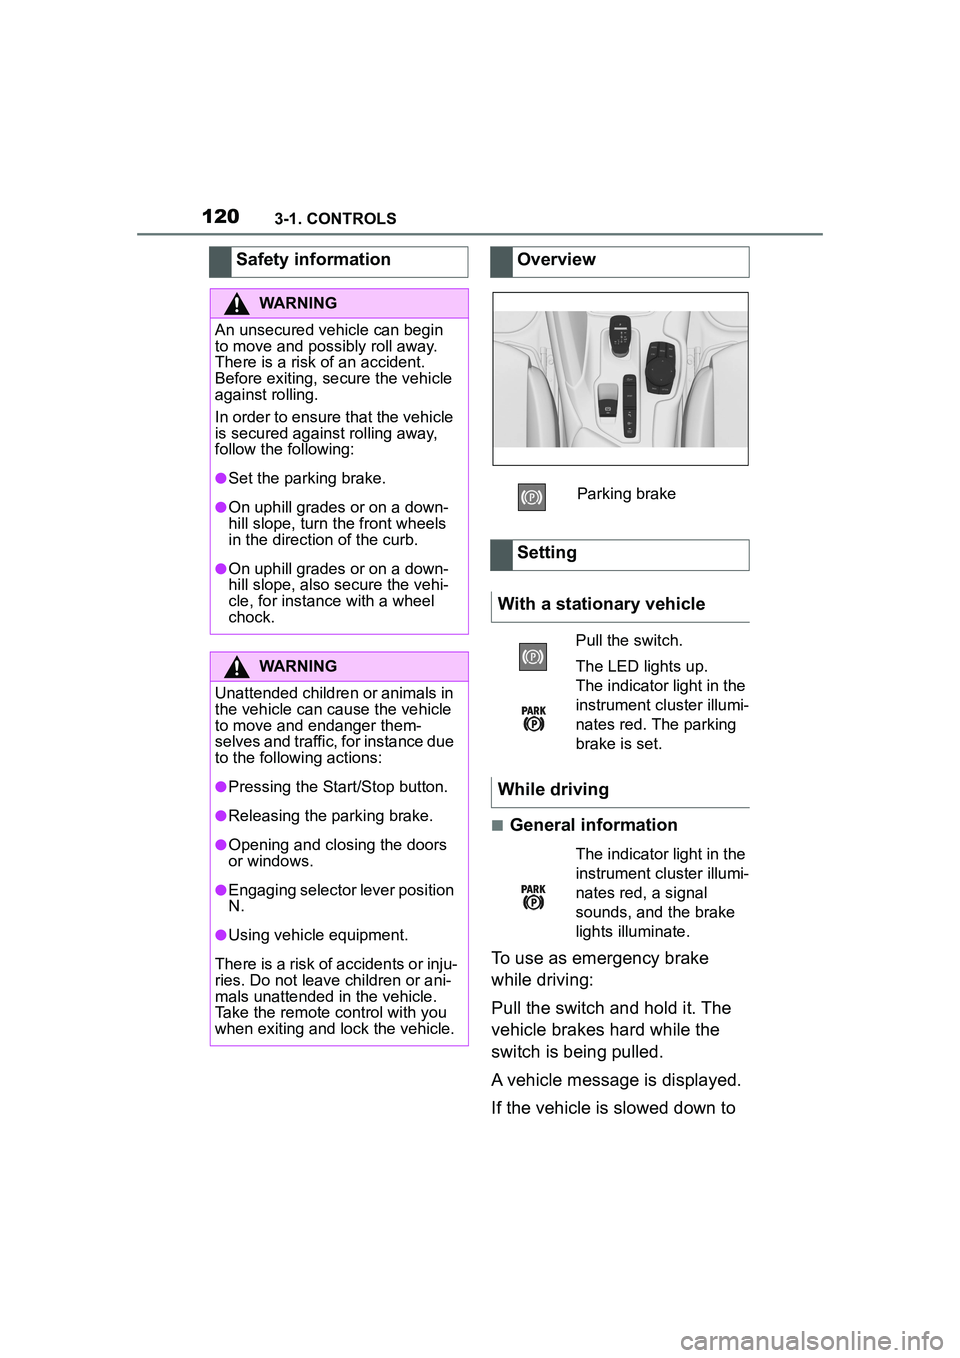
Parking brake
Setting
With a stationary vehicle
Pull the switch.
The LED lights up.
The indicator light in the
instrument cluster illumi-
nates red. The parking
brake is set.
While driving
The indicator light in the
instrument cluster illumi-
nates red, a signal
sounds, and the brake
lights illuminate.
Page 121 of 356
1213-1. CONTROLS
3
CONTROLS
a speed of approx. 2 mph/3
km/h the parking brake is set.
1Switch on drive-ready state.
2 Press the switch while
the brake is pressed or selec-
tor lever position P is set.
The LED and indicator light go out.
The parking brake is released.
The parking brake is released
automatically when you drive
away.
The LED and indicator light go
out.
In the event of a failure or mal-
function of the parking brake:
Secure the vehicle against roll-
ing away, for instance with a
wheel chock, after existing the
vehicle.
To reestablish parking brake
functionality after a power fail-
ure:
1 Switch on standby state. 2
Pull the switch while
stepping on the brake pedal
or selector lever position P is
set and then push.
This process may take a few
seconds. Any sounds associ-
ated with this are normal.
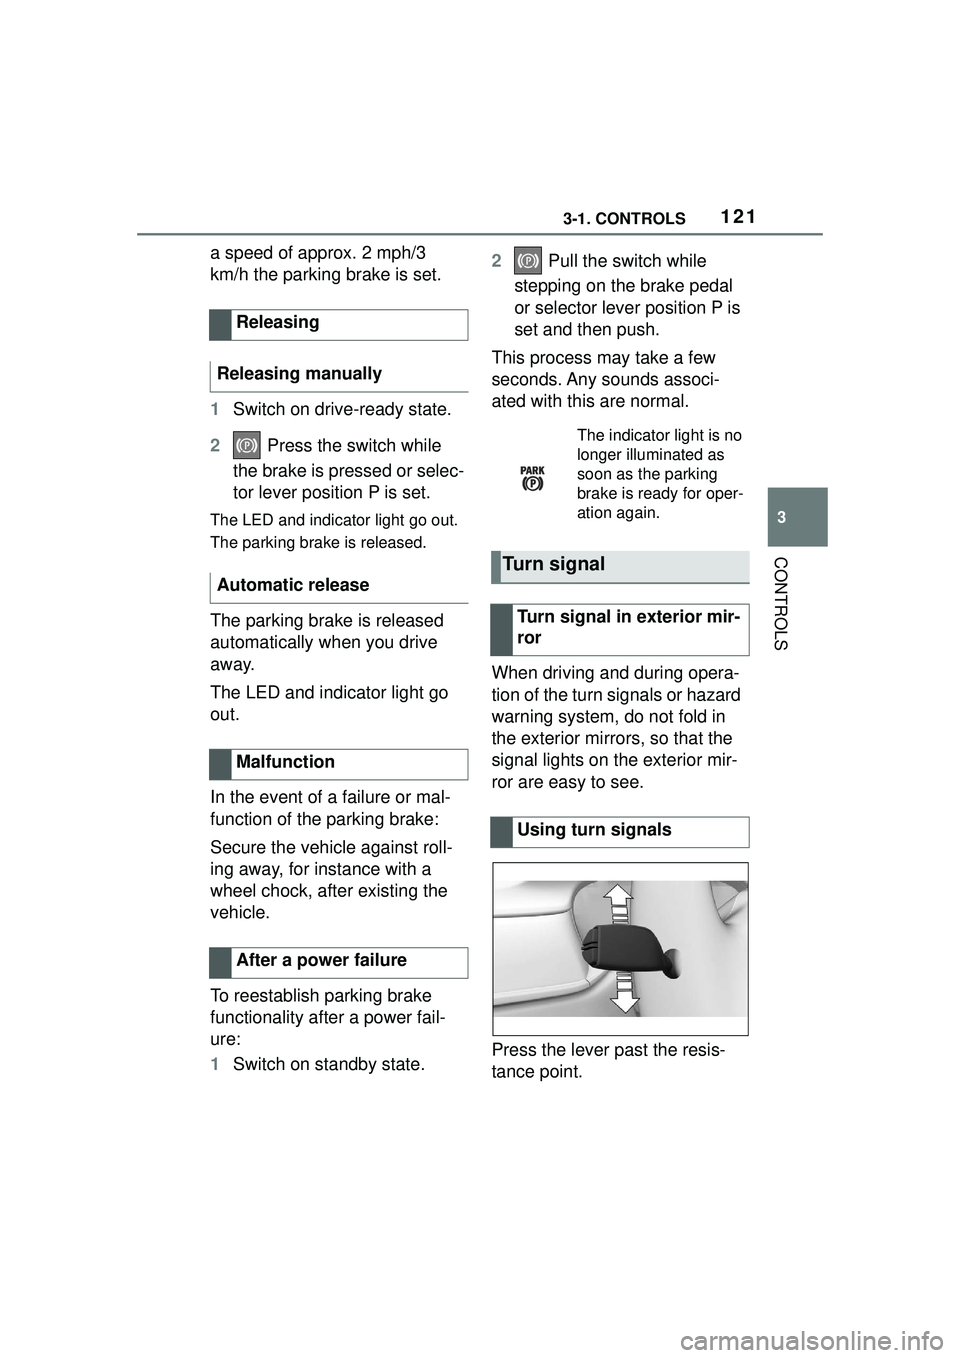
When driving and during opera-
tion of the turn signals or hazard
warning system, do not fold in
the exterior mirrors, so that the
signal lights on the exterior mir-
ror are easy to see.
Press the lever past the resis-
tance point.
Releasing
Releasing manually
Automatic release
Malfunction
After a power failure
The indicator light is no
longer illuminated as
soon as the parking
brake is ready for oper-
ation again.
Turn signal
Turn signal in exterior mir-
ror
Using turn signals
Page 134 of 356
1343-1. CONTROLS
The display can be changed for
sport mode.
The driving mode will change to
sport mode.
The vehicle messages system
monitors functions in the vehicle
and notifies you of malfunctions
in the monitored systems.
A vehicle messages message is
displayed as a combination of
indicator or warning lights and
SMS text messages in the
instrument cluster and, if appli-
cable, in the Head-up Display.
In addition, an acoustic signal
may sound and an SMS text
message may appear on the
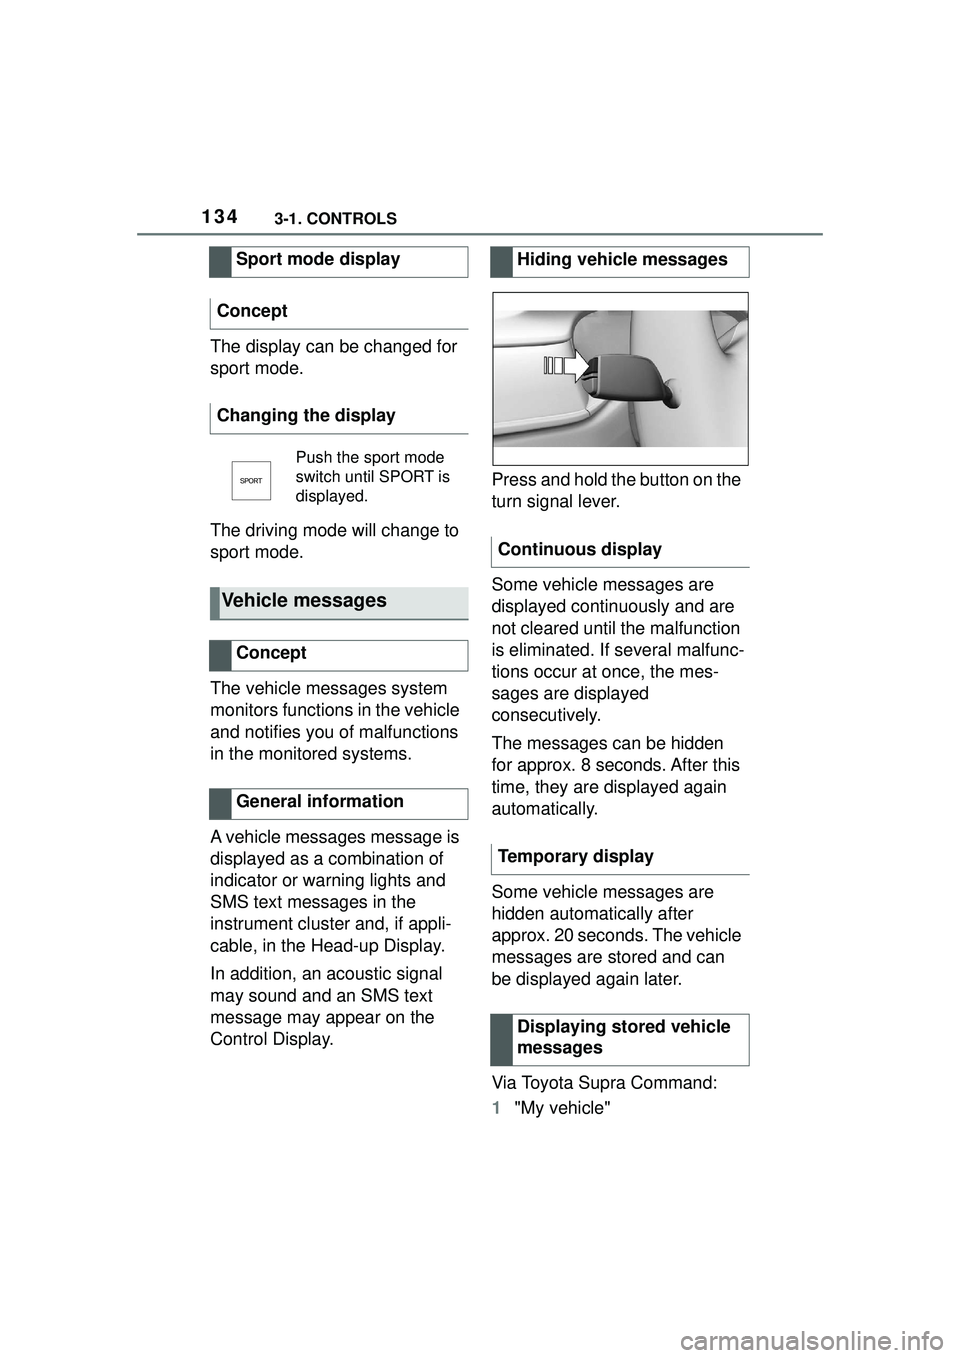
Control Display.Press and hold the button on the
turn signal lever.
Some vehicle messages are
displayed continuously and are
not cleared until the malfunction
is eliminated. If several malfunc-
tions occur at once, the mes-
sages are displayed
consecutively.
The messages can be hidden
for approx. 8 seconds. After this
time, they are displayed again
automatically.
Some vehicle messages are
hidden automatically after
approx. 20 seconds. The vehicle
messages are stored and can
be displayed again later.
Via Toyota Supra Command:
1
"My vehicle"
Sport mode display
Concept
Changing the display
Push the sport mode
switch until SPORT is
displayed.
Vehicle messages
Concept
General information
Hiding vehicle messages
Continuous display
Temporary display Displaying stored vehicle
messages
Page 135 of 356
1353-1. CONTROLS
3
CONTROLS
2"Vehicle status"
3 "Vehicle messages"
4 Select the SMS text mes-
sage.
SMS text messages in combina-
tion with a symbol in the instru-
ment cluster explain a vehicle
message and the meaning of
the indicator/warning lights.
Additional information, such as
the reason for an error or mal-
function or the required action,
can be called up via vehicle
messages.
With urgent messages the
added text will be automatically
displayed on the Control Dis-
play.
Depending on the vehicle mes-
sage, further help can be
selected.
Via Toyota Supra Command:
1 "My vehicle" 2
"Vehicle status"
3 "Vehicle messages"
4 Select the desired text mes-
sage.
5 Select desired setting
Certain messages displayed
while driving are displayed
again after drive-ready state is
switched off.
Indicator/warning lights in the
instrument cluster display the
status of some functions in the
vehicle and indicate when a
malfunction is present in the
monitored systems.
The indicator/warning lights can
light up in a variety of combina-
tions and colors.
Several of the lights are
checked for proper functioning
and light up temporarily when
drive-ready state is switched on.
Display
Vehicle messages
At least one vehicle
messages message is
displayed or is stored.
SMS text messages
Supplementary SMS text
messages
Messages after trip comple-
tion
Indicator/warning lights
Concept
General information