2022 TOYOTA GR SUPRA warning lights
[x] Cancel search: warning lightsPage 20 of 356

202-1. QUICK REFERENCE
Close the trunk lid manually.
1Wipers
2 Instrument cluster
3 Turn signal indicator, high
beams
4 Light switch element
The indicator/warning lights can light up in a variety of combina-
tions and colors.
Several of the lights are
checked for proper functioning
and light up temporarily when
the engine is started or standby
state is switched on.
1
Exterior mirrors
2 Power windows
3 Central locking system
4 Unlocking the trunk lid
1 Selector lever
2 Controller
3 Auto Start/Stop cancel button
4 Sport mode button
5 Park Assistant button
Trunk lid
Opening
Press and hold the but-
ton on the remote con-
trol for approximately 1
second. Depending on
the setting, the doors
may also unlock, refer
to page 78.
Closing
Displays and control ele-
ments
In the vicinity of the steer-
ing wheel
Indicator/warning lights
1
2
3
4
Driver's door
Switch console
321
4
Page 45 of 356

453-1. CONTROLS
3
CONTROLS
1Depress the brake pedal.
2 Press the Start/Stop button. The ignition is activated auto-
matically for a brief time and is
stopped as soon as the engine
starts.
Most of the indicator/warning
lights in the instrument cluster
light up for a varied length of
time.
Depending on the engine condi-
tion, the full drive power may not
be available for approximately
30 seconds after starting the
engine. In this case, the vehicle
will not accelerate as usual.
READY in the instrument cluster
indicates that drive-ready state
is switched on.
1
Engage selector lever posi-
tion P with the vehicle
stopped.
2 Press the Start/Stop button.
The engine is switched off. The
vehicle switches into standby state.
3Set the parking brake.
WARNING
An unsecured vehicle can begin
to move and possibly roll away.
There is a risk of an accident.
Before exiting, secure the vehicle
against rolling.
In order to ensure that the vehicle
is secured against rolling away,
follow the following:
• Set the parking brake.
• On uphill grades or on a down-
hill slope, turn the front wheels
in the direction of the curb.
• On uphill grades or on a down- hill slope, also secure the vehi-
cle, for instance with a wheel
chock.
NOTICE
In the case of repeated starting
attempts or repeated starting in
quick succession, the fuel is not
burned or is inadequately burned.
The catalytic converter can over-
heat. There is a risk of damage to
property. Avoid repeated starting
in quick succession.
Switching on drive-ready
state
Concept
Drive-ready state
is switched on via
the Start/Stop but-
ton:
Automatic transmission
Gasoline engine
Display in the instrument
cluster
Switching off drive-ready
state
Page 79 of 356

793-1. CONTROLS
3
CONTROLS
will be applied.
• The interior lights are switched on, unless they were
manually switched off. For
switching the interior lights
on/off manually, refer to page
158.
• Folded in exterior mirrors are folded out.
If the exterior mirrors were folded in
via the button in the car’s interior,
they will not be folded out when
unlocking.
• With alarm system: The alarm
system, refer to page , will be
switched off.
After opening one of the front
doors, the vehicle is ready for
operation, refer to page 44.
The light functions may depend
on the ambient brightness.
The windows are opened, as
long as the button on the remote
control is pressed.
The behavior of the vehicle
during locking with the remote
control depends on the following settings, refer to page 90:
• If the locking of the vehicle is
confirmed with a light signal
or a sound signal.
• If the exterior mirrors are automatically folded in when
the vehicle is locked. The
exterior mirrors are not folded
in when the hazard warning
flashers are switched on.
• If the headlight courtesy delay feature is activated during
locking.
1 Close the driver's door.
2 Press the button on the
remote control.
The following functions are exe-
cuted:
• All doors, the trunk lid, and the fuel filler flap are locked.
• With alarm system: The alarm system will be switched on.
If the drive-ready state is still
switched on when you lock the
vehicle, the vehicle horn honks
twice. In this case, the
drive-ready state must be
switched off by means of the
Start/Stop button.
Convenient opening
Opening
Press and hold the button
on the remote control.
Locking
General information
Locking the vehicle
Page 80 of 356

803-1. CONTROLS
The windows are closed in the
area close to the vehicle, as
long as the button on the remote
control is pressed.
The function is not available for
the first 10 seconds after lock-
ing.
• The interior lights are switched on, unless they were
manually switched off. For
switching the interior lights
on/off manually, refer to page
158.
• Depending on the settings, the exterior lighting, refer to
page 155, will be switched on. The light functions may depend
on the ambient brightness.
To avoid locking the vehicle key
in the vehicle, do not place the
vehicle key in the cargo area.
You can set up if the doors will
be unlocked when the trunk lid
is opened with the remote con-
trol. Settings, refer to page 90.
You can trigger the alarm sys-
With Smart Key System:
convenient closing
Safety information
WARNING
With convenient closing, body
parts can be jammed. There is a
risk of injury. Make sure that the
area of movement of the doors is
clear during convenient closing.
Closing
Press and hold the button
on the remote control after
locking.
Switching on the interior
and exterior lights
Press the button on the
remote control with the
vehicle locked.
Trunk lid
General information
Safety information
WARNING
Body parts can be jammed when
operating the trunk lid. There is a
risk of injury. Make sure that the
area of movement of the trunk lid
is clear during opening and clos-
ing.
NOTICE
During opening, the trunk lid piv-
ots back and up. There is a risk of
damage to property. Make sure
that the area of movement of the
trunk lid is clear during opening
and closing.
Unlocking
Press and hold the button
on the remote control for
approx. 1 second.
Panic mode
Page 85 of 356

853-1. CONTROLS
3
CONTROLS
In the event of a severe acci-
dent, the vehicle is automatically
unlocked. The hazard warning
system and interior lights come
on.
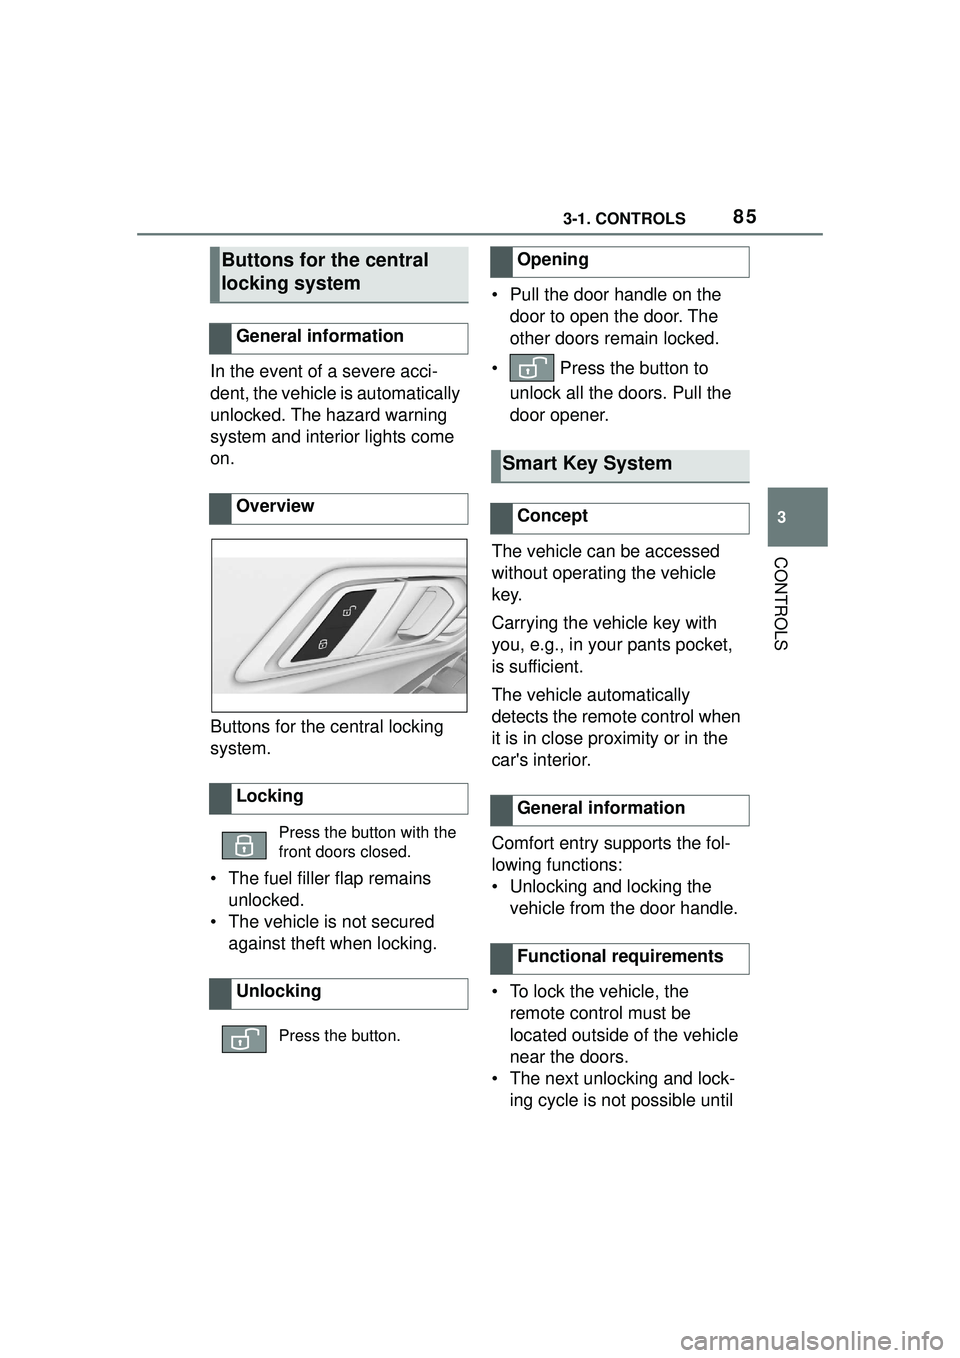
Buttons for the central locking
system.
• The fuel filler flap remains unlocked.
• The vehicle is not secured against theft when locking. • Pull the door handle on the
door to open the door. The
other doors remain locked.
• Press the button to unlock all the doors. Pull the
door opener.
The vehicle can be accessed
without operating the vehicle
key.
Carrying the vehicle key with
you, e.g., in your pants pocket,
is sufficient.
The vehicle automatically
detects the remote control when
it is in close proximity or in the
car's interior.
Comfort entry supports the fol-
lowing functions:
• Unlocking and locking the vehicle from the door handle.
• To lock the vehicle, the remote control must be
located outside of the vehicle
near the doors.
• The next unlocking and lock- ing cycle is not possible until
Buttons for the central
locking system
General information
Overview
Locking
Press the button with the
front doors closed.
Unlocking
Press the button.
Opening
Smart Key System
Concept
General information
Functional requirements
Page 88 of 356

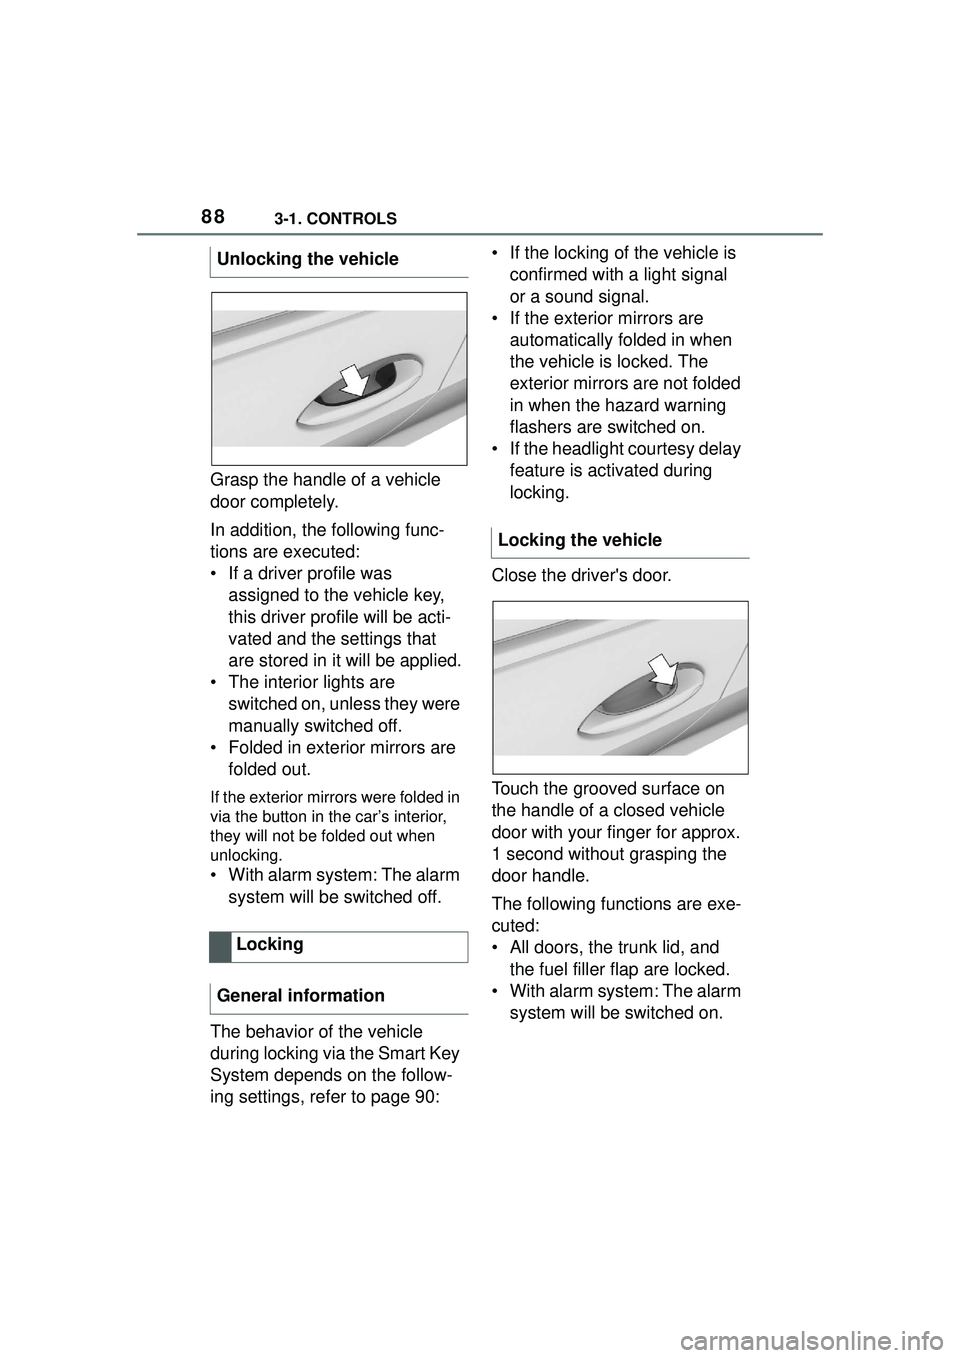
883-1. CONTROLS
Grasp the handle of a vehicle
door completely.
In addition, the following func-
tions are executed:
• If a driver profile was assigned to the vehicle key,
this driver profile will be acti-
vated and the settings that
are stored in it will be applied.
• The interior lights are switched on, unless they were
manually switched off.
• Folded in exterior mirrors are folded out.
If the exterior mirrors were folded in
via the button in the car’s interior,
they will not be folded out when
unlocking.
• With alarm system: The alarm
system will be switched off.
The behavior of the vehicle
during locking via the Smart Key
System depends on the follow-
ing settings, refer to page 90: • If the locking of the vehicle is
confirmed with a light signal
or a sound signal.
• If the exterior mirrors are automatically folded in when
the vehicle is locked. The
exterior mirrors are not folded
in when the hazard warning
flashers are switched on.
• If the headlight courtesy delay feature is activated during
locking.
Close the driver's door.
Touch the grooved surface on
the handle of a closed vehicle
door with your finger for approx.
1 second without grasping the
door handle.
The following functions are exe-
cuted:
• All doors, the trunk lid, and the fuel filler flap are locked.
• With alarm system: The alarm system will be switched on.
Unlocking the vehicle
Locking
General information
Locking the vehicle
Page 92 of 356

923-1. CONTROLS
3"Doors/Key"
4 "Turn off after door opening"
Opening the front doors establishes
the idle state, refer to page 43.
When the vehicle is locked, the
vehicle alarm system reacts to
the following changes:
• Opening a door, the hood or
the trunk lid.
• Movements in the car's inte- rior.
• Changes in the vehicle tilt, e. g., during attempts at stealing
a wheel or when towing the
vehicle.
• Disconnected battery voltage.
• Improper use of the socket for OBD Onboard Diagnosis.
• Locking the vehicle while a device is connected to the
socket for the OBD Onboard-
Diagnosis. For socket for the
OBD Onboard Diagnosis,
refer to page 302.
The alarm system signals the
following changes visually and
acoustically:
• Acoustic alarm: Depending on local regulations, the acoustic
alarm may be suppressed.
• Visual alarm: By flashing of the hazard warning system
and headlights, where
required. Do not modify the system to
ensure function of the alarm
system.
When you unlock and lock the
vehicle, either with the remote
control or with Comfort entry, the
alarm system is switched off and
on at the same time.
The alarm system is triggered
when a door is opened if the
door was unlocked using the
integrated key in the door lock.
Switching off the alarm, refer to
page 94.
The trunk lid can be opened
even when the alarm system is
switched on.
After the trunk lid is closed, it is
locked and monitored again pro-
vided the doors are locked. The
hazard warning system flashes
once.
You can trigger the alarm sys-
tem if you find yourself in a dan-
Alarm system
General information
Switching on/off
Opening the doors with
the alarm system switched
on
Opening the trunk lid with
the alarm system switched
on
Panic mode
Page 94 of 356

943-1. CONTROLS
• In duplex garages.
• During transport on trains car-rying vehicles, at sea or on a
trailer.
• With animals in the vehicle.
• When the vehicle is locked
after start of fueling.
The tilt alarm sensor and the
interior motion sensor can be
switched off in such situations.
The indicator light lights up for
approx. 2 seconds and then
continues to flash.
The tilt alarm sensor and interior
motion sensor are switched off
until the vehicle is locked again.
• Unlock the vehicle with the remote control.
• Unlock the vehicle with the integrated key and activate
the drive-ready state via
emergency detection of the
vehicle key, refer to page 82.
• With Smart Key System: when carrying the vehicle key,
grasp the driver’s door or front
passenger door handle com-
pletely. The windows can be opened
with the vehicle key from the
outside as well as closed with
Smart Key System.
Additional information: Vehicle
key, refer to page 77.
The windows can be operated
under the following conditions.
• Standby state is established.
• Drive-ready state is activated.
Switching off the tilt alarm
sensor and interior motion
sensor
Press the button on the
remote control within 10
seconds as soon as the
vehicle is locked.
Switching off the alarm
Power windows
General information
Safety information
WARNING
When operating the windows,
body parts and objects can be
jammed. There is a risk of injury
or risk of damage to property.
Make sure that the area of move-
ment of the windows is clear
during opening and closing.
Overview
Power windows
Functional requirements