2022 TOYOTA GR SUPRA headlights
[x] Cancel search: headlightsPage 92 of 356

923-1. CONTROLS
3"Doors/Key"
4 "Turn off after door opening"
Opening the front doors establishes
the idle state, refer to page 43.
When the vehicle is locked, the
vehicle alarm system reacts to
the following changes:
• Opening a door, the hood or
the trunk lid.
• Movements in the car's inte- rior.
• Changes in the vehicle tilt, e. g., during attempts at stealing
a wheel or when towing the
vehicle.
• Disconnected battery voltage.
• Improper use of the socket for OBD Onboard Diagnosis.
• Locking the vehicle while a device is connected to the
socket for the OBD Onboard-
Diagnosis. For socket for the
OBD Onboard Diagnosis,
refer to page 302.
The alarm system signals the
following changes visually and
acoustically:
• Acoustic alarm: Depending on local regulations, the acoustic
alarm may be suppressed.
• Visual alarm: By flashing of the hazard warning system
and headlights, where
required. Do not modify the system to
ensure function of the alarm
system.
When you unlock and lock the
vehicle, either with the remote
control or with Comfort entry, the
alarm system is switched off and
on at the same time.
The alarm system is triggered
when a door is opened if the
door was unlocked using the
integrated key in the door lock.
Switching off the alarm, refer to
page 94.
The trunk lid can be opened
even when the alarm system is
switched on.
After the trunk lid is closed, it is
locked and monitored again pro-
vided the doors are locked. The
hazard warning system flashes
once.
You can trigger the alarm sys-
tem if you find yourself in a dan-
Alarm system
General information
Switching on/off
Opening the doors with
the alarm system switched
on
Opening the trunk lid with
the alarm system switched
on
Panic mode
Page 156 of 356

1563-1. CONTROLS
4"Daytime running lamps"
The Automatic high-beam
detects other traffic participants
early on and automatically
switches the high beams on or
off depending on the traffic situ-
ation.
The Automatic high-beam
ensures that the high beams are
switched on, whenever the traf-
fic situation allows. In the low
speed range, the high beams
are not switched on by the sys-
tem.
The system responds to light
from oncoming traffic and traffic
driving ahead of you, and to
ambient lighting, for instance in
towns and cities.
The high beams can be
switched on and off manually at
any time.
1 Press the button on the
light switch element.
The LED in the button lights up.
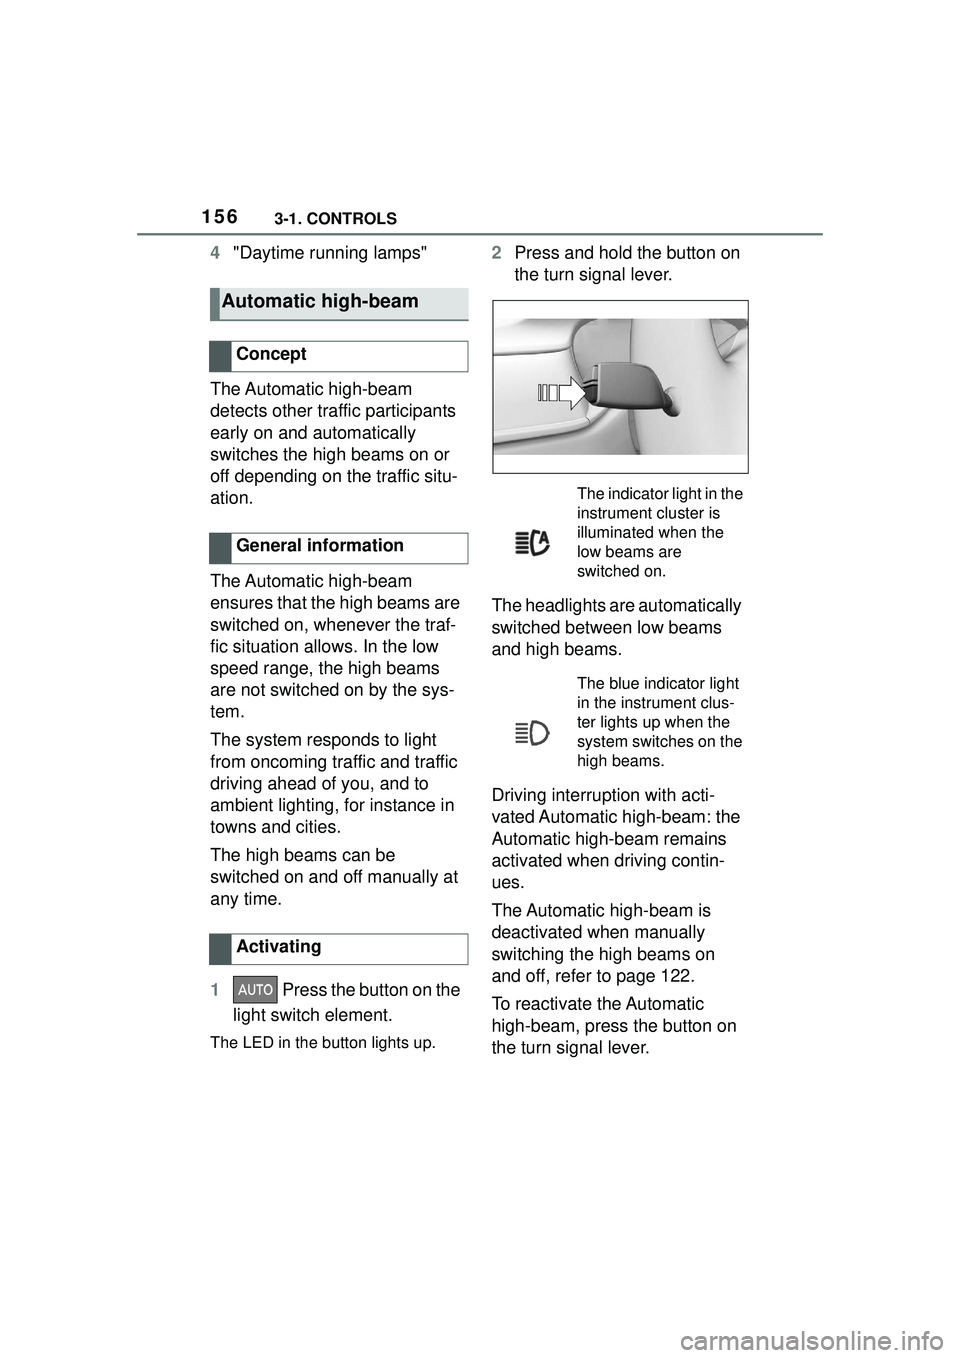
2 Press and hold the button on
the turn signal lever.
The headlights are automatically
switched between low beams
and high beams.
Driving interruption with acti-
vated Automatic high-beam: the
Automatic high-beam remains
activated when driving contin-
ues.
The Automatic high-beam is
deactivated when manually
switching the high beams on
and off, refer to page 122.
To reactivate the Automatic
high-beam, press the button on
the turn signal lever.
Automatic high-beam
Concept
General information
Activating
The indicator light in the
instrument cluster is
illuminated when the
low beams are
switched on.
The blue indicator light
in the instrument clus-
ter lights up when the
system switches on the
high beams.
Page 254 of 356

2544-1. DRIVING TIPS
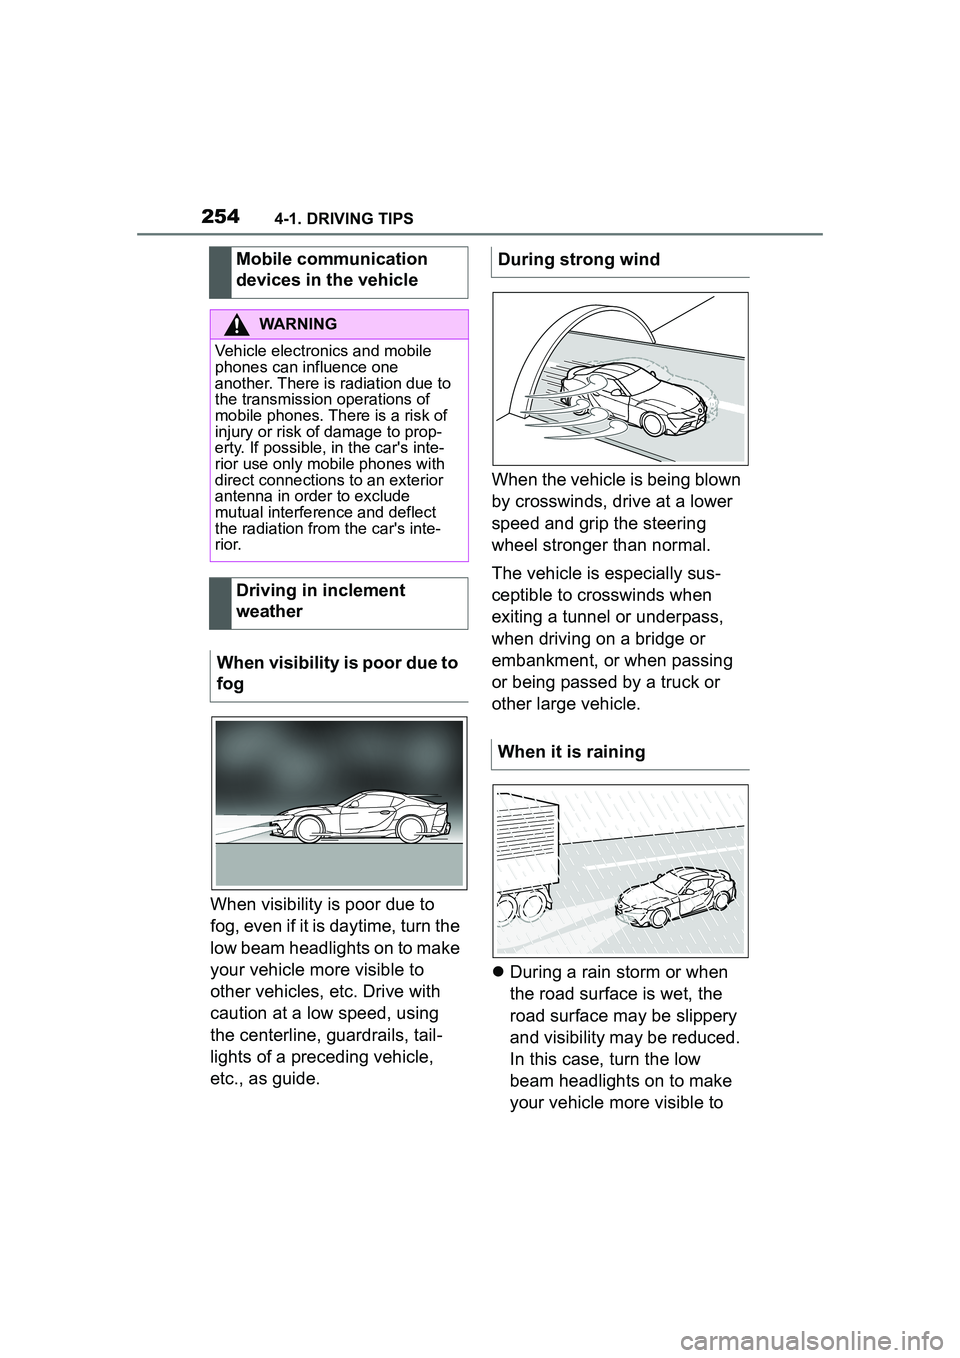
When visibility is poor due to
fog, even if it is daytime, turn the
low beam headlights on to make
your vehicle more visible to
other vehicles, etc. Drive with
caution at a low speed, using
the centerline, guardrails, tail-
lights of a preceding vehicle,
etc., as guide.When the vehicle is being blown
by crosswinds, drive at a lower
speed and grip the steering
wheel stronger than normal.
The vehicle is especially sus-
ceptible to crosswinds when
exiting a tunnel or underpass,
when driving on a bridge or
embankment, or when passing
or being passed by a truck or
other large vehicle.
During a rain storm or when
the road surface is wet, the
road surface may be slippery
and visibility may be reduced.
In this case, turn the low
beam headlights on to make
your vehicle more visible to
Mobile communication
devices in the vehicle
WARNING
Vehicle electronics and mobile
phones can influence one
another. There is radiation due to
the transmission operations of
mobile phones. There is a risk of
injury or risk of damage to prop-
erty. If possible, in the car's inte-
rior use only mobile phones with
direct connections to an exterior
antenna in order to exclude
mutual interference and deflect
the radiation from the car's inte-
r i o r.
Driving in inclement
weather
When visibility is poor due to
fog
During strong wind
When it is raining
Page 304 of 356

3045-1. MOBILITY
1To change the wiper blades,
fold up the wiper arms, refer
to page 125.
2 Stop the vehicle. 3
Lift the wiper all the way off of
the windshield.
4 Press the button, arrow 1,
and pull out the wiper blade,
arrow 2.
5 Insert the new wiper blade
and press it on until it you
hear it snap into the holder.
6 Fold down the wipers.
Lights and bulbs make an
essential contribution to vehicle
safety.
All headlights and lights are
made using LED technology.
Some items of equipment use
light-emitting diodes installed
Wiper blades
Safety information
NOTICE
The window may sustain damage
if the wiper falls on to it without the
wiper blade installed. There is a
risk of damage to property. Hold
the wiper firmly when changing
the wiper blade. Do not fold or
switch on the wiper without a
wiper blade installed.
NOTICE
Folded-away wipers can be
jammed when the hood is
opened. There is a risk of damage
to property. Make sure that the
wipers with the wiper blades
mounted are folded down onto the
windshield before opening the
hood.
NOTICE
When replacing the wiper blades,
perform the procedure quickly
and do not leave the wiper arms
lifted without the wiper blades for
longer than necessary.
Replacing the front wiper
bladesLights and bulbs
General information
Page 305 of 356

3055-1. MOBILITY
5
MOBILITY
behind a cover as a light source.
These light-emitting diodes are
related to conventional lasers
and are officially designated as
Class 1 light-emitting diodes.
The manufacturer of the vehicle
recommends that you let your
Toyota dealer perform the work
in case of a malfunction.
Follow the safety information,
refer to page 305.
Condensation can form on the
inside of the headlight glass in
cool or humid weather. When
driving with the lights switched
on, the condensation evapo-
rates after a short time. The
headlight glass does not need to
be changed.
If despite driving with the head-
lights switched on, increasing
humidity forms, for instance
water droplets in the light, have
the headlights checked.The battery is maintenance-free.
More information regarding the
battery can be requested from
your Toyota dealer.
The manufacturer of your vehi-
cle recommends that you have
your Toyota dealer register the
vehicle battery to the vehicle
after the battery has been
replaced. Once the battery has
been registered again, all com-
fort features will be available
without restriction and any vehi-
cle messages displayed which
relate to comfort features will
disappear.
The installed battery is designed
specifically for this vehicle. If an
inappropriate battery is used,
operation of the Auto Start Stop
function may be restricted in
order to protect the battery.
Also, the battery may deterio-
rate faster than normal and the
Headlight glass
Safety information
WARNING
Focused laser light
can irritate or
permanently damage the retina of
the eye. There is a risk of injury.
The manufacturer of your vehicle
recommends that the work on the
lighting system including bulb
replacement be performed by
your Toyota dealer.
WARNING
Intensive brightness can irritate or
damage the retina of the eye.
There is a risk of injury. Do not
look directly into the headlights or
other light sources. Do not
remove the LED covers.
Vehicle battery
General information
When replacing the bat-
tery
Page 323 of 356

3235-1. MOBILITY
5
MOBILITY
■Safety information
■General information
In a vehicle wash, the vehicle
must be able to roll freely. To roll or push the vehicle, refer
to page 128.
Some vehicle washes do not
permit persons in the vehicle.
The vehicle cannot be locked
from the outside when in selec-
tor lever position N. A signal
sounds when an attempt is
made to lock the vehicle.
Make sure that the remote con-
trol is in the vehicle.
Switch on drive-ready state,
refer to page 44.
Do not rub wet headlights dry
and do not use abrasive or
acidic cleaning agents.
Soak areas that have been dirt-
ied, for instance from insects,
with shampoo and wash off with
water.
Thaw ice with de-icing spray; do
not use an ice scraper.
After washing the vehicle, apply
the brakes briefly to dry them;
otherwise, braking action can be
reduced. The heat generated
during braking dries brake discs
and brake pads and protects
them against corrosion.
Completely remove all residues
NOTICE
Improper use of automatic vehicle
washes can cause damage to the
vehicle. There is a risk of damage
to property. Follow the following
instructions:
●Give preference to cloth vehicle
washes or those that use soft
brushes in order to avoid paint
damage.
●Avoid vehicle washes with
guide rails higher than 4 in/10
cm to avoid damage to the
chassis.
●Observe the tire width of the
guide rail to avoid damage to
tires and rims.
●Fold in exterior mirrors to avoid
damage to the exterior mirrors.
●Deactivate the wi
per and, if nec-
essary, rain sensor to avoid
damage to the wiper system.
●Do not treat the convertible top
with wax. Ensure that a cycle
without wax or a special cycle
for convertibles is available to
avoid damage to the convertible
top.
Driving into a vehicle wash
NOTICE
Selector lever pos ition P is auto-
matically engaged when standby
state is switched off. There is a
risk of damage to property. Do not
switch standby state off in vehicle
washes.
Driving out of a vehicle wash
Headlights
After washing the vehicle
Page 349 of 356

349Alphabetical Index
H
Handbrake, see Parking brake............................................... 119
Hand-held transmitter, alternat- ing code ................................ 236
Hazard warning flashers ........ 315
Head restraints, front ............. 104
Headlight control, automatic . 153
Headlight courtesy delay feature ............................................... 155
Headlight courtesy delay feature, switching on ........................... 81
Headlight flasher .................... 122
Headlight glass ....................... 305
Headlights, care ..................... 323
Headlights, see Lights and bulbs ............................................... 304
Head-up Display ..................... 150
Head-up Display, care ............ 328
Head-up Display, see Memory function ................................. 107
Head-up Display, standard view ............................................... 150
Heavy cargo, stowing cargo.. 247
Height, vehicle ........................ 330
High beams ............................. 122
High beams/low beams, see Automatic high-beam .......... 156
Hill start assistant, see Hill-start assist control ........................ 195
Hills .......................................... 256
Hill-start assist control .......... 195
Hill-start assist control, see VSC ............................................... 195
Holder for beverages, see Cup holders .................................. 245
HomeLink, see Integrated Uni- versal Remote Control ......... 234
Hood ........................................ 291
Horn ........................................... 36
Hot exhaust gas system ........ 253 Humidity in the headlight, see
Headlight glass .....................305
Hydroplaning ..........................255
I
Ice warning, see External tem- perature .................................141
Icy roads, see External tempera- ture .........................................141
Identification marks, tires ......268
Identification number, see Vehi- cle identification number .......12
Idle state, standby state, and drive-ready state .....................44
Indicator and warning lights, see Vehicle messages .................134
Individual air distribution.......230
Inflation pressure monitor, see Tire Pressure Monitor TPM ..280
Inflation pressure, tires ..........264
Information ..................................4
Initialize, Tire Pressure Monitor
TPM ........................................284
Instrument cluste r ..................133
Instrument lighting .................158
Integrated key ...........................83
Integrated Universal Remote Control ...................................234
Intelligent emergency call......316
Intended use ...............................5
Interior equipment ..................234
Interior lights...........................158
Interior lights during unlocking .................................................78
Interior lights with the vehicle locked ......................................80
Interior mirror, automatic dim- ming feature ..........................106
Interior motion sensor .............93
Intersection warning, see Front collision mitigation ...............174