Page 267 of 356

2675-1. MOBILITY
5
MOBILITY
For speeds over 100 mph/160
km/h and for optimum driving
comfort, note the pressure val-ues in the tire inflation pressure
table, refer to page 268, and
adjust as necessary.
Front: 255/40 ZR 18 95 Y Std
Rear: 275/40 ZR 18 99 Y Std2.2 / 32
2.2 / 32
Front: 255/35 ZR 19 96 Y XL Std
Rear: 275/35 ZR 19 100 Y XL Std2.2 / 32
2.2 / 32
Tire sizePressure specifications in bar/PSI
3.0 and 3.0 Premium models
Tire sizePressure specifications in bar/PSI
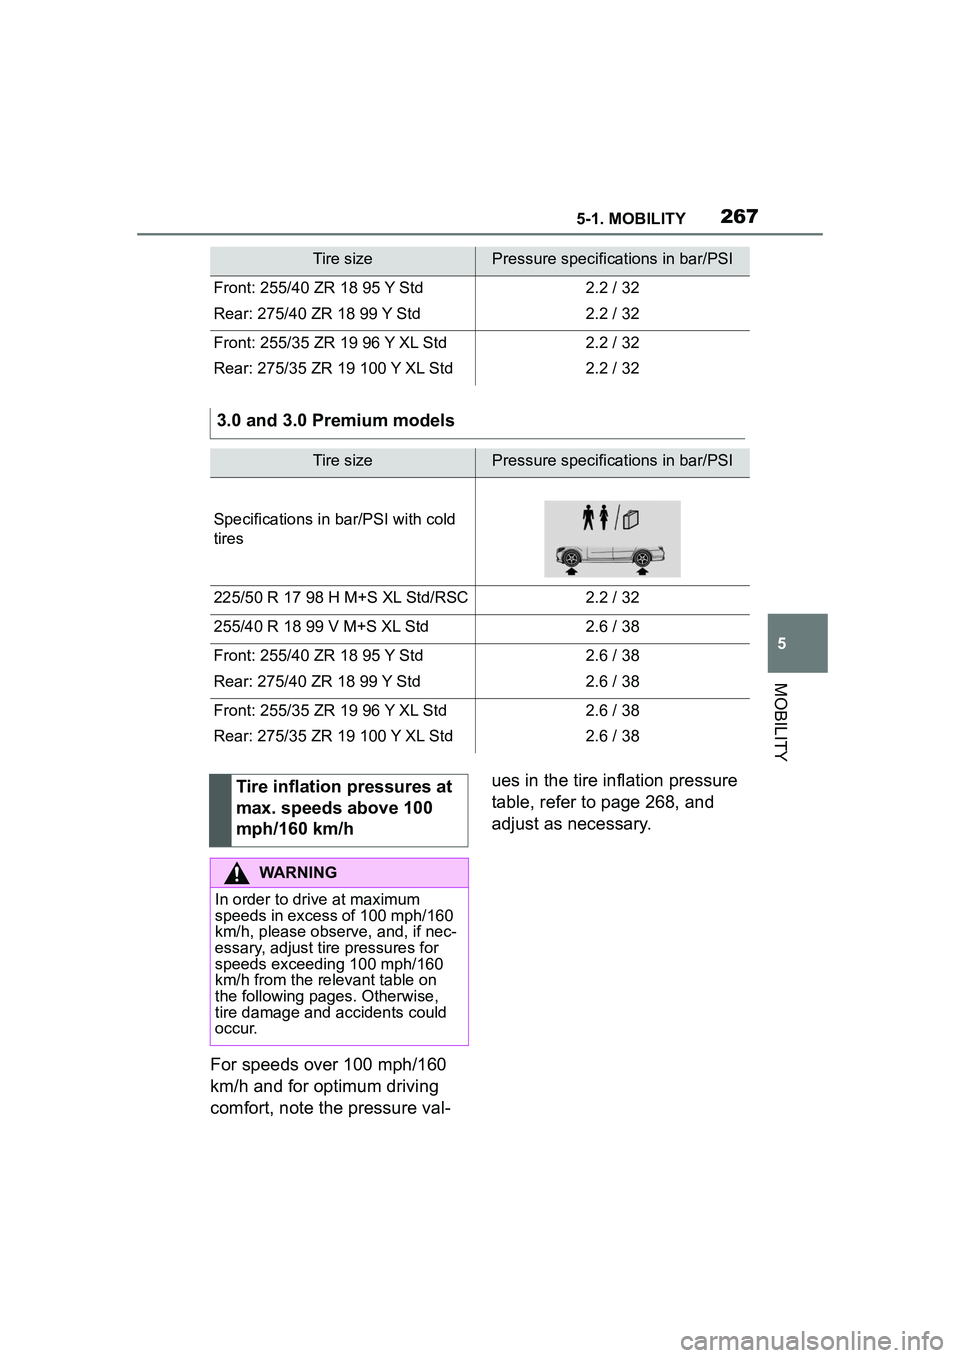
Specifications in bar/PSI with cold
tires
225/50 R 17 98 H M+S XL Std/RSC2.2 / 32
255/40 R 18 99 V M+S XL Std2.6 / 38
Front: 255/40 ZR 18 95 Y Std
Rear: 275/40 ZR 18 99 Y Std2.6 / 38
2.6 / 38
Front: 255/35 ZR 19 96 Y XL Std
Rear: 275/35 ZR 19 100 Y XL Std2.6 / 38
2.6 / 38
Tire inflation pressures at
max. speeds above 100
mph/160 km/h
WARNING
In order to drive at maximum
speeds in excess of 100 mph/160
km/h, please observe, and, if nec-
essary, adjust tire pressures for
speeds exceeding 100 mph/160
km/h from the relevant table on
the following pages. Otherwise,
tire damage and accidents could
occur.
Page 268 of 356
2685-1. MOBILITY
245/45 R 18 96 Y
245: nominal width in mm
45: aspect ratio in %
Tire inflation pressure values over 100 mph/160 km/h
2.0 models
Tire sizePressure specifications in bar/PSI
Specifications in bar/PSI with cold
tires
225/50 R 17 98 H M+S XL Std/RSC2.2 / 32
255/40 R 18 99 V M+S XL Std2.2 / 32
Front: 255/40 ZR 18 95 Y Std
Rear: 275/40 ZR 18 99 Y Std2.2 / 32
2.2 / 32
Front: 255/35 ZR 19 96 Y XL Std
Rear: 275/35 ZR 19 100 Y XL Std2.2 / 32
2.2 / 32
3.0 and 3.0 Premium models
Tire sizePressure specifications in bar/PSI
Specifications in bar/PSI with cold
tires
225/50 R 17 98 H M+S XL Std/RSC2.2 / 32
255/40 R 18 99 V M+S XL Std2.6 / 38
Front: 255/40 ZR 18 95 Y Std
Rear: 275/40 ZR 18 99 Y Std2.6 / 38
2.6 / 38
Front: 255/35 ZR 19 96 Y XL Std
Rear: 275/35 ZR 19 100 Y XL Std2.6 / 38
2.6 / 38
Tire identification marks
Tire size
Page 272 of 356

2725-1. MOBILITY
equipped with low-profile tires.
Indications of tire damage or
other vehicle malfunctions:
• Unusual vibrations.
• Unusual tire or running noises.
• Unusual handling such as a strong tendency to pull to the
left or right.
Damage can be caused by the
following situations, for instance:
• Driving over curbs.
• Road damage.
• Tire inflation pressure too low.
• Vehicle overloading.
• Incorrect tire storage.
Have mounting and wheel bal-
ancing carried out by your Toy-
ota dealer.
The following properties are rec-
ommended and approved by the
manufacturer of the vehicle for
the approved wheels and tires
per vehicle type and special
equipment:
• Wheel and tire combinations.
• Rim designs.
• Tire sizes.
• Tire brands.
You can ask a manufacturer ser-
vice center or another qualified
service center or repair shop
about the approved wheels and
Safety information
WARNING
Damaged tires can lose tire infla-
tion pressure, which can lead to
loss of vehicle control. There is a
risk of an accident. If tire damage
is suspected while driving, imme-
diately reduce speed and stop.
Have wheels and tires checked.
For this purpose, drive carefully to
the nearest your Toyota dealer.
Have vehicle towed or trans-
ported as needed. Do not repair
damaged tires, but have them
replaced.
WARNING
Tires can become damaged by
driving over obstacles, e.g., curbs
or road damage, at high speed.
Larger wheels have a smaller tire
crosssection. The smaller the tire
cross-section, the higher the risk
of tire damage. There is a danger
of accidents and property dam-
age. If possible, avoid driving over
objects or road conditions that
may damage tires, or drive over
them slowly and carefully.
Changing wheels and
tires
Mounting and wheel bal-
ancing
Approved wheels and tires
General information
Page 274 of 356

2745-1. MOBILITY
tial after a break-in time.
Drive conservatively for the first
200 miles/300 km.
The manufacturer of your vehi-
cle does not recommend the
use of retreaded tires.
Winter tires are recommended
for operating on winter roads.
Although so-called all-season
M+S tires provide better winter
traction than summer tires, they
usually do not provide the same
level of performance as winter
tires.
If the maximum speed of the
vehicle is higher than the per-
missible speed for the winter
tires, then attach a label show-
ing the permissible maximum
speed in the field of view. The label is available from your Toy-
ota dealer.
With winter tires mounted,
observe and do not exceed the
permissible maximum speed.
Do not exceed the maximum tire
inflation pressure indicated on
the side wall of the tire.
Store wheels and tires in a cool,
dry and dark place.
Always protect tires against all
contact with oil, grease, and sol-
vents.
Do not leave tires in plastic
bags.
Remove dirt from wheels or
tires.
Retreaded tires
WARNING
Retreaded tires can have different
tire casing structures. With
advanced age the service life can
be limited. There is a risk of an
accident. The manufacturer of
your vehicle does not recommend
the use of retreaded tires.
Winter tires
General information
Maximum speed of winter
tires
Rotating wheels between
axles
WARNING
Rotating tires between the axles
on vehicles with different tire sizes
or rim sizes on the front and rear
axles can cause damage to the
tires and the vehicle. There is a
risk of accident. Do not rotate the
tires between the axles on vehi-
cles with different tire sizes or rim
sizes on the front and rear axles.
Storing tires
Tire inflation pressure
Storage
Page 276 of 356
2765-1. MOBILITY
The Mobility System is located in
the right storage compartment of the
cargo area.
• Sealant container, arrow 1.
• Filling hose, arrow 2.
Observe use-by date on the
sealant container. 1
Sealant container unlocking
2 Sealant container holder
3 Tire pressure gauge
4 Reduce tire inflation pressure
button
5 On/off switch
6 Compressor
7 Connector/cable for socket
8 Connection hose
• Park the vehicle as far away as possible from passing traf-
fic and on solid ground.
• Switch on the hazard warning system.
• Secure the vehicle against rolling away by setting the
parking brake.
• Turn the steering wheel until the front wheels are in the
straight-ahead position and
engage the steering wheel
lock.
• Have all vehicle occupants get out of the vehicle and
ensure that they remain out-
side the immediate area in a
Overview
Storage
Sealant container
Compressor
Safety measures
Page 278 of 356

2785-1. MOBILITY
into the power socket inside
the vehicle.
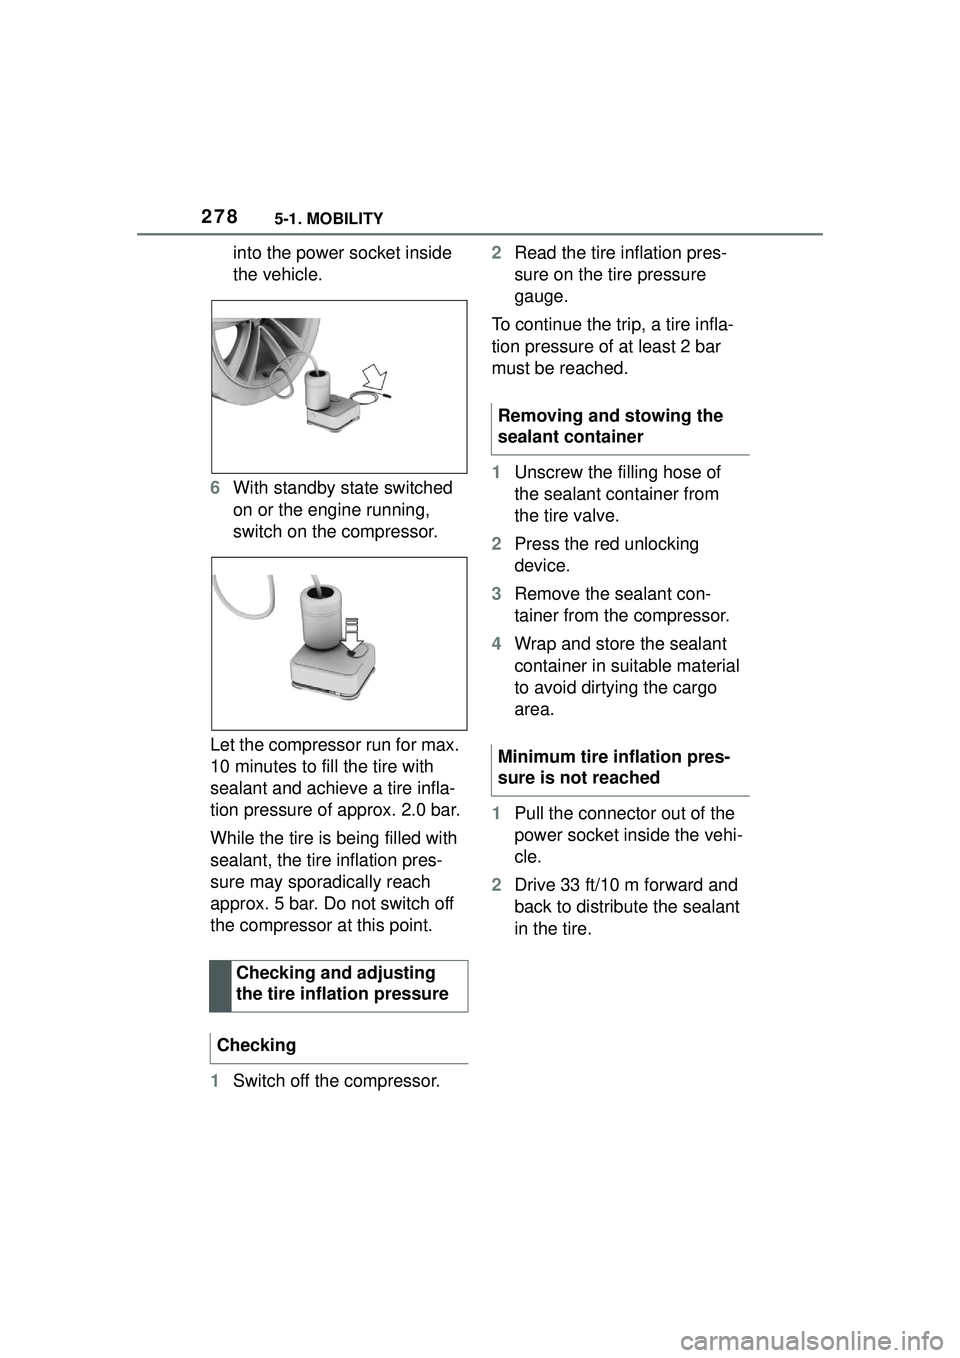
6 With standby state switched
on or the engine running,
switch on the compressor.
Let the compressor run for max.
10 minutes to fill the tire with
sealant and achieve a tire infla-
tion pressure of approx. 2.0 bar.
While the tire is being filled with
sealant, the tire inflation pres-
sure may sporadically reach
approx. 5 bar. Do not switch off
the compressor at this point.
1 Switch off the compressor. 2
Read the tire inflation pres-
sure on the tire pressure
gauge.
To continue the trip, a tire infla-
tion pressure of at least 2 bar
must be reached.
1 Unscrew the filling hose of
the sealant container from
the tire valve.
2 Press the red unlocking
device.
3 Remove the sealant con-
tainer from the compressor.
4 Wrap and store the sealant
container in suitable material
to avoid dirtying the cargo
area.
1 Pull the connector out of the
power socket inside the vehi-
cle.
2 Drive 33 ft/10 m forward and
back to distribute the sealant
in the tire.
Checking and adjusting
the tire inflation pressure
Checking
Removing and stowing the
sealant container
Minimum tire inflation pres-
sure is not reached
Page 279 of 356

2795-1. MOBILITY
5
MOBILITY
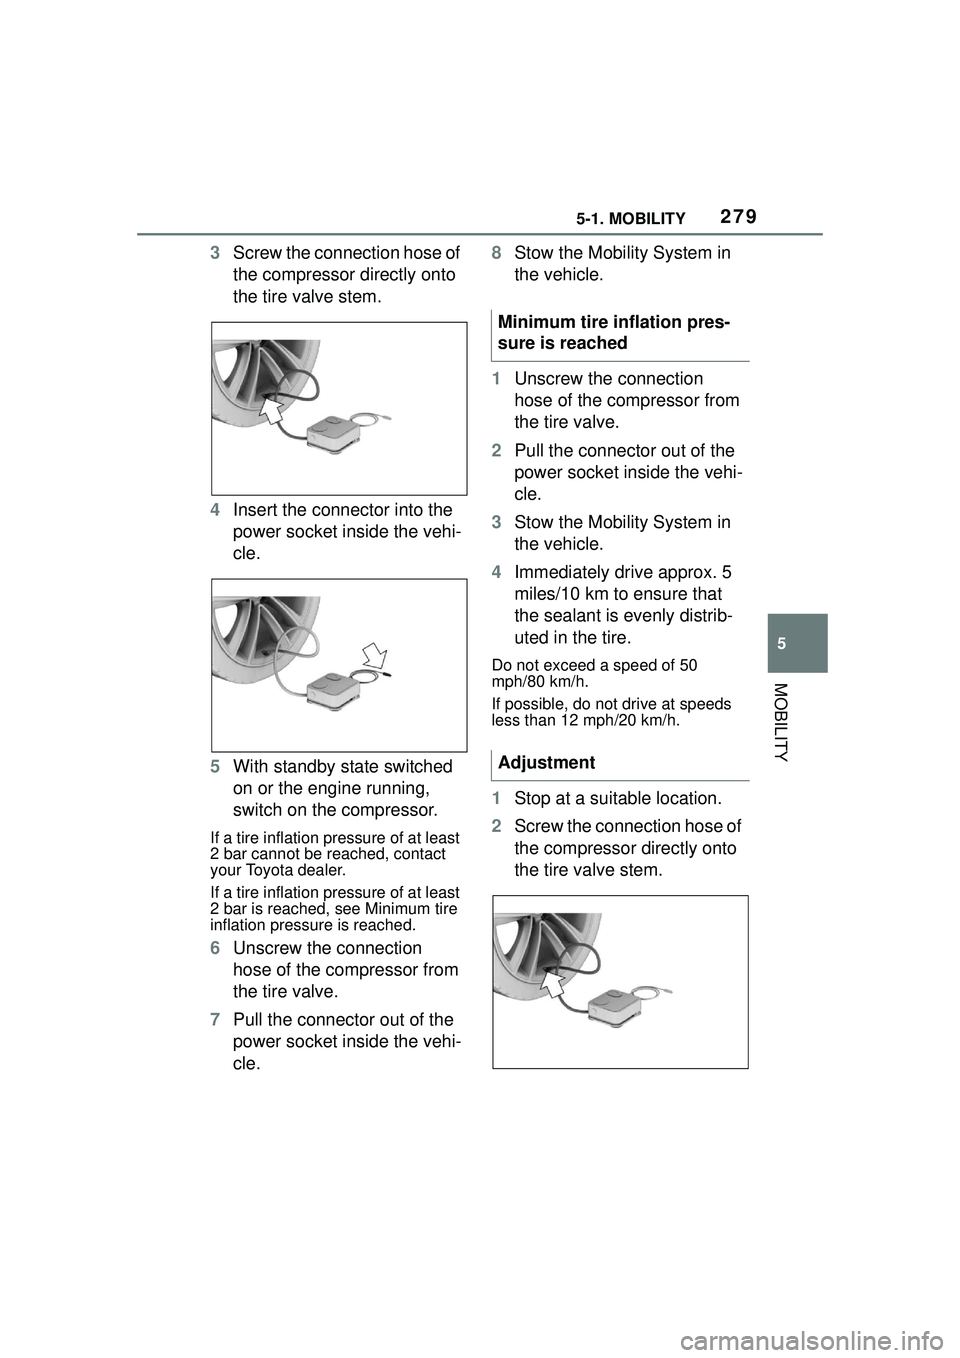
3Screw the connection hose of
the compressor directly onto
the tire valve stem.
4 Insert the connector into the
power socket inside the vehi-
cle.
5 With standby state switched
on or the engine running,
switch on the compressor.
If a tire inflation pressure of at least
2 bar cannot be reached, contact
your Toyota dealer.
If a tire inflation pressure of at least
2 bar is reached, see Minimum tire
inflation pressure is reached.
6Unscrew the connection
hose of the compressor from
the tire valve.
7 Pull the connector out of the
power socket inside the vehi-
cle. 8
Stow the Mobility System in
the vehicle.
1 Unscrew the connection
hose of the compressor from
the tire valve.
2 Pull the connector out of the
power socket inside the vehi-
cle.
3 Stow the Mobility System in
the vehicle.
4 Immediately drive approx. 5
miles/10 km to ensure that
the sealant is evenly distrib-
uted in the tire.
Do not exceed a speed of 50
mph/80 km/h.
If possible, do not drive at speeds
less than 12 mph/20 km/h.
1Stop at a suitable location.
2 Screw the connection hose of
the compressor directly onto
the tire valve stem.
Minimum tire inflation pres-
sure is reached
Adjustment
Page 280 of 356

2805-1. MOBILITY
3Insert the connector into the
power socket inside the vehi-
cle.
4 Correct the tire inflation pres-
sure to at least 2.0 bar.
• Increase tire inflation pres- sure: with standby state
switched on or the engine
running, switch on the com-
pressor.
• Reduce tire inflation pressure: press the button on the com-
pressor.
5 Unscrew the connection
hose of the compressor from
the tire valve.
6 Pull the connector out of the
power socket inside the vehi-
cle.
7 Stow the Mobility System in
the vehicle.
Do not exceed the maximum
permissible speed of 50 mph/80
km/h
Reset the Tire Pressure Monitor
TPM, refer to page 280.
Replace the nonworking tire and the sealant container of the
Mobility System promptly.
Tire chains cannot be mounted.
Snow tires should be used
instead.
The system monitors tire infla-
tion pressure in the four
mounted tires. The system
warns you if there is a loss of
pressure in one or more tires.
Sensors in the tire valves mea-
sure the tire inflation pressure
and tire temperature.
The system detects the
mounted tires automatically. The
system displays the specified
nominal pressure values on the
Control Display and compares
these values to the actual tire
Continuing the trip
Snow chains
NOTICE
■Driving with tire chains
Do not fit tire chains. Tire chains
may damage the vehicle body
and suspension, and adversely
affect driving performance.
Selecting tire chains
Tire Pressure Monitor
TPM
Concept
General information