Page 459 of 678
457
7
7-3. Do-it-yourself maintenance
Maintenance and care
2 Pull the bulb out while pressing
the lock release of the connec-
tor.
3 Replace the light bulb, and
install the bulb base.
Align the 3 tabs on the light bulb with the mounting and insert.
4 Turn and secure the bulb base.
Shake the bulb base gently to check that it is not loose, turn the headlights
on once and visually confirm that no
light is leaking through the mounting.
■Front turn signal lights (bulb
type)
1 Turn the bulb base
counterclockwise.
2 Remove the light bulb.
3 When installing, reverse the
steps listed.
■Rear turn signal lights (bulb
type)
1 Open the trunk lid.
2 Insert a flathead screwdriver
between the cover and the light
assembly and pry up the cover
to disengage the claws (indi-
cated by a dotted line).
To prevent scratching the vehicle, wrap
the tip of the flathead screwdriver with a
Page 461 of 678
459
7
7-3. Do-it-yourself maintenance
Maintenance and care
■Tail lights (bulb type)
1 Open the trunk lid, remove the
clips, and pull back the cover.
2 Turn the bulb base
counterclockwise and remove it.
3 Remove the light bulb.
4 When installing, reverse the
steps listed.
■License plate lights
1 Open the trunk lid, remove the
clips, and pull back the cover.
2 Turn the bulb base
counterclockwise.
3 Remove the light bulb.
4 When installing, reverse the
steps listed.
Page 470 of 678
4688-2. Steps to take in an emergency
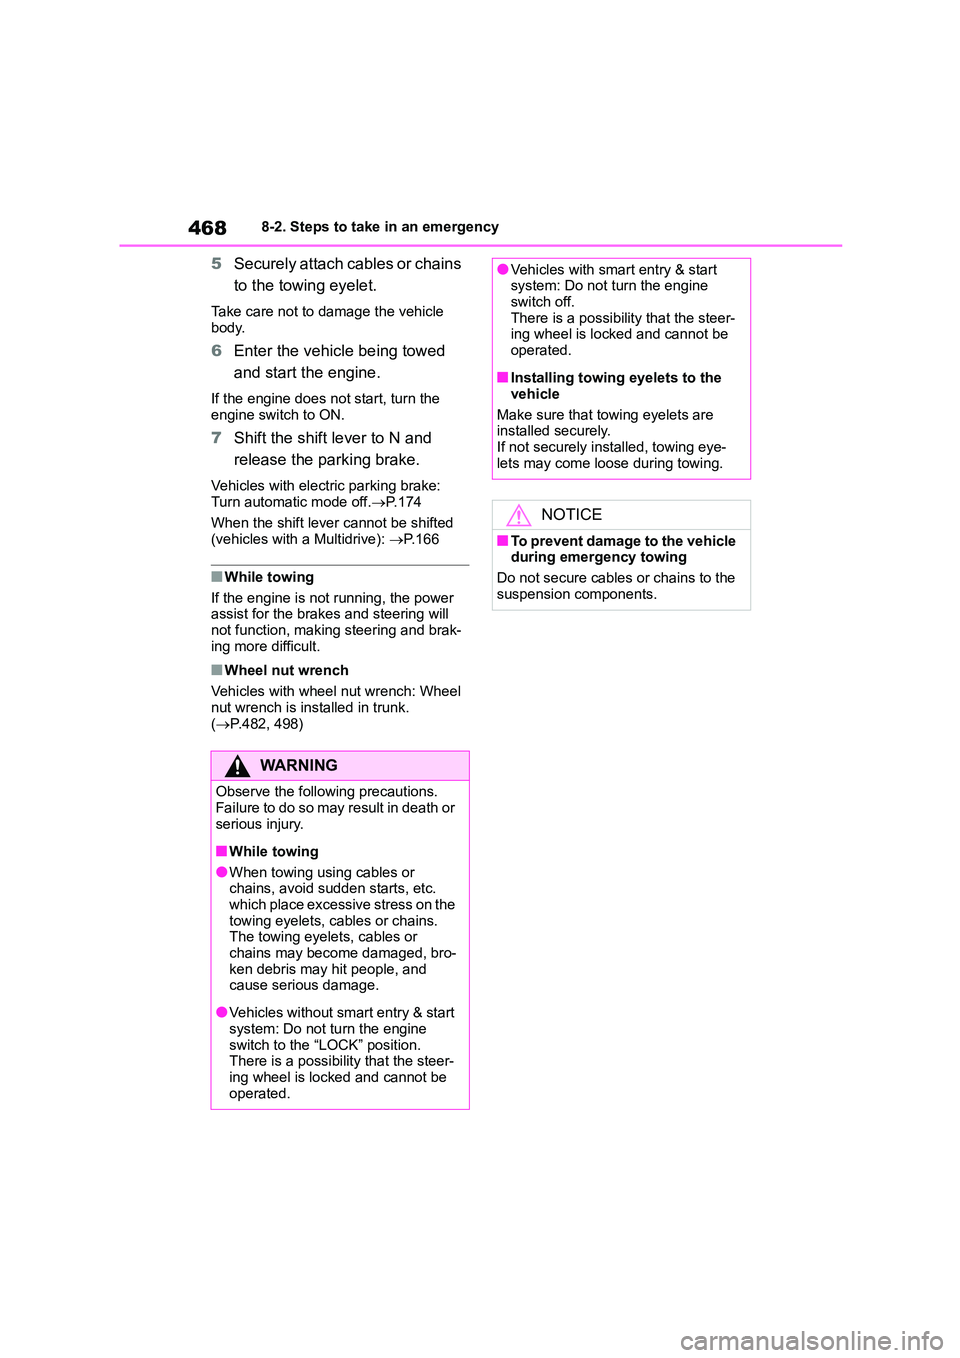
5Securely attach cables or chains
to the towing eyelet.
Take care not to damage the vehicle
body.
6 Enter the vehicle being towed
and start the engine.
If the engine does not start, turn the
engine switch to ON.
7 Shift the shift lever to N and
release the parking brake.
Vehicles with electric parking brake:
Turn automatic mode off. P. 1 7 4
When the shift lever cannot be shifted
(vehicles with a Multidrive): P. 1 6 6
■While towing
If the engine is not running, the power
assist for the brakes and steering will
not function, making steering and brak- ing more difficult.
■Wheel nut wrench
Vehicles with wheel nut wrench: Wheel
nut wrench is installed in trunk. ( P.482, 498)
WA R N I N G
Observe the following precautions.
Failure to do so may result in death or
serious injury.
■While towing
●When towing using cables or chains, avoid sudden starts, etc.
which place excessive stress on the
towing eyelets, cables or chains. The towing eyelets, cables or
chains may become damaged, bro-
ken debris may hit people, and cause serious damage.
●Vehicles without smart entry & start system: Do not tu rn the engine
switch to the “LOCK” position.
There is a possibility that the steer-
ing wheel is locked and cannot be operated.
●Vehicles with smart entry & start system: Do not turn the engine
switch off.
There is a possibility that the steer- ing wheel is locked and cannot be
operated.
■Installing towing eyelets to the
vehicle
Make sure that towing eyelets are installed securely.
If not securely installed, towing eye-
lets may come loose during towing.
NOTICE
■To prevent damage to the vehicle during emergency towing
Do not secure cables or chains to the
suspension components.
Page 488 of 678
4868-2. Steps to take in an emergency
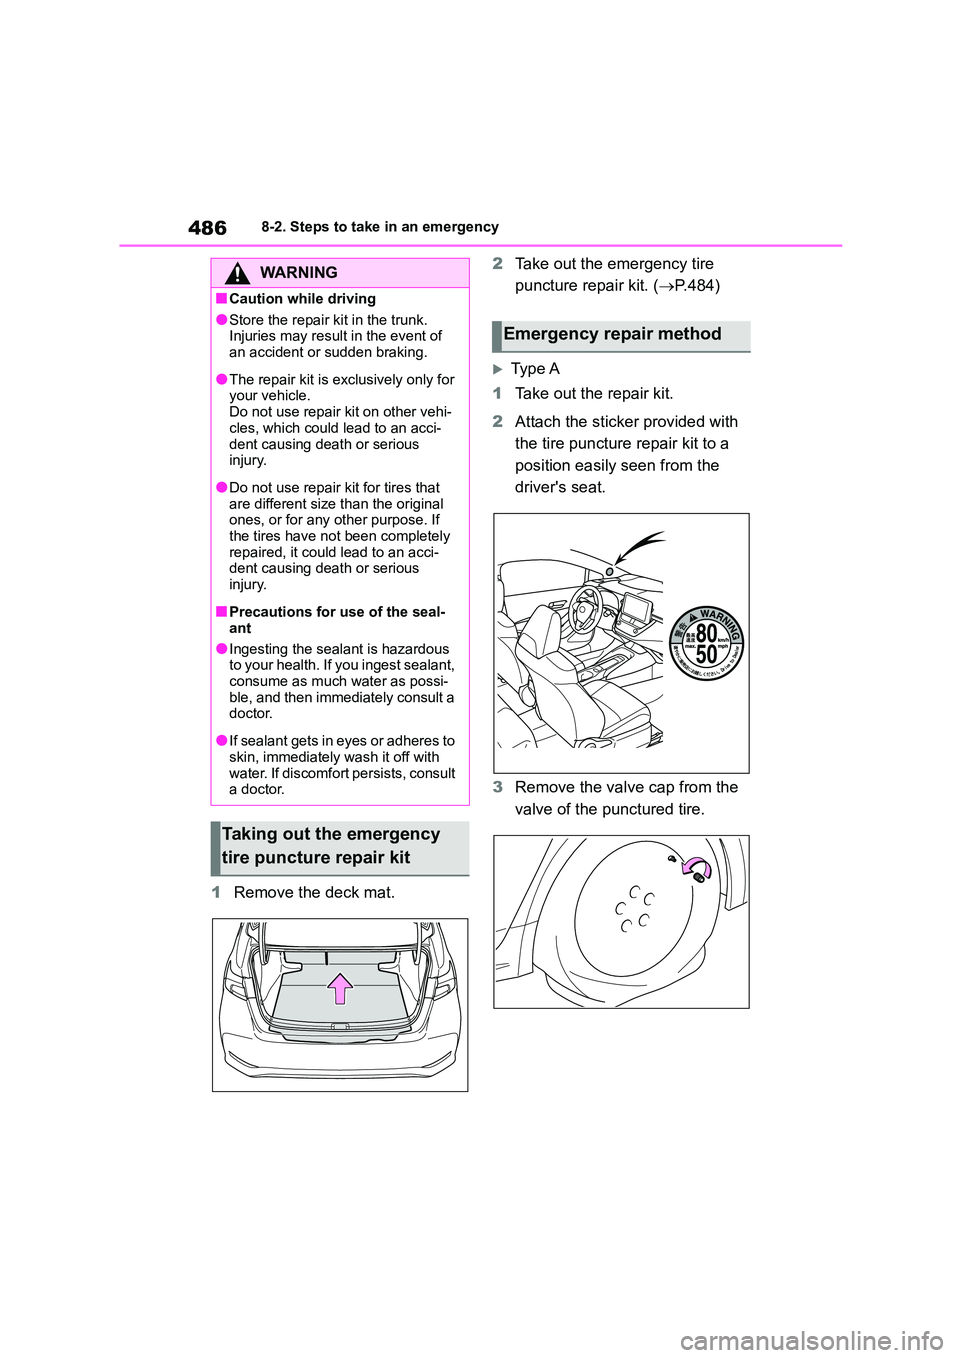
1Remove the deck mat.
2 Take out the emergency tire
puncture repair kit. ( P.484)
Ty p e A
1 Take out the repair kit.
2 Attach the sticker provided with
the tire puncture repair kit to a
position easily seen from the
driver's seat.
3 Remove the valve cap from the
valve of the punctured tire.
WA R N I N G
■Caution while driving
●Store the repair kit in the trunk.
Injuries may result in the event of an accident or sudden braking.
●The repair kit is exclusively only for your vehicle.
Do not use repair kit on other vehi-
cles, which could lead to an acci-
dent causing death or serious injury.
●Do not use repair kit for tires that are different size than the original
ones, or for any other purpose. If
the tires have not been completely repaired, it could lead to an acci-
dent causing death or serious
injury.
■Precautions for use of the seal-
ant
●Ingesting the sealant is hazardous
to your health. If you ingest sealant,
consume as much water as possi- ble, and then immediately consult a
doctor.
●If sealant gets in eyes or adheres to
skin, immediately wash it off with
water. If discomfort persists, consult a doctor.
Taking out the emergency
tire puncture repair kit
Emergency repair method
Page 492 of 678
4908-2. Steps to take in an emergency
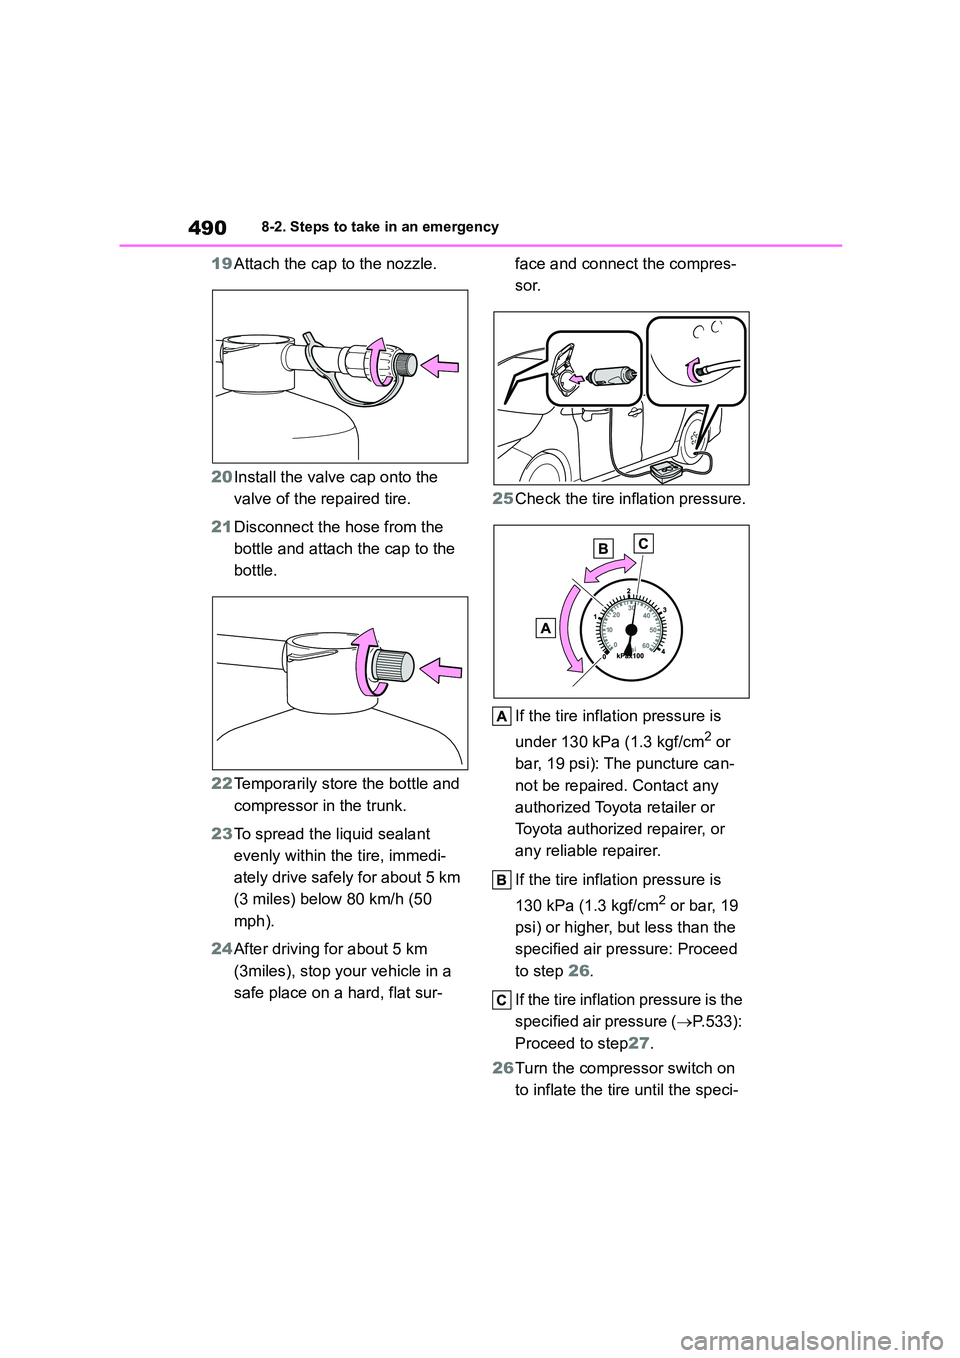
19Attach the cap to the nozzle.
20 Install the valve cap onto the
valve of the repaired tire.
21 Disconnect the hose from the
bottle and attach the cap to the
bottle.
22 Temporarily store the bottle and
compressor in the trunk.
23 To spread the liquid sealant
evenly within the tire, immedi-
ately drive safely for about 5 km
(3 miles) below 80 km/h (50
mph).
24 After driving for about 5 km
(3miles), stop your vehicle in a
safe place on a hard, flat sur-
face and connect the compres-
sor.
25 Check the tire inflation pressure.
If the tire inflation pressure is
under 130 kPa (1.3 kgf/cm2 or
bar, 19 psi): The puncture can-
not be repaired. Contact any
authorized Toyota retailer or
Toyota authorized repairer, or
any reliable repairer.
If the tire inflation pressure is
130 kPa (1.3 kgf/cm2 or bar, 19
psi) or higher, but less than the
specified air pressure: Proceed
to step 26.
If the tire inflation pressure is the
specified air pressure ( P.533):
Proceed to step 27.
26 Turn the compressor switch on
to inflate the tire until the speci-
Page 493 of 678
491
8
8-2. Steps to take in an emergency
When trouble arises
fied air pressure is reached.
Drive for about 5 km (3 miles)
and then perform step 24.
27 Store the compressor in the
trunk.
28 Taking precautions to avoid sud-
den braking, sudden accelera-
tion and sharp turns, drive
carefully at under 80 km/h (50
mph) to the nearest any author-
ized Toyota reta iler or Toyota
authorized repairer, or any relia-
ble repairer for tire repair or
replacement.
When having the tire repaired or
replaced, make sure to tell any author-
ized Toyota retailer or Toyota author- ized repairer, or any reliable repairer
that the sealant is injected.
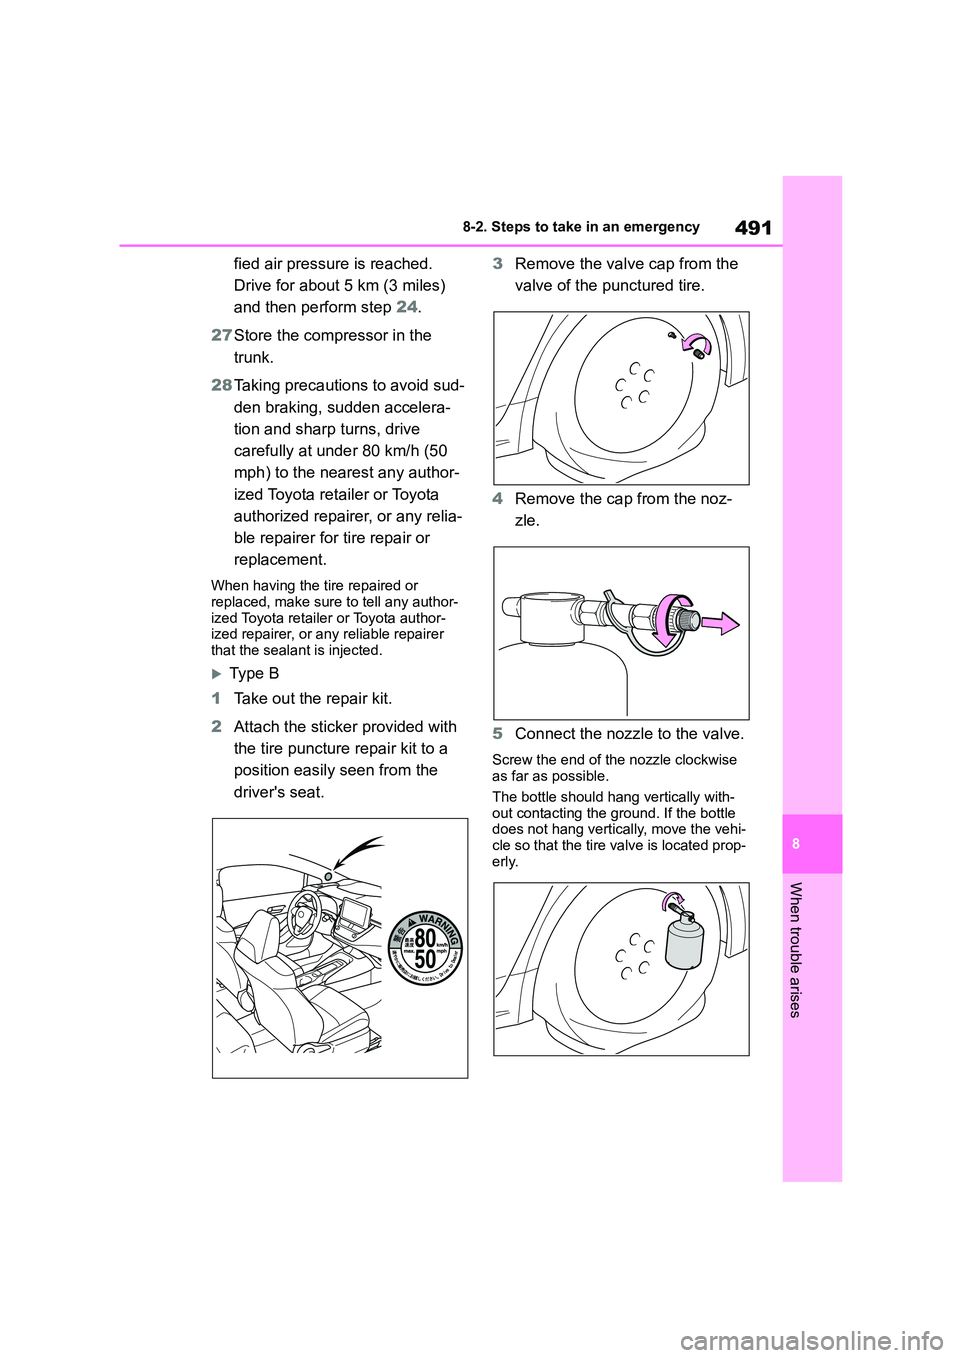
Type B
1 Take out the repair kit.
2 Attach the sticker provided with
the tire puncture repair kit to a
position easily seen from the
driver's seat.
3 Remove the valve cap from the
valve of the punctured tire.
4 Remove the cap from the noz-
zle.
5 Connect the nozzle to the valve.
Screw the end of the nozzle clockwise
as far as possible.
The bottle should hang vertically with- out contacting the ground. If the bottle
does not hang vertically, move the vehi-
cle so that the tire valve is located prop- erly.
Page 496 of 678
4948-2. Steps to take in an emergency
authorized repairer, or any relia-
ble repairer.
If the tire inflation pressure
exceeds the specified air pres-
sure, let out some air to adjust
the tire inflation pressure.
( P.495, 533)
16 Turn the compressor switch is
(off).
17 Disconnect the nozzle from the
valve on the tire and then pull
out the power plug from the
power outlet socket.
Some sealant may leak when the hose is removed.
18 Press the button to release
pressure from the bottle.
19 Attach the cap to the nozzle.
20 Install the valve cap onto the
valve of the repaired tire.
21 Disconnect the hose from the
bottle and attach the cap to the
bottle.
22 Temporarily store the bottle and
compressor in the trunk.
23 To spread the liquid sealant
evenly within the tire, immedi-
ately drive safely for about 5 km
(3 miles) below 80 km/h (50
mph).
24 After driving for about 5 km
(3miles), stop your vehicle in a
safe place on a hard, flat sur-
Page 497 of 678
495
8
8-2. Steps to take in an emergency
When trouble arises
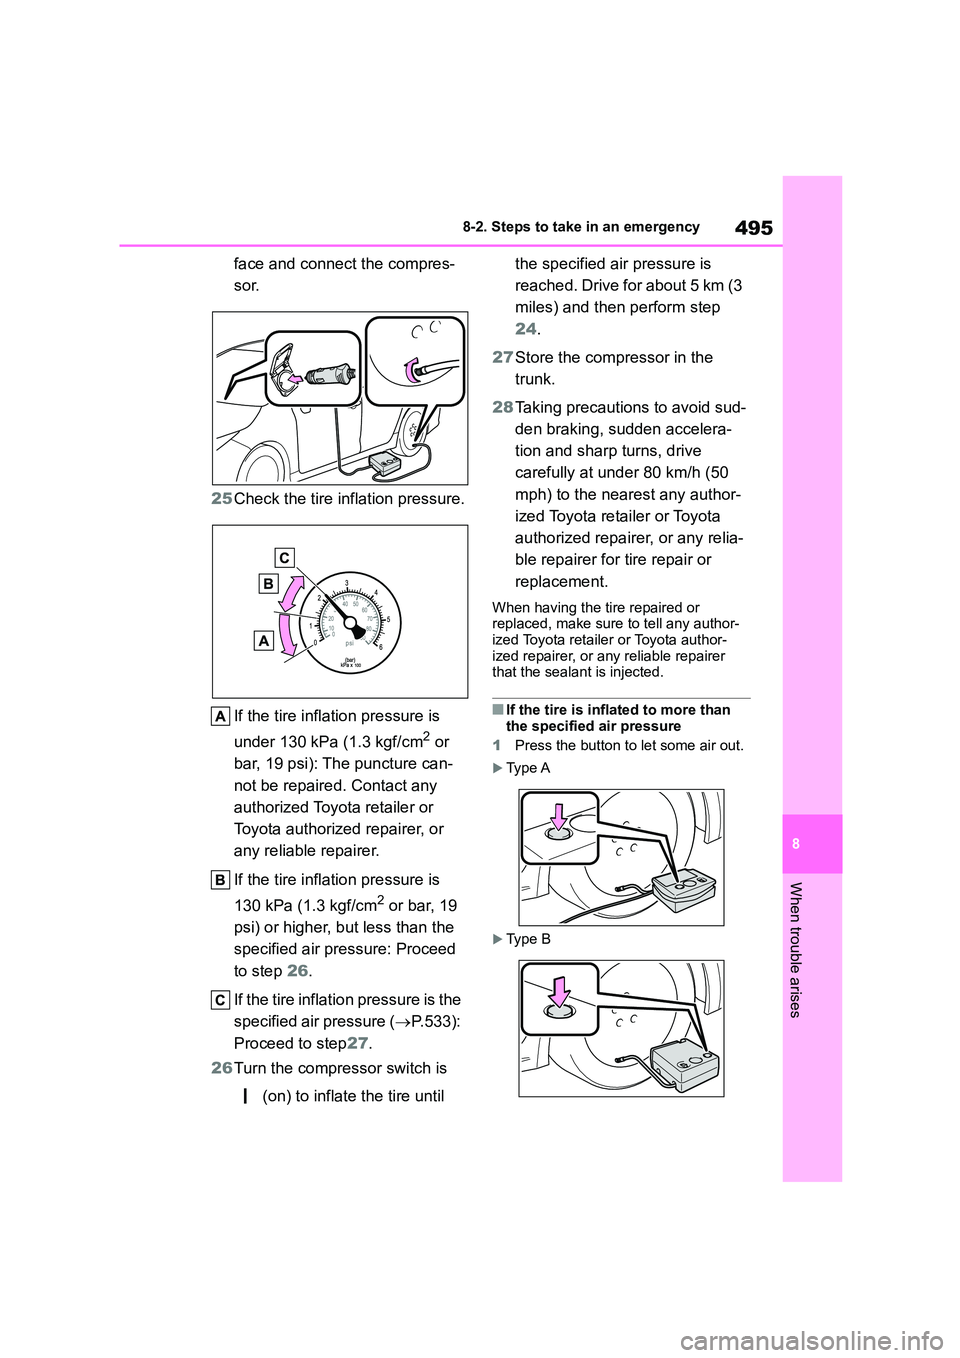
face and connect the compres-
sor.
25 Check the tire inflation pressure.
If the tire inflat ion pressure is
under 130 kPa (1.3 kgf/cm2 or
bar, 19 psi): The puncture can-
not be repaired. Contact any
authorized Toyota retailer or
Toyota authorized repairer, or
any reliable repairer.
If the tire inflat ion pressure is
130 kPa (1.3 kgf/cm2 or bar, 19
psi) or higher, but less than the
specified air pressure: Proceed
to step 26.
If the tire inflatio n pressure is the
specified air pressure ( P.533):
Proceed to step 27.
26 Turn the compressor switch is
(on) to inflate the tire until
the specified air pressure is
reached. Drive for about 5 km (3
miles) and then perform step
24 .
27 Store the compressor in the
trunk.
28 Taking precautions to avoid sud-
den braking, sudden accelera-
tion and sharp turns, drive
carefully at under 80 km/h (50
mph) to the nearest any author-
ized Toyota reta iler or Toyota
authorized repairer, or any relia-
ble repairer for tire repair or
replacement.
When having the tire repaired or
replaced, make sure to tell any author-
ized Toyota retailer or Toyota author- ized repairer, or any reliable repairer
that the sealant is injected.
■If the tire is infl ated to more than the specified air pressure
1 Press the button to let some air out.
Ty p e A
Ty p e B