Page 94 of 446

3-16
Convenient features of your vehicle
Tilt Steering / Telescope
Steering
When adjusting the steering wheel to
a comfortable position, adjust the
steering wheel so that it points
toward your chest, not toward your
face. Make sure you can see the
instrument cluster warning lights and
gauges. After adjusting, push the
steering wheel both up and down to
be certain it is locked in position.
Always adjust the position of the
steering wheel before driving.
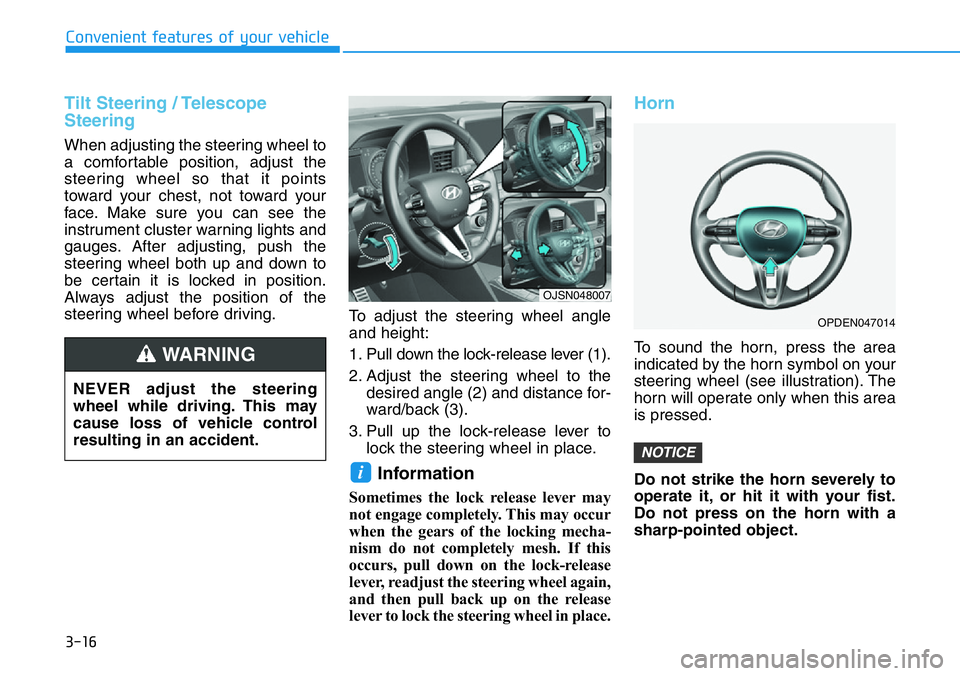
To adjust the steering wheel angle
and height:
1. Pull down the lock-release lever (1).
2. Adjust the steering wheel to the
desired angle (2) and distance for-
ward/back (3).
3. Pull up the lock-release lever to
lock the steering wheel in place.
Information
Sometimes the lock release lever may
not engage completely. This may occur
when the gears of the locking mecha-
nism do not completely mesh. If this
occurs, pull down on the lock-release
lever, readjust the steering wheel again,
and then pull back up on the release
lever to lock the steering wheel in place.
Horn
To sound the horn, press the area
indicated by the horn symbol on your
steering wheel (see illustration). The
horn will operate only when this area
is pressed.
Do not strike the horn severely to
operate it, or hit it with your fist.
Do not press on the horn with a
sharp-pointed object.
NOTICE
i
NEVER adjust the steering
wheel while driving. This may
cause loss of vehicle control
resulting in an accident.
WARNING
OJSN048007
OPDEN047014
Page 109 of 446
3-31
Convenient features of your vehicle
3
INSTRUMENT CLUSTER
1. Tachometer
2. Speedometer
3. Engine coolant temperature gauge
4. Fuel gauge
5. Warning and indicator lights
6. LCD display (including Trip computer)
The actual cluster in the vehicle may dif-
fer from the illustration.
For more details, refer to the "Gauges
and Meters" in this chapter.
OBU048106N
Page 110 of 446
3-32
Convenient features of your vehicle
Instrument Cluster Control
Adjusting instrument cluster
illumination
When the vehicle's position lights or
headlights are on, press the illumina-
tion control button to adjust the
brightness of the instrument panel
illumination.
When pressing the illumination con-
trol button, the interior switch illumi-
nation intensity is also adjusted.• The brightness of the instrument
panel illumination is displayed.
• If the brightness reaches the maxi-
mum or minimum level, a chime
will sound.
For information regarding the illu-
mination setting on your audio dis-
play, refer to the "Setup" section of
your Audio or Navigation manual. Never adjust the instrument
cluster while driving. Doing so
could lead to driver distraction
which may cause an accident
and lead to vehicle damage,
serious injury, or death.
WARNING
OJS048110L
OJSN048026
Page 113 of 446

3-35
Convenient features of your vehicle
3
Avoid driving with an extremely
low fuel level. Running out of fuel
could cause the engine to misfire
damaging the catalytic converter.
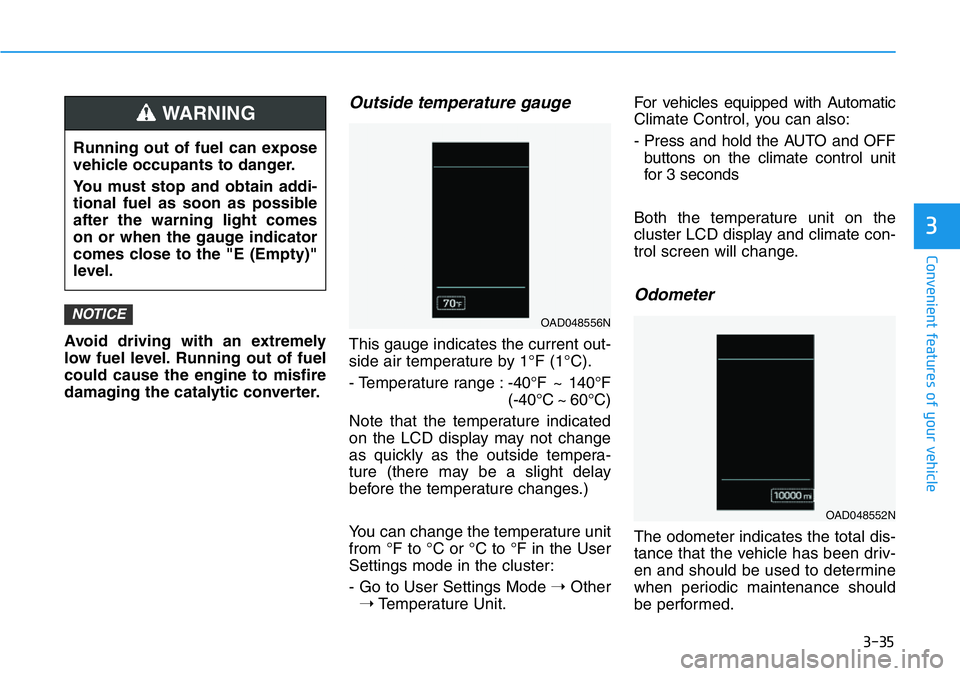
Outside temperature gauge
This gauge indicates the current out-
side air temperature by 1°F (1°C).
- Temperature range :-40°F ~ 140°F
(-40°C ~ 60°C)
Note that the temperature indicated
on the LCD display may not change
as quickly as the outside tempera-
ture (there may be a slight delay
before the temperature changes.)
You can change the temperature unit
from °F to °C or °C to °F in the User
Settings mode in the cluster:
- Go to User Settings Mode ➝Other
➝Temperature Unit.For vehicles equipped with Automatic
Climate Control, you can also:
- Press and hold the AUTO and OFF
buttons on the climate control unit
for 3 seconds
Both the temperature unit on the
cluster LCD display and climate con-
trol screen will change.
Odometer
The odometer indicates the total dis-
tance that the vehicle has been driv-
en and should be used to determine
when periodic maintenance should
be performed.
NOTICEOAD048556N
OAD048552N
Running out of fuel can expose
vehicle occupants to danger.
You must stop and obtain addi-
tional fuel as soon as possible
after the warning light comes
on or when the gauge indicator
comes close to the "E (Empty)"
level.
WARNING
Page 128 of 446

3-50
Convenient features of your vehicle
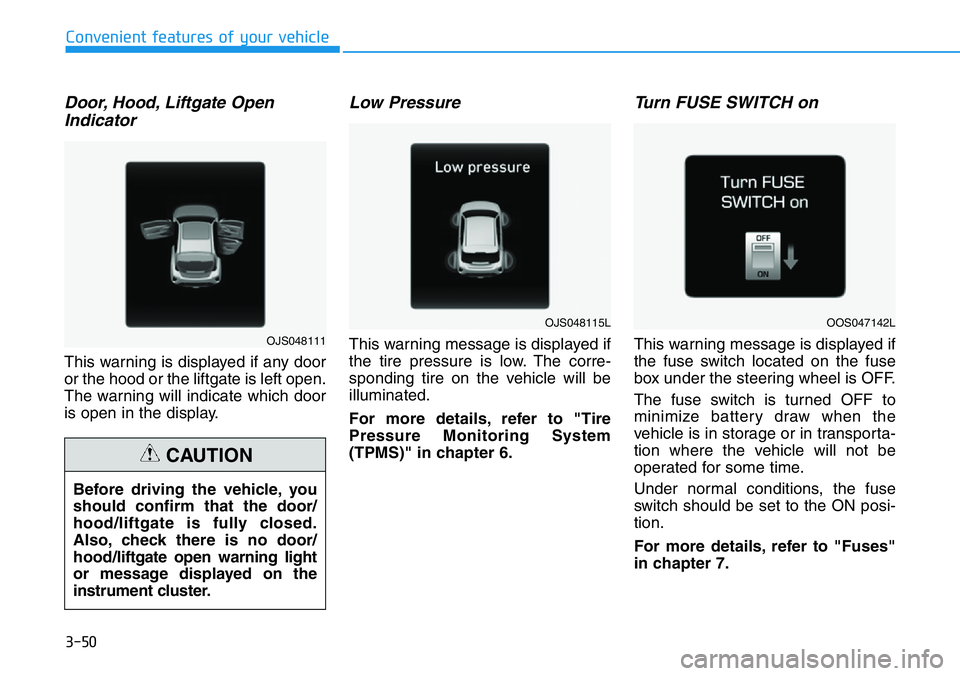
Door, Hood, Liftgate Open
Indicator
This warning is displayed if any door
or the hood or the liftgate is left open.
The warning will indicate which door
is open in the display.
Low Pressure
This warning message is displayed if
the tire pressure is low. The corre-
sponding tire on the vehicle will be
illuminated.
For more details, refer to "Tire
Pressure Monitoring System
(TPMS)" in chapter 6.
Turn FUSE SWITCH on
This warning message is displayed if
the fuse switch located on the fuse
box under the steering wheel is OFF.
The fuse switch is turned OFF to
minimize battery draw when the
vehicle is in storage or in transporta-
tion where the vehicle will not be
operated for some time.
Under normal conditions, the fuse
switch should be set to the ON posi-
tion.
For more details, refer to "Fuses"
in chapter 7. Before driving the vehicle, you
should confirm that the door/
hood/liftgate is fully closed.
Also, check there is no door/
hood/liftgate open warning light
or message displayed on the
instrument cluster.
CAUTION
OJS048111
OJS048115LOOS047142L
Page 129 of 446
3-51
Convenient features of your vehicle
3
Lights Mode
This indicator displays which exterior
light is selected using the lighting
control.
Wiper
This indicator displays which wiper
speed is selected using the wiper
control.
Low washer fluid
This warning message is displayed
if the washer fluid level in the reser-
voir is nearly empty.
Have the washer fluid reservoir refilled.
Low fuel
This warning message is displayed if
the fuel tank is almost out of fuel.
When this message is displayed, the
low fuel level warning light in the
cluster will come on.
It is recommended to look for the
nearest fueling station and refuel as
soon as possible.
Add fuel as soon as possible.
OPD047120LOIK047146L
Page 136 of 446

3-58
Master warning mode
This warning light informs the driver
the following situations.
- Lamp malfunction
- Tire Pressure Monitoring System
(TPMS) malfunction
The Master Warning Light illumi-
nates if one or more of the above
warning situations occur. At this time,
the LCD Modes Icon will change
from ( ) to ( ).
If the warning situation is solved, the
master warning light will be turned
off and the LCD Modes Icon will be
changed back to its previous icon
().
User settings mode
In this mode, you can change the
settings of the instrument cluster,
doors, lamps, etc.
1. Driver Assistance
2. Door
3. Lights
4. Sound
5. Convenience
6. Service interval
7. Other
8. Language
9. Reset
The information provided may dif-
fer depending on which functions
are applicable to your vehicle.Information
Settings only available with parking
brake engaged and gear in neutral.
This warning message illuminates if you
try to select an item from the User
Settings mode while driving.
For your safety, change the User
Settings after engaging the parking
brake and shifting the gear to neutral.
i
Convenient features of your vehicle
Page 138 of 446
3-60
Convenient features of your vehicle
ItemsExplanation
Wiper/Lights DisplayTo activate or deactivate the Wiper/Light mode.
When activated, the LCD display shows the selected Wiper/Light mode whenever you change
the mode.
Auto Rear Wiper (in R)To activate or deactivate the rear wiper while the vehicle is in reverse with the front wiper ON.
For more details, refer to "Wipers and Washers" in this chapter.
4. Convenience
ItemsExplanation
Cluster Voice Guidance VolumeTo adjust the Cluster Voice Guidance volume.
- Level 1 / Level 2 / Level 3
Welcome SoundTo activate or deactivate the welcome sound function.
3. Sound