2021 VOLVO V90 CROSS COUNTRY ECO mode
[x] Cancel search: ECO modePage 603 of 683

MAINTENANCE AND SERVICE
601
WARNING
If the starter battery is disconnected, the function for automatic opening and closingmust be reset to function correctly. A resetis required in order for the pinch protectionto work.
CAUTION
On certain models, the battery is secured with a tensioning strap. Make sure that thetensioning strap is always securely tight-ened.
Specifications for starter battery
Battery type H7 AGMH8 AGM
Voltage (V) 12 12
Cold start capacity A
- CCA B
(A) 800
850
Dimensions, L×W×H 315×175×190 mm (12.4×6.9×7.5 inches) 353×175×190 mm (13.9×6.9×7.5 inches)
Capacity (Ah) 80 95
A
According to EN standard.
B Cold Cranking Amperes.
Volvo recommends that batteries are replaced by an authorized Volvo workshop.
CAUTION
If replacing the battery, make sure you replace it with a battery of the same size,cold start capacity and type as the originalbattery (see the decal on the battery).
Related information
Battery symbols (p. 604)
Support battery (p. 602)
Jump starting using another battery (p. 444)
Reset procedure for pinch protection(p. 173)
Battery recycling (p. 604)
Page 607 of 683
MAINTENANCE AND SERVICE
}}
605
Fuses and fuseboxes All electrical functions and components are protected by a number of fuses in order toprotect the vehicle's electrical system fromdamage by short circuiting or overloading.
WARNING
Never use a foreign object or a fuse with a higher amperage than that specified toreplace a fuse. This could cause significantdamage to the electrical system and possi-bly lead to a fire.
If any electrical component or function is not responding, the component may have blown afuse due to temporary overload. If the samefuse blows repeatedly, there may be a prob-lem with the component. Volvo recommendscontacting an authorized Volvo workshop tohave the component checked.
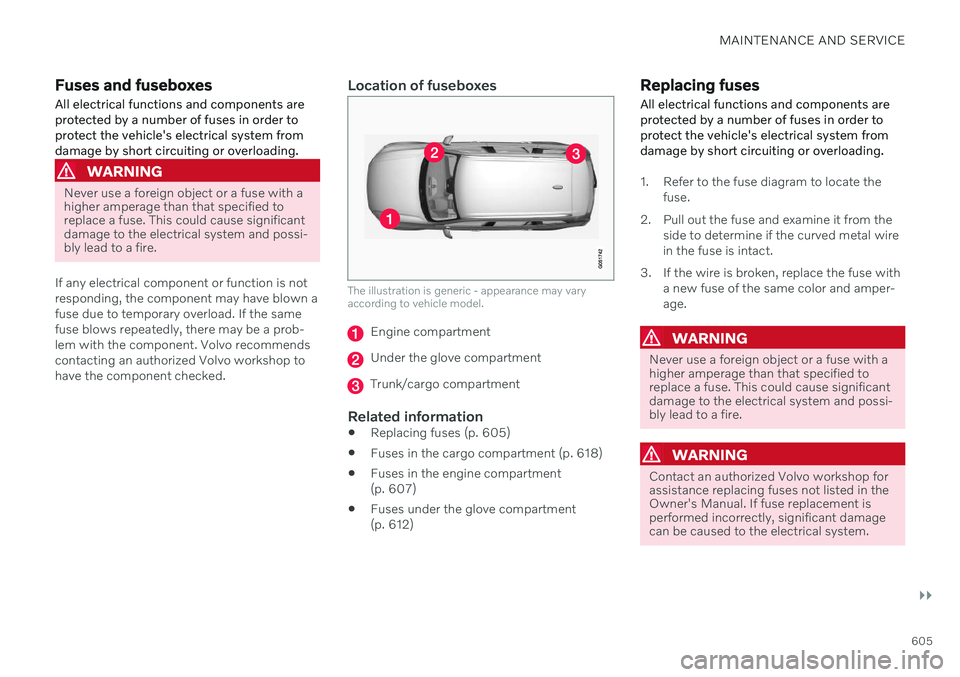
Location of fuseboxes
The illustration is generic - appearance may vary according to vehicle model.
Engine compartment
Under the glove compartment
Trunk/cargo compartment
Related information
Replacing fuses (p. 605)
Fuses in the cargo compartment (p. 618)
Fuses in the engine compartment (p. 607)
Fuses under the glove compartment(p. 612)
Replacing fuses
All electrical functions and components are protected by a number of fuses in order toprotect the vehicle's electrical system fromdamage by short circuiting or overloading.
1. Refer to the fuse diagram to locate the fuse.
2. Pull out the fuse and examine it from the side to determine if the curved metal wire in the fuse is intact.
3. If the wire is broken, replace the fuse with a new fuse of the same color and amper-age.
WARNING
Never use a foreign object or a fuse with a higher amperage than that specified toreplace a fuse. This could cause significantdamage to the electrical system and possi-bly lead to a fire.
WARNING
Contact an authorized Volvo workshop for assistance replacing fuses not listed in theOwner's Manual. If fuse replacement isperformed incorrectly, significant damagecan be caused to the electrical system.
Page 625 of 683

MAINTENANCE AND SERVICE
* Option/accessory.623
Replacing bulbs
Bulb types vary depending on model and equipment level. If a light bulb 14
breaks, it can
be replaced by following the procedure shown in the Owner's Manual. If you are experiencing problems with any lights other than light bulbs, contact a work- shop 15
.
If there is a problem with an LED 16
light, the
entire lamp unit will normally need to be replaced.
NOTE
For information on lights not mentioned in the Owner's Manual, contact a Volvoretailer or an authorized Volvo workshop.
WARNING
The vehicle electrical system must be in ignition mode 0 when bulbs are replaced.
CAUTION
Never touch the bulb glass with your bare fingers. Grease and oils from your fingersvaporize in the heat and will leave adeposit on the reflector, which may dam-age it.
NOTE
If the error message persists after the defective bulb has been replaced, we rec-ommend a visit to an authorized Volvoworkshop.
NOTE
Exterior lighting such as headlights and taillights may develop temporary conden-sation on the inside of the lens. This is nor-mal. All exterior lighting is designed toresist this. Condensation is normally ven-ted out of the lamp housing once the lighthas been lit for some period of time.
NOTE
Bulbs for Active Bending Lights * contain
traces of mercury and should therefore always be deposited at an authorized Volvoworkshop.
Related information
Location of exterior lights (p. 624)
Removing the plastic cover to replace bulbs (p. 624)
Replacing the low beam headlight bulbs(p. 625)
Replacing the high beam headlight bulbs(p. 626)
Replacing daytime running lights/frontparking light bulbs (p. 626)
Replacing front turn signal bulbs (p. 627)
Bulb specifications (p. 628)
14
Some vehicles do not have any light bulbs.
15 An authorized Volvo workshop is recommended.
16 LED (Light Emitting Diode)
Page 640 of 683
||
MAINTENANCE AND SERVICE
* Option/accessory.
638
CAUTION
The system will automatically change to P
mode if the above steps are not followed. In P mode, the wheels are locked, which
they should not be when the vehicle isbeing washed in a car wash.
NOTE
Keep in mind that if the vehicle is equipped with the keyless locking and unlocking function *, the doors and tailgate/trunk lid
may open when washing the vehicle if the remote key is within range.
Testing the brakes
WARNING
Always test the brakes after washing the vehicle, including the parking brake, toensure moisture and corrosion do notattach the brake pads and impair brakefunctionality.
Lightly depress the brake pedal from time to time when driving long distances in rain orslush. The heat from the friction will helpwarm up and dry the brake pads. Do the sameafter starting the vehicle in very damp or coldweather.
Related information
Cleaning the exterior (p. 634)
Polishing and waxing (p. 635)
Hand washing (p. 636)
High-pressure washing (p. 638)
Cleaning the wiper blades (p. 639)
Cleaning exterior plastic, rubber and trimcomponents (p. 639)
Cleaning rims (p. 640)
Corrosion protection (p. 641)
Auto-hold brakes (p. 409)
Settings for automatically activating theparking brake (p. 408)
Keyless and touch-sensitive surfaces
*
(p. 262)
High-pressure washing The vehicle should be washed as soon as it becomes dirty. The longer the dirt remains,the more difficult it will be to keep the vehicleclean. It could also lead to paint damage.Wash the vehicle in a car wash or garagewith an oil separator. Use a car washingdetergent recommended by Volvo.
If washing the vehicle with a high-pressure wash, use sweeping movements and keep thenozzle at least 30 cm (13 in.) from the vehicle.Do not spray directly onto locks.
Related information
Cleaning the exterior (p. 634)
Polishing and waxing (p. 635)
Hand washing (p. 636)
Automatic car washes (p. 637)
Cleaning the wiper blades (p. 639)
Cleaning exterior plastic, rubber and trimcomponents (p. 639)
Cleaning rims (p. 640)
Corrosion protection (p. 641)
Page 645 of 683
MAINTENANCE AND SERVICE
}}
643
Color codes
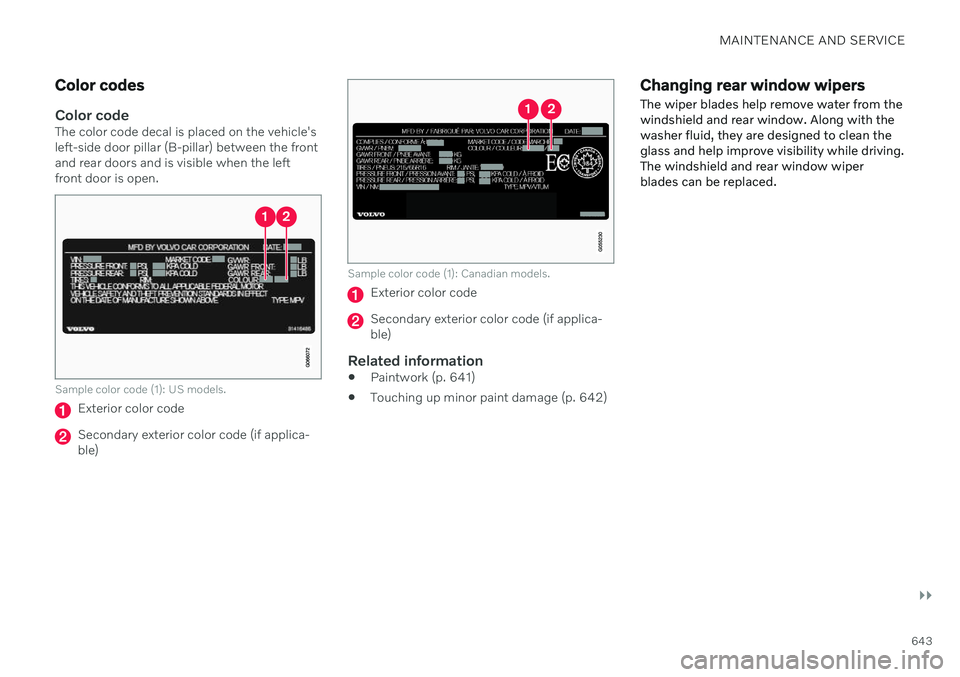
Color codeThe color code decal is placed on the vehicle's left-side door pillar (B-pillar) between the frontand rear doors and is visible when the leftfront door is open.
Sample color code (1): US models.
Exterior color code
Secondary exterior color code (if applica- ble)
Sample color code (1): Canadian models.
Exterior color code
Secondary exterior color code (if applica- ble)
Related information
Paintwork (p. 641)
Touching up minor paint damage (p. 642)
Changing rear window wipers The wiper blades help remove water from the windshield and rear window. Along with thewasher fluid, they are designed to clean theglass and help improve visibility while driving.The windshield and rear window wiperblades can be replaced.
Page 654 of 683
||
SPECIFICATIONS
652
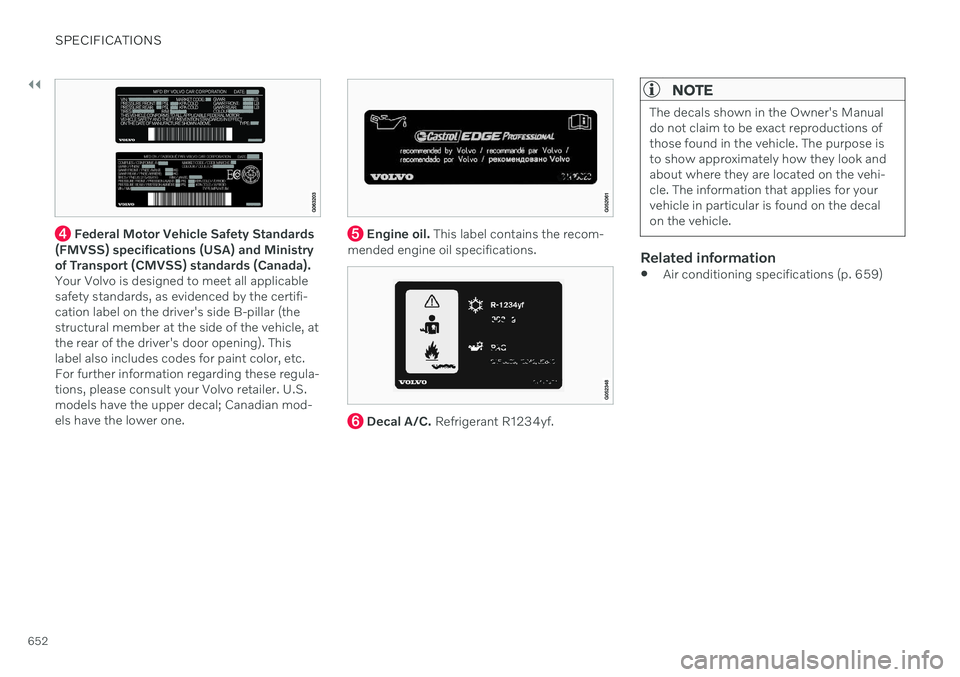
Federal Motor Vehicle Safety Standards
(FMVSS) specifications (USA) and Ministry of Transport (CMVSS) standards (Canada).Your Volvo is designed to meet all applicablesafety standards, as evidenced by the certifi-cation label on the driver's side B-pillar (thestructural member at the side of the vehicle, atthe rear of the driver's door opening). Thislabel also includes codes for paint color, etc.For further information regarding these regula-tions, please consult your Volvo retailer. U.S.models have the upper decal; Canadian mod-els have the lower one. Engine oil. This label contains the recom-
mended engine oil specifications.
Decal A/C. Refrigerant R1234yf.
NOTE
The decals shown in the Owner's Manual do not claim to be exact reproductions ofthose found in the vehicle. The purpose isto show approximately how they look andabout where they are located on the vehi-cle. The information that applies for yourvehicle in particular is found on the decalon the vehicle.
Related information
Air conditioning specifications (p. 659)
Page 661 of 683
SPECIFICATIONS
}}
659
Brake fluid specifications
The medium in the hydraulic brake system is called brake fluid and is used to transfer pres-sure from e.g. a brake pedal via a masterbrake cylinder, which in turn actuates thebrake calipers.
Recommended grade: Volvo Original or simi-
lar fluid that meets a combination of Dot 4, 5.1 and ISO 4925 class 6.
NOTE
Changing or filling brake fluid should be entrusted to an authorized Volvo work-shop.
Related information
Engine compartment overview (p. 594)
Fuel tank volume
The fuel tank's refillable volume is shown in the table below.
All models
Liter (approx) 60
US gallons (approx) 15.9
Related information
Refueling (p. 438)
Octane rating (p. 440)
Air conditioning specifications
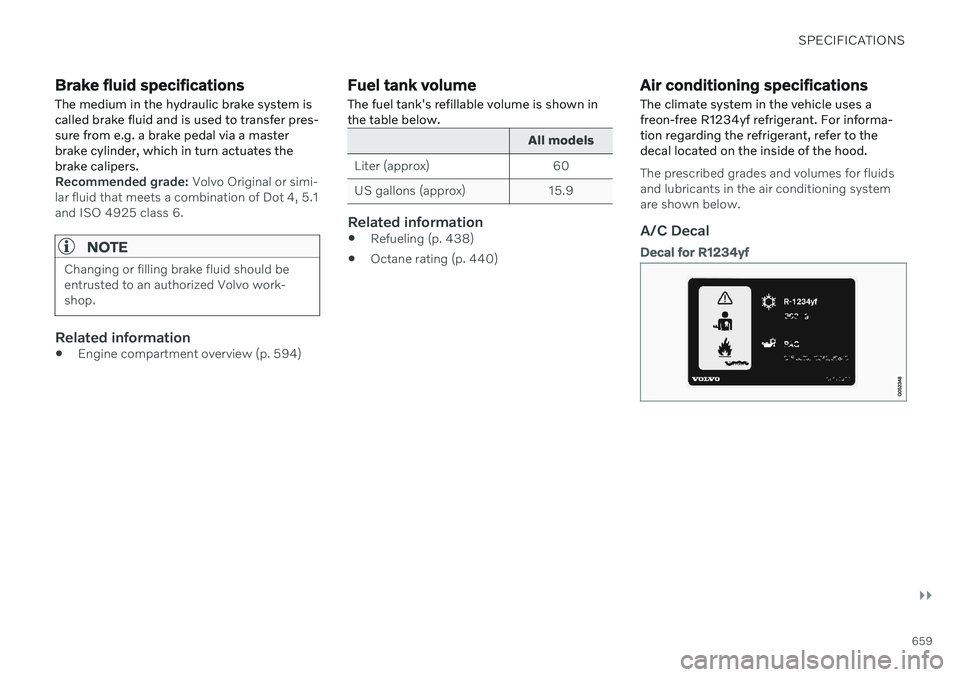
The climate system in the vehicle uses a freon-free R1234yf refrigerant. For informa-tion regarding the refrigerant, refer to thedecal located on the inside of the hood.
The prescribed grades and volumes for fluids and lubricants in the air conditioning systemare shown below.
A/C Decal
Decal for R1234yf
Page 668 of 683
INDEX
666Collision warner
crossing traffic rear 360
see City Safety 331
Collision warning from the rear 351
with Adaptive Cruise Control 319
with Pilot Assist 319
Color code, paintwork 643
Color codes 643
Compass 458 calibration 458
Condensation in headlights 636, 637, 638, 639
Connected Safety 284 activating/deactivating 285
limitations 285
Connecting vehicle to Internet No connection or poor connection 519
via a mobile device (WiFi) 515
via cellular phone (Bluetooth) 515
via vehicle's modem 516
Connect phone 500
Contact information 26
Convertible seats 72
coolant 597 filling 598
Cooling systemoverheating 442
Cornering assistance 316 activating/deactivating 317
limitations 317
Cornering illumination 163
Corner Traction Control 279
Corrosion protection 641Covering cargo compartment 574
Crash, see Collision 44
Crash event data 33
Cross Traffic Alert 360 activating/deactivating 361
limitations 361
messages 363
Cruise control 291 activating 292
standby mode 294
stored speed 321
turn off 293
Curb weight 655
Customer Privacy Policy 35
CZIP (Clean Zone Interior Package) 210D
Data recording 33 transferring between vehicle and
workshop 584
Data sharing 520, 521
Daytime running lights 158Decals location 650
Defrosting 226Detecting obstacles City Safety 335
Diagnosis via the workshop's Wi-Fi 584
Dimensions 653
Dipstick, electronic 596
Direction of rotation 536
Disengaging the shiftlock 417 Display driver information 88
Display lighting 168
Distance Alert 358 activating/deactivating 359
limitations 359
Set time interval 322
DivX ®
488