Page 335 of 502

The content of the vehicle toolkit varies according to the vehicle equipment level ⇒ Fig. 162 . The
following describes the maximum scope.
Key to ⇒ Fig. 162 :
Screwdriver with hexagon socket in the handle for unscrewing or tightening slackened wheel
bolts. The screwdriver blade is reversible. The screwdriver may be stowed under the box spanner.
Adapter for the anti-theft wheel bolt. Volkswagen recommends that you carry the wheel bolt
adapter in the vehicle toolkit at all times. The code number of the anti-theft wheel bolt is engraved
on the front of the adapter. You will need this number to replace the adapter if lost. Make a note of
the code number for the anti-theft wheel bolt and keep it in a safe place – but not inside the vehicle.
Removable towing eye.
Wire hook for pulling off the centre wheel trims, wheel covers and the wheel bolt caps.
Vehicle jack. Before you repack the jack, you must fully wind in the claw.
Box spanner for wheel bolts.
Crank.
Vehicle jack: maintenance
There are no maintenance cycles for the vehicle jack. Grease it with universal lubricant when
necessary.
Wiper blades
Service position
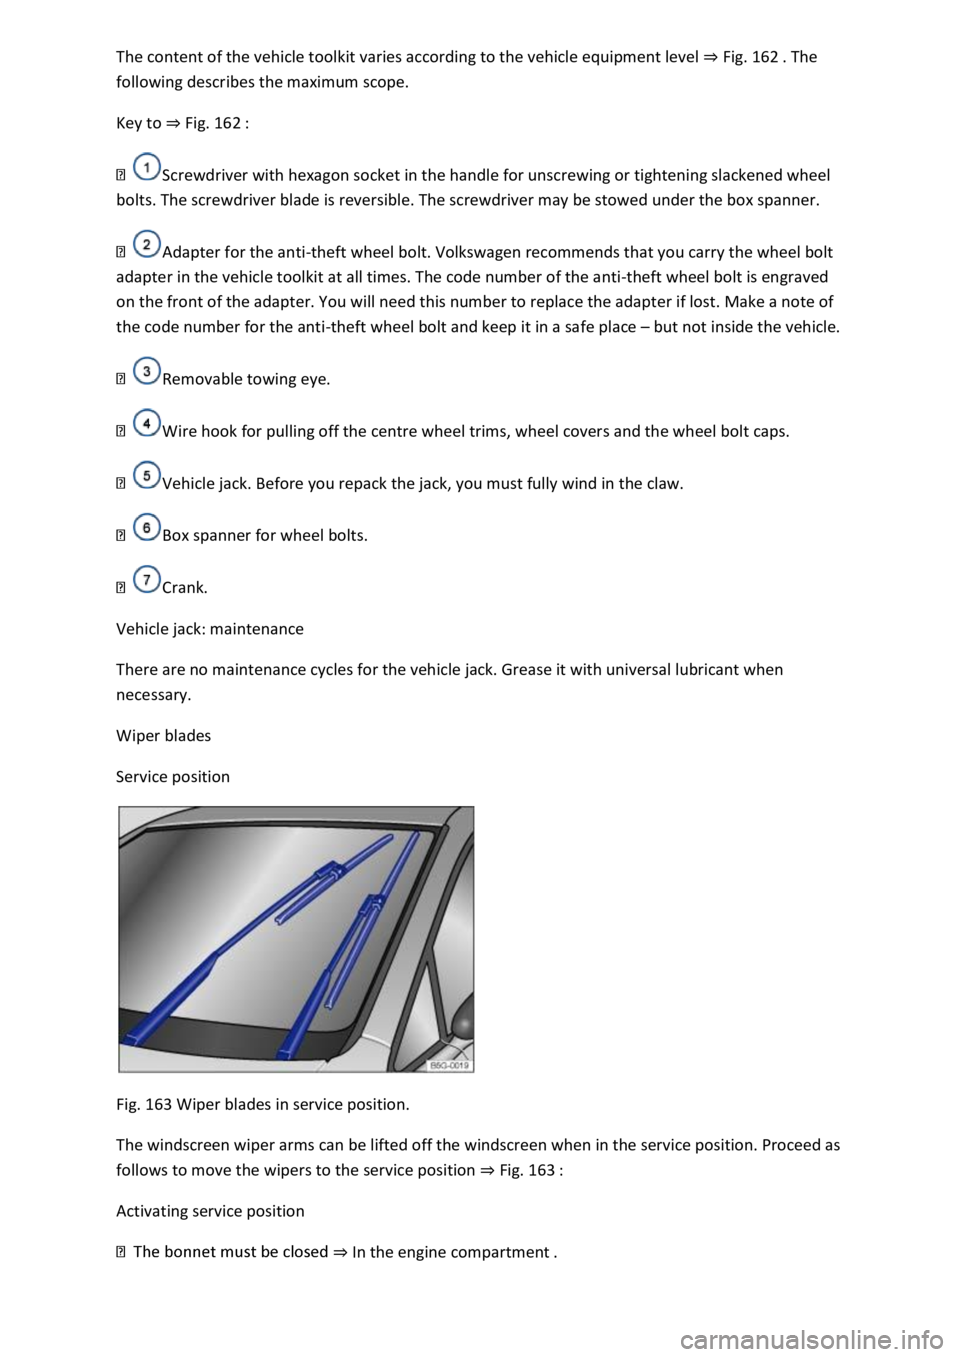
Fig. 163 Wiper blades in service position.
The windscreen wiper arms can be lifted off the windscreen when in the service position. Proceed as
follows to move the wipers to the service position ⇒ Fig. 163 :
Activating service position
⇒ In the engine compartment .
Page 336 of 502
Switch the ignition on and then off again.
Lifting the windscreen wiper arms
⇒ .
lade mounting.
Place the windscreen wiper arms back onto the windscreen before driving away. With the ignition
switched on, briefly press the windscreen wiper lever down to bring the windscreen wiper arms back
to the original position.
NOTICE
r to prevent damage to the bonnet and the windscreen wiper arms, the windscreen wiper
arms should be lifted only when in the service position.
Cleaning and replacing wiper blades
Fig. 164 Changing the windscreen wiper blades.
Fig. 165 Changing the rear wiper blade.
The factory-fitted wiper blades are coated with graphite. The graphite coating ensures that the
wiper blade moves quietly over the window. If the graphite coating is damaged, the wiper will make
a louder noise when wiping over the window.
Check the condition of the wiper blades on a regular basis. Rubbing wiper blades should be replaced
if damaged or cleaned if dirty ⇒ .
Page 337 of 502

Damaged wiper blades should be replaced immediately. Wiper blades are available from a qualified
workshop.
Cleaning wiper blades
Note for the front windscreen wipers: move the wiper arms to the service position before lifting
them ⇒ Service position .
only in the area of the wiper blade mounting.
⇒ .
Changing the windscreen wiper blades
fting ⇒ Service position .
⇒ Fig. 164 ① and simultaneously pull off the wiper blade in
the direction of the arrow.
r blade with the same length and design onto the wiper arm. Push it on until it
engages.
Changing the wiper blade for the rear window
iper blade mounting.
⇒ Fig. 165 ①.
⇒ Fig. 165 (arrow Ⓐ) and pull it off in the
direction of the arrow Ⓑ at the same time. You may need to use some force to do this.
direction of the arrow. Push it on until it engages ⇒ Fig. 165 Ⓑ. The wiper blade must be in the
folded back position ⇒ Fig. 165 (arrow Ⓐ).
WARNING
Worn or dirty wiper blades reduce visibility and increase the risk of accidents and serious injuries.
nd no longer clean the windows
properly.
Page 338 of 502

NOTICE
Damaged or dirty wiper blades can scratch the window glass.
can damage the graphite coating of the wiper blades during cleaning.
Wax deposits from car washes on the windscreen and rear window can cause the wiper blades to
rub. Remove wax residue using a special cleaning product or cleaning cloths.
Changing bulbs
Introduction
This chapter contains information on the followingsubjects:
⇒ Checklist
⇒ Changing bulbs in the front headlights (halogen bulbs)
⇒ Changing the bulbs in the headlights (lights with LED technology)
⇒ Changing the front turn signal bulbs
⇒ Changing bulbs in the front bumper
⇒ Changing bulbs in the tail light clusters (LED lights)
⇒ Changing bulbs in the number plate light (LED lights)
⇒ Troubleshooting
Changing the vehicle bulbs requires a certain amount of technical skill. Volkswagen therefore
recommends having bulbs replaced by a qualified workshop if you are uncertain. The work must be
performed by an expert if other vehicle parts around the affected bulbs need to be removed.
Volkswagen recommends having bulbs replaced by a Volkswagen dealership.
You should keep a box with spare light bulbs for the lights that ensure the vehicle is roadworthy in
the vehicle at all times. Spare bulbs are available from Volkswagen dealerships. In some countries it
is a legal requirement to have these spare bulbs in the vehicle.
It may be illegal to drive with defective lights of the exterior lighting.
Information on indicator and warning lamps can be found in the troubleshooting section at the end
of the chapter ⇒ Troubleshooting .
LED lights on the vehicle
The exterior lighting may feature LEDs: Owners cannot replace the LEDs themselves. If some LEDs
fail, this may be an indication that more elements are on the point of failure. In this case, have the
lights checked and replaced if necessary at a qualified workshop.
Page 350 of 502

1) Note installation position. Factory-fitted fuse location as shown in illustration ⇒ Fig. 173 .
Fuse tables for fuses in the engine compartment
First read and observe the introductoryinformation and safety warnings⇒Introduction
The table shows the fuse locations of the electrical consumers relevant for the driver. The first
column in the table contains the location. The other columns contain the fuse type, the amp rating
and the consumer protected by the fuse.
Depending on the market and specification of your vehicle, the fuse numbers and positions may
differ to those given in the table. If necessary, ask your Volkswagen dealership for the exact fuse
assignment.
F65 amps, ATO®, brake light sensor.F1440 amps, JCASE®, windscreen heating.F1515 amps, ATO®,
horn.F1930 amps, ATO®, front wipers.F3720 amps, ATO®, auxiliary heater.
Changing a blown fuse
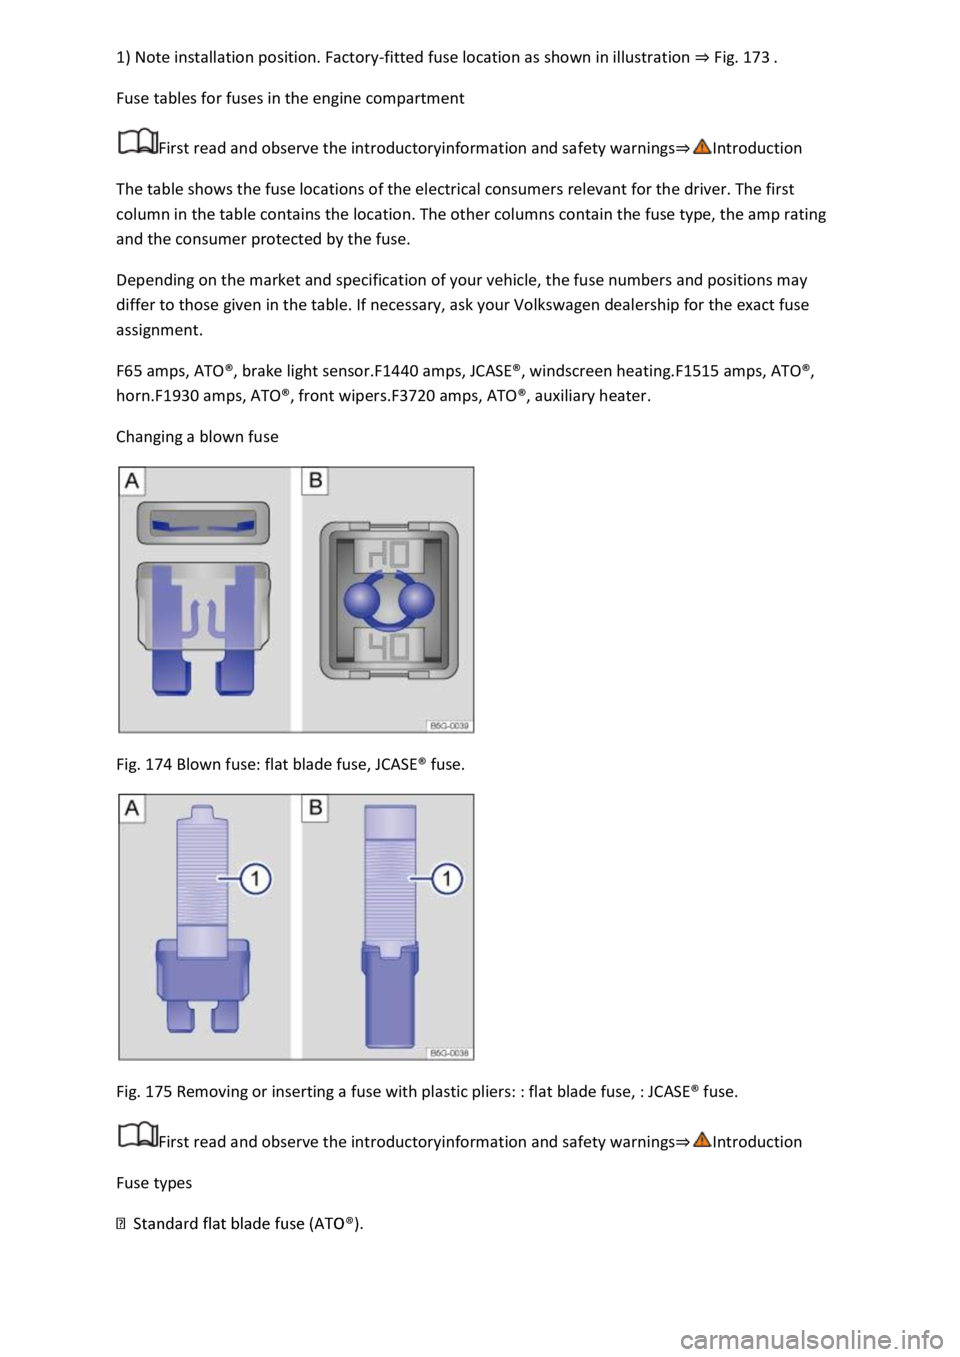
Fig. 174 Blown fuse: flat blade fuse, JCASE® fuse.
Fig. 175 Removing or inserting a fuse with plastic pliers: : flat blade fuse, : JCASE® fuse.
First read and observe the introductoryinformation and safety warnings⇒Introduction
Fuse types
Page 366 of 502
Fig. 182 In the footwell on the driver side: bonnet release lever. Above the radiator grille: bonnet
opening lever.
Fig. 183 In the engine compartment: bonnet stay in the holder. On the bonnet: holder for the
bonnet stay.
Opening the bonnet
ioned on the windscreen before opening the
bonnet ⇒ .
⇒ Fig. 182 . ①.
The bonnet is released from the lock carrier catch by spring force ⇒ .
Page 367 of 502
at the same time press the opening lever in the direction of the arrow
⇒ Fig. 182 . in order to fully open the bonnet.
⇒ Fig. 183 . in the direction of the arrow and insert it in
the opening ⇒ Fig. 183 .
Closing the bonnet
⇒ .
⇒ Fig. 183 and place it in the holder ⇒ Fig. 183 . .
– do not press it
down!
If the bonnet has not closed properly, lift it and then close it again.
The bonnet sits flush with the body parts around it when it is closed properly.
WARNING
If the bonnet is not closed properly, it can open suddenly while you are driving and obscure your
view of the road. This could lead to accidents and serious injuries.
bonnet must be flush with the surrounding body panels.
t is not closed properly while the vehicle is in motion, stop the vehicle
as soon as possible and close the bonnet.
NOTICE
ed off and positioned on the windscreen in
order to avoid damage to the bonnet and the wiper arms.
Display
Page 369 of 502

-original containers as
people finding these containers could drink them.
es.
-ventilated
area.
r or other volatile fluids for vehicle care.
These substances are toxic and highly flammable. They could cause fires and explosions.
NOTICE
this can result in serious malfunctions and engine damage.
-on parts in front of the air intake reduce the cooling effect of the
coolant. The engine may overheat at high ambient temperatures and high engine loads.
Leaking service fluids can pollute the environment. Spilt service fluids must be collected in suitable
containers and disposed of properly and with respect for the environment.
Washer fluid
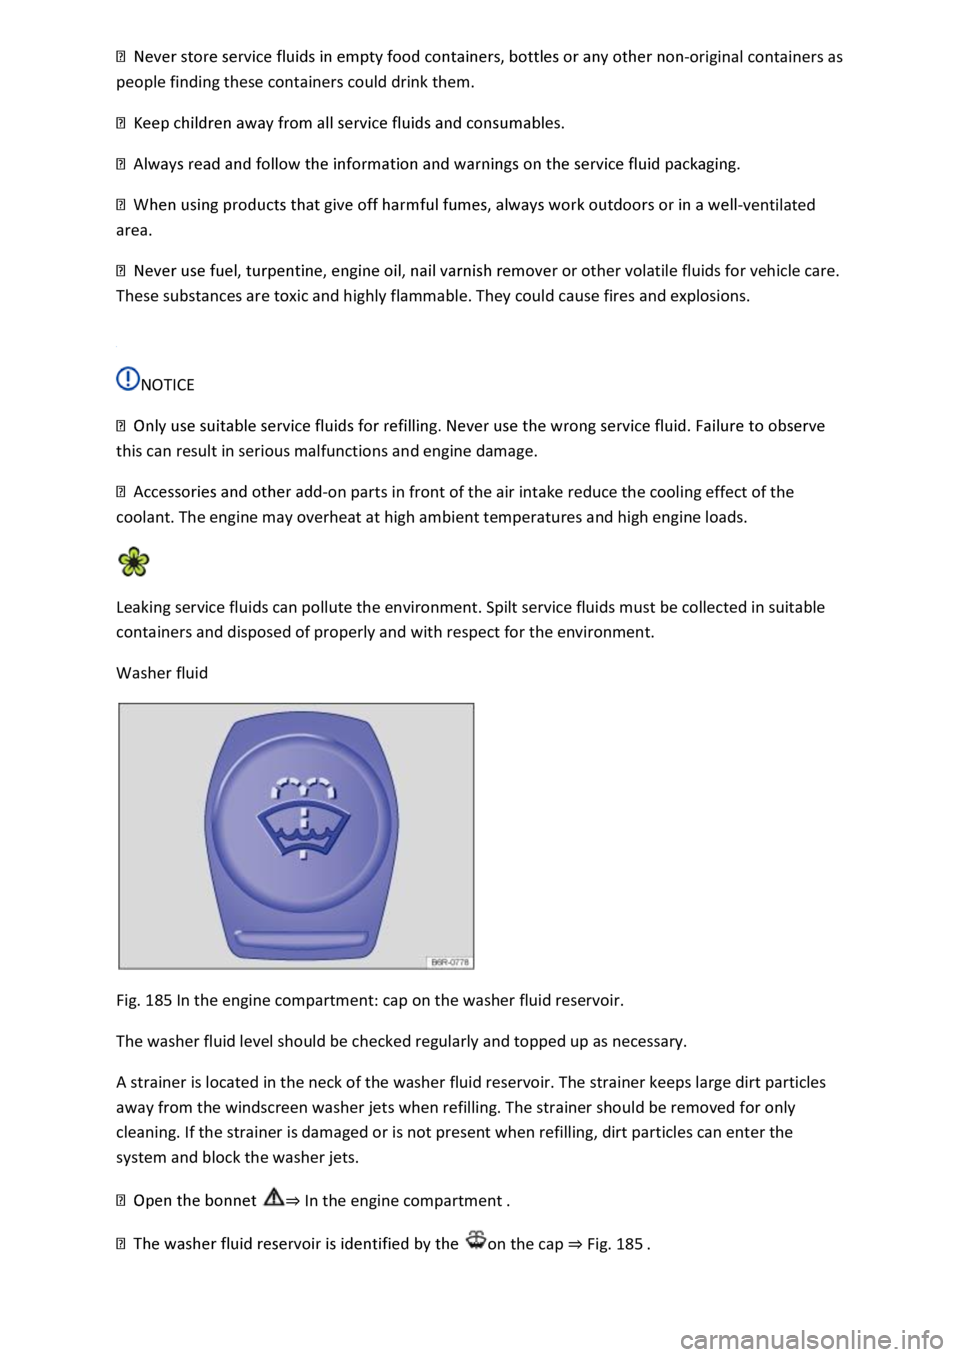
Fig. 185 In the engine compartment: cap on the washer fluid reservoir.
The washer fluid level should be checked regularly and topped up as necessary.
A strainer is located in the neck of the washer fluid reservoir. The strainer keeps large dirt particles
away from the windscreen washer jets when refilling. The strainer should be removed for only
cleaning. If the strainer is damaged or is not present when refilling, dirt particles can enter the
system and block the washer jets.
⇒ In the engine compartment .
on the cap ⇒ Fig. 185 .