Page 153 of 292
 or too thin (trees, posts,
wire fences, etc.).
–
If the boot is heavily loaded, the tilt of the
vehicle towards the rear may interfere with the
distance mea")
151
Driving
6(pavements, studs, etc.) or too thin (trees, posts,
wire fences, etc.).
–
If the boot is heavily loaded, the tilt of the
vehicle towards the rear may interfere with the
distance measurements.
Do not use the function under the
following exterior conditions:
–
Alongside a soft shoulder (e.g. ditch) or
quay or on the edge of a drop.
–
When the road surface is slippery (e.g. ice).
If any of the following malfunctions
occurs, do not use the system:
–
If a tyre is under-inflated.
–
If one of the bumpers is damaged.
–
If one of the cameras is faulty
.
If the vehicle has undergone any of the
following modifications, do not use the
function:
–
When carrying an object extending beyond
the dimensions of the vehicle (ladder on the
roof bars, bicycle carrier on the tailgate, etc.).
–
With a non-approved towball in place.
–
With snow chains fitted.
–
When driving on a small-diameter or
"space-saver" type spare wheel.
–
When the wheels fitted are a different size
from the original ones.
–
After modifying one or both bumpers
(added protection).
– If the sensors have been repainted other
than by the PEUGEOT dealer network.
–
With sensors not approved for the vehicle.
Malfunctions
When the function is not activated, this
indicator lamp will flash briefly and an
audible signal will be emitted to indicate a
system malfunction.
If the malfunction occurs while the system is in
use, the
indicator lamp goes off.
If the parking sensor malfunction occurs
during use, indicated by this warning lamp
coming on, it causes the function to deactivate.
Consult a PEUGEOT dealer or a qualified
workshop.
In the event of a power steering
malfunction, this warning lamp is
displayed on the instrument panel, accompanied
by a warning message.
You must stop the vehicle.
Stop as soon as it is safe to do so and
switch off the ignition.
Contact a PEUGEOT dealer or a qualified
workshop.
Full Park Assist
For more information, refer to the
General recommendations on the use
of driving and manoeuvring aids .
This system provides active parking assistance
for vehicles fitted with the EAT8 automatic
gearbox: it detects a free "parallel" or "bay"
parking space and then operates the vehicle,
parking it with no need for driver intervention. It
also allows you to automatically exit a
"parallel"
parking space.
The system controls the steering, direction,
acceleration and braking. The system measures
the available parking spaces and calculates
the distances to obstacles using 12 ultrasonic
sensors built into the front and rear bumpers of
the vehicle.
To help the driver monitor the successful
completion of the manoeuvre, the system
automatically displays the Visiopark 1 or
Visiopark 2 and activates the parking sensors.
Page 154 of 292
.
► Press the button on")
152
Driving
Activation/Deactivation
To activate assistance when approaching a
parking area:
►
Reduce the speed of the vehicle to a
maximum of 19
mph (30 km/h).
► Press the button on the gear selector or , on
the touch screen, select Driving/Vehicle > Full
Park Assist.
Activating the system deactivates Blind spot monitoring.
Sequence
Once the system is activated, the following steps
will be performed successively:
–
Select the type of manoeuvre via the touch
screen.
–
Search for an available space.
–
Prepare for the manoeuvre.
–
Perform the manoeuvre.
–
Finalise the manoeuvre.
You can deactivate the system at any time up until the start of the manoeuvre,
by pressing the red arrow in the top left corner
of the window.
Full Park Assist is not always able to
react automatically and appropriately due
to the performance limits inherent to the
system.
The manoeuvre remains the responsibility
of the driver, who must not leave the driving
position and must never try to lock the system
control button.
The driver's seat belt must remain fastened
during the manoeuvre.
Manoeuvre type selection
and parking space search
Depending on whether the vehicle has been
driven or not since the ignition was switched
on, the function offers to enter or exit a parking
space on the touch screen.
► Select the type and side of the manoeuvre to
activate the parking space search.
This lamp comes on to confirm activation.
You can change the type of manoeuvre at any
time, including during the available parking
space search phase.
►
Drive at a distance of 0.50 to 1.50
m from the
row of parked vehicles, not exceeding 19
mph
(30
km/h), until the system finds an available
space (indicated by OK on the display and an
audible signal).
For "parallel" parking, the space must at
least equal to the length of your vehicle
plus 1
m.
For "bay" parking, the space must at least
equal to the width of your vehicle plus 0.70
m.
Preparing for the
manoeuvre
► Move very slowly until the request to stop
the vehicle and the " ST
OP" sign are displayed,
accompanied by an audible signal.
Once the vehicle has stopped, an instructions
page is displayed on the screen.
►
T
o prepare for the manoeuvre, you must fulfil
all of these instructions.
This symbol will be displayed automatically when the instruction has
been applied.
When all of the instructions have been validated,
a new page is displayed, indicating that you can
undertake the manoeuvre.
► To undertake the manoeuvre, press
this button.
► While holding down the button, gradually
release the brake pedal.
The button must be held down
throughout the manoeuvre.
The start of the manoeuvre is indicated by
the display of a window with the message
"Manoeuvre in progress", accompanied by an
audible signal.
The Visiopark 1 or Visiopark 2 and
the parking sensors are automatically
activated to help monitor the vehicle's close
surroundings throughout the manoeuvre.
Performing the manoeuvre
As soon as the driver releases the brake
pedal, the system automatically takes control
of choosing the travel direction, forwards or
reverse, acceleration, braking and the steering
direction.
The manoeuvring status is indicated by these
symbols:
Manoeuvre in progress.
Manoeuvre interrupted.
Manoeuvre completed or aborted.
Page 155 of 292

153
Driving
6When all of the instructions have been validated,
a new page is displayed, indicating that you can
undertake the manoeuvre.
► To undertake the manoeuvre, press
this button.
►
While holding down the button, gradually
release the brake pedal.
The button must be held down
throughout the manoeuvre.
The start of the manoeuvre is indicated by
the display of a window with the message
"Manoeuvre in progress", accompanied by an
audible signal.
The Visiopark 1 or Visiopark 2 and
the parking sensors are automatically
activated to help monitor the vehicle's close
surroundings
throughout the manoeuvre.
Performing the manoeuvre
As soon as the driver releases the brake
pedal, the system automatically takes control
of choosing the travel direction, forwards or
reverse, acceleration, braking and the steering
direction.
The manoeuvring status is indicated by these
symbols:
Manoeuvre in progress.
Manoeuvre interrupted.
Manoeuvre completed or aborted.
The white arrows indicate that the driver must
take back control of the vehicle.
The direction of the manoeuvre is indicated by
these symbols:
Forward gear.
Reverse gear.
The central arrow is green whilst the vehicle
is moving, or white to indicate the next
manoeuvring direction.
Throughout the whole manoeuvre, indicated by the green " AUTO" symbol,
the driver must hold down the function control
button.
During manoeuvring phases, the steering
wheel performs rapid turns: do not hold
the steering wheel or put your hands between
the spokes of the steering wheel. Beware of
any object likely to block the manoeuvre
(e.g.
loose clothing, scarves, ties) - risk of
injury!
If the vehicle slows down significantly,
the brake lamps may come on.
Suspending/resuming the manoeuvre
The manoeuvre can be interrupted temporarily
at any time, either automatically by the system if
an obstacle is detected, or by driver action. If the driver notices a hazard, they may also interrupt
the manoeuvre permanently.
To suspend the manoeuvre, the driver can:
–
Release the function control button.
–
Depress the brake pedal.
–
Resume control of the steering.
–
Change the gearbox status (except changing
to
P).
The vehicle is immediately immobilised if the
manoeuvre is suspended.
This is confirmed by the display of this symbol, accompanied by the message
"Manoeuvre suspended".
Resuming the manoeuvre after resolving the
conditions for suspending it:
►
Release all controls (brake pedal, function
control button, steering wheel, gear selector).
►
Press the function control button again.
Permanent interruption after suspending the
manoeuvre:
►
Depress the brake pedal and engage a gear
.
Aborting the manoeuvre
The manoeuvre is aborted in the following
situations:
–
No action by the driver within 30 seconds of
the manoeuvre being suspended.
–
Intentional application of the parking brake.
–
Gearbox mode P
engaged by the driver.
–
Driver's seat belt unfastened.
–
Opening of a door or the boot.
–
Activation of the direction indicator lamps on
the opposite side to that of the manoeuvre.
Page 156 of 292

154
Driving
– In certain cases, when a wheel of the vehicle
hits a pavement or a low obstacle.
–
T
riggering of anti-slip regulation on a slippery
road.
–
Sudden appearance in the field of the
manoeuvre of an obstacle not detected by the
system before the manoeuvre was started,
with the obstacle remaining for more than 30
seconds.
–
After 10 manoeuvres to enter or exit a
"parallel" parking space and after 7 manoeuvres
to enter a "bay" parking space,
–
System malfunction during the manoeuvre.
Abandoning the manoeuvre immediately
triggers the vehicle’
s brakes and automatically
deactivates the function.
This symbol is displayed accompanied by the message "Manoeuvre aborted".
A message prompts the driver to take back
control of the vehicle.
The function is deactivated after a few seconds; this indicator lamp goes off and
the initial display is resumed.
The system automatically engages gearbox
mode P after 4 seconds.
End of manoeuvre
The vehicle stops as soon as the manoeuvre is
completed.
This symbol is displayed accompanied by the message "Manoeuvre completed".
When the function is deactivated, this
indicator lamp goes off and the original
display is restored.
–
If entering a parking space, the driver may
be required to complete the manoeuvre.
The gearbox changes to
P
4 seconds after
completion of the manoeuvre.
–
When exiting a parking space, the gearbox
changes to
N when the manoeuvre is complete.
A message and symbols prompt the driver to
take back control of the vehicle.
The gearbox automatically changes to mode
P if no action is taken by the driver within 30
seconds.
Operating limits
– The system may suggest an inappropriate
parking space (parking prohibited, work in
progress with damaged road surface, location
alongside a ditch, etc.).
–
The system may indicate that a space has
been found but will not offer it because of a fixed
obstacle on the opposite side of the manoeuvre,
which does not allow the vehicle to follow the
trajectory required for parking.
–
The system may indicate that a space has
been found but the manoeuvre will not be
triggered because the width of the lane is
insufficient.
–
The system is not designed to perform parking
manoeuvres on a steep slope or on a sharp
curve.
– The system does not detect spaces that
are much larger than the vehicle itself or that
are delimited by obstacles that are too low
(pavements, studs, etc.) or too thin (trees, posts,
wire fences, etc.).
–
The system may be impaired by incorrect
inflation of the vehicle’
s tyres.
–
The tilting of the vehicle if the boot is heavily
loaded can affect the distance measurements.
Do not use the function under the
following exterior conditions:
–
Alongside a soft shoulder (ditch) or quay or
on the edge of a drop.
–
When the road surface is slippery (ice).
Do not use the function in the presence
of one of the following malfunctions:
–
If a tyre is under-inflated.
–
If one of the bumpers is damaged.
–
If one of the cameras is faulty
.
–
If the brake lamps are not working.
Do not use the function if the vehicle has
been subject to one of the following
modifications:
–
When carrying an object extending beyond
the dimensions of the vehicle (ladder on the
roof bars, bicycle carrier on the tailgate, etc.).
–
With a non-approved towball in place.
–
With snow chains fitted.
–
When driving on a small-diameter or
"space-saver" type spare wheel.
– When the wheels fitted are a different size
from the original ones.
– After modifying one or both bumpers
(added protection).
– If the sensors have been repainted outside
the PEUGEOT dealer network.
– With sensors not approved for the vehicle.
Malfunctions
When the function is not activated, the
temporary flashing of this indicator lamp
and an audible signal indicate a Full Park Assist
malfunction.
If the malfunction occurs while in use, the
indicator lamp goes off.
If the parking sensor malfunction occurs
during Full Park Assist use, indicated by
this warning lamp coming on, the function is
deactivated.
Consult a PEUGEOT dealer or a qualified
workshop.
In the event of a power steering
malfunction, this warning lamp lights up
on the instrument panel, accompanied by a
message.
You must stop the vehicle.
Stop as soon as it is safe to do so and
switch off the ignition.
Contact a PEUGEOT dealer or a qualified
workshop.
Page 157 of 292
155
Driving
6– When the wheels fitted are a different size
from the original ones.
–
After modifying one or both bumpers
(added protection).
–
If the sensors have been repainted outside
the PEUGEOT
dealer network.
–
With sensors not approved for the vehicle.
Malfunctions
When the function is not activated, the
temporary flashing of this indicator lamp
and an audible signal indicate a Full Park Assist
malfunction.
If the malfunction occurs while in use, the
indicator lamp goes off.
If the parking sensor malfunction occurs
during Full Park Assist use, indicated by
this warning lamp coming on, the function is
deactivated.
Consult a PEUGEOT dealer or a qualified
workshop.
In the event of a power steering
malfunction, this warning lamp lights up
on the instrument panel, accompanied by a
message.
You must stop the vehicle.
Stop as soon as it is safe to do so and
switch off the ignition.
Contact a PEUGEOT dealer or a qualified
workshop.
Page 158 of 292

Compatibility of fuels
Petrol fuels conforming to the EN228 standard
containing up to 5% and 10% ethanol
respectively.
Diesel fuels conforming to the EN590, EN16734
and EN16709 standards and containing up to
7%, 10%, 20% and 30% fatty acid methyl ester
respectively. The use of B20 or B30 fuels, even
occasionally, imposes special maintenance
conditions referred to as "Arduous conditions".
Paraffinic Diesel fuel conforming to the EN15940
standard.
The use of any other type of (bio)fuel
(e.g. pure or diluted vegetable or animal
oils, domestic fuel) is strictly prohibited - risk
of damaging the engine and fuel system!
The only fuel additives authorised for use are those that meet the B715001 (petrol)
or B715000 (Diesel) standards.
Diesel at low temperature
At temperatures below 0 °C (+32 °F), the
formation of paraffins in summer-type Diesel
For over 20 years, the PEUGEOT TOTAL partnership has pushed the boundaries
of performance to achieve successes in the most difficult of conditions, with
the victories in the Le Mans 24 Hours, in the Dakar Rally, and also those by all
of our Rally customers around the world. To obtain these exceptional results,
the Peugeot
Sp
ort teams chose TOTAL QUARTZ, a high-tech lubricant that
protects the engine in the most extreme conditions.
T QUARTZ pr
eff ects of time
TOTAL QUAR TZ INEO FIRST is a very high-performance lubricant developed
jointly by the Peugeot and Total R&D teams. Specially formulated for the
engines in Peugeot vehicles, its innovative technology significantly reduces
CO
2 emissions and effectively protects your engine against clogging.
PEUGEO & T
P ARTNERS IN PERF
Page 159 of 292

157
Practical information
7
Compatibility of fuels
Petrol fuels conforming to the EN228 standard
containing up to 5% and 10% ethanol
respectively.
Diesel fuels conforming to the EN590, EN16734
and EN16709 standards and containing up to
7%, 10%, 20% and 30% fatty acid methyl ester
respectively. The use of B20 or B30 fuels, even
occasionally, imposes special maintenance
conditions referred to as "Arduous conditions".
Paraffinic Diesel fuel conforming to the EN15940
standard.
The use of any other type of (bio)fuel (e.g. pure or diluted vegetable or animal
oils, domestic fuel) is strictly prohibited - risk
of damaging the engine and fuel system!
The only fuel additives authorised for use are those that meet the B715001 (petrol)
or B715000 (Diesel) standards.
Diesel at low temperature
At temperatures below 0 °C (+32 °F), the
formation of paraffins in summer-type Diesel fuels could prevent the engine from operating
correctly
. In these temperature conditions, use
winter-type Diesel fuel and keep the fuel tank
more than 50 % full.
At temperatures below -15 °C (+5 °F) to avoid
problems starting, it is best to park the vehicle
under shelter (heated garage).
Travelling abroad
Certain fuels could damage your vehicle’s
engine.
In certain countries, the use of a particular
fuel may be required (specific octane rating,
specific trade name, etc.) to ensure correct
operation of the engine.
For all additional information, consult a dealer.
Refuelling
Fuel tank capacity: approximately 62
litres (Petrol), 55 litres (Diesel) or 43 litres
(Rechargeable hybrid).
Reserve level: approximately 6 litres.
Low fuel level
When the low fuel level is reached, this
warning lamp lights up on the instrument
panel, accompanied by the display of a message
and an audible signal. When it first comes on,
about 6 litres of fuel remain.
Until sufficient fuel is added, this warning lamp
appears every time the ignition is switched on,
accompanied by the message and the audible
signal. When driving, this message and audible
signal are repeated with increasing frequency as
the fuel level drops towards 0.
You must refuel as soon as possible to avoid
running out of fuel.
For more information on Running out of fuel
(Diesel), refer to the corresponding section.
A small arrow by the warning lamp indicates which side of the vehicle the
fuel filler flap is located on.
Stop & Start
Never refuel with the engine in STOP
mode; you must switch off the ignition.
Refuelling
Any addition of fuel must be in quantities of at
least 10 litres, in order to be registered by the
fuel gauge.
Opening the filler flap may create a noise caused
by an inrush of air. This vacuum is entirely
normal, resulting from the sealing of the fuel
system.
The filler cap is built into the filler flap or must be
unscrewed (depending on version).
To refuel in complete safety:
►
Always switch off the engine.
Page 160 of 292

158
Practical information
► To open the filler flap, press the flap opening
button for more than 2 seconds or, with the
vehicle unlocked, press the rear of the filler flap
(depending on version).
Rechargeable hybrid vehicles
After pressing the button on the
dashboard, the filler flap may not open for
several minutes. A sound is emitted when the
filler flap opens.
If the flap becomes stuck, press and hold
the button on the dashboard for more than
3
seconds.
► Select a pump that delivers the correct fuel
type for the vehicle's engine (see a reminder
label on the inside of the filler flap).
►
T
urn the filler cap to the left, remove it
and place it on its support on the filler flap
(depending on version).
►
Insert the filler nozzle and push it in as far as
possible before starting to refuel (to minimise the
risk of splashing).
►
Fill the tank.
Do not continue after the nozzle’
s third cut-
out. Doing so may cause malfunctions.
►
Put the filler cap back in place and turn it to
the right (depending on version).
►
Push the fuel filler flap to close it.
The vehicle is fitted with a catalytic converter,
which helps to reduce the level of harmful
emissions in the exhaust gases.
For petrol engines, you must use unleaded
fuel.
The filler neck is narrower, allowing only
unleaded petrol nozzles to be inserted.
If you have put in the wrong fuel for
the vehicle, you must have the fuel
tank drained and filled with the correct fuel
before starting the engine.
Rechargeable hybrid vehicles
If the filler flap is accidentally closed
before refuelling, it cannot be opened
manually. Restart the engine and move the
vehicle a few metres before pressing the
filler
flap opening button again.
Misfuel prevention (Diesel)
(Depending on country of sale.)
This mechanical device prevents filling the tank
of a Diesel vehicle with petrol.
Located in the filler neck, the misfuel prevention
device is visible when the filler cap is removed.
Operation
When a petrol filler nozzle is introduced into the
fuel filler neck of a Diesel vehicle, it comes into
contact with the flap. The system remains closed
and prevents filling.
Do not persist but introduce a Diesel type
filler nozzle.
The misfuel prevention device does not prevent filling with a jerrycan, regardless
of the fuel type.
Travelling abroad
As Diesel fuel pump nozzles may be
different in other countries, the presence
of the misfuel prevention device may make
refuelling impossible.
Before travelling abroad, it is advisable to
check with a PEUGEOT dealer if the vehicle
is suitable for the distribution equipment of the
countries visited.
 1
1 2
2 3
3 4
4 5
5 6
6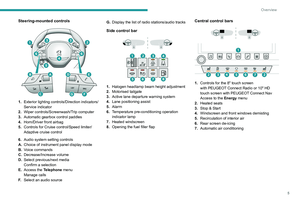 7
7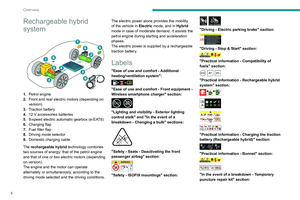 8
8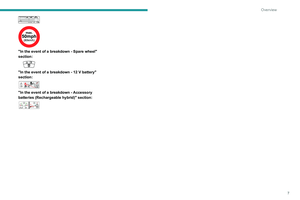 9
9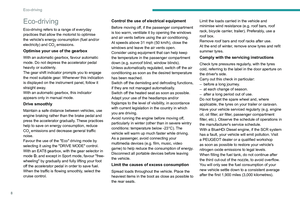 10
10 11
11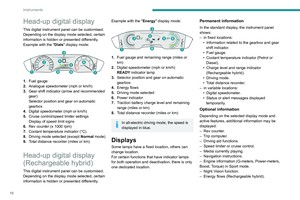 12
12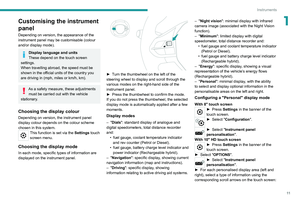 13
13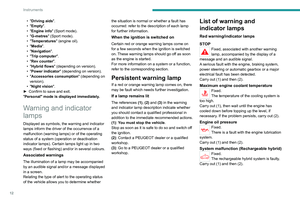 14
14 15
15 16
16 17
17 18
18 19
19 20
20 21
21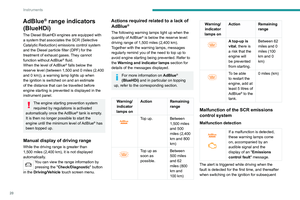 22
22 23
23 24
24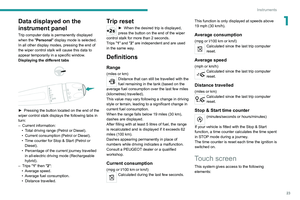 25
25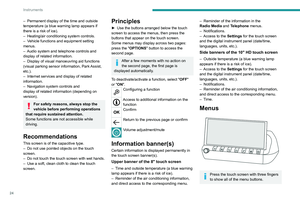 26
26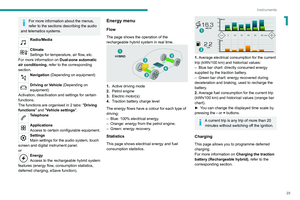 27
27 28
28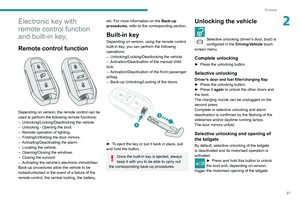 29
29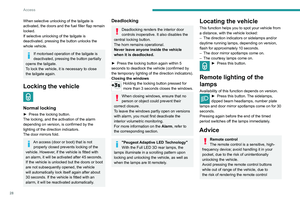 30
30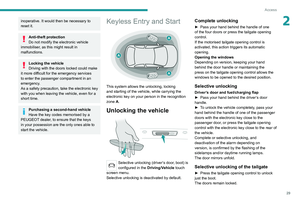 31
31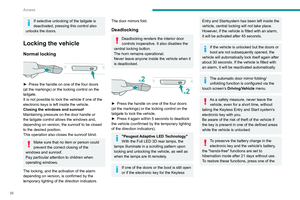 32
32 33
33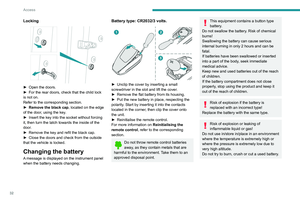 34
34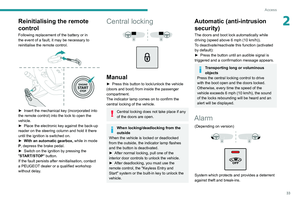 35
35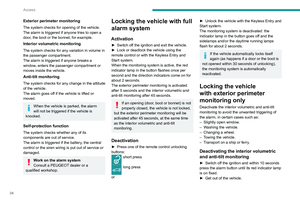 36
36 37
37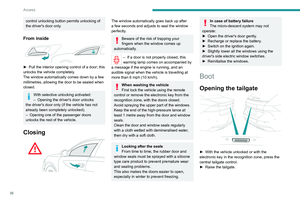 38
38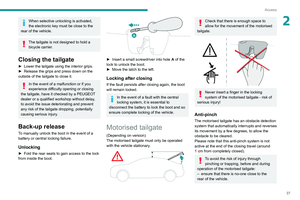 39
39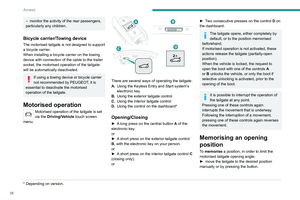 40
40 41
41 42
42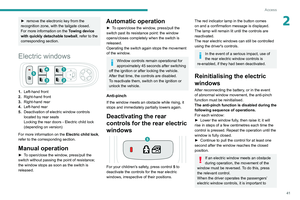 43
43 44
44 45
45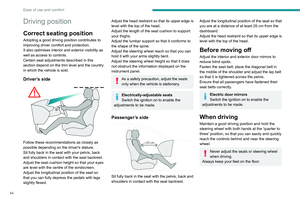 46
46 47
47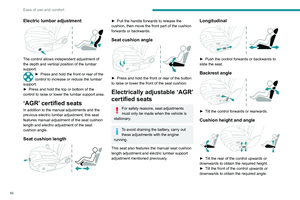 48
48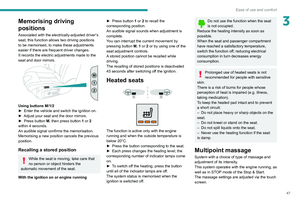 49
49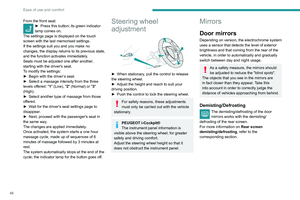 50
50 51
51 52
52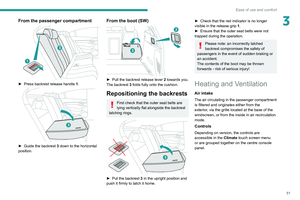 53
53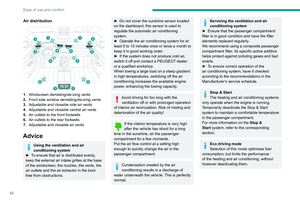 54
54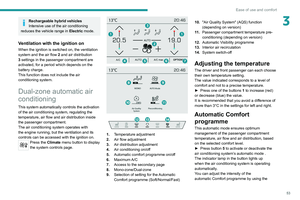 55
55 56
56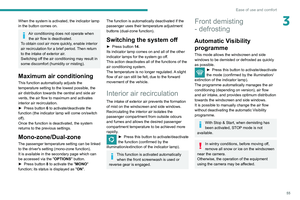 57
57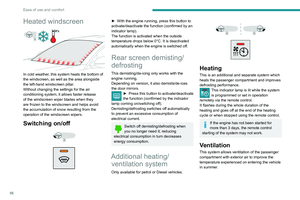 58
58 59
59 60
60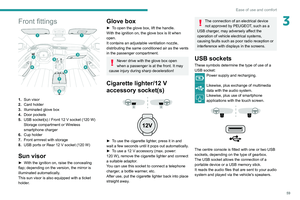 61
61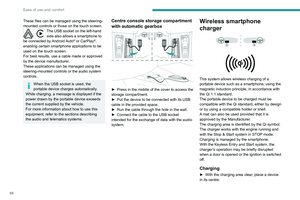 62
62 63
63 64
64 65
65 66
66 67
67 68
68 69
69 70
70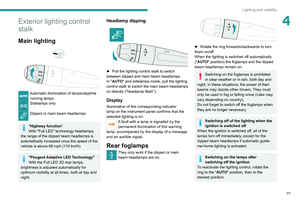 71
71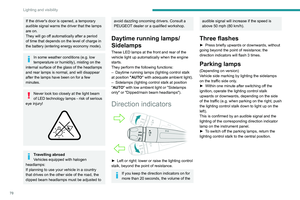 72
72 73
73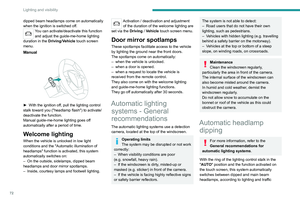 74
74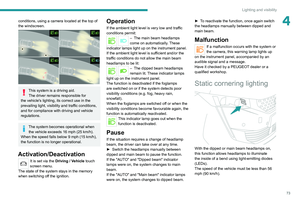 75
75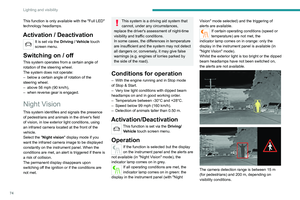 76
76 77
77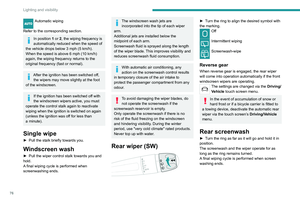 78
78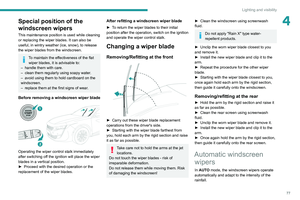 79
79 80
80 81
81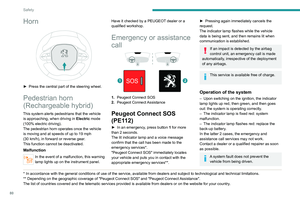 82
82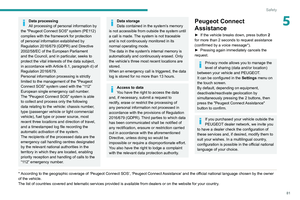 83
83 84
84 85
85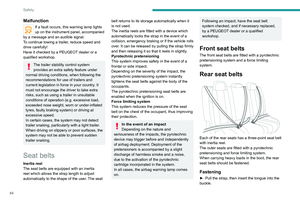 86
86 87
87 88
88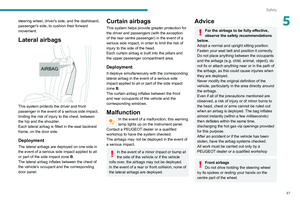 89
89 90
90 91
91 92
92 93
93 94
94 95
95 96
96 97
97 98
98 99
99 100
100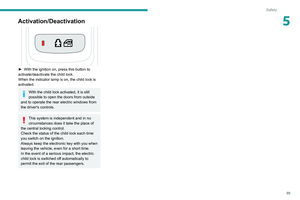 101
101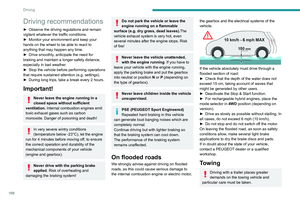 102
102 103
103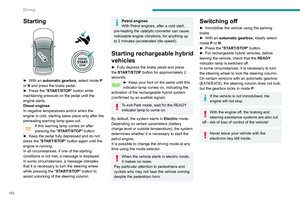 104
104 105
105 106
106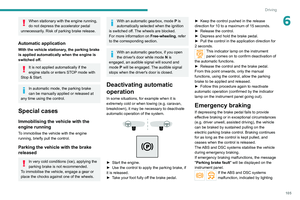 107
107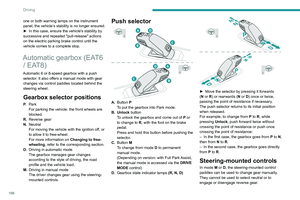 108
108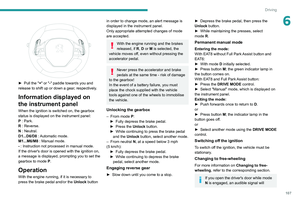 109
109 110
110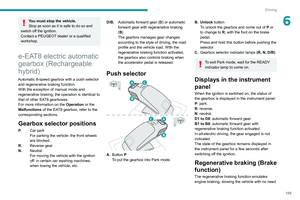 111
111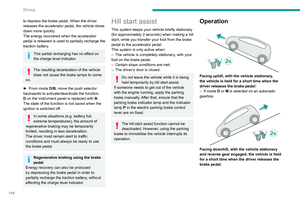 112
112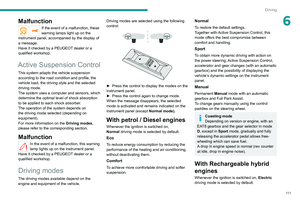 113
113 114
114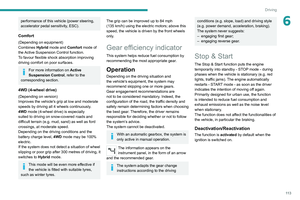 115
115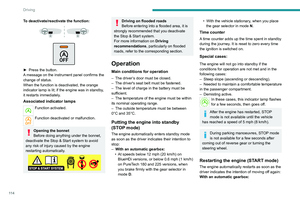 116
116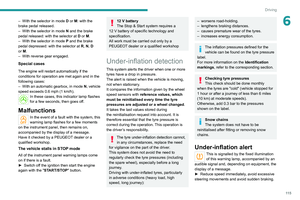 117
117 118
118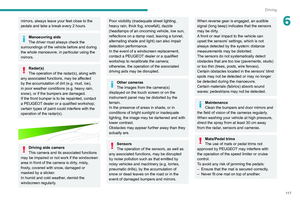 119
119 120
120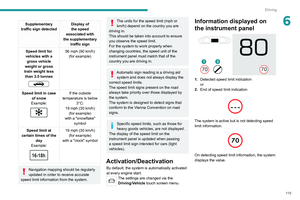 121
121 122
122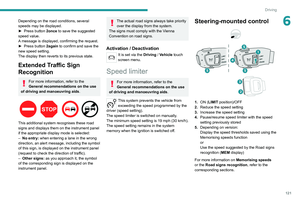 123
123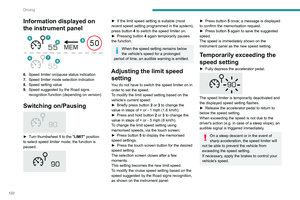 124
124 125
125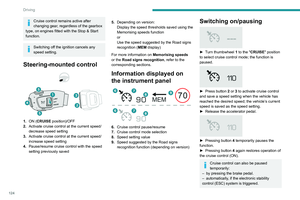 126
126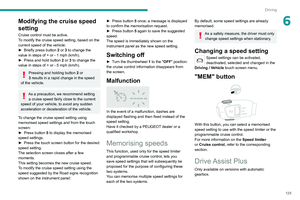 127
127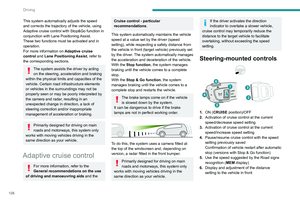 128
128 129
129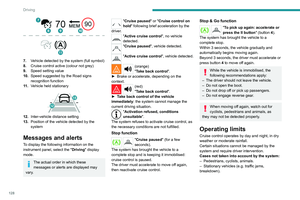 130
130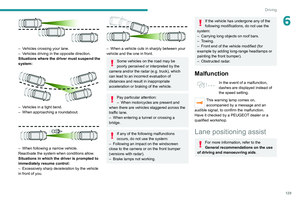 131
131 132
132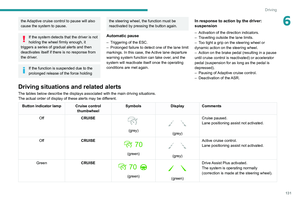 133
133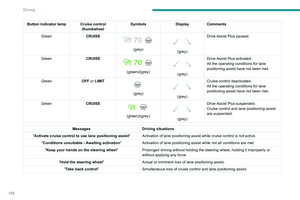 134
134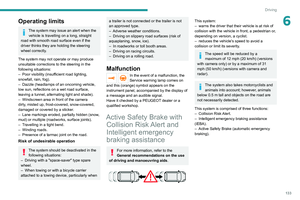 135
135 136
136 137
137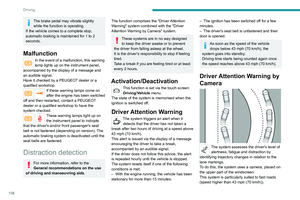 138
138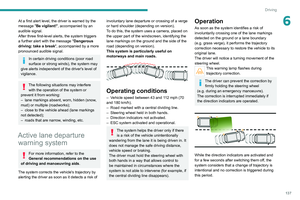 139
139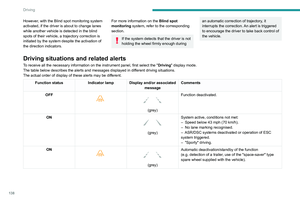 140
140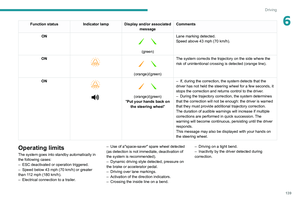 141
141 142
142 143
143 144
144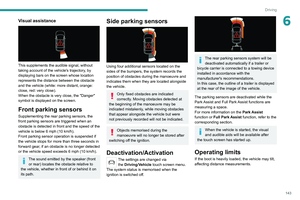 145
145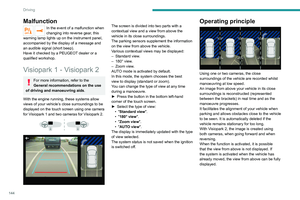 146
146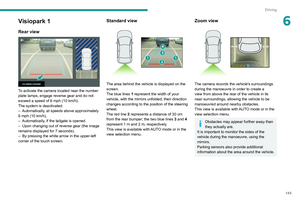 147
147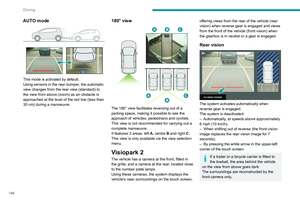 148
148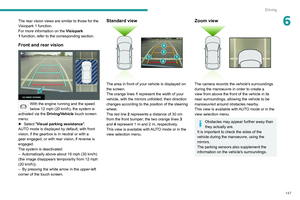 149
149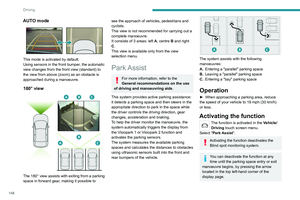 150
150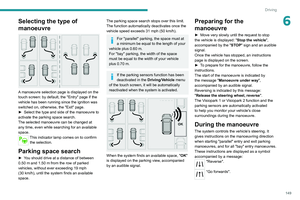 151
151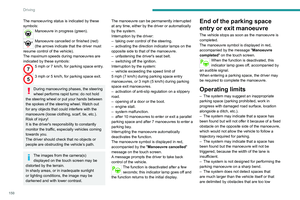 152
152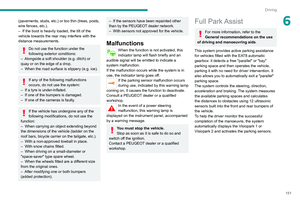 153
153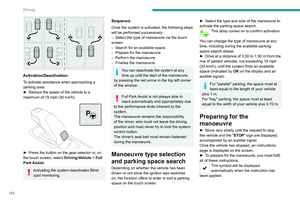 154
154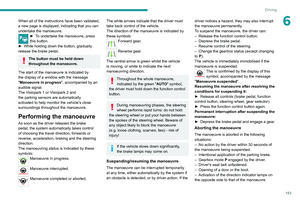 155
155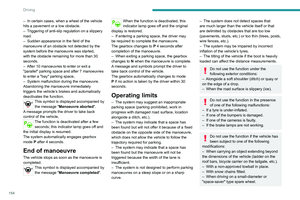 156
156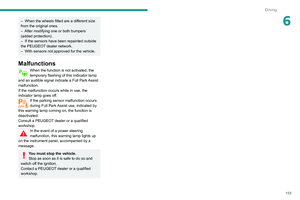 157
157 158
158 159
159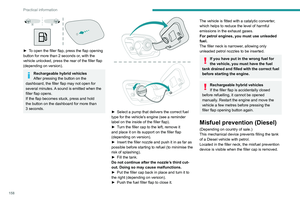 160
160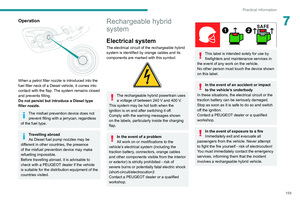 161
161 162
162 163
163 164
164 165
165 166
166 167
167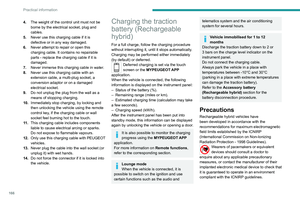 168
168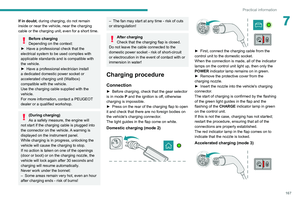 169
169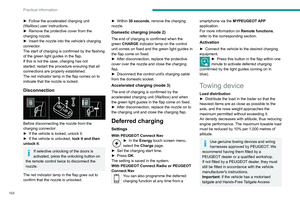 170
170 171
171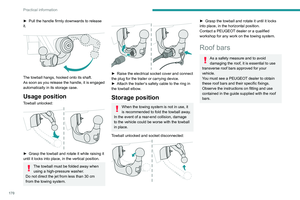 172
172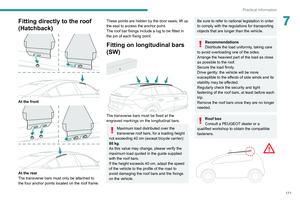 173
173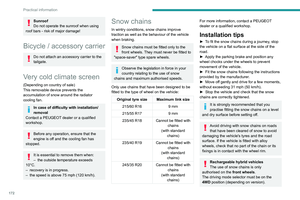 174
174 175
175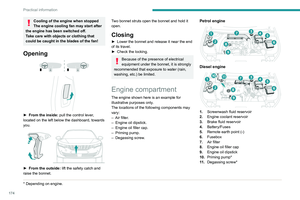 176
176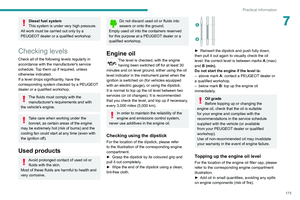 177
177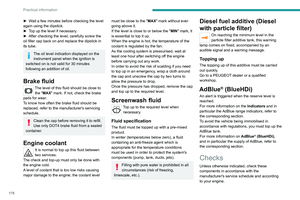 178
178 179
179 180
180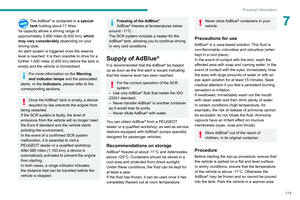 181
181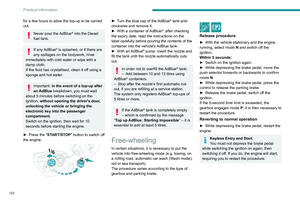 182
182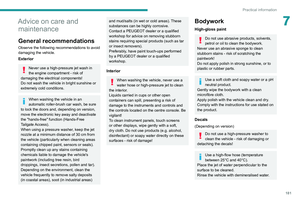 183
183 184
184 185
185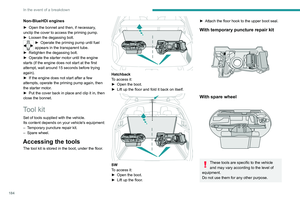 186
186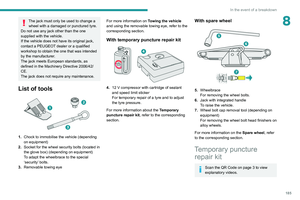 187
187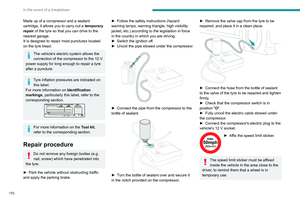 188
188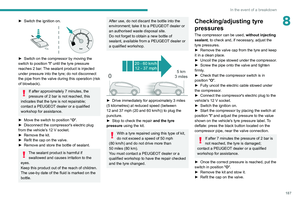 189
189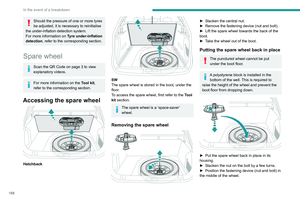 190
190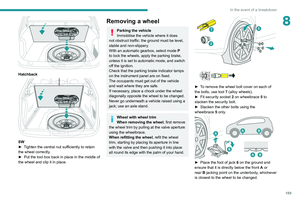 191
191 192
192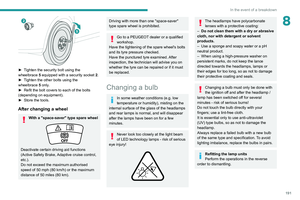 193
193 194
194 195
195 196
196 197
197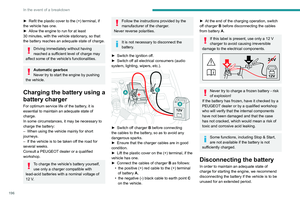 198
198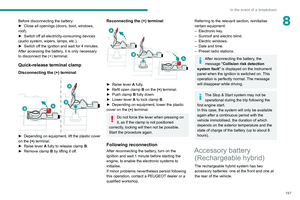 199
199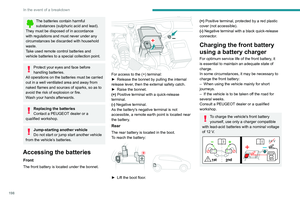 200
200 201
201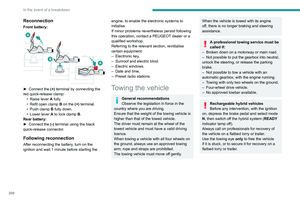 202
202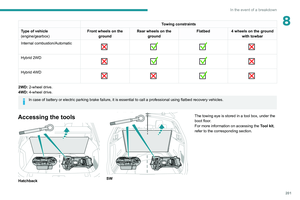 203
203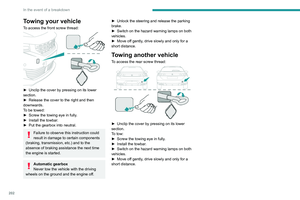 204
204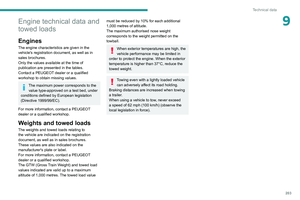 205
205 206
206 207
207 208
208 209
209 210
210 211
211 212
212 213
213 214
214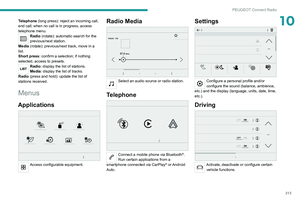 215
215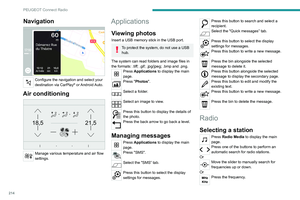 216
216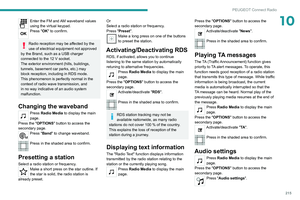 217
217 218
218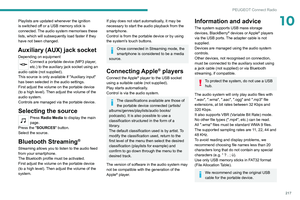 219
219 220
220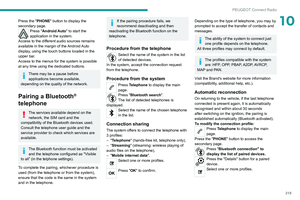 221
221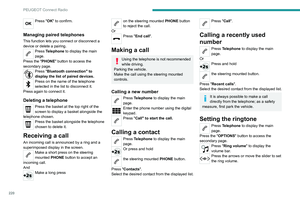 222
222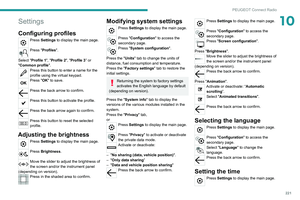 223
223 224
224 225
225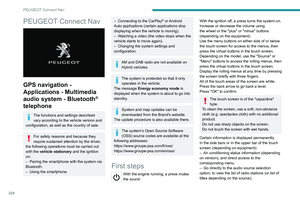 226
226 227
227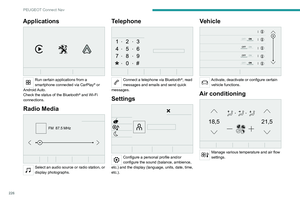 228
228 229
229 230
230 231
231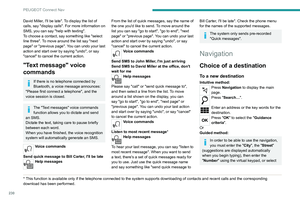 232
232 233
233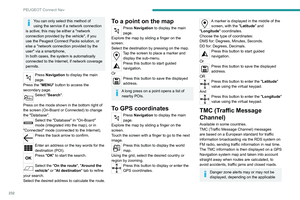 234
234 235
235 236
236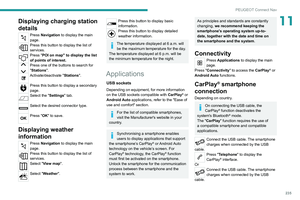 237
237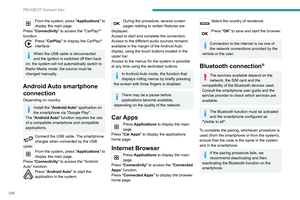 238
238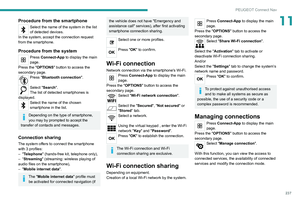 239
239 240
240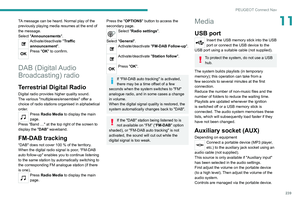 241
241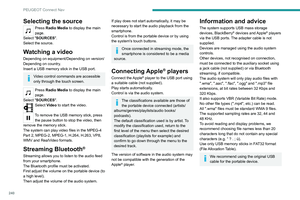 242
242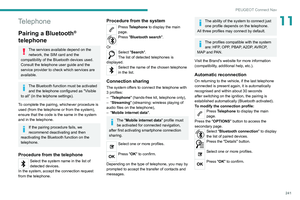 243
243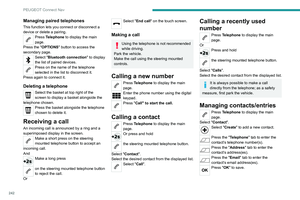 244
244 245
245 246
246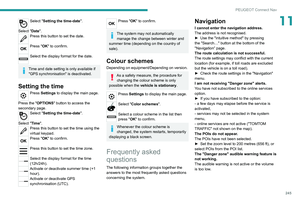 247
247 248
248 249
249 250
250 251
251 252
252 253
253 254
254 255
255 256
256 257
257 258
258 259
259 260
260 261
261 262
262 263
263 264
264 265
265 266
266 267
267 268
268 269
269 270
270 271
271 272
272 273
273 274
274 275
275 276
276 277
277 278
278 279
279 280
280 281
281 282
282 283
283 284
284 285
285 286
286 287
287 288
288 289
289 290
290 291
291.
–
If the sensors have been repainted outside")