2021 HYUNDAI TUCSON HYBRID display
[x] Cancel search: displayPage 304 of 630
06
6-17
LCD display message
ÃThe actual message may diff er from
the following LCD display message.
à The application o
f the following
message may vary according to the
vehicle model.
Shifting conditions not met. Reduce
speed, then shift
The warning message appears on the
LCD display, when engine RPM is too
high, or when driving speed is too fast to
shift the gear.
We recommend you decrease the engine
speed or slow down before shifting the
gear.
Press brake pedal to change gear
The warning message appears on the
LCD display, when the brake pedal is not
depressed while shifting the gear.
We recommend you to depress the brake
pedal and then shift the gear.
Shift to P after stopping
The warning message appears on the
LCD display, when the gear is shifted to P
(Park) while the vehicle is moving.
Stop the vehicle before shifting to P
(Park).
PARK engaged
Make sure that the vehicle is completely
stopped before shifting to P (Park).
Push-button gear selector
If the gear selector is shifted to P (Park)
while the vehicle is still moving, a
warning message will appear in the LCD
display.
Press and hold the OK button on the
steering wheel to stay in Neutral
The warning message appears on
the LCD display, when pushing the
N(Neutral) button. If you want to stay
N(Neutral) after turning off the engine,
press and hold the “OK” button on the
steering wheel more than 1 second.
Vehicle will stay in (N). Change gear
to cancel
The warning message appears on the
LCD display, when pushing the “OK”
button on the steering wheel after the
message (“Press and hold OK button
to stay in Neutral when vehicle is Off”)
appears on the cluster LCD display. The
gear stays in N(Neutral) position after
turning off the engine.
NEUTRAL engaged
The message appears on the LCD
display, when the N (Neutral) position is
engaged.
Gear already selected
The message appears on the LCD
display, when pushing the current shift
button again.
Shift button held down
The warning message appears on the
LCD display, when the shift button is
pressed continuously or the shift button
does not properly operate. Clean the
surroundings of gear shift button.
If this message appears again, we
recommend you to have the vehicle
inspected by an authorized HYUNDAI
dealer.
Page 305 of 630
Driving your vehicle
6-18
Shifter system malfunction! Service
immediately
The warning message appears on the
LCD display, when the transmission
or the shift button does not properly
operate in the P (Park) position.
In this case, we recommend you to
immediately have the vehicle inspected
by an authorized HYUNDAI dealer.
Check shift controls
The warning message appears on the
LCD display, when there is a malfunction
with transmission shift button.
In this case, we recommend you to
immediately have the vehicle inspected
by an authorized HYUNDAI dealer.
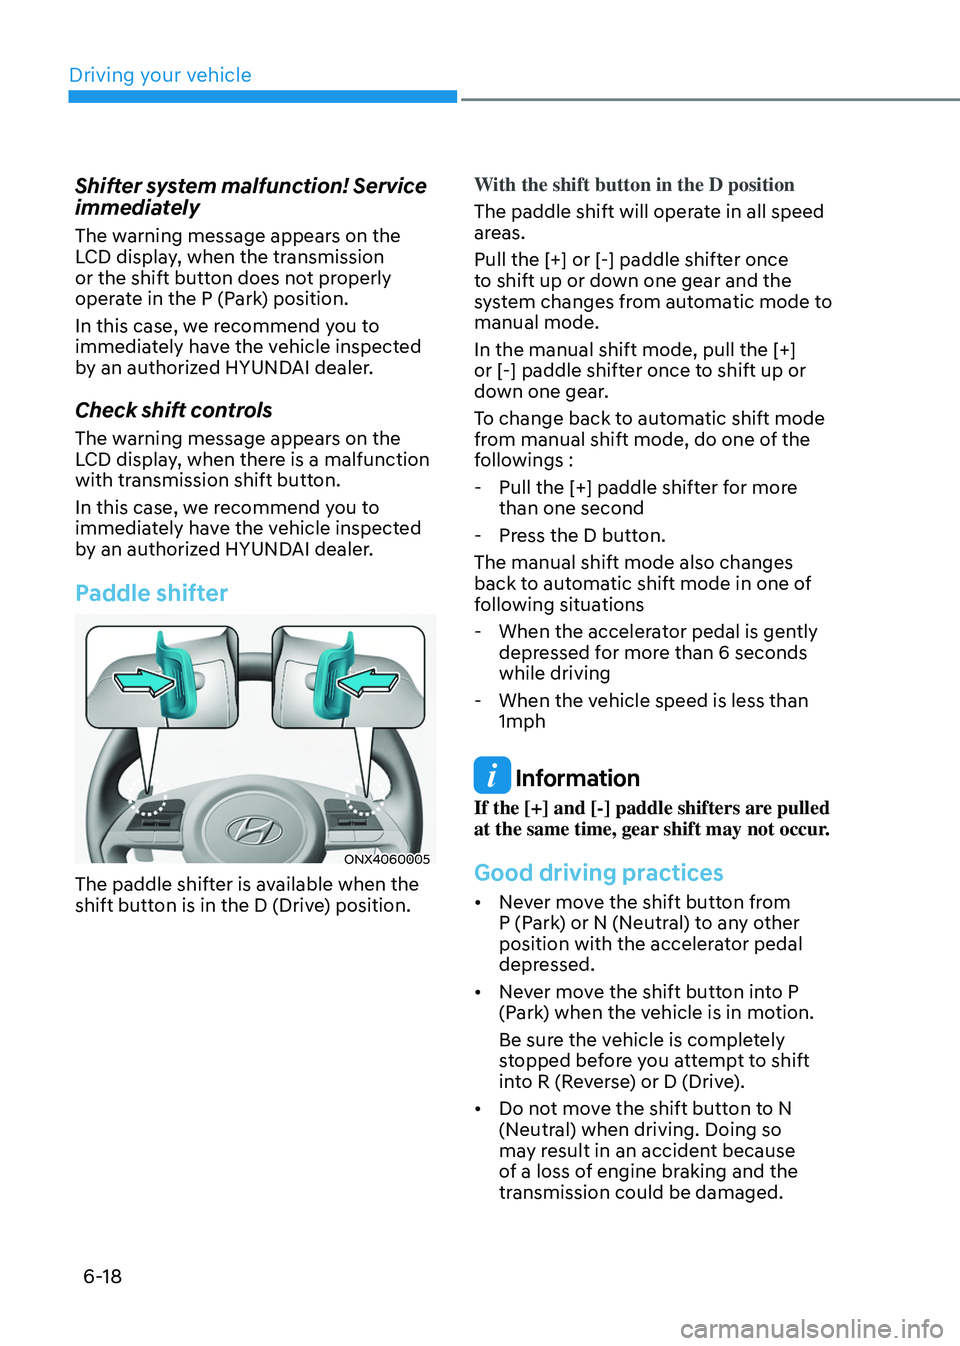
Paddle shifter
ONX4060005
The paddle shifter is available when the
shift button is in the D (Drive) position.With the shift button in the D position
The paddle shift will operate in all speed
areas.
Pull the [+] or [-] paddle shifter once
to shift up or down one gear and the
system changes from automatic mode to
manual mode.
In the manual shift mode, pull the [+]
or [-] paddle shifter once to shift up or
down one gear.
To change back to automatic shift mode
from manual shift mode, do one of the
followings :
- Pull the [+] paddle shifter f
or more
than one second
- Press the D butt
on.
The manual shift mode also changes
back to automatic shift mode in one of
following situations
- When the accelera
tor pedal is gently
depressed for more than 6 seconds
while driving
- When the vehicle speed is less than 1mph
Information
If the [+] and [-] paddle shifters are pulled
at the same time, gear shift may not occur.
Good driving practices
• Never move the shift button from
P (Park) or N (Neutral) to any other
position with the accelerator pedal
depressed.
• Never move the shift button into P
(Park) when the vehicle is in motion.
Be sure the vehicle is completely
stopped before you attempt to shift
into R (Reverse) or D (Drive).
• Do not move the shift button to N
(Neutral) when driving. Doing so
may result in an accident because
of a loss of engine braking and the
transmission could be damaged.
Page 307 of 630
Driving your vehicle
6-20
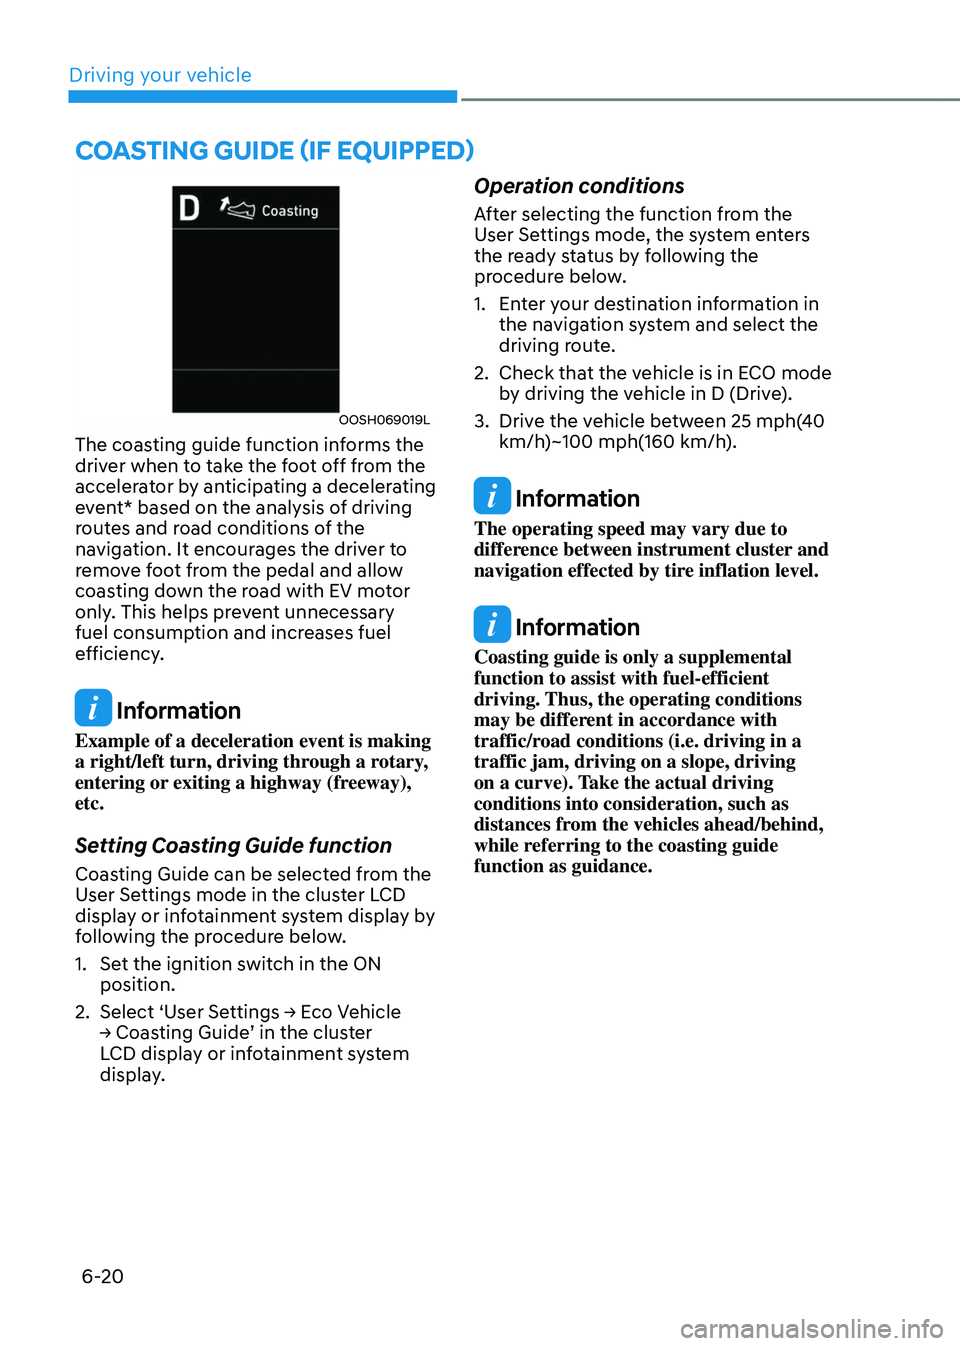
OOSH069019L
The coasting guide function informs the
driver when to take the foot off from the
accelerator by anticipating a decelerating
event* based on the analysis of driving
routes and road conditions of the
navigation. It encourages the driver to
remove foot from the pedal and allow
coasting down the road with EV motor
only. This helps prevent unnecessary
fuel consumption and increases fuel
efficiency.
Information
Example of a deceleration event is making
a right/left turn, driving through a rotary,
entering or exiting a highway (freeway),
etc.
Setting Coasting Guide function
Coasting Guide can be selected from the
User Settings mode in the cluster LCD
display or infotainment system display by
following the procedure below.
1.
Set the ignition s
witch in the ON
position.
2.
Select ‘U
ser
Se
ttings
→ E
co
V
ehicle
→ Coas
ting
Guide
’
in the clus
ter
LCD displa
y or infotainment system
display.
Operation conditions
After selecting the function from the
User Settings mode, the system enters
the ready status by following the
procedure below.
1.
En
ter your destination information in
the navigation system and select the
driving route.
2.
Check that the v
ehicle is in ECO mode
by driving the vehicle in D (Drive).
3.
Drive the v
ehicle between 25 mph(40
km/h)~100 mph(160 km/h).
Information
The operating speed may vary due to
difference between instrument cluster and
navigation effected by tire inflation level.
Information
Coasting guide is only a supplemental
function to assist with fuel-efficient
driving. Thus, the operating conditions
may be different in accordance with
traffic/road conditions (i.e. driving in a
traffic jam, driving on a slope, driving
on a curve). Take the actual driving
conditions into consideration, such as
distances from the vehicles ahead/behind,
while referring to the coasting guide
function as guidance.
Coasting guide (if equipped)
Page 316 of 630
06
6-29
Warning messages
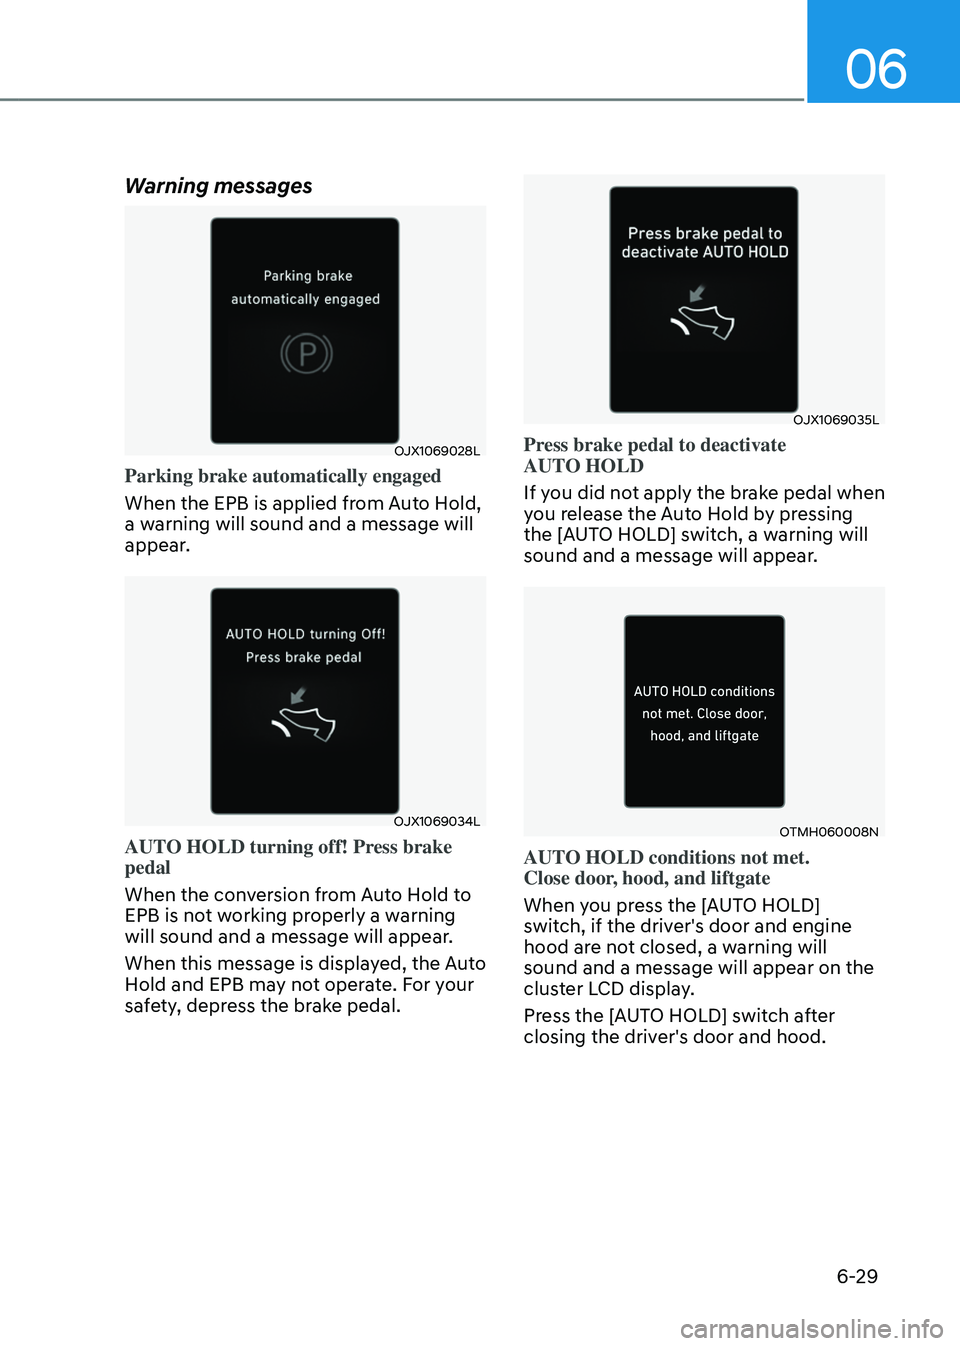
OJX1069028L
Parking brake automatically engaged
When the EPB is applied from Auto Hold,
a warning will sound and a message will
appear.
OJX1069034L
AUTO HOLD turning off! Press brake
pedal
When the conversion from Auto Hold to
EPB is not working properly a warning
will sound and a message will appear.
When this message is displayed, the Auto
Hold and EPB may not operate. For your
safety, depress the brake pedal.
OJX1069035L
Press brake pedal to deactivate
AUTO HOLD
If you did not apply the brake pedal when
you release the Auto Hold by pressing
the [AUTO HOLD] switch, a warning will
sound and a message will appear.
OTMH060008N
AUTO HOLD conditions not met.
Close door, hood, and liftgate
When you press the [AUTO HOLD]
switch, if the driver's door and engine
hood are not closed, a warning will
sound and a message will appear on the
cluster LCD display.
Press the [AUTO HOLD] switch after
closing the driver's door and hood.
Page 320 of 630
06
6-33
Indicator lights
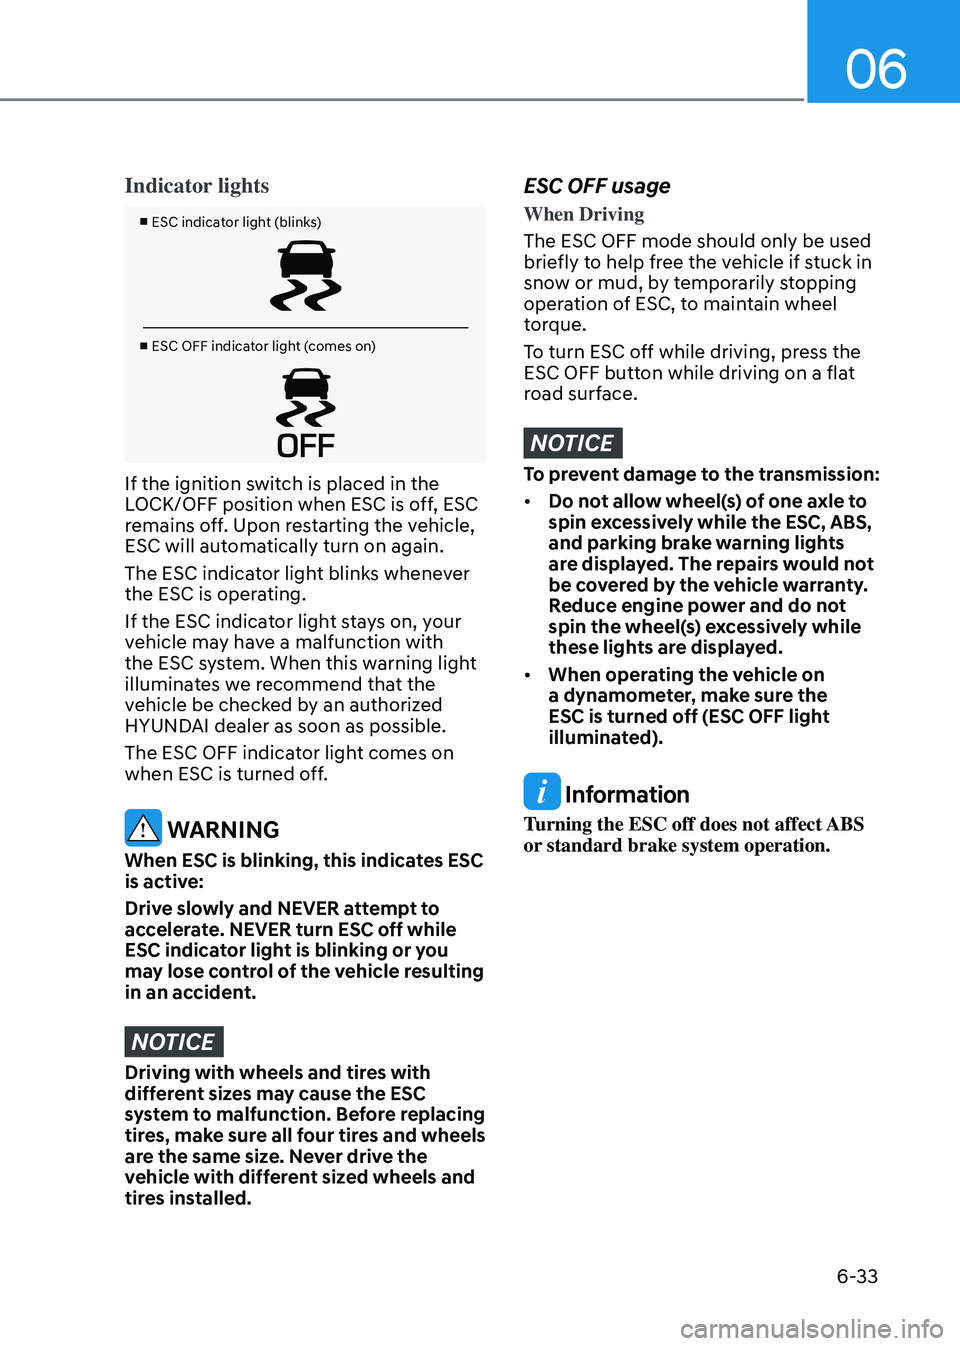
■ ESC indicator light (blinks)
■ ESC OFF indicator light (comes on)
If the ignition switch is placed in the
LOCK/OFF position when ESC is off, ESC
remains off. Upon restarting the vehicle,
ESC will automatically turn on again.
The ESC indicator light blinks whenever
the ESC is operating.
If the ESC indicator light stays on, your
vehicle may have a malfunction with
the ESC system. When this warning light
illuminates we recommend that the
vehicle be checked by an authorized
HYUNDAI dealer as soon as possible.
The ESC OFF indicator light comes on
when ESC is turned off.
WARNING
When ESC is blinking, this indicates ESC
is active:
Drive slowly and NEVER attempt to
accelerate. NEVER turn ESC off while
ESC indicator light is blinking or you
may lose control of the vehicle resulting
in an accident.
NOTICE
Driving with wheels and tires with
different sizes may cause the ESC
system to malfunction. Before replacing
tires, make sure all four tires and wheels
are the same size. Never drive the
vehicle with different sized wheels and
tires installed.
ESC OFF usage
When Driving
The ESC OFF mode should only be used
briefly to help free the vehicle if stuck in
snow or mud, by temporarily stopping
operation of ESC, to maintain wheel
torque.
To turn ESC off while driving, press the
ESC OFF button while driving on a flat
road surface.
NOTICE
To prevent damage to the transmission:
• Do not allow wheel(s) of one axle to
spin excessively while the ESC, ABS,
and parking brake warning lights
are displayed. The repairs would not
be covered by the vehicle warranty.
Reduce engine power and do not
spin the wheel(s) excessively while
these lights are displayed.
• When operating the vehicle on
a dynamometer, make sure the
ESC is turned off (ESC OFF light
illuminated).
Information
Turning the ESC off does not affect ABS
or standard brake system operation.
Page 325 of 630
Driving your vehicle
6-38
OJX1069039L
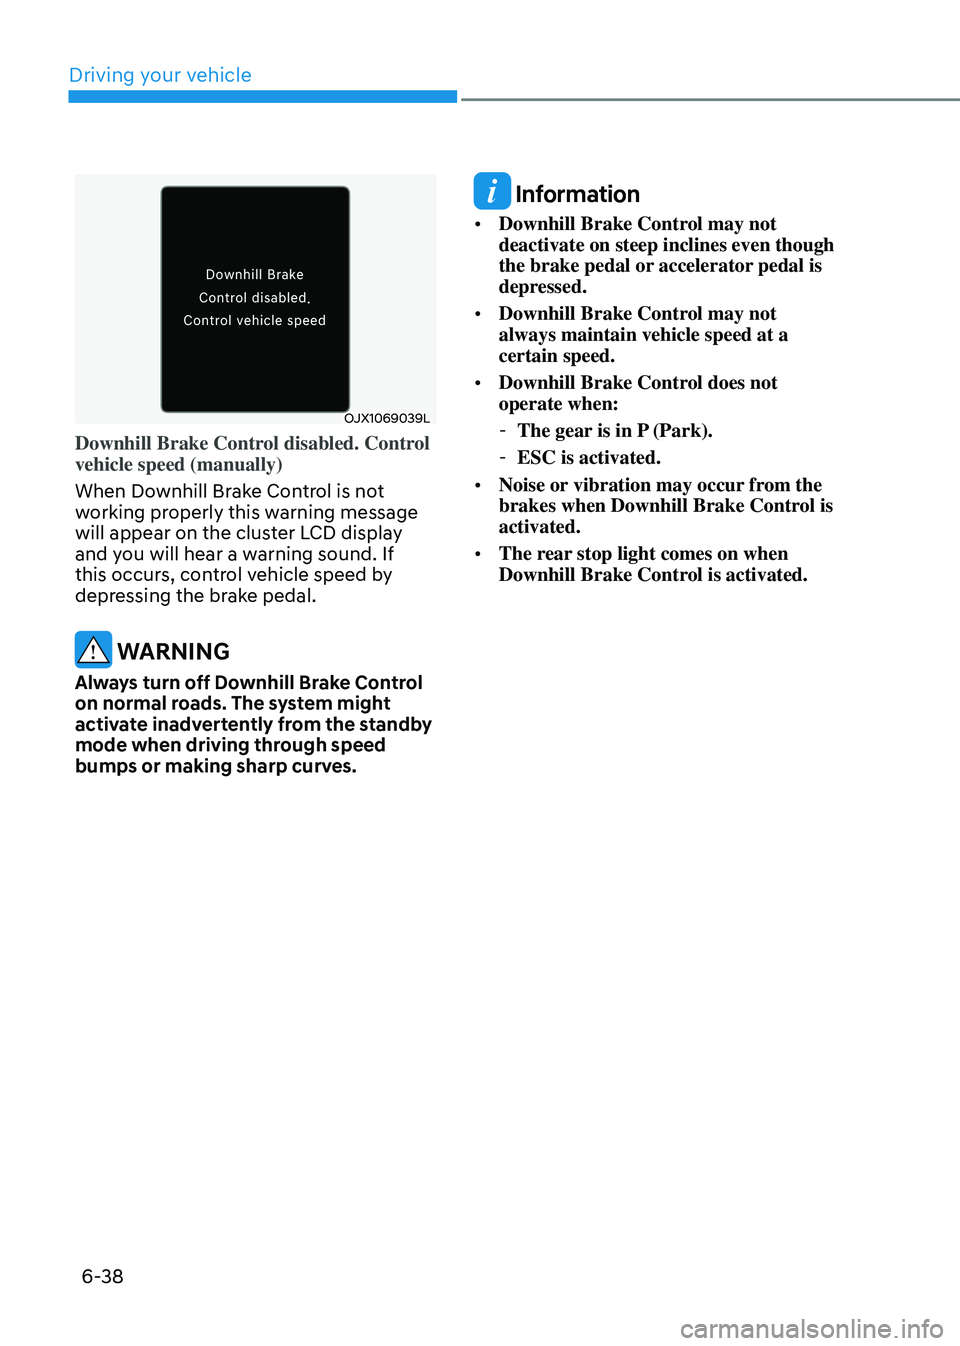
Downhill Brake Control disabled. Control
vehicle speed (manually)
When Downhill Brake Control is not
working properly this warning message
will appear on the cluster LCD display
and you will hear a warning sound. If
this occurs, control vehicle speed by
depressing the brake pedal.
WARNING
Always turn off Downhill Brake Control
on normal roads. The system might
activate inadvertently from the standby
mode when driving through speed
bumps or making sharp curves.
Information
• Downhill Brake Control may not
deactivate on steep inclines even though
the brake pedal or accelerator pedal is
depressed.
• Downhill Brake Control may not
always maintain vehicle speed at a
certain speed.
• Downhill Brake Control does not
operate when:
-The gear is in P
(Park).
-ESC is activated.
• Noise or vibration may occur
from the
brakes when Downhill Brake Control is
activated.
• The rear stop light comes on when
Downhill Brake Control is activated.
Page 328 of 630
06
6-41
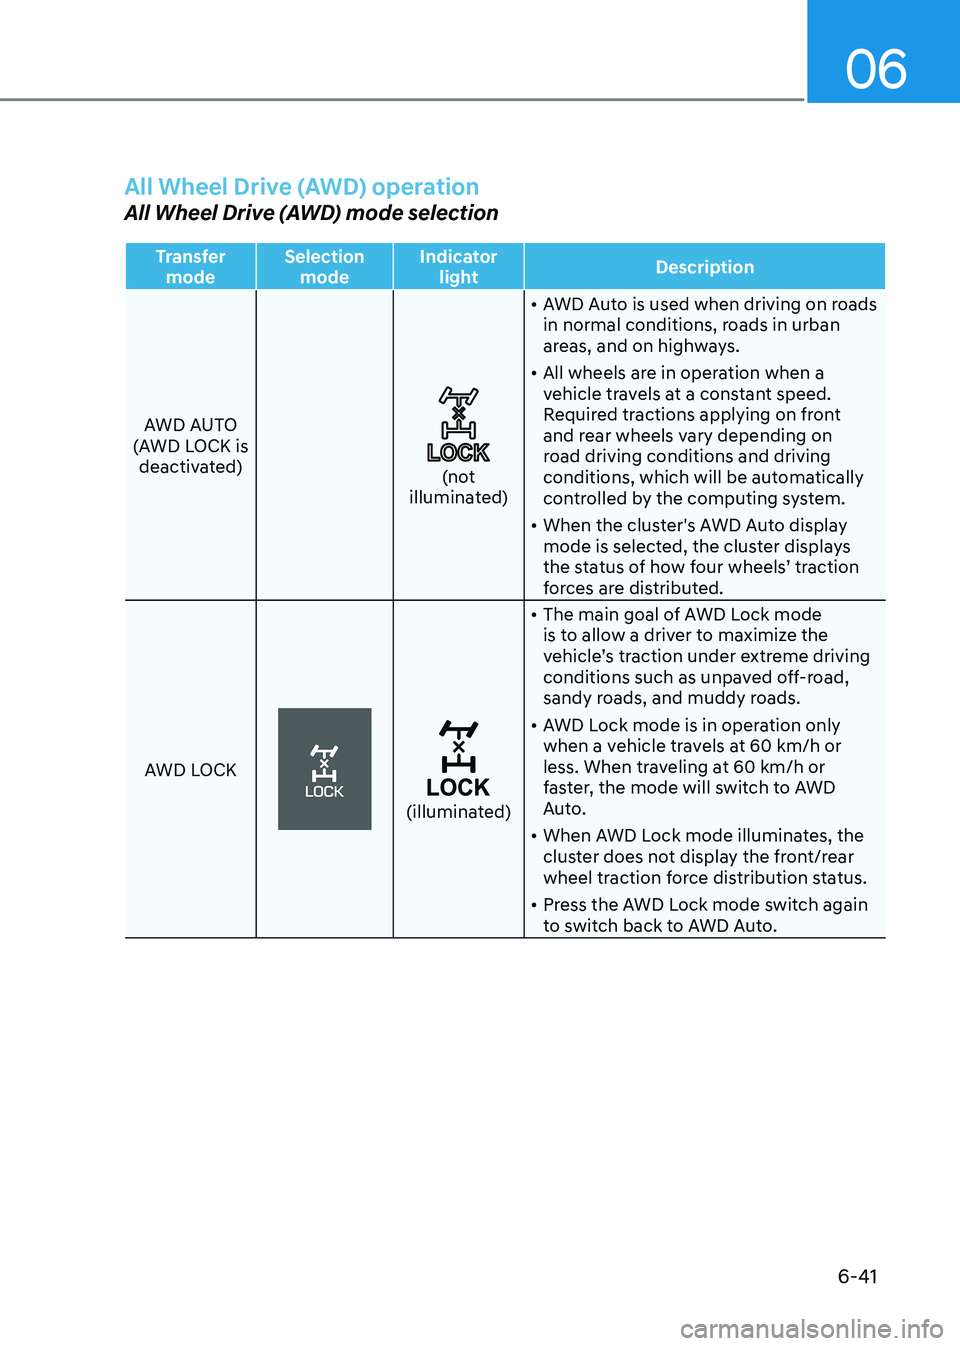
All Wheel Drive (AWD) operation
All Wheel Drive (AWD) mode selection
Transfer mode Selection
mode Indicator
light Description
AWD AUTO
(AWD LOCK is deactivated)
(not
illuminated) •
AWD Auto is used when driving on roads
in normal conditions, roads in urban
areas, and on highways.
• All wheels are in operation when a
vehicle travels at a constant speed.
Required tractions applying on front
and rear wheels vary depending on
road driving conditions and driving
conditions, which will be automatically
controlled by the computing system.
• When the cluster's AWD Auto display
mode is selected, the cluster displays
the status of how four wheels’ traction
forces are distributed.
AWD LOCK
(illuminated) •
The main goal of AWD Lock mode
is to allow a driver to maximize the
vehicle’s traction under extreme driving
conditions such as unpaved off-road,
sandy roads, and muddy roads.
• AWD Lock mode is in operation only
when a vehicle travels at 60 km/h or
less. When traveling at 60 km/h or
faster, the mode will switch to AWD
Auto.
• When AWD Lock mode illuminates, the
cluster does not display the front/rear
wheel traction force distribution status.
• Press the AWD Lock mode switch again
to switch back to AWD Auto.
Page 335 of 630

Driving your vehicle
6-48
dRiVe mode integRated ContRoL system (aWd)
(if equipped)
Drive mode
ONX4060019
The drive mode may be selected
according to the driver’s preference or
road condition.
The system resets to be in the NORMAL
mode, when the engine is restarted.
Information
If there is a problem with the instrument
cluster, the drive mode will be in
NORMAL mode and may not change to
SPORT mode. The mode changes, as below, whenever
the DRIVE MODE button is pressed or
toggled.
NORMAL ↔ SPORT ↔ SMART ↔ SNOW
When NORMAL mode is selected, it is
not displayed on the instrument cluster.
NORMAL mode : NORMAL mode
provides smooth driving and comfortable
riding.
SPORT mode : SPORT mode provides
sporty but firm riding
The driving mode will be set to NORMAL
mode when the engine is restarted.
•
If it is in NORMAL/SPORT mode,
NORMAL mode will be set, when the
engine is restarted.