2021 HYUNDAI TUCSON HYBRID display
[x] Cancel search: displayPage 225 of 630
Convenient features
5-68
Closing the hood
1. Before closing the hood, check in and
around the engine compartment to
ensure the following:
- Any t
ools or other loose objects
are removed from the engine room
area or hood opening area
- All glov
e, rags, or other
combustible material is removed
from the engine compartment
- All filler caps are tigh
tly and
correctly installed
2.
Re
turn the hood support rod rod to its
clip to prevent it from rattling.
3.
Lo
wer the hood until it is about 30 cm
(12in.) above the closed position and
let it drop. Make sure that it locks into
place.
4.
Check that the hood has engaged
pr
operly. If the hood can be raised
slightly, it is not properly engaged.
Open it again and close it with a little
more force.
WARNING
• Before closing the hood, ensure
all obstructions are removed from
around the hood opening.
• Always double check to be sure that
the hood is firmly latched before
driving away. Check there is no
hood open warning light or message
displayed on the instrument cluster.
Driving with the hood opened may
cause a total loss of visibility, which
might result in an accident.
• Do not move the vehicle with the
hood in the raised position, as vision
is obstructed, which might result in
an accident, and the hood could fall
or be damaged.
Liftgate
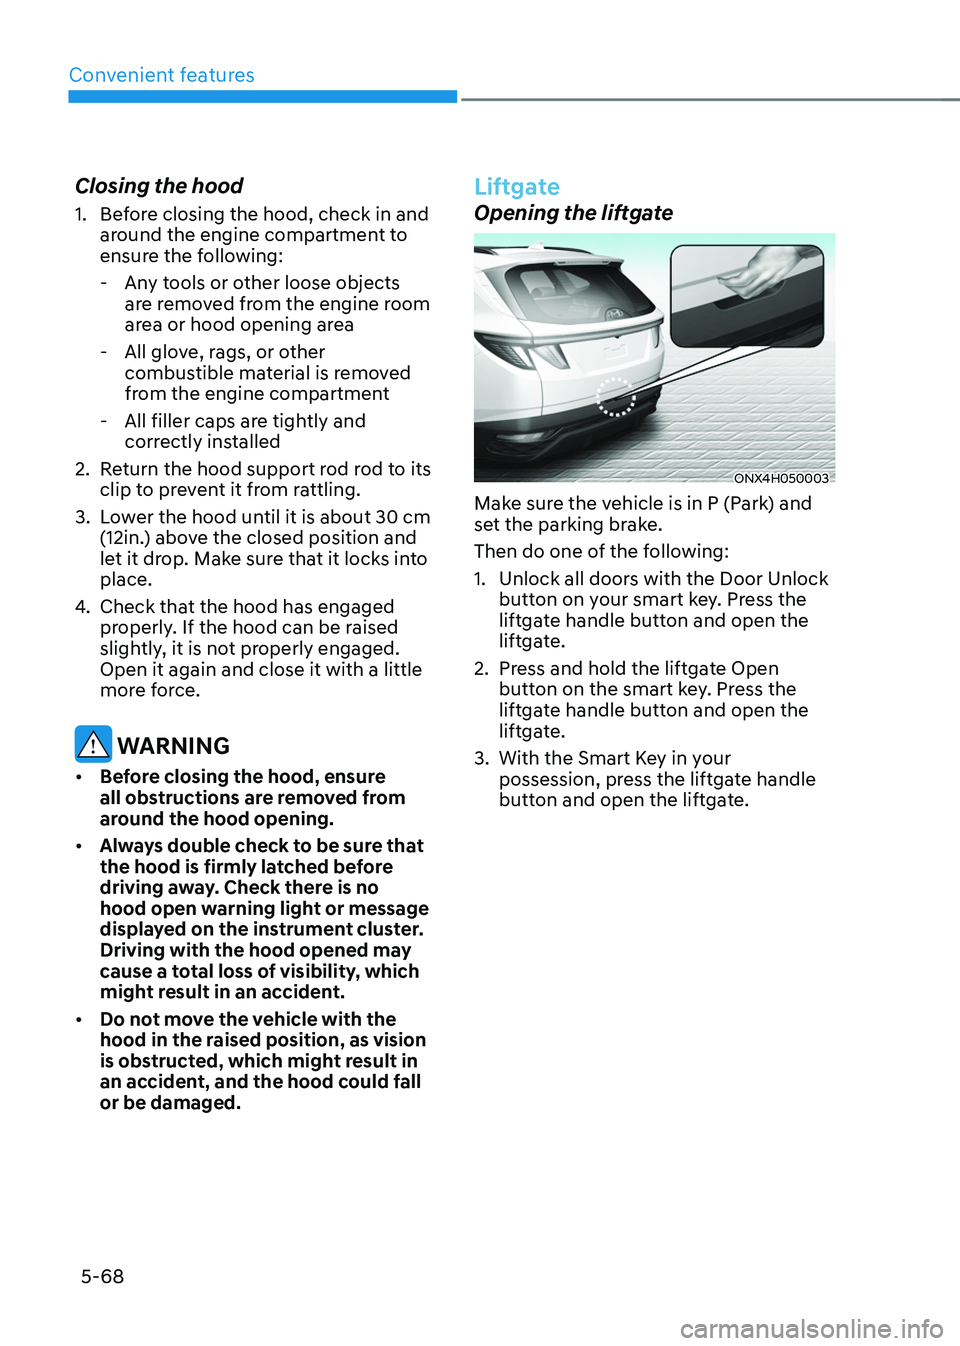
Opening the liftgate
ONX4H050003
Make sure the vehicle is in P (Park) and
set the parking brake.
Then do one of the following:
1.
Unlock all doors with the Door Unlock
butt
on on your smart key. Press the
liftgate handle button and open the
liftgate.
2.
Press and hold the lift
gate Open
button on the smart key. Press the
liftgate handle button and open the
liftgate.
3.
With the Smart Ke
y in your
possession, press the liftgate handle
button and open the liftgate.
Page 232 of 630
05
5-75
If ‘User Height Setting’ is selected, follow
the instructions below to set the height
of the power liftgate manually.
Position the liftgate manually to the
height you prefer.
ONX4E050062R
Press the power liftgate open/close
button located inside the liftgate for
more than 3 seconds. Close the liftgate
manually after hearing the buzzer sound.
The liftgate will open to the automatically
adjusted height that was set.
Power liftgate opening speed
You can adjust the power liftgate
opening speed from the User Settings
mode
on the L
CD
displa
y.
‘Door → P
ower
Liftga
te
Opening Speed → F
ast/Slow’.
For more details, refer to “LCD Display”
In chapter 4
WARNING
Always keep the liftgate completely
closed while the vehicle is in motion. If
it is left open or ajar, poisonous exhaust
gases containing carbon monoxide
(CO) may enter the vehicle and serious
illness or death may result.
WARNING
Occupants should never ride in the
rear cargo area where no restraints are
available. To avoid injury in the event of
an accident or sudden stops, occupants
should always be properly restrained.
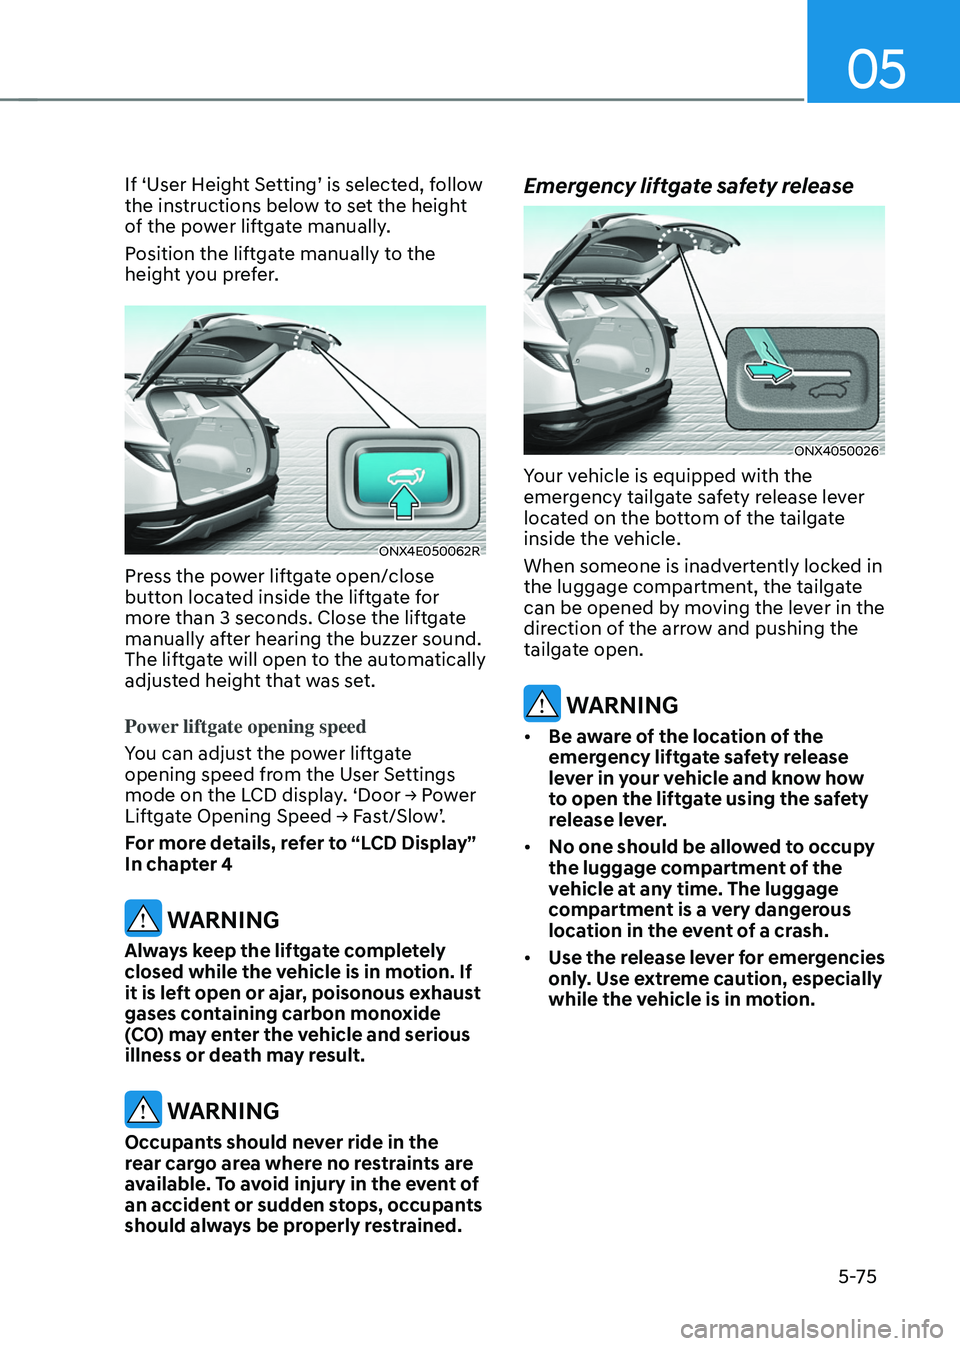
Emergency liftgate safety release
ONX4050026
Your vehicle is equipped with the
emergency tailgate safety release lever
located on the bottom of the tailgate
inside the vehicle.
When someone is inadvertently locked in
the luggage compartment, the tailgate
can be opened by moving the lever in the
direction of the arrow and pushing the
tailgate open.
WARNING
• Be aware of the location of the
emergency liftgate safety release
lever in your vehicle and know how
to open the liftgate using the safety
release lever.
• No one should be allowed to occupy
the luggage compartment of the
vehicle at any time. The luggage
compartment is a very dangerous
location in the event of a crash.
• Use the release lever for emergencies
only. Use extreme caution, especially
while the vehicle is in motion.
Page 233 of 630
Convenient features
5 -76
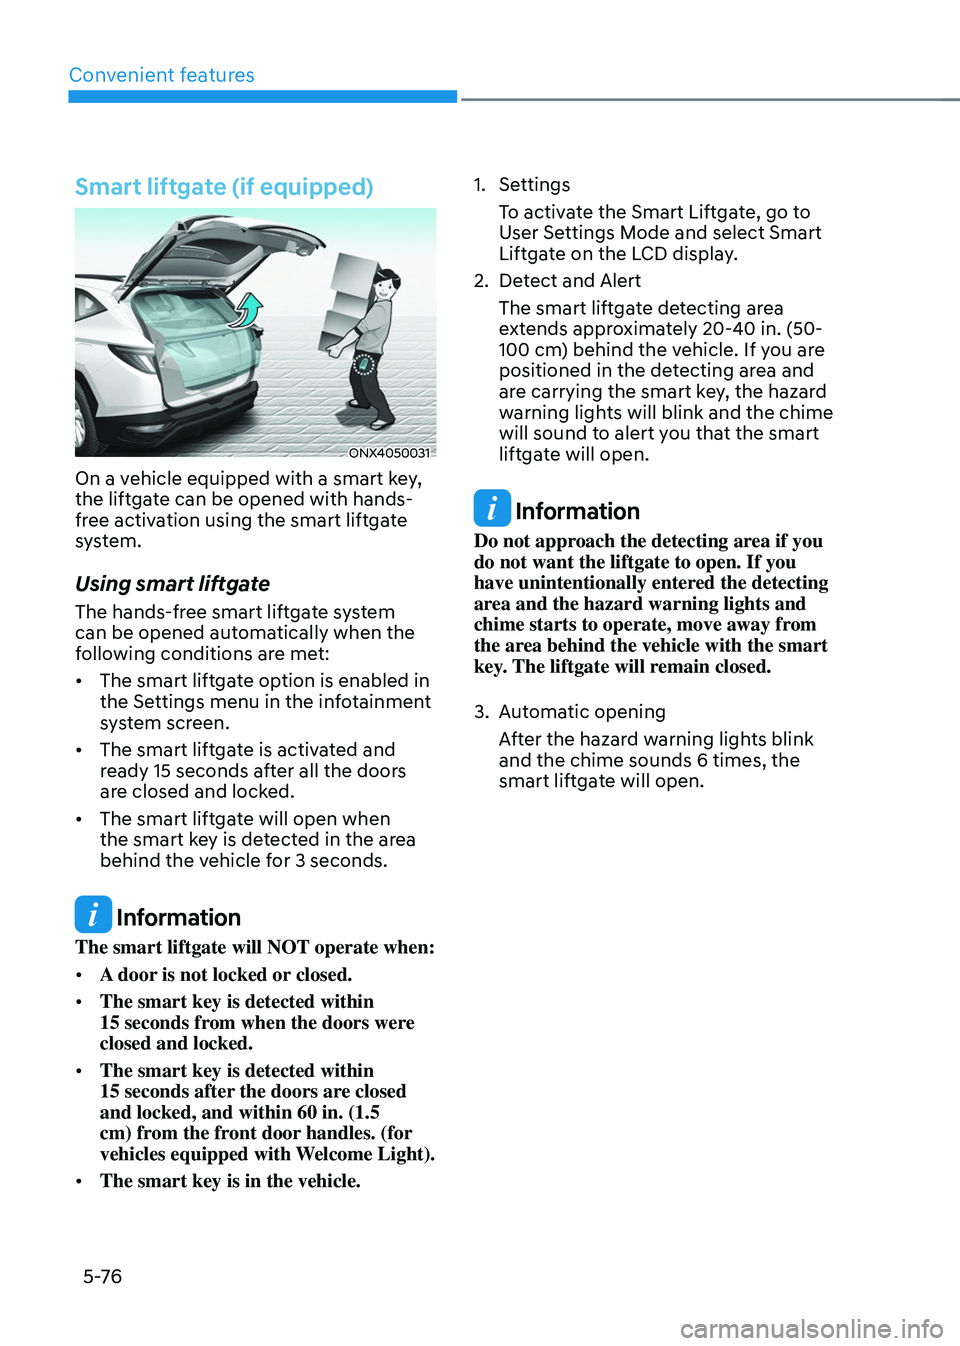
Smart liftgate (if equipped)
ONX4050031
On a vehicle equipped with a smart key,
the liftgate can be opened with hands-
free activation using the smart liftgate
system.
Using smart liftgate
The hands-free smart liftgate system
can be opened automatically when the
following conditions are met:
• The smart liftgate option is enabled in
the Settings menu in the infotainment
system screen.
• The smart liftgate is activated and
ready 15 seconds after all the doors
are closed and locked.
• The smart liftgate will open when
the smart key is detected in the area
behind the vehicle for 3 seconds.
Information
The smart liftgate will NOT operate when:
• A door is not locked or closed.
• The smart key is detected within
15
seconds fr
om when the doors were
closed and locked.
• The smart key is detected within
15
seconds after
the doors are closed
and locked, and within 60 in. (1.5
cm) from the front door handles. (for
vehicles equipped with Welcome Light).
• The smart key is in the vehicle. 1.
Settings
T
o activate the Smart Liftgate, go to
User Settings Mode and select Smart
Liftgate on the LCD display.
2.
Det
ect and Alert
The smart liftgate detecting area
extends approximately 20-40 in. (50-
100 cm) behind the vehicle. If you are
positioned in the detecting area and
are carrying the smart key, the hazard
warning lights will blink and the chime
will sound to alert you that the smart
liftgate will open.
Information
Do not approach the detecting area if you
do not want the liftgate to open. If you
have unintentionally entered the detecting
area and the hazard warning lights and
chime starts to operate, move away from
the area behind the vehicle with the smart
key. The liftgate will remain closed.
3.
Aut
omatic opening
After the hazard warning lights blink
and the chime sounds 6 times, the
smart liftgate will open.
Page 243 of 630
Convenient features
5-86
System operation
Display and control
• After selecting ‘High Beam Assist’
in the Settings menu, High Beam
Assist will operate by following the
procedure below.
- Place the headlamp swit
ch in
the AUTO position and push
the headlamp lever towards the
instrument cluster. The High Beam
Assist (
) indicator light will
illuminate on the cluster and the
system will be enabled.
- When the sy
stem is enabled, high
beam will turn on when vehicle
speed is above 25 mph (40 km/h).
When vehicle speed is below 15
mph (25 km/h), high beam will not
turn on.
- The High Beam () indicator light
will illuminate on the cluster when
high beam is on.
• When High Beam Assist is operating, if
the headlamp lever or switch is used,
the system operates as follow:
- If the headlamp lev
er is pulled
towards you when the high beam
is off, the high beam will turn on
without High Beam Assist canceled.
When you let go of the headlamp
lever, the lever will move to the
middle and the high beam will turn
off.
- If the headlamp lev
er is pulled
towards you when the high beam is
on by High Beam Assist, low beam
will be on and the system will turn
off.
- If the headlamp swit
ch is placed
from AUTO to another position
(headlamp/position/off), High
Beam Assist will turn off and the
corresponding lamp will turn on. •
When High Beam Assist is operating,
high beam switches to low beam if
any of the following conditions occur:
- When the headlamp of an
oncoming v
ehicle is detected.
- When the tail lamp of a v
ehicle in
front is detected.
- When the headlamp or tail lamp of a mo
torcycle or a bicycle is detected.
- When the surrounding ambien
t light
is bright enough that high beams
are not required.
- When str
eetlights or other lights are
detected.
System malfunction and
limitations
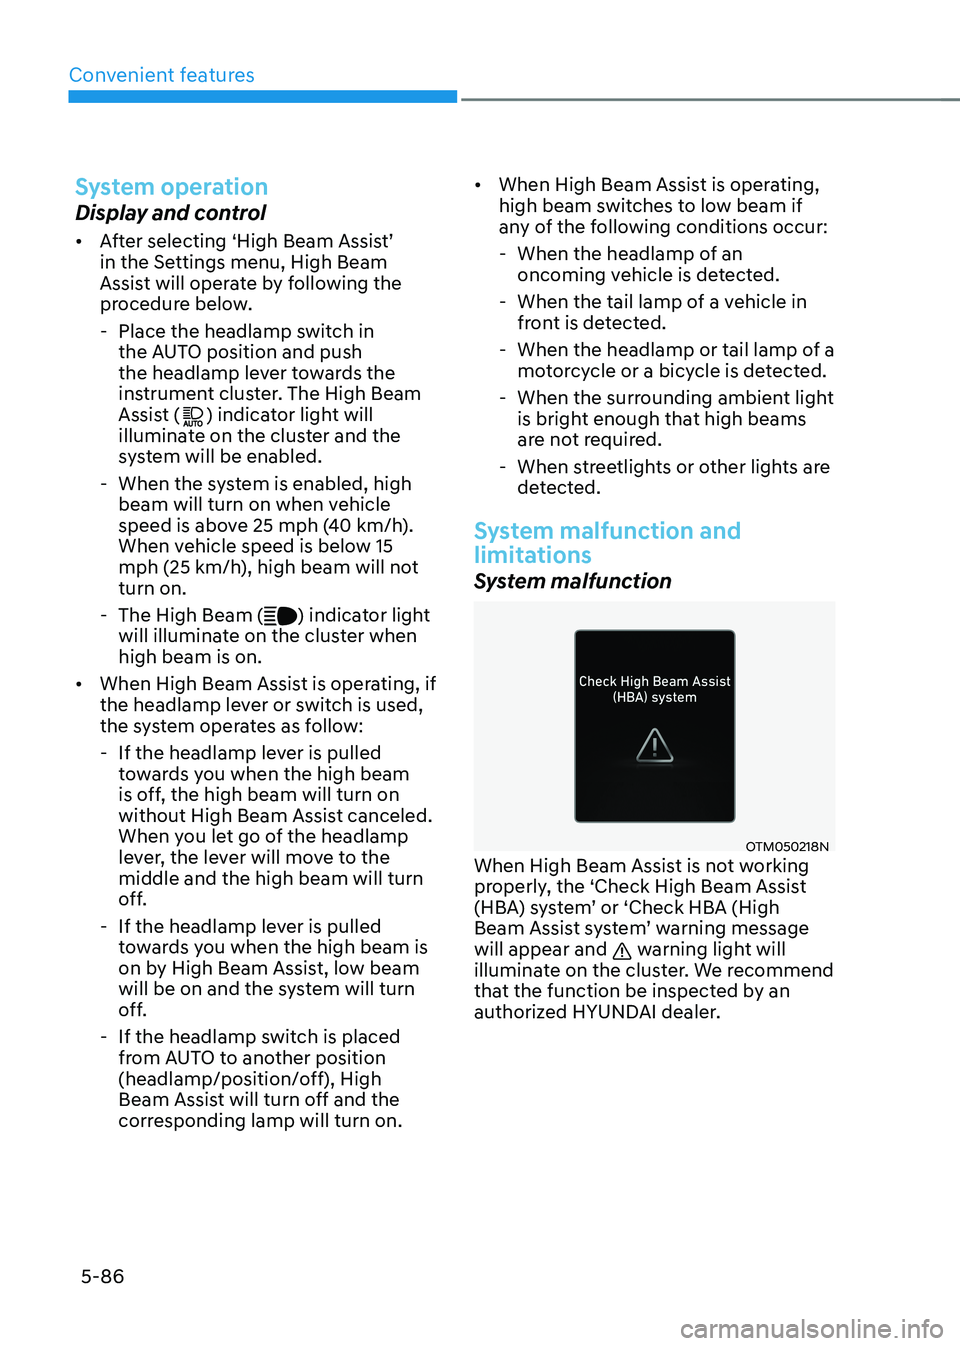
System malfunction
OTM050218NWhen High Beam Assist is not working
properly, the ‘Check High Beam Assist
(HBA) system’ or ‘Check HBA (High
Beam Assist system’ warning message
will appear and
warning light will
illuminate on the cluster. We recommend
that the function be inspected by an
authorized HYUNDAI dealer.
Page 248 of 630
05
5-91
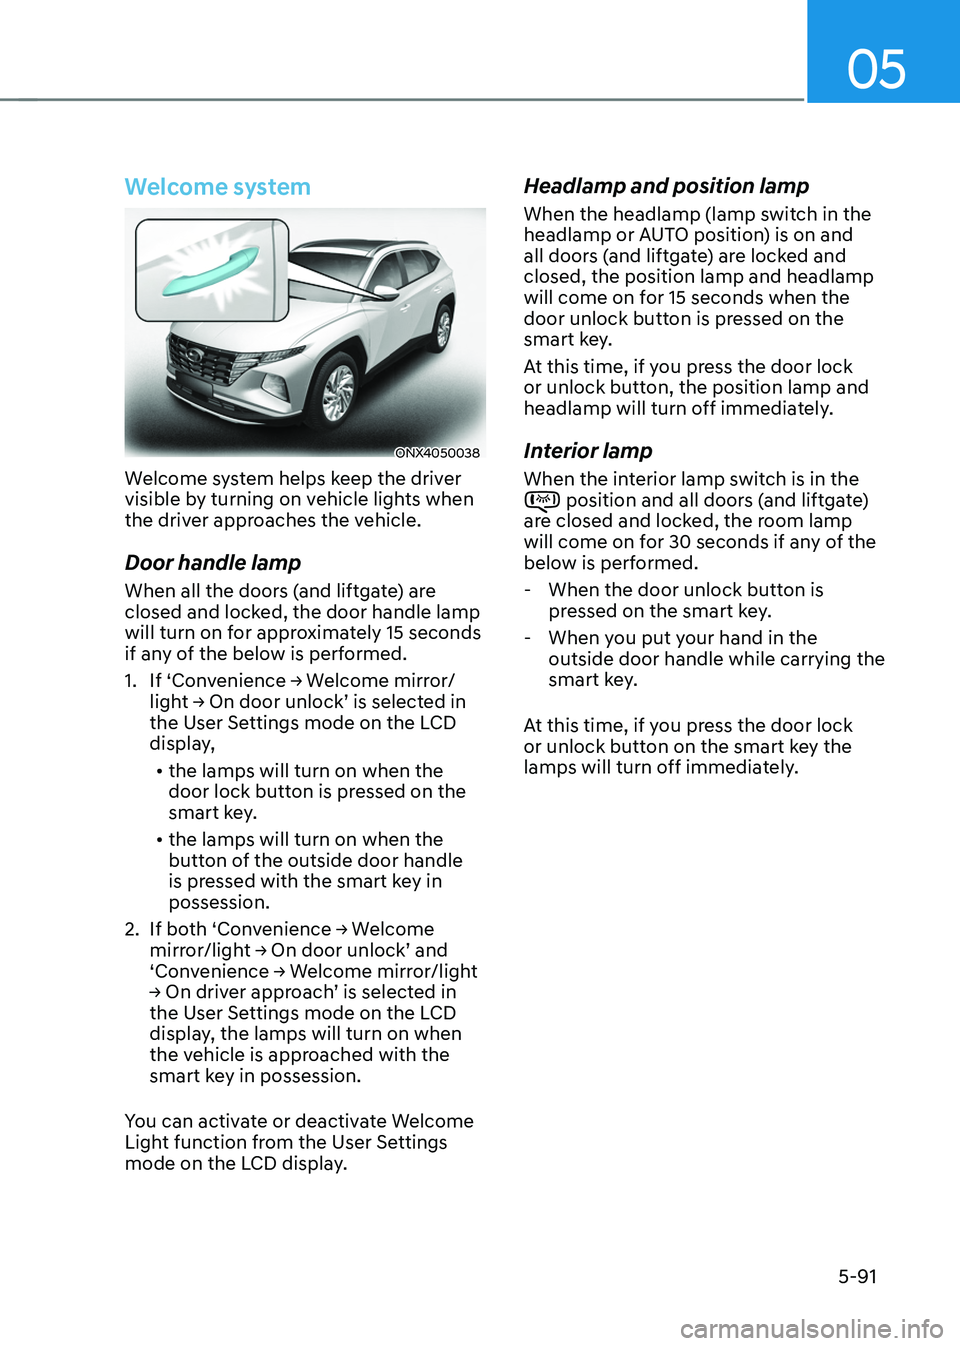
Welcome system
ONX4050038
Welcome system helps keep the driver
visible by turning on vehicle lights when
the driver approaches the vehicle.
Door handle lamp
When all the doors (and liftgate) are
closed and locked, the door handle lamp
will turn on for approximately 15 seconds
if any of the below is performed.
1.
If ‘Con
venience
→ W
elcome
mirr
or/
light
→ On door unlock’ is select
ed
in the User Se
ttings mode on the LCD
display,
• the lamps will turn on when the
door lock button is pressed on the
smart key.
• the lamps will turn on when the
button of the outside door handle
is pressed with the smart key in
possession.
2.
If bo
th
‘Con
venience
→ W
elcome
mirror/ligh
t
→ On door unlock’ and ‘Conv
enience
→ W
elcome
mirr
or/light
→ On driv
er
appr
oach’
is select
ed
in the User Se
ttings mode on the LCD
display, the lamps will turn on when
the vehicle is approached with the
smart key in possession.
You can activate or deactivate Welcome
Light function from the User Settings
mode on the LCD display.
Headlamp and position lamp
When the headlamp (lamp switch in the
headlamp or AUTO position) is on and
all doors (and liftgate) are locked and
closed, the position lamp and headlamp
will come on for 15 seconds when the
door unlock button is pressed on the
smart key.
At this time, if you press the door lock
or unlock button, the position lamp and
headlamp will turn off immediately.
Interior lamp
When the interior lamp switch is in the position and all doors (and liftgate)
are closed and locked, the room lamp
will come on for 30 seconds if any of the
below is performed.
- When the door unlock button is pr
essed on the smart key.
- When you put y
our hand in the
outside door handle while carrying the
smart key.
At this time, if you press the door lock
or unlock button on the smart key the
lamps will turn off immediately.
Page 252 of 630
05
5-95
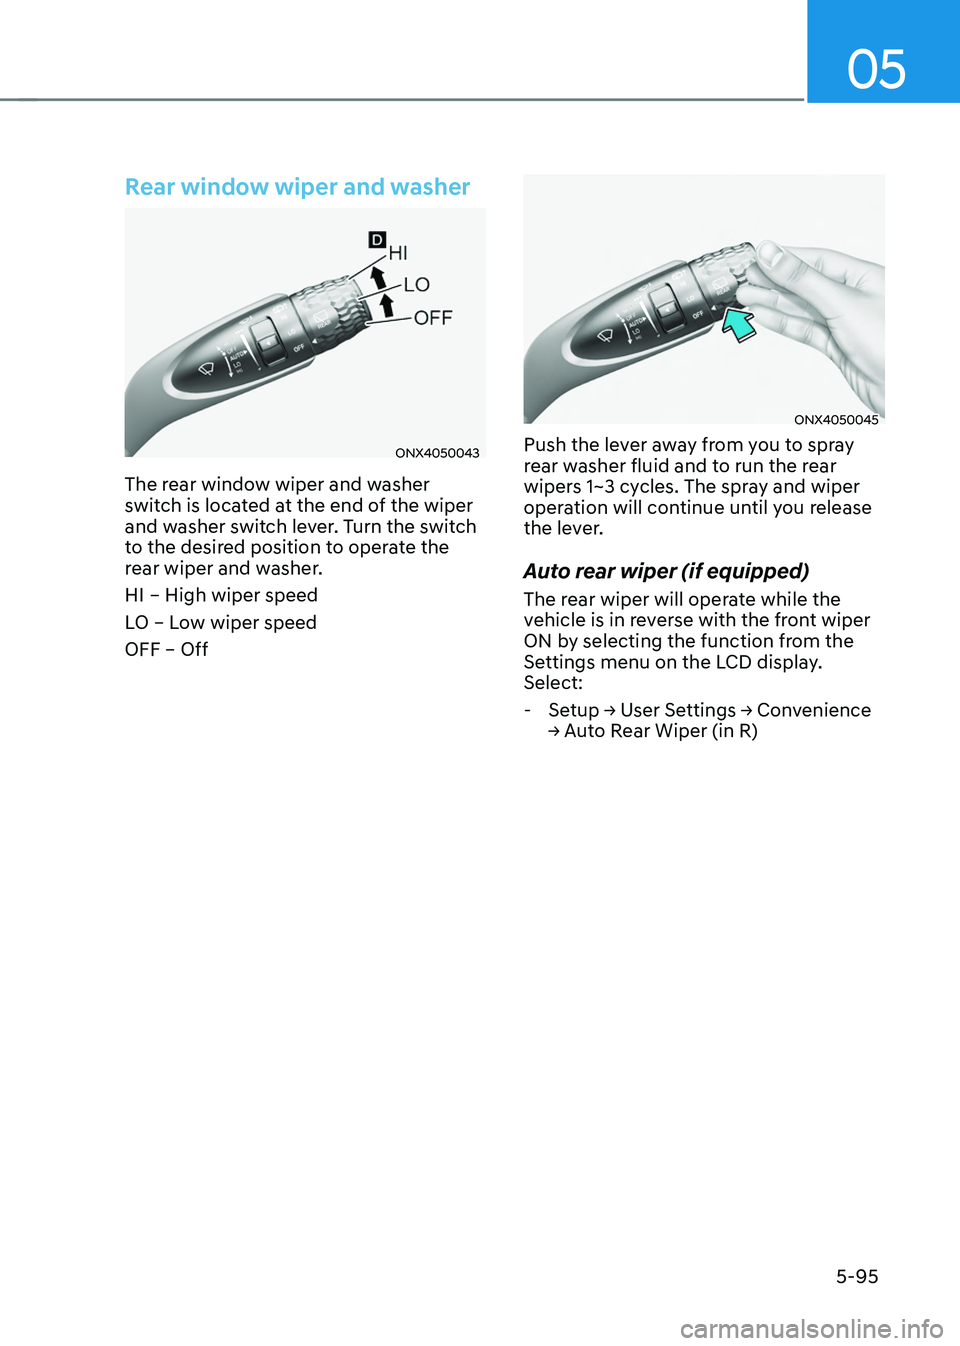
Rear window wiper and washer
ONX4050043
The rear window wiper and washer
switch is located at the end of the wiper
and washer switch lever. Turn the switch
to the desired position to operate the
rear wiper and washer.
HI – High wiper speed
LO – Low wiper speed
OFF – Off
ONX4050045
Push the lever away from you to spray
rear washer fluid and to run the rear
wipers 1~3 cycles. The spray and wiper
operation will continue until you release
the lever.
Auto rear wiper (if equipped)
The rear wiper will operate while the
vehicle is in reverse with the front wiper
ON by selecting the function from the
Settings menu on the LCD display.
Select:
-Setup → U
ser
Se
ttings
→ Con
venience
→ A
uto
R
ear
Wiper (in R)
Page 254 of 630
05
5-97
Automatic heating and air
conditioning
The Automatic Climate Control System
is controlled by setting the desired
temperature.
1.
Press the A
UTO button. (3)
The modes, fan speeds, air intake and
air-conditioning will be controlled
automatically by the temperature
setting you select.
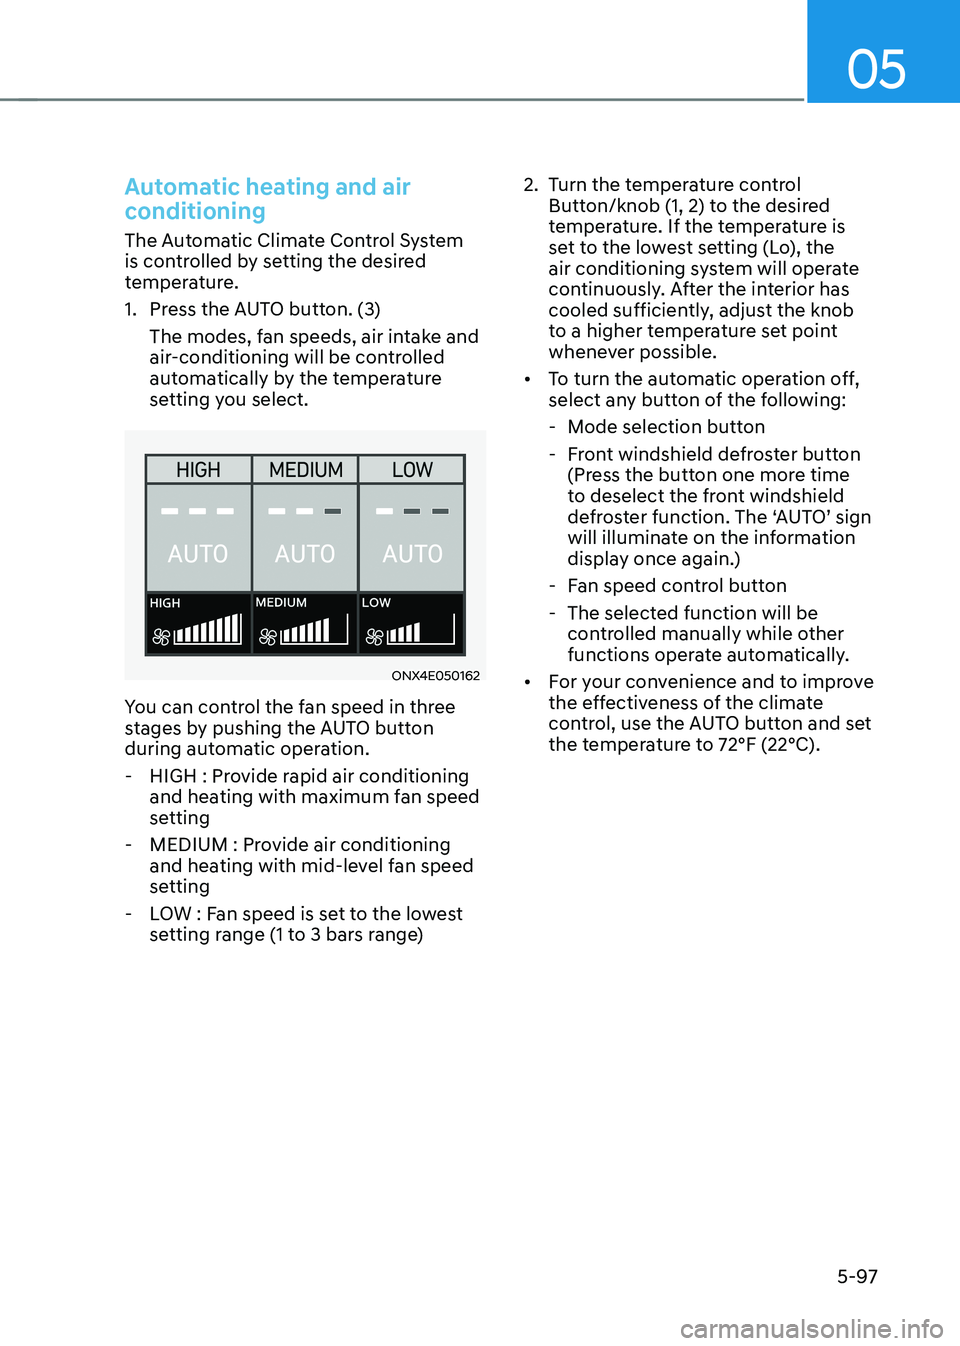
ONX4E050162
You can control the fan speed in three
stages by pushing the AUTO button
during automatic operation.
- HIGH : Pro
vide rapid air conditioning
and heating with maximum fan speed
setting
- MEDIUM : Pro
vide air conditioning
and heating with mid-level fan speed
setting
- LO
W : Fan speed is set to the lowest
setting range (1 to 3 bars range) 2.
Turn the t
emperature control
Button/knob (1, 2) to the desired
temperature. If the temperature is
set to the lowest setting (Lo), the
air conditioning system will operate
continuously. After the interior has
cooled sufficiently, adjust the knob
to a higher temperature set point
whenever possible.
• To turn the automatic operation off,
select any button of the following:
- Mode selection butt
on
- Fr
ont windshield defroster button
(Press the button one more time
to deselect the front windshield
defroster function. The ‘AUTO’ sign
will illuminate on the information
display once again.)
- Fan speed con
trol button
- The selected function will be
con
trolled manually while other
functions operate automatically.
• For your convenience and to improve
the effectiveness of the climate
control, use the AUTO button and set
the temperature to 72°F (22°C).
Page 259 of 630
Convenient features
5-102
Adjusting the driver and passenger side
temperature individually
• Press the SYNC button (indicator
light OFF) again to adjust the driver
and passenger side temperature
individually.
Temperature conversion
If the battery has been discharged or
disconnected, the temperature mode
display will reset to Fahrenheit.
To change the temperature unit from °C
to °F or °F to °C :
- Instrumen
t cluster or infotainment
system screen
Go
t
o
Se
tup
→ Unit → T
emperature
unit.
The t
emperature unit on both the cluster
LCD display and the climate control
screen will change.Air intake control
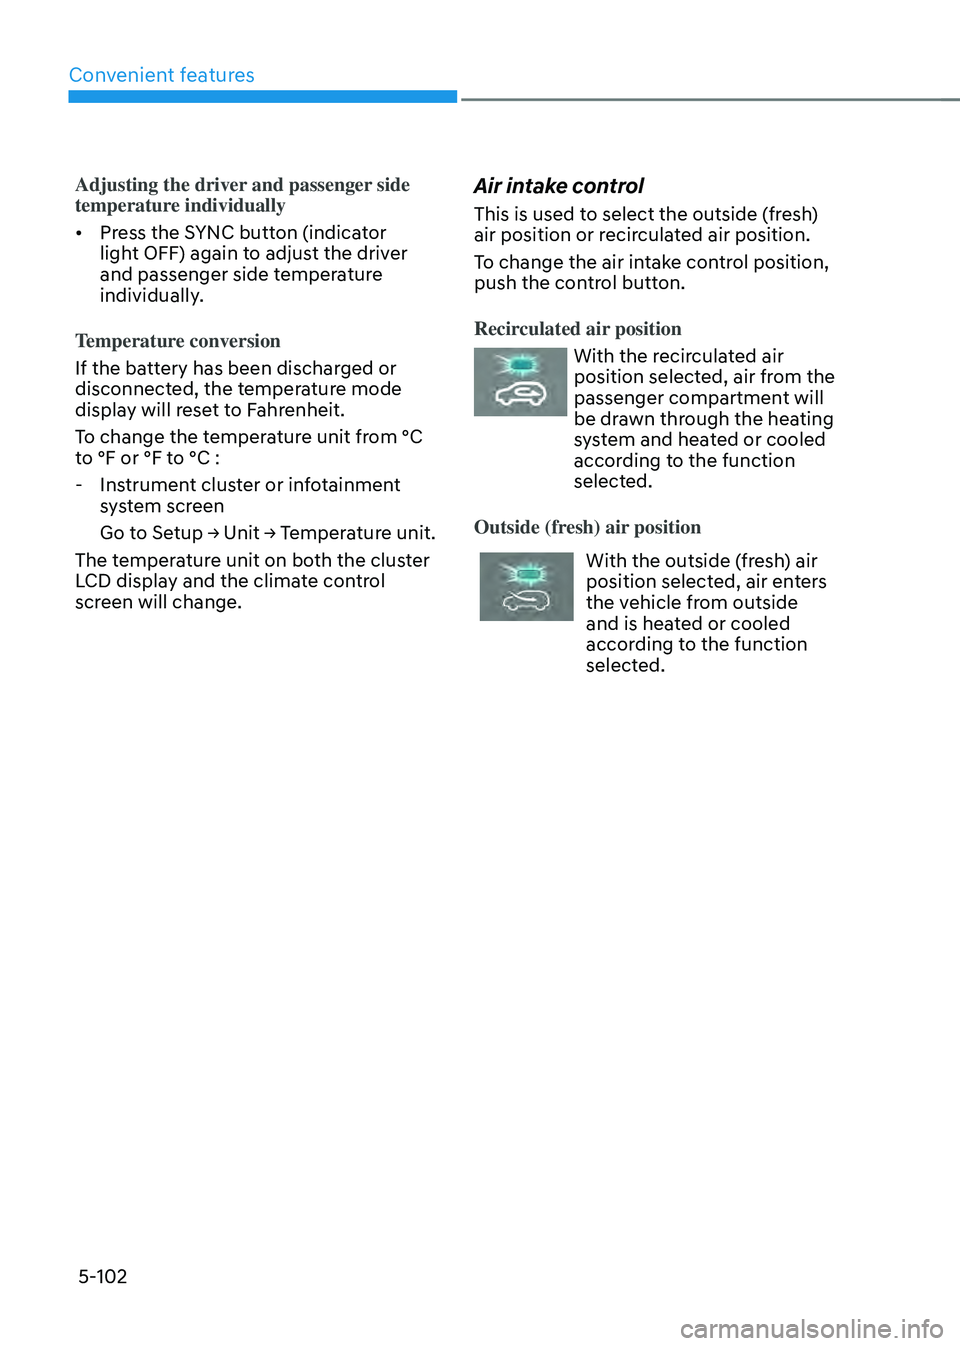
This is used to select the outside (fresh)
air position or recirculated air position.
To change the air intake control position,
push the control button.
Recirculated air position
With the recirculated air
position selected, air from the
passenger compartment will
be drawn through the heating
system and heated or cooled
according to the function
selected.
Outside (fresh) air position
With the outside (fresh) air
position selected, air enters
the vehicle from outside
and is heated or cooled
according to the function
selected.