Page 49 of 212

5-17
5
Deactivation point: this function allows you
to select the engine speed at which the light
is deactivated.
To enter the shift light control mode1. Turn the key to “ ” (off).
2. Push and hold the “MODE” button.
3. Turn the key to “ ” (on), and then re- lease the “MODE” button after all seg-
ments of the display disappear and the
shift light comes on. The shift light can be
adjusted as follows.
To set the flashing pattern1. Push the “RESET” button to select one of the following flashing pattern settings:
On: the shift light stays on when acti-
vated. (The shift light will confirm this
setting by staying on.)
Flash: the shift light flashes when acti-
vated. (The shift light will confirm this
setting by flashing four times per se-
cond.)
Off: the shift light is deactivated; in oth-
er words, it does not come on or flash.
(The shift light will confirm this setting
by flashing once every two seconds.)
2. Push the “MODE” button to confirm the
selected flashing pattern. The control
mode then changes to the activation
point setting function. The shift light re-
mains on and the tachometer shows the
current setting r/min for the activation
point.
To set the activation point
TIP The shift light activation point can be set
between 7000 r/min and 12000 r/min. The
activation point can be set in increments of
500 r/min.
The tachometer needle will start over at
7000 r/min after 12000 r/min.
UBAS7AE0.book Page 17 Wednesday, June 19, 2019 11:51 AM
Page 50 of 212

5-18
5
1. Push the “RESET” button to select thedesired engine speed for activating the
shift light.
2. Push the “MODE” button to confirm the selected engine speed. The shift light
flashes and the tachometer shows the
current setting r/min for the deactivation
point.
To set the deactivation pointTIP Be sure to set the deactivation point to a
higher engine speed than for the activation
point, otherwise the shift light will not come
on.
The shift light deactivation point can be set
between 7000 r/min and 12000 r/min. The
deactivation point can be set in increments
of 500 r/min.
The tachometer needle will start over at
7000 r/min after 12000 r/min.
1. Push the “RESET” button to select the
desired engine speed for deactivating the
shift light.
2. Push the “MODE” button to confirm the selected engine speed. The display exits
the shift light control mode and returns to
the standard multi-function display mo-
de.
Error code display1. Error code display
2. YCC-S system error code display
3. Engine trouble warning light “ ”
4. YCC-S system warning light “ ”
1
2
3
4
UBAS7AE0.book Page 18 Wednesday, June 19, 2019 11:51 AM
Page 51 of 212

5-19
5
This model is equipped with a self-diagnosis
device for various electrical circuits.
If a problem is detected in any of those cir-
cuits, the engine trouble warning light and/or
the YCC-S system warning light will come on
or flash, and the display will indicate an error
code.TIPYCC-S system error codes are displayed
only when the engine is stopped.
If the display indicates an error code, note
the code number and have a Yamaha deal-
er check the vehicle. NOTICEECB00812If the multi-function display indicates an
error code, the vehicle should be checked
as soon as possible in order to avoid en-
gine damage.
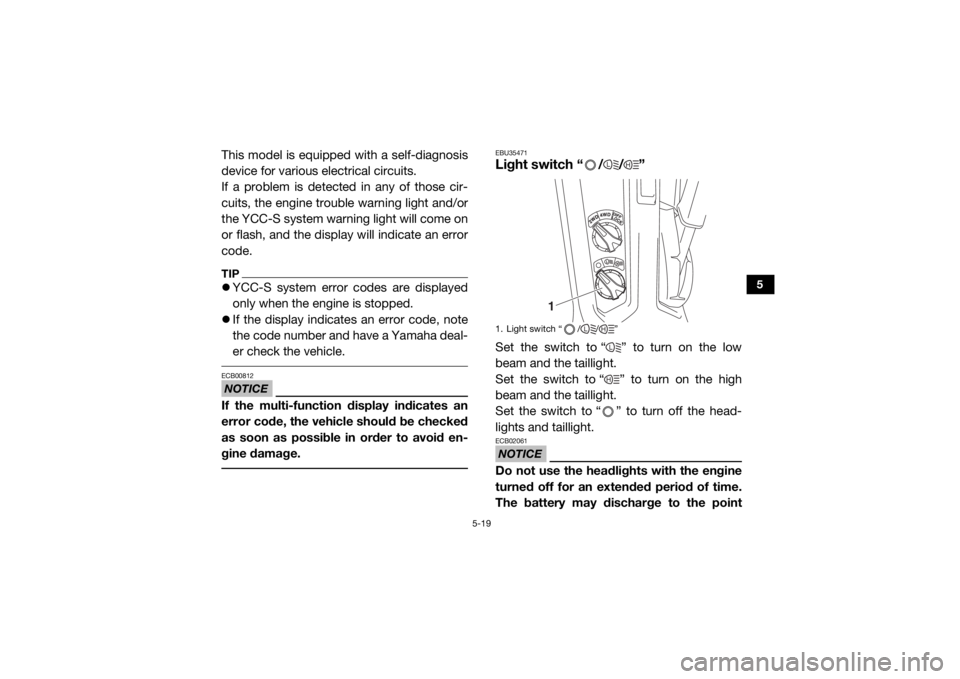
EBU35471Light switch “ / / ”Set the switch to “ ” to turn on the low
beam and the taillight.
Set the switch to “ ” to turn on the high
beam and the taillight.
Set the switch to “ ” to turn off the head-
lights and taillight.NOTICEECB02061Do not use the headlights with the engine
turned off for an extended period of time.
The battery may discharge to the point1. Light switch “ / / ”
L
H
1
L
HLH
UBAS7AE0.book Page 19 Wednesday, June 19, 2019 11:51 AM
Page 52 of 212
5-20
5
that the electric starter will not have
enough power to crank the engine. If this
should happen, remove the battery and re-
charge it. EBU36942Interior light switch “ ” (equipped
models)Push the upper side (a) of the interior light
switch to turn on the interior lights and push
the lower side (b) of the switch to turn off the
lights.1. Interior light (equipped models)
1
1. Interior light switch “ ”
(a)(b)
1
UBAS7AE0.book Page 20 Wednesday, June 19, 2019 11:51 AM
Page 53 of 212

5-21
5
EBU31402On–Command drive knob
“2WD/4WD/DIFF LOCK”Stop the vehicle and move the On–Command
drive knob to change the drive mode to two–
wheel drive, four–wheel drive, or four–wheel
drive with differential lock. Select the appro-
priate drive according to the terrain and driv-
ing conditions.
“2WD” (two–wheel drive): Power is sup-
plied to the rear wheels only.
“4WD” (four–wheel drive): Power is sup-
plied to the front and rear wheels.
“DIFF LOCK” (four–wheel drive with the dif-
ferential gear locked): Power is supplied to
the front and rear wheels with the differen-
tial gear locked. Unlike standard four–wheel
drive, all wheels turn at the same speed re-
gardless of traction.
EBU31413Accelerator pedalPress the accelerator pedal to increase en-
gine speed and thus vehicle speed. Release
the accelator pedal and spring tension will re-
turn the pedal to idle position.
1. On-Command drive knob “2WD/4WD/DIFF LOCK”
1
1. Accelerator pedal
1
UBAS7AE0.book Page 21 Wednesday, June 19, 2019 11:51 AM
Page 54 of 212
5-22
5
EBU31421Brake pedalPress the brake pedal to slow or stop the ve-
hicle.
EBU35642Parking brake leverSetting the parking brake lever will help keep
the vehicle from moving while parked.
To engage the parking brake, pull the lever
firmly.
To release the parking brake, pull slightly on
the lever, press the release button, and then
push the lever to its original position.TIPSpring tension helps return the lever to its
original position.
1. Brake pedal
1
1. Release button
2. Parking brake lever
12
UBAS7AE0.book Page 22 Wednesday, June 19, 2019 11:51 AM
Page 55 of 212

5-23
5
If you drive the vehicle with the parking
brake engaged, a buzzer will sound. EBU36633YCC-S systemThis vehicle is equipped with the Yamaha
Chip Controlled-Shift system (YCC-S) with
AUTO DOWNSHIFT.
YCC-S allows the driver to operate the man-
ual transmission without having to operate
the clutch. AUTO DOWNSHIFT automatically
shifts the transmission into first gear when
coming to a stop under normal conditions.
The transmission is operated using the drive
select lever and the shift paddles. The drive
select lever is used to shift the transmission
into forward drive (first gear), neutral, and re-
verse gear. The shift paddles are used to shift
through the forward gears.
When the drive select lever or shift paddles
are moved, a signal is sent to the MCU (motor
control unit) which disengages the clutch, the
gear shift is made, and then the clutch is re- engaged once the engine is running at proper
speed. Clutch engagement is controlled by
the MCU according to engine speed and oth-
er driving conditions.
TIP
This is not an automatic transmission, only
the clutch system is automatic.
The gears must be shifted by the driver, ex-
cept when AUTO DOWNSHIFT shifts the
transmission into first gear.
See page 7-3 for more information on shift-
ing.
UBAS7AE0.book Page 23 Wednesday, June 19, 2019 11:51 AM
Page 56 of 212
5-24
5
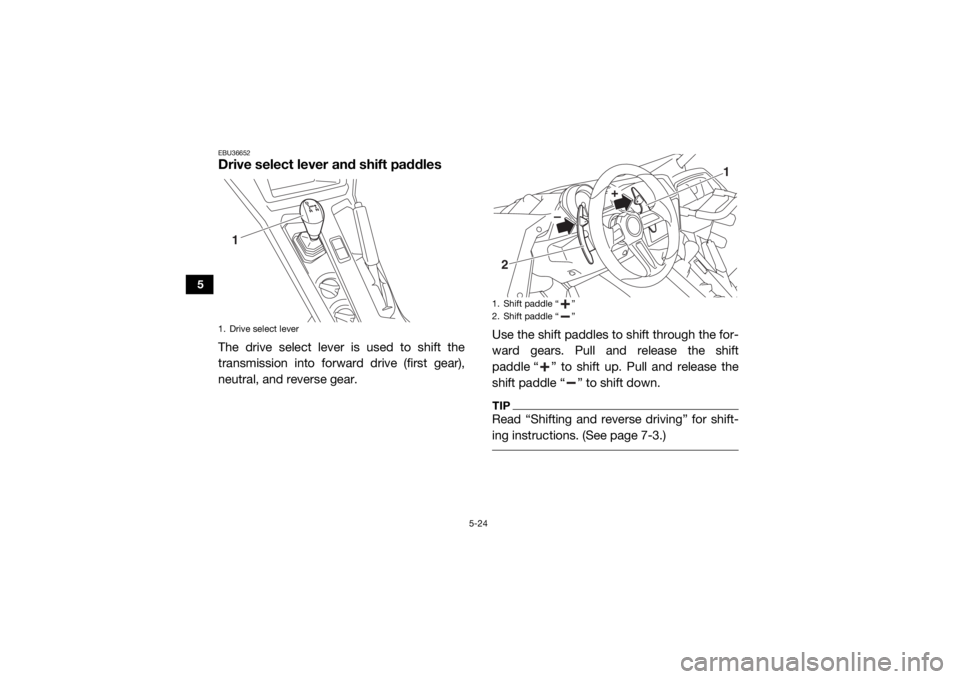
EBU36652Drive select lever and shift paddlesThe drive select lever is used to shift the
transmission into forward drive (first gear),
neutral, and reverse gear.Use the shift paddles to shift through the for-
ward gears. Pull and release the shift
paddle “ ” to shift up. Pull and release the
shift paddle “ ” to shift down.
TIPRead “Shifting and reverse driving” for shift-
ing instructions. (See page 7-3.)
1. Drive select lever
1
1. Shift paddle “ ”
2. Shift paddle “ ”
+
–
2
1
UBAS7AE0.book Page 24 Wednesday, June 19, 2019 11:51 AM