Page 202 of 350
199
IN CASE OF EMERGENCY
HAZARD WARNING FLASHERS
The Hazard Warning flasher switch is located on the instru-
ment panel below the climate controls.Push the switch to turn on the Hazard Warning
flasher. When the switch is activated, all directional
turn signals will flash on and off to warn oncoming
traffic of an emergency. Push the switch a second time to
turn off the Hazard Warning flashers.
This is an emergency warning system and it should not be
used when the vehicle is in motion. Use it when your vehicle
is disabled and it is creating a safety hazard for other
motorists. When you must leave the vehicle to seek assistance, the
Hazard Warning flashers will continue to operate even
though the ignition is placed in the OFF position.
NOTE:
With extended use, the Hazard Warning flashers may wear
down your battery.
6
2020_RAM_PROMASTER_CITY_OM_USA=GUID-7B6A7FCA-79B0-423F-95C5-ED2A949C3D13=1=en=.book Page 199
Page 209 of 350

206 IN CASE OF EMERGENCY
FUSESUnderhood Fuses
The Front Distribution Unit is located on the right side of the
engine compartment, next to the battery. To access the fuses,
remove fasteners and remove the cover.
Front Distribution Unit
The ID number of the electrical component corresponding to
each fuse can be found on the back of the cover.WARNING!
• When replacing a blown fuse, always use an appro -
priate replacement fuse with the same amp rating as the
original fuse. Never replace a fuse with another fuse of
higher amp rating. Never replace a blown fuse with
metal wires or any other material. Do not place a fuse
inside a circuit breaker cavity or vice versa. Failure to
use proper fuses may result in serious personal injury,
fire and/or property damage.
• Before replacing a fuse, make sure that the ignition is off and that all the other services are switched off and/
or disengaged.
• If the replaced fuse blows again, contact an authorized dealer.
• If a general protection fuse for safety systems (air bag system, braking system), power unit systems (engine
system, transmission system) or steering system blows,
contact an authorized dealer.
2020_RAM_PROMASTER_CITY_OM_USA=GUID-7B6A7FCA-79B0-423F-95C5-ED2A949C3D13=1=en=.book Page 206
Page 215 of 350
212 IN CASE OF EMERGENCY
JACKING AND TIRE CHANGING Jack Location — If Equipped
The jack and tools are stowed under the rear drivers front
seat or in the rear cargo area. It depends on the trim level.
Jack/Tools LocationWARNING!
• Do not attempt to change a tire on the side of the vehicle close to moving traffic. Pull far enough off the road to
avoid the danger of being hit when operating the jack
or changing the wheel.
• Being under a jacked-up vehicle is dangerous. The vehicle could slip off the jack and fall on you. You
could be crushed. Never put any part of your body
under a vehicle that is on a jack. If you need to get
under a raised vehicle, take it to a service center where
it can be raised on a lift.
• Never start or run the engine while the vehicle is on a jack.
• The jack is designed to be used as a tool for changing tires only. The jack should not be used to lift the
vehicle for service purposes. The vehicle should be
jacked on a firm level surface only. Avoid ice or slip -
pery areas.
2020_RAM_PROMASTER_CITY_OM_USA=GUID-7B6A7FCA-79B0-423F-95C5-ED2A949C3D13=1=en=.book Page 212
Page 220 of 350
IN CASE OF EMERGENCY 217
7. Pull the retainer through the center of the wheel.RetainerPreparations For Jacking
1. Park the vehicle on a firm level surface as far from theedge of the roadway as possible. Avoid icy or slippery
areas.
2. Turn on the Hazard Warning flasher.
3. Apply the parking brake.
4. Place the gear selector into PARK (P).
5. Turn the ignition to the STOP (OFF/LOCK) position.
WARNING!
Do not attempt to change a tire on the side of the vehicle
close to moving traffic. Pull far enough off the road to
avoid being hit when operating the jack or changing the
wheel.
6
2020_RAM_PROMASTER_CITY_OM_USA=GUID-7B6A7FCA-79B0-423F-95C5-ED2A949C3D13=1=en=.book Page 217
Page 221 of 350
218 IN CASE OF EMERGENCY
(Continued)
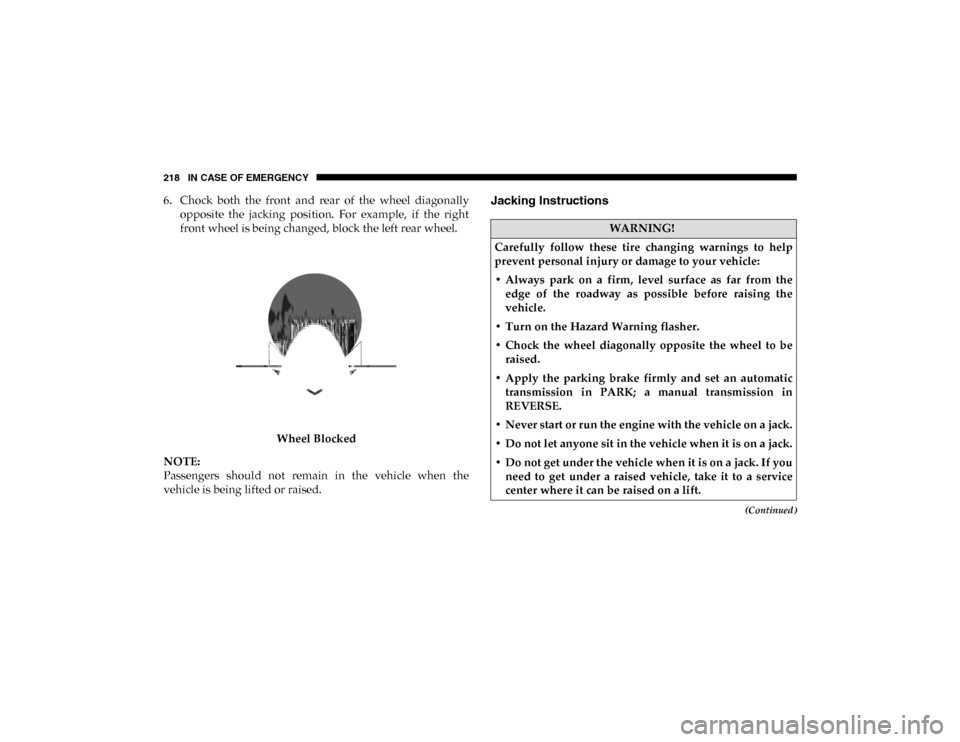
6. Chock both the front and rear of the wheel diagonallyopposite the jacking position. For example, if the right
front wheel is being changed, block the left rear wheel.
Wheel Blocked
NOTE:
Passengers should not remain in the vehicle when the
vehicle is being lifted or raised.Jacking Instructions
WARNING!
Carefully follow these tire changing warnings to help
prevent personal injury or damage to your vehicle:
• Always park on a firm, level surface as far from the edge of the roadway as possible before raising the
vehicle.
• Turn on the Hazard Warning flasher.
• Chock the wheel diagonally opposite the wheel to be raised.
• Apply the parking brake firmly and set an automatic transmission in PARK; a manual transmission in
REVERSE.
• Never start or run the engine with the vehicle on a jack.
• Do not let anyone sit in the vehicle when it is on a jack.
• Do not get under the vehicle when it is on a jack. If you need to get under a raised vehicle, take it to a service
center where it can be raised on a lift.
2020_RAM_PROMASTER_CITY_OM_USA=GUID-7B6A7FCA-79B0-423F-95C5-ED2A949C3D13=1=en=.book Page 218
Page 222 of 350
IN CASE OF EMERGENCY 219
Jack Warning Label
• Only use the jack in the positions indicated and for
lifting this vehicle during a tire change.
• If working on or near a roadway, be extremely careful of motor traffic.
• To assure that spare tires, flat or inflated, are securely stowed, spares must be stowed with the valve stem
facing the ground.
• The stowed spare tire should always be checked for security by pushing on it with your hand, at the loca -
tion under the rear bumper, behind the vehicle. The
spare tire should not move when fully secured by the
winch under the vehicle.
WARNING! (Continued)
6
2020_RAM_PROMASTER_CITY_OM_USA=GUID-7B6A7FCA-79B0-423F-95C5-ED2A949C3D13=1=en=.book Page 219
Page 225 of 350

222 IN CASE OF EMERGENCY
Rear Jacking Location3. Turn the handle on the jack screw to the right until the
jack head is properly engaged in the described location.
Do not raise the vehicle until you are sure the jack is
securely engaged.
4. Raise the vehicle by turning the jack screw to the right until the tire just clears the surface and enough clearance
is obtained to install the spare tire. Minimum tire lift
provides maximum stability.
5. Remove the wheel lug bolts. For vehicles with wheel covers, remove the cover from the wheel by hand. Do not
pry the wheel cover off. Then pull the wheel off the hub.
6. Install the spare tire. Lightly tighten the wheel lug bolts using the bolt install wrench.
WARNING!
Being under a jacked-up vehicle is dangerous. The vehicle
could slip off the jack and fall on you. You could be
crushed. Never get any part of your body under a vehicle
that is on a jack. If you need to get under a raised vehicle,
take it to a service center where it can be raised on a lift.
CAUTION!
Do not attempt to raise the vehicle by jacking on
locations other than those indicated in the Jacking
Instructions for this vehicle.
WARNING!
Raising the vehicle higher than necessary can make the
vehicle less stable. It could slip off the jack and hurt
someone near it. Raise the vehicle only enough to
remove the tire.
2020_RAM_PROMASTER_CITY_OM_USA=GUID-7B6A7FCA-79B0-423F-95C5-ED2A949C3D13=1=en=.book Page 222
Page 226 of 350

IN CASE OF EMERGENCY 223
Mounting Spare Tire7. Lower the vehicle by turning the jack screw to the left.
Refer to “Torque Specifications” in “Technical Specifica -
tions” for proper wheel lug bolt torque.
8. Lower the jack to its fully-closed position.
9. Stow the cable and wheel spacer before driving the vehicle. Refer to “Vehicles With Alloy Wheels” in this
section for instructions on stowing alloy wheels.
10. Stow the jack and tools under the driver’s seat.
11. Check the spare tire pressure as soon as possible. Correct the tire pressure, as required.
12. When you place the spare tire back on the winch or if you carry the tire in need of repair on the winch, always check
that the tire is properly secured under the vehicle by pushing
on the stowed tire under the rear bumper at the back of the
vehicle. If the tire has motion when pushed, use the tools to
re-tighten the winch until a loud click is heard.
WARNING!
To avoid the risk of forcing the vehicle off the jack, do
not fully tighten the wheel bolts until the vehicle has
been lowered. Failure to follow this warning may result
in serious injury.
CAUTION!
Be sure to mount the spare tire with the valve stem facing
outward. The vehicle could be damaged if the spare tire
is mounted incorrectly.
WARNING!
A loose tire or jack thrown forward in a collision or hard
stop could endanger the occupants of the vehicle.
Always stow the jack parts and the spare tire in the
places provided. Have the deflated (flat) tire repaired or
replaced immediately.
6
2020_RAM_PROMASTER_CITY_OM_USA=GUID-7B6A7FCA-79B0-423F-95C5-ED2A949C3D13=1=en=.book Page 223