2020 PEUGEOT PARTNER TEPEE reset
[x] Cancel search: resetPage 9 of 216

7
Instrument panel
Dials
1.Distance recorder in kilometres/miles.
2. Display screen.
3. Fuel gauge, coolant temperature gauge.
4. Rev counter.
5. Trip distance recorder/ser vice indicator
reset.
6. Instrument panel lighting dimmer.
Displays
Level 1
Level 2 with the touch screen
Screens
The format of the information presented in the
screen depends on the vehicle's equipment
level.
1
Instruments
Page 20 of 216

18
Indicators
Service indicator
This adjusts the ser vice inter val based on the
vehicle usage.
Operation
For a few seconds after the ignition is switched
on, the spanner indicating a ser vice operation
comes on. The distance recorder display line
indicates the distance remaining before the
next ser vice is due (rounded up by default).
The ser vice due dates are calculated from the
last reset of the ser vice indicator.
The due date is determined based on two
parameters:
-
t
he total distance travelled,
-
t
he time since the last ser vice.The distance remaining may be weighted
by the time factor, depending on the type
of driving.
More than 1,000 miles/km remain
b efore the next ser vice is due
Example: there are 4,800 miles/km remaining
before the next ser vice is due. For a few
seconds after the ignition is switched on, the
screen indicates:
Less than 1,000 miles/km remain
b efore the next ser vice is due
Each time the ignition is switched on and for a
few seconds, the spanner symbol flashes and
the distance remaining is displayed:
Service overdue
Each time the ignition is
switched on and for a few
seconds, the spanner symbol
flashes and the excess
distance travelled is displayed.
With the engine running, the spanner symbol
remains on until the ser vice has been per formed.
For BlueHDi Diesel versions, this alert is also
accompanied by the continuous illumination of
the Ser vice warning lamp when the ignition is
switched on.
For BlueHDi Diesel versions, the spanner
can also come on early, according to the
degree of deterioration of the engine oil.
The degree of deterioration of the engine
oil depends on the driving conditions in
which the vehicle is used.
A few seconds after the ignition is switched
on, the oil level is displayed, depending on
the version, and then the distance recorder
resumes its normal operation, indicating the
total and trip distances.
A few seconds after the ignition is switched
on, the oil level is displayed, depending on
the version, and then the distance recorder resumes its normal operation. The spanner
symbol remains on as a reminder that a ser vice
is required soon.
Zero reset
Your PEUGEOT dealer or a qualified workshop
will per form this operation after each ser vice.
If you carry out the ser vicing of your vehicle
yourself, the reset procedure is as follows:
F
s
witch off the ignition,
Instruments
Page 21 of 216

19
Following this operation, if you wish to
disconnect the battery, lock the vehicle
and wait at least five minutes for the reset
to be taken into account.
Engine oil level indicator
Depending on your vehicle’s engine, when the
ignition is switched on, the engine oil level is
indicated for a few seconds after the ser vice
information.
Oil level correctLow oil level
Oil level gauge fault
The level read will only be correct if the
vehicle is on level ground and the engine
has been stopped for more than thirty
minutes.
For more information on Checking the
levels
and, in particular, the oil level, refer
to the corresponding section.
The flashing of OIL- -
indicates a malfunction
of the engine oil level gauge. Contact a
PEUGEOT dealer or a qualified workshop. The flashing of OIL , together with the Ser vice
warning lamp, accompanied by an audible
signal and a message on the screen, indicates
a low oil level which could damage the engine.
If the low oil level is confirmed by checking with
the dipstick, the level must be topped up.
F
p
ress the trip distance recorder reset button
and keep it pressed,
F
s
witch on the ignition.
The distance recorder display begins a
countdown.
When the display indicates " =0", release the
button; the spanner disappears.
Trip recorder reset button
F With the ignition on, press the button until zeros
appear.
Fuel gauge
The fuel level is tested every time the ignition is
turned to the "on" position.
If the gauge is positioned on:
-
1 : t
he tank is full, about 60 litres.
-
0 : t
he use of the reser ve is started, the
warning lamp lights up permanently. When
the warning lamp comes on, the reser ve is
approximately 8
litres.
1
Instruments
Page 25 of 216

23
Each press of the button on the end of the
wiper control stalk allows you to scroll through
the various trip computer information displays,
depending on the screen.
The "vehicle" tab with the range, current fuel
consumption and remaining distance to travel.
The "1" tab (trip 1) with the average speed,
average fuel consumption and distance
travelled in trip 1 .
The "2" tab (trip 2) with the same information
for a 2
nd trip.
Zero reset
F When the desired trip is displayed, press the control for more than two seconds.
A few definitions
Range: displays the distance that can still be
travelled with the fuel detected in the tank on
the basis of the average consumption over the
last few miles (kilometres) travelled. If dashes instead of figures continue to
be displayed when driving, contact a
PEUGEOT dealer.
This displayed value can vary greatly
following a change in the vehicle's driving
conditions or the terrain. When the range falls below 19
miles (30 km),
dashes are displayed. After filling with at least
10 litres of fuel, the range is recalculated and is
displayed if it exceeds 62 miles (100 km).
Current fuel consumption: calculated
and displayed only when exceeding 19 mph
(30
km/h).
Average consumption: this is the average
fuel consumption since the last trip computer
zero reset.
Distance travelled: calculated from the last
trip computer zero reset.
Remaining distance: calculated according
to the final destination entered by the user. If
navigation is activated, the navigation system
calculates it instantaneously.
Average speed: this is the average speed
calculated since the last trip computer zero
reset (with the ignition on).
Date and time setting
Centre console without
screen
To adjust the time on the clock, use the left-
hand button on the instrument panel.
F
T
urn to the left: the minutes flash.
F
T
urn to the right to increase the minutes
(hold the button towards the right to scroll
through faster).
F
T
urn to the left: the hours flash.
F
T
urn to the right to increase the hours (hold
the button towards the right to scroll through
faster).
F
T
urn to the left: 24H or 12H is displayed.
F
T
urn to the right to select 24H or 12H.
F
T
urn to the left to finish setting the time.
The usual screen displays again when the
button has not been pressed for approximately
30
seconds.
1
Instruments
Page 77 of 216

75
Rear wiper
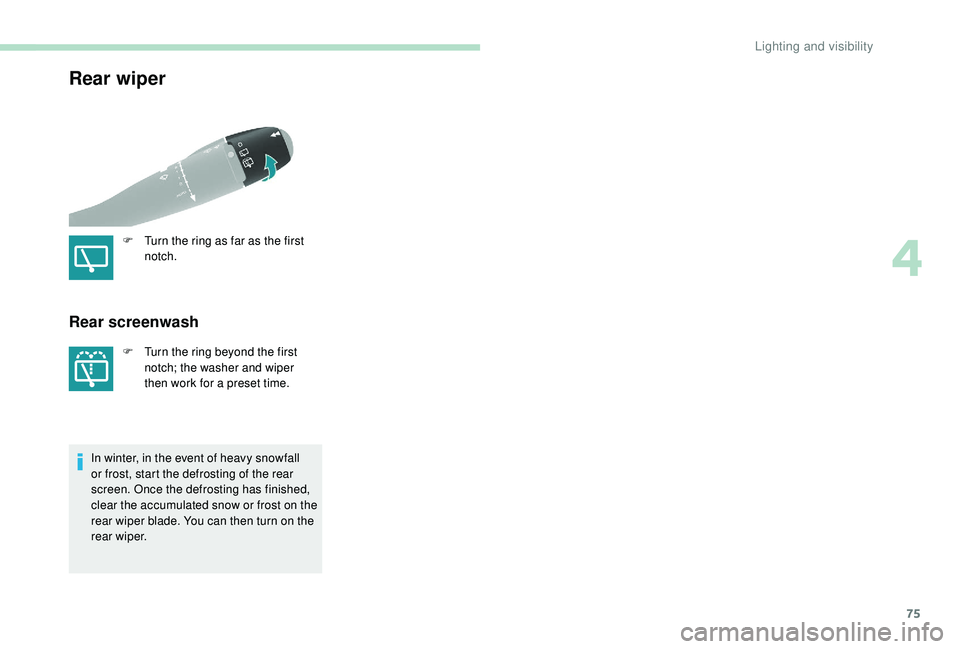
F Turn the ring as far as the first notch.
Rear screenwash
F Turn the ring beyond the first notch; the washer and wiper
then work for a preset time.
In winter, in the event of heavy snowfall
or frost, start the defrosting of the rear
screen. Once the defrosting has finished,
clear the accumulated snow or frost on the
rear wiper blade. You can then turn on the
rear wiper.
4
Lighting and visibility
Page 83 of 216

81
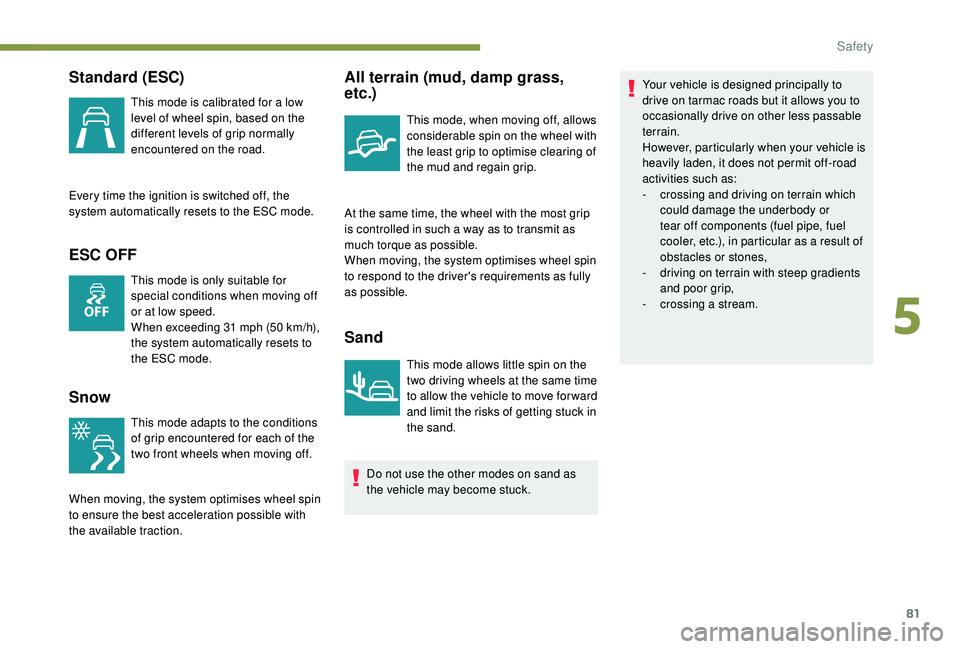
Standard (ESC)
This mode is calibrated for a low
level of wheel spin, based on the
different levels of grip normally
encountered on the road.
Every time the ignition is switched off, the
system automatically resets to the ESC mode.
ESC OFF
This mode is only suitable for
special conditions when moving off
or at low speed.
When exceeding 31
mph (50 km/h),
the system automatically resets to
the ESC mode.
Snow
This mode adapts to the conditions
of grip encountered for each of the
two front wheels when moving off.
When moving, the system optimises wheel spin
to ensure the best acceleration possible with
the available traction.
All terrain (mud, damp grass,
etc.)
This mode, when moving off, allows
considerable spin on the wheel with
the least grip to optimise clearing of
the mud and regain grip.
At the same time, the wheel with the most grip
is controlled in such a way as to transmit as
much torque as possible.
When moving, the system optimises wheel spin
to respond to the driver's requirements as fully
as possible.
Sand
This mode allows little spin on the
two driving wheels at the same time
to allow the vehicle to move for ward
and limit the risks of getting stuck in
the sand. Your vehicle is designed principally to
drive on tarmac roads but it allows you to
occasionally drive on other less passable
terrain.
However, particularly when your vehicle is
heavily laden, it does not permit off-road
activities such as:
-
c
rossing and driving on terrain which
could damage the underbody or
tear off components (fuel pipe, fuel
cooler, etc.), in particular as a result of
obstacles or stones,
-
d
riving on terrain with steep gradients
and poor grip,
-
c
rossing a stream.
Do not use the other modes on sand as
the vehicle may become stuck.
5
Safety
Page 110 of 216

108
Gear shift indicator
This system helps reduce fuel consumption by
recommending the most appropriate gear.
With an electronic gearbox, the system is active
only in manual mode.The information appears in the instrument
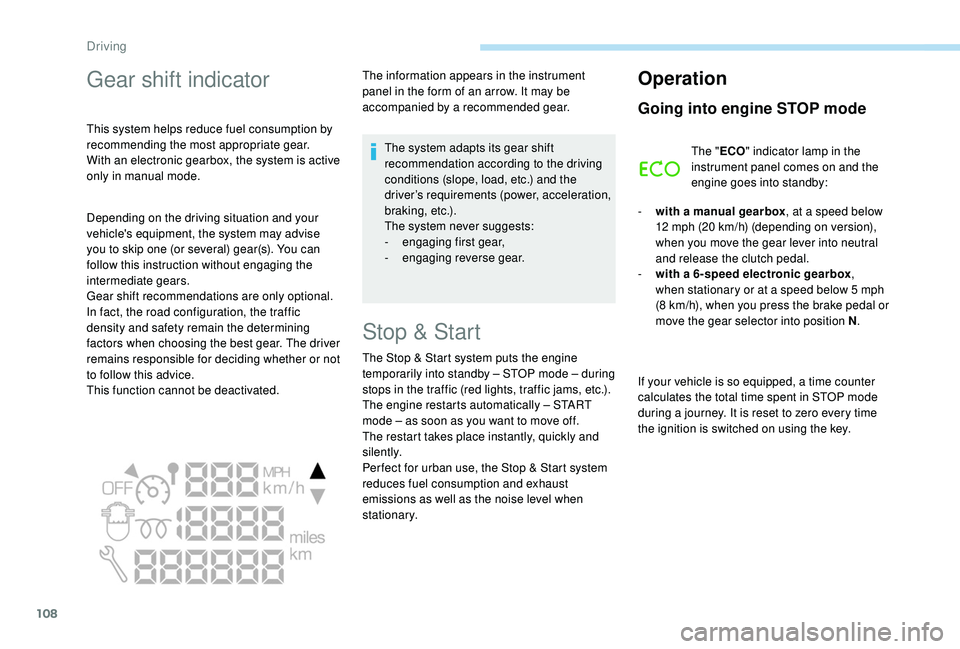
panel in the form of an arrow. It may be
accompanied by a recommended gear.
The system adapts its gear shift
recommendation according to the driving
conditions (slope, load, etc.) and the
driver’s requirements (power, acceleration,
b r a k i n g , e t c .) .
The system never suggests:
-
e
ngaging first gear,
-
enga
ging reverse gear.
Stop & Start
The Stop & Start system puts the engine
t emporarily into standby – STOP mode – during
stops in the traffic (red lights, traffic jams, etc.).
The engine restarts automatically – START
mode – as soon as you want to move off.
The restart takes place instantly, quickly and
silently.
Per fect for urban use, the Stop & Start system
reduces fuel consumption and exhaust
emissions as well as the noise level when
stationary.
Operation
Going into engine STOP mode
The " ECO" indicator lamp in the
instrument panel comes on and the
engine goes into standby:
-
w
ith a manual gearbox , at a speed below
12
mph (20 km/h) (depending on version),
when you move the gear lever into neutral
and release the clutch pedal.
-
w
ith a 6-speed electronic gearbox ,
when stationary or at a speed below 5
mph
(8
km/h), when you press the brake pedal or
move the gear selector into position N .
If your vehicle is so equipped, a time counter
calculates the total time spent in STOP mode
during a journey. It is reset to zero every time
the ignition is switched on using the key.
Depending on the driving situation and your
vehicle's equipment, the system may advise
you to skip one (or several) gear(s). You can
follow this instruction without engaging the
intermediate gears.
Gear shift recommendations are only optional.
In fact, the road configuration, the traffic
density and safety remain the determining
factors when choosing the best gear. The driver
remains responsible for deciding whether or not
to follow this advice.
This function cannot be deactivated.
Driving
Page 178 of 216

2
* Depending on equipment. Press Menu to display the menu
carousel.
Volume adjustment (each source is
independent, including traffic announcements
(TA) and navigation instructions). Increase volume.
Decrease volume.
Mute by pressing the volume increase and
decrease buttons simultaneously. In very hot conditions, the volume may be
limited to protect the system. The return to
normal takes place when the temperature
in the passenger compartment drops.
The screen is of the "resistive" type, it is
necessary to press firmly, particularly for
"flick" gestures (scrolling through a list,
moving the map, etc.). A simple swipe will
not be enough. Pressing with more than
one finger is not recognised.
The screen can be used with gloves. This
technology allows use at all temperatures.
To clean the screen, use a soft non-
abrasive cloth (spectacles cloth) without
any additional product.
Do not use sharp objects on the screen.
Do not touch the screen with wet hands.
-
F
M/DAB*/AM* radio stations.
-
U
SB stick.
-
S
martphone via MirrorLink
TM or CarPlay®.
- T
elephone connected via Bluetooth®*
and Bluetooth® multimedia broadcast*
(streaming).
-
M
edia player connected via the auxiliary
socket (jack, cable not supplied). Restore the sound by pressing one of the two
volume buttons.
Steering mounted controls
Radio: select previous/next preset
station.
Media: select the genre/artist/
folder from the list depending on
classification.
Select the previous/next item in a
menu.
Radio: automatic search for a higher
frequency.
Media: select the next track.
Media, press and hold: fast for ward.
Skip in the list.
Change the audio source.
Confirm a selection.
Pick up/hang up the telephone.
Press for more than 2
seconds:
access the telephone menu.
Radio: automatic search for a lower
frequency.
Media: select the previous track.
Media, press and hold: rewind.
Skip in the list.
7-inch touch screen