2020 NISSAN ALTIMA oil
[x] Cancel search: oilPage 122 of 559

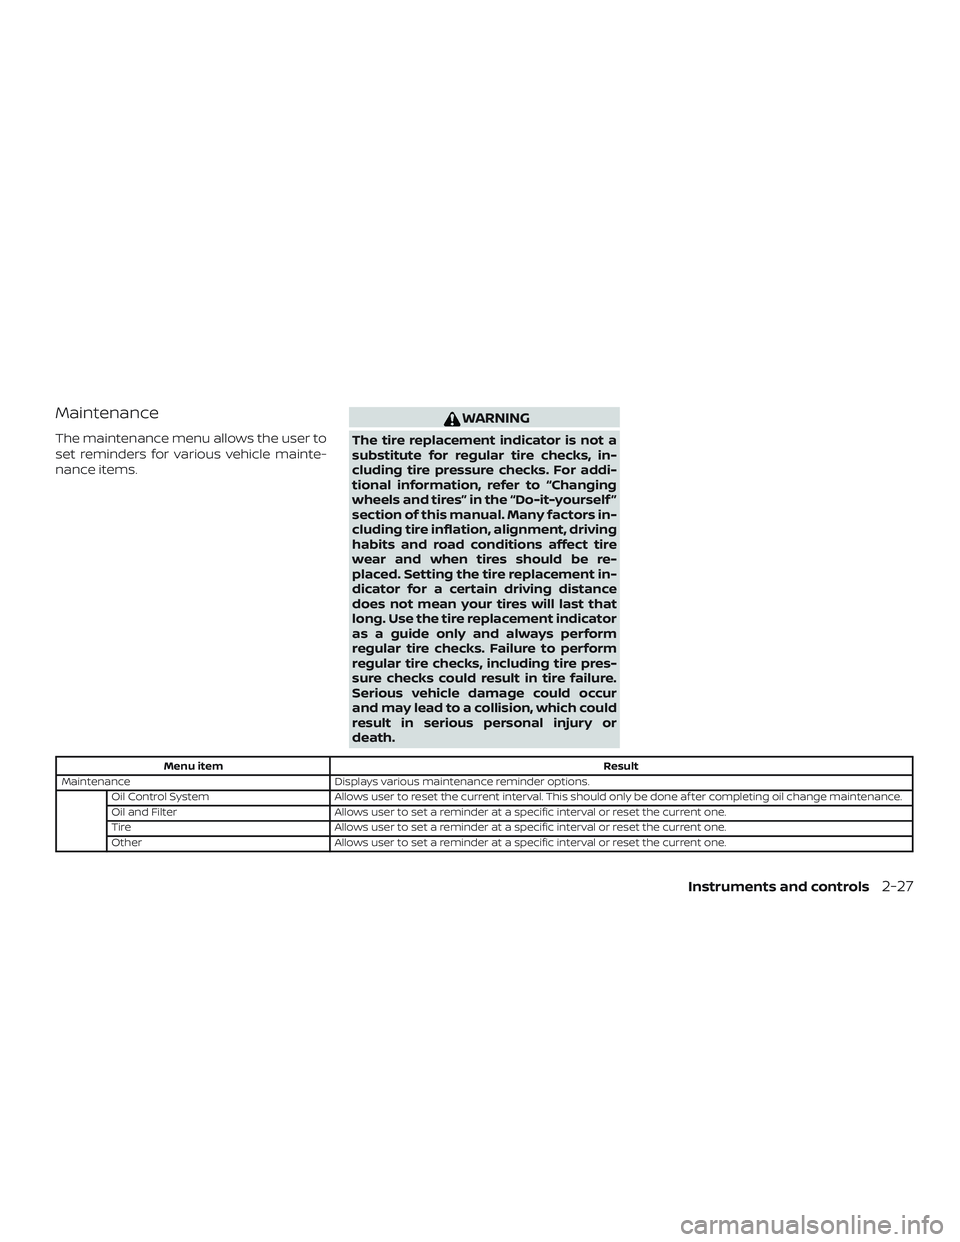
Maintenance
The maintenance menu allows the user to
set reminders for various vehicle mainte-
nance items.
WARNING
The tire replacement indicator is not a
substitute for regular tire checks, in-
cluding tire pressure checks. For addi-
tional information, refer to “Changing
wheels and tires” in the “Do-it-yourself ”
section of this manual. Many factors in-
cluding tire inflation, alignment, driving
habits and road conditions affect tire
wear and when tires should be re-
placed. Setting the tire replacement in-
dicator for a certain driving distance
does not mean your tires will last that
long. Use the tire replacement indicator
as a guide only and always perform
regular tire checks. Failure to perform
regular tire checks, including tire pres-
sure checks could result in tire failure.
Serious vehicle damage could occur
and may lead to a collision, which could
result in serious personal injury or
death.
Menu itemResult
Maintenance Displays various maintenance reminder options.
Oil Control System Allows user to reset the current interval. This should only be done af ter completing oil change maintenance.
Oil and Filter Allows user to set a reminder at a specific interval or reset the current one.
Tire Allows user to set a reminder at a specific interval or reset the current one.
Other Allows user to set a reminder at a specific interval or reset the current one.
Instruments and controls2-27
Page 128 of 559

VEHICLE INFORMATION DISPLAY
WARNINGS
1. No Key Detected
2. Key ID Incorrect
3. Key Battery Low
4. Key System Error: See Owner’s Manual
5. Key Registration Complete
6. Shif t to Park
7. Push ignition to OFF
8. Push brake and start switch to drive
9. Engine start operation for IntelligentKey system (if I-Key battery level is low)
10. Release Parking Brake
11. Low Fuel
12. Loose Fuel Cap
13. Engine Oil Service due in———miles
14. Low Washer Fluid (if so equipped)
15. Tire Pressure Low - Add Air
16. Door Open
17. Trunk Open
18. Low Outside Temperature 19. Power will turn off to save the battery
20. Power turned off to save the battery
21. Reminder: Turn OFF Headlights
22. Headlight System Error: See Owner’s
Manual (if so equipped)
23. Parking Sensor Error: See Owner’s Manual (if so equipped)
24. Driver Attention Alert Malfunction
25. Malfunction: See Owner’s Manual (if so equipped)
26. Unavailable: Side Radar Obstruction (if so equipped)
27. Unavailable: High Cabin Temperature (if so equipped)
28. Time for a break?
29. Driver Attention Alert— Take a Break?
30. Malfunction (if so equipped)
31. Shipping Mode On Push Storage Fuse
32. Not Available: Parking Brake On (if so equipped)
33. Rear Door Alert is activated
34. Check Rear Seat For All Articles 35. Intelligent Cruise Control (ICC) indica-
tors (if so equipped)
36. Intelligent Cruise Control (ICC) (for ve- hicles with ProPILOT Assist) indicators
(if so equipped)
37. Speed Limit Sign indicator (if so equipped)
38. Chassis Control System Error: See Owner’s Manual (if so equipped)
39. Not Available System Malfunction (if so equipped)
40. Not Available: Seat Belt Not Fastened (if so equipped)
41. Not Available: Front Radar Blocked (if so equipped)
42. Currently not available (if so equipped)
43. Not Available Poor Road Conditions (if so equipped)
44. AWD Error: See Owner’s Manual (if so equipped)
45. AWD High Temp. Stop Vehicle (if so equipped)
46. AWD Tire Size Incorrect: See Owner’s Manual (if so equipped)
Instruments and controls2-33
Page 130 of 559

Engine start operation for Intelligent
Key system (if I-Key battery level is low)
This indicator appears when the battery of
the Intelligent Key is low and when the In-
telligent Key system and the vehicle are not
communicating normally.
If this appears, touch the ignition switch
with the Intelligent Key while depressing
the brake pedal. For additional information,
refer to “NISSAN Intelligent Key® battery dis-
charge” in the “Starting and driving” section
of this manual.
Release Parking Brake
This warning illuminates in the message
area of the vehicle information display
when the parking brake is set and the ve-
hicle is driven.
Low Fuel
This warning illuminates when the fuel level
in the fuel tank is getting low. Refuel as
soon as it is convenient, preferably before
the fuel gauge reaches 0 (Empty).There
will be a small reserve of fuel in the tank
when the fuel gauge needle reaches 0
(Empty). Loose Fuel Cap
This warning appears when the fuel-filler
cap is not tightened correctly af ter the ve-
hicle has been refueled. For additional in-
formation, refer to “Fuel-filler cap” in the
“Pre-driving checks and adjustments” sec-
tion of this manual.
Engine Oil Service due in–––miles
This distance to oil change is displayed if
the distance to oil change is less than
62 miles (100 km).
Low Washer Fluid (if so equipped)
This warning illuminates when the
windshield-washer fluid is at a low level.
Add windshield-washer fluid as necessary.
For additional information, refer to
“Windshield-washer fluid” in the “Do-it-
yourself ” section of this manual.
Tire Pressure Low - Add Air
This warning appears when the low tire
pressure warning light in the meter illumi-
nates and low tire pressure is detected. The
warning appears each time the ignition
switch is placed in the ON position as long
as the low tire pressure warning light re-
mains illuminated. If this warning appears,
stop the vehicle and adjust the tire pres-sures of all four tires to the recommended
COLD tire pressure shown on the Tire and
Loading Information label. For additional
information, refer to “Low tire pressure
warning light” in this section and “Tire Pres-
sure Monitoring System (TPMS)” in the
“Starting and driving” section of this
manual.
Door Open
This warning illuminates when a door has
been opened.
Trunk Open
This warning illuminates when the trunk
has been opened.
Low Outside Temperature
This warning appears if the outside tem-
perature is below 37°F (3°C). The tempera-
ture can be changed to display in Celsius or
Fahrenheit. For additional information, re-
fer to “Settings” in this section.
Power will turn off to save the battery
This message appears in the vehicle infor-
mation display af ter a period of time if the
ignition switch is in the AUTO ACC or the ON
position and if the vehicle is in P (Park). For
additional information, refer to “Push-
Instruments and controls2-35
Page 134 of 559

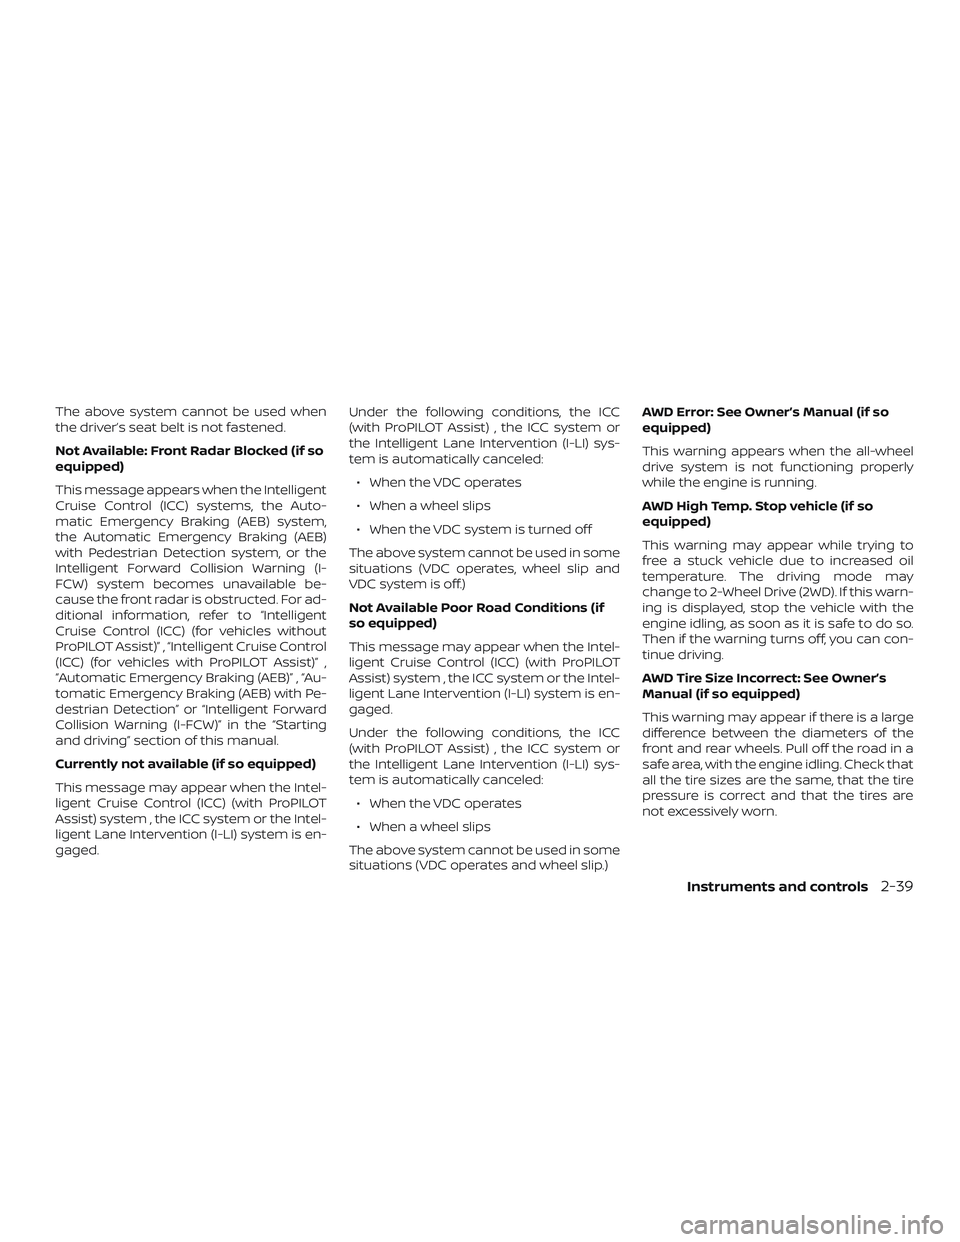
The above system cannot be used when
the driver’s seat belt is not fastened.
Not Available: Front Radar Blocked (if so
equipped)
This message appears when the Intelligent
Cruise Control (ICC) systems, the Auto-
matic Emergency Braking (AEB) system,
the Automatic Emergency Braking (AEB)
with Pedestrian Detection system, or the
Intelligent Forward Collision Warning (I-
FCW) system becomes unavailable be-
cause the front radar is obstructed. For ad-
ditional information, refer to “Intelligent
Cruise Control (ICC) (for vehicles without
ProPILOT Assist)” , “Intelligent Cruise Control
(ICC) (for vehicles with ProPILOT Assist)” ,
“Automatic Emergency Braking (AEB)” , “Au-
tomatic Emergency Braking (AEB) with Pe-
destrian Detection” or “Intelligent Forward
Collision Warning (I-FCW)” in the “Starting
and driving” section of this manual.
Currently not available (if so equipped)
This message may appear when the Intel-
ligent Cruise Control (ICC) (with ProPILOT
Assist) system , the ICC system or the Intel-
ligent Lane Intervention (I-LI) system is en-
gaged.Under the following conditions, the ICC
(with ProPILOT Assist) , the ICC system or
the Intelligent Lane Intervention (I-LI) sys-
tem is automatically canceled:
∙ When the VDC operates
∙ When a wheel slips
∙ When the VDC system is turned off
The above system cannot be used in some
situations (VDC operates, wheel slip and
VDC system is off.)
Not Available Poor Road Conditions (if
so equipped)
This message may appear when the Intel-
ligent Cruise Control (ICC) (with ProPILOT
Assist) system , the ICC system or the Intel-
ligent Lane Intervention (I-LI) system is en-
gaged.
Under the following conditions, the ICC
(with ProPILOT Assist) , the ICC system or
the Intelligent Lane Intervention (I-LI) sys-
tem is automatically canceled: ∙ When the VDC operates
∙ When a wheel slips
The above system cannot be used in some
situations (VDC operates and wheel slip.) AWD Error: See Owner’s Manual (if so
equipped)
This warning appears when the all-wheel
drive system is not functioning properly
while the engine is running.
AWD High Temp. Stop vehicle (if so
equipped)
This warning may appear while trying to
free a stuck vehicle due to increased oil
temperature. The driving mode may
change to 2-Wheel Drive (2WD). If this warn-
ing is displayed, stop the vehicle with the
engine idling, as soon as it is safe to do so.
Then if the warning turns off, you can con-
tinue driving.
AWD Tire Size Incorrect: See Owner’s
Manual (if so equipped)
This warning may appear if there is a large
difference between the diameters of the
front and rear wheels. Pull off the road in a
safe area, with the engine idling. Check that
all the tire sizes are the same, that the tire
pressure is correct and that the tires are
not excessively worn.
Instruments and controls2-39
Page 244 of 559

∙ When the climate system is in auto-matic operation and the engine coolant
temperature and outside air tempera-
ture are low, the air flow outlet may de-
fault to defroster mode for a maximum
of 2 minutes 30 seconds. This is not a
malfunction. Af ter the engine coolant
temperature warms up, the air flow out-
let will return to foot mode and opera-
tion will continue normally.
∙ When the outside and interior cabin temperatures are moderate to high, the
intake setting may default to turn off air
recirculation to allow fresh air into the
passenger compartment. You may no-
tice air flow from the foot mode, bi-level
mode, or side demist vent outlets for a
maximum of 15 seconds. This may oc-
cur when the previous climate setting
was turned off. This is not a malfunction.
Af ter the initial warm air is expelled, the
intake will return to automatic control,
the air flow outlet will return to previous
settings, and operation will continue
normally. To exit, press any climate con-
trol button.
∙ Keep the moonroof (if so equipped) closed while the air conditioner is in op-
eration. ∙ If you feel that the air flow mode you
have selected and the outlets the air is
coming out do not match, select
the
mode.
∙ When you change the air flow mode, you may feel air flow from the foot out-
lets for just a moment. This is not a
malfunction. The air conditioner system in your NISSAN
vehicle is charged with a refrigerant de-
signed with the environment in mind.
This refrigerant does not harm the
earth’s ozone layer.
Special charging equipment and lubricant
is required when servicing your NISSAN air
conditioner. Using improper refrigerants or
lubricants will cause severe damage to
your air conditioner system. For additional
information, refer to “Air conditioner sys-
tem refrigerant and oil recommendations”
in the “Technical and consumer informa-
tion” section of this manual.
It is recommended that you visit a NISSAN
dealer to service your “environmentally
friendly” air conditioner system.
WARNING
The air conditioner system contains re-
frigerant under high pressure. To avoid
personal injury, any air conditioner ser-
vice should be done only by an experi-
enced technician with proper
equipment.
SERVICING AIR CONDITIONER
Monitor, climate, audio, phone and voice recognition systems4-41
Page 264 of 559

∙ Make sure the area around the vehicle isclear.
∙ Check fluid levels such as engine oil, coolant, brake fluid, and windshield-
washer fluid as frequently as possible,
or at least whenever you refuel.
∙ Check that all windows and lights are clean.
∙ Visually inspect tires for their appear- ance and condition. Also check tires for
proper inflation.
∙ Lock all doors.
∙ Position seat and adjust headrests/head restraints.
∙ Adjust inside and outside mirrors.
∙ Fasten seat belts and ask all passen- gers to do likewise.
∙ Check the operation of warning lights when the ignition switch is pushed to
the ON position. For additional informa-
tion, refer to “Warning lights, indicator
lights and audible reminders” in the “In-
struments and controls” section of this
manual. 1. Apply the parking brake.
2. Move the shif t lever to P (Park) or N
(Neutral). P (Park) is recommended.
The starter is designed not to oper-
ate if the shif t lever is in any of the
driving positions.
3. Push the ignition switch to the ON po- sition. Depress the brake pedal and
push the ignition switch to start the
engine.
To start the engine immediately, push
and release the ignition switch while
depressing the brake pedal with the
ignition switch in any position.
∙ If the engine is very hard to start in extremely cold weather or when re-
starting, depress the accelerator
pedal a little (approximately 1/3 to the
floor) and while holding, crank the en-
gine. Release the accelerator pedal
when the engine starts.
∙ If the engine is very hard to start be- cause it is flooded, depress the accel-
erator pedal all the way to the floor
and hold it. Push the ignition switch
to the ON position to start cranking
the engine. Af ter 5 or 6 seconds, stop
cranking by pushing the ignition switch to the LOCK position. Af ter
cranking the engine, release the ac-
celerator pedal. Crank the engine
with your foot off the accelerator
pedal by depressing the brake pedal
and pushing the ignition switch to
start the engine. If the engine starts,
but fails to run, repeat the above pro-
cedure.
CAUTION
Do not operate the starter for more
than 15 seconds at a time. If the engine
does not start, push the ignition switch
to the OFF position and wait 10 seconds
before cranking again, otherwise the
starter could be damaged.
4. Warm-up:
Allow the engine to idle for at least
30 seconds af ter starting. Do not race
the engine while warming it up. Drive at
a moderate speed for a short distance
first, especially in cold weather. In cold
weather, keep the engine running for a
minimum of 2 to 3 minutes before
shutting it off. Starting and stopping
the engine over a short period of time
may make the vehicle more difficult to
start.
BEFORE STARTING THE ENGINE STARTING THE ENGINE
Starting and driving5-17
Page 364 of 559

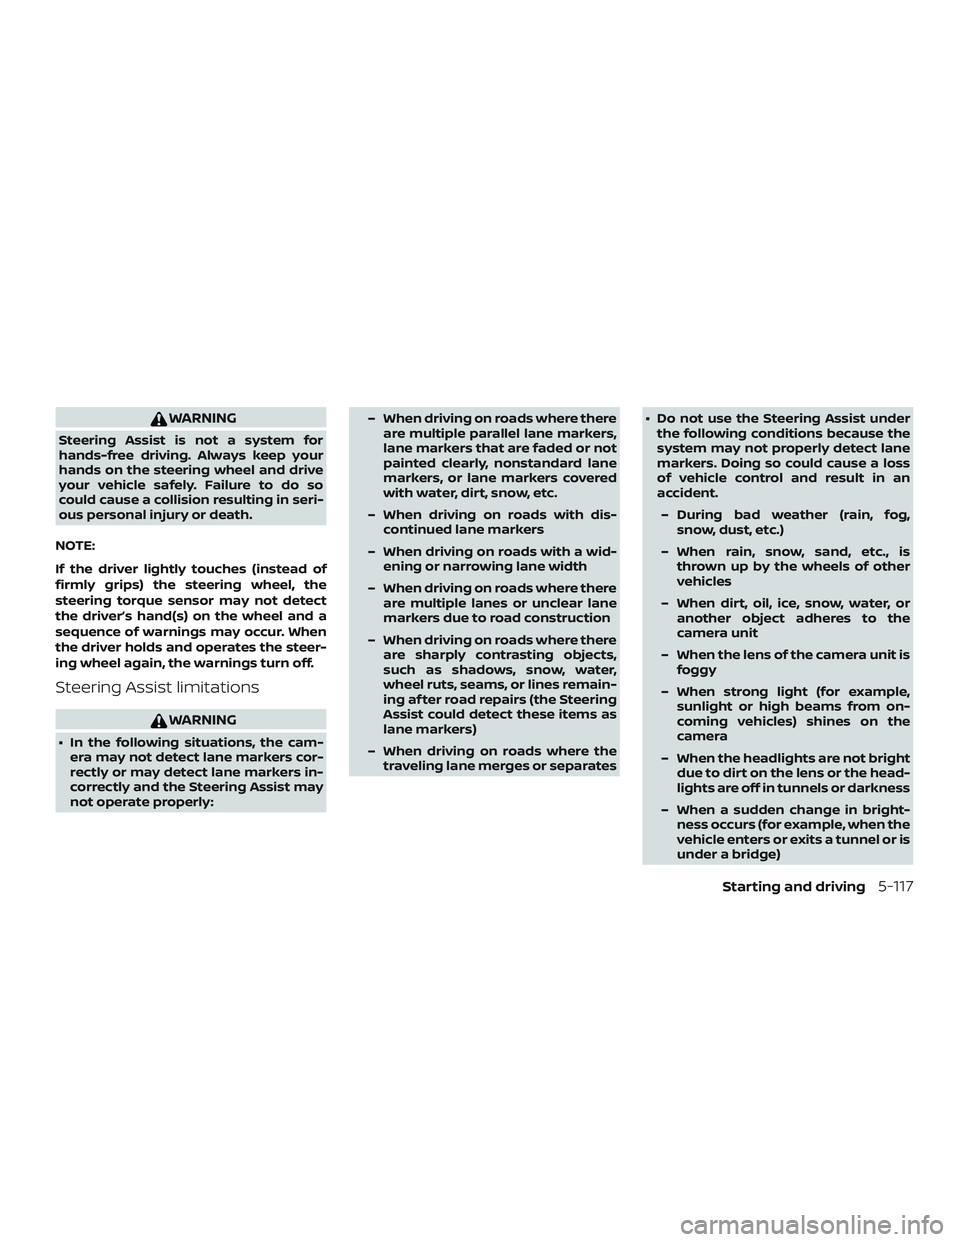
WARNING
Steering Assist is not a system for
hands-free driving. Always keep your
hands on the steering wheel and drive
your vehicle safely. Failure to do so
could cause a collision resulting in seri-
ous personal injury or death.
NOTE:
If the driver lightly touches (instead of
firmly grips) the steering wheel, the
steering torque sensor may not detect
the driver’s hand(s) on the wheel and a
sequence of warnings may occur. When
the driver holds and operates the steer-
ing wheel again, the warnings turn off.
Steering Assist limitations
WARNING
∙ In the following situations, the cam- era may not detect lane markers cor-
rectly or may detect lane markers in-
correctly and the Steering Assist may
not operate properly: – When driving on roads where there
are multiple parallel lane markers,
lane markers that are faded or not
painted clearly, nonstandard lane
markers, or lane markers covered
with water, dirt, snow, etc.
– When driving on roads with dis- continued lane markers
– When driving on roads with a wid- ening or narrowing lane width
– When driving on roads where there are multiple lanes or unclear lane
markers due to road construction
– When driving on roads where there are sharply contrasting objects,
such as shadows, snow, water,
wheel ruts, seams, or lines remain-
ing af ter road repairs (the Steering
Assist could detect these items as
lane markers)
– When driving on roads where the traveling lane merges or separates ∙ Do not use the Steering Assist under
the following conditions because the
system may not properly detect lane
markers. Doing so could cause a loss
of vehicle control and result in an
accident.
– During bad weather (rain, fog, snow, dust, etc.)
– When rain, snow, sand, etc., is thrown up by the wheels of other
vehicles
– When dirt, oil, ice, snow, water, or another object adheres to the
camera unit
– When the lens of the camera unit is foggy
– When strong light (for example, sunlight or high beams from on-
coming vehicles) shines on the
camera
– When the headlights are not bright due to dirt on the lens or the head-
lights are off in tunnels or darkness
– When a sudden change in bright- ness occurs (for example, when the
vehicle enters or exits a tunnel or is
under a bridge)
Starting and driving5-117
Page 410 of 559

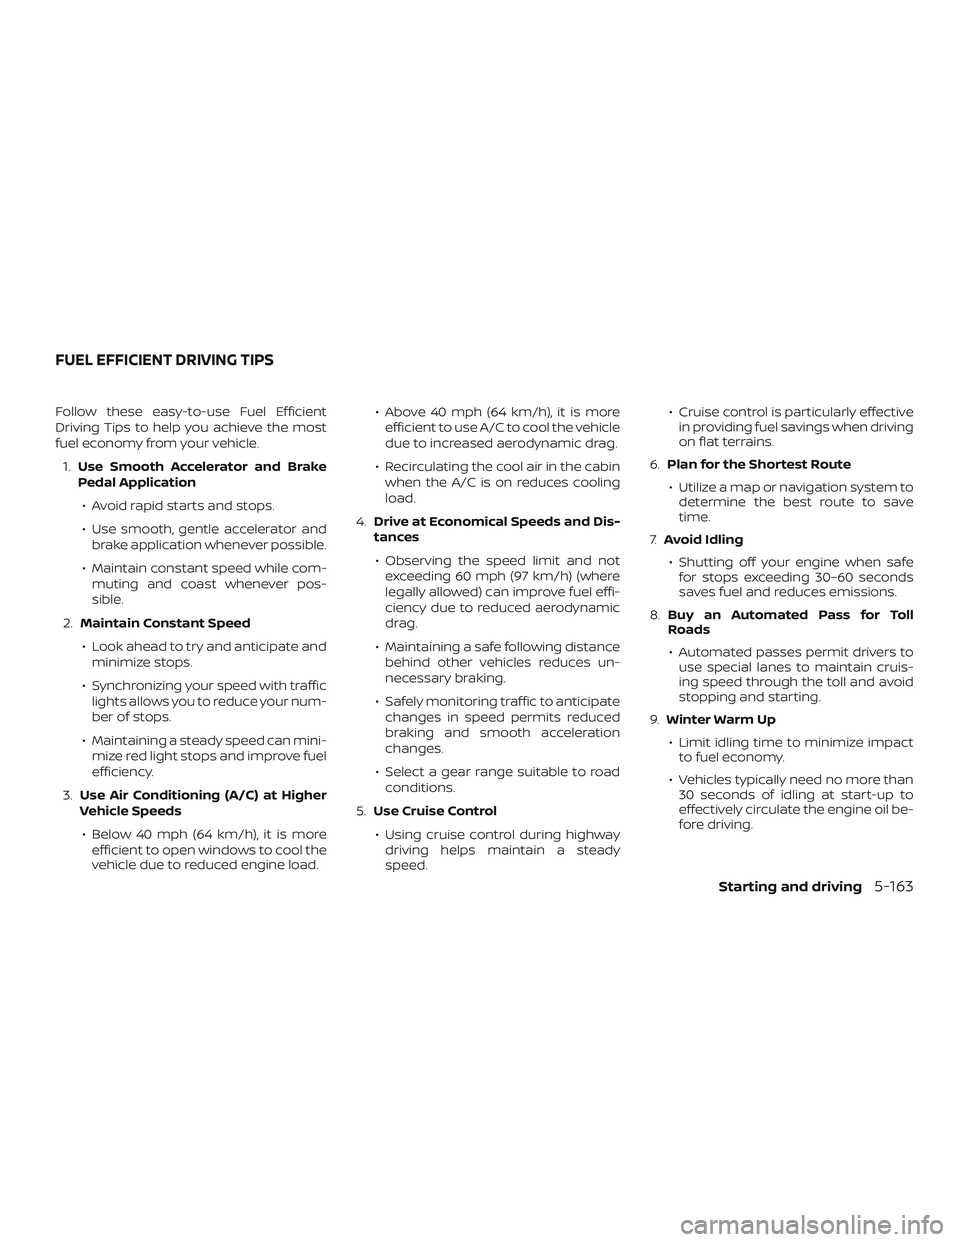
Follow these easy-to-use Fuel Efficient
Driving Tips to help you achieve the most
fuel economy from your vehicle.1. Use Smooth Accelerator and Brake
Pedal Application
∙ Avoid rapid starts and stops.
∙ Use smooth, gentle accelerator and brake application whenever possible.
∙ Maintain constant speed while com- muting and coast whenever pos-
sible.
2. Maintain Constant Speed
∙ Look ahead to try and anticipate and minimize stops.
∙ Synchronizing your speed with traffic lights allows you to reduce your num-
ber of stops.
∙ Maintaining a steady speed can mini- mize red light stops and improve fuel
efficiency.
3. Use Air Conditioning (A/C) at Higher
Vehicle Speeds
∙ Below 40 mph (64 km/h), it is more efficient to open windows to cool the
vehicle due to reduced engine load. ∙ Above 40 mph (64 km/h), it is more
efficient to use A/C to cool the vehicle
due to increased aerodynamic drag.
∙ Recirculating the cool air in the cabin when the A/C is on reduces cooling
load.
4. Drive at Economical Speeds and Dis-
tances
∙ Observing the speed limit and not exceeding 60 mph (97 km/h) (where
legally allowed) can improve fuel effi-
ciency due to reduced aerodynamic
drag.
∙ Maintaining a safe following distance behind other vehicles reduces un-
necessary braking.
∙ Safely monitoring traffic to anticipate changes in speed permits reduced
braking and smooth acceleration
changes.
∙ Select a gear range suitable to road conditions.
5. Use Cruise Control
∙ Using cruise control during highway driving helps maintain a steady
speed. ∙ Cruise control is particularly effective
in providing fuel savings when driving
on flat terrains.
6. Plan for the Shortest Route
∙ Utilize a map or navigation system to determine the best route to save
time.
7. Avoid Idling
∙ Shutting off your engine when safe for stops exceeding 30–60 seconds
saves fuel and reduces emissions.
8. Buy an Automated Pass for Toll
Roads
∙ Automated passes permit drivers to use special lanes to maintain cruis-
ing speed through the toll and avoid
stopping and starting.
9. Winter Warm Up
∙ Limit idling time to minimize impact to fuel economy.
∙ Vehicles typically need no more than 30 seconds of idling at start-up to
effectively circulate the engine oil be-
fore driving.
FUEL EFFICIENT DRIVING TIPS
Starting and driving5-163