2020 MERCEDES-BENZ C-CLASS ESTATE light
[x] Cancel search: lightPage 283 of 565
Ä
To
switch tospecial characters and sym‐
bols.
X To
switch toupper-case or lo wer-case let‐
te rs.
B To
switch the language.
v Toswitch tocharacter ent ryon theto uch‐
pad.
% The available editing functions depend on
th e editing task, the language set and the
ch aracter le vel. #
Toconfirm the entr y:select ¡.
Example: entering a destination (navigation) #
Enter the POI or address (/ page 294).
Entering characters on theto uchpad
Requ irements:
R The touchpad is swit ched on (/ page273).
R The en tere d or selected character should be
re ad out: the handwriting recognition read-
aloud function is swit ched on (/ page274). Exam
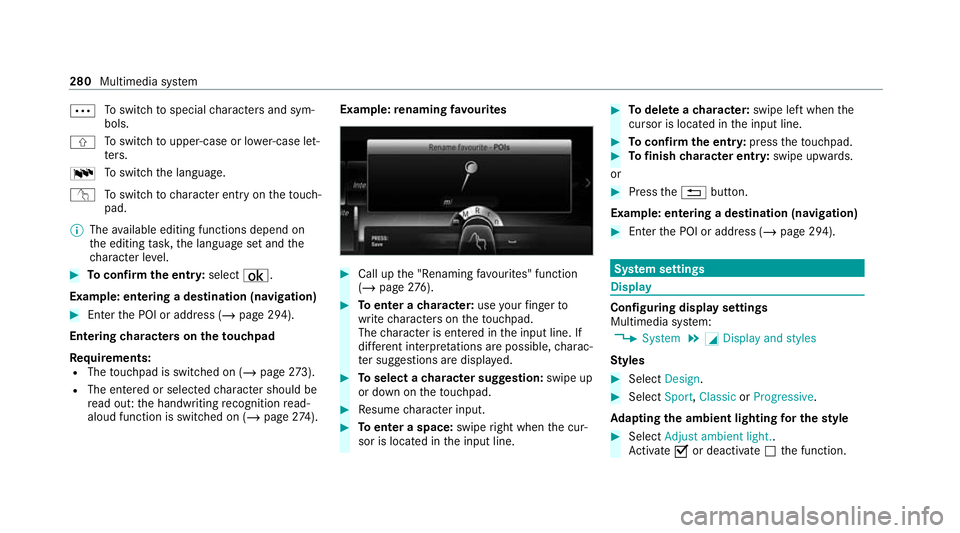
ple:renaming favo urites #
Call up the "Renaming favo urites" function
(/ page 276). #
Toenter a character: useyour finger to
write characters on theto uchpad.
The character is entered in the input line. If
dif fere nt interpr etations are possible, charac‐
te r suggestions are displa yed. #
Toselect a character suggestion: swipe up
or down on theto uchpad. #
Resume character input. #
Toenter a space: swiperight when the cur‐
sor is located in the input line. #
Todel ete a character: swipe left when the
cursor is loca ted in the input line. #
Toconfirm the entr y:press theto uchpad. #
Tofinish character entr y:swipe upwards.
or #
Press the% button.
Example: entering a destination (navigation) #
Ente rth e POI or address (/ page 294). Sy
stem settings Display
Configuring display settings
Multimedia sy
stem:
4 System 5
G Display and styles
Styl es #
Select Design. #
Select Sport,Classic orProgressive .
Ad apting the ambient lighting for the style #
Select Adjust ambient light. .
Ac tivate Oor deacti vate ª the function. 280
Multimedia sy stem
Page 284 of 565
This function adjusts
the ambient lighting for
th e selected display style.
Setting the display brightness #
Select Display brightness . #
Select a brightness value.
Switching the display off/on #
Toswitch off: selectDisplay off . #
Toswitch on: press a button, %,for
ex ample.
Displ aydesign #
Select Day/night design. #
Select Automatic, Day design orNight
design.
Ad ditional displ ayarea
Depending on theve hicle, various items of addi‐
tional information can be shown. The additional
display area comprises the left-hand or right-
hand third of the displa y. #
Select Additional display area .The
following display con tent can be selected:
R Dynamic
R Navigation map
R Consumption
R Time and date Ti
me and date Setting the time and date automatically
Multimedia sy
stem:
4 System 5
& Time and date #
Deactivate ªManual time adjustment.
The time and date are set automatically for
th e selected time zone and summer time
option.
% The cor rect time is requ ired forth efo llowing
functions:
R Route guidance with time-dependent
traf fic guidance.
R Calculation of expected time of ar riva l. Setting
the time zone
Multimedia sy stem:
4 System 5
& Time and date
5 Time zone:
The list of count ries is displa yed. #
Select a count ry#.
Depending on the count ry, time zones are
displa yed. #
Select a time zone.
The time zone set is displa yed af terTime
zone:.
Setting summer time
The Automatic Summer Time andSummer Time
options cannot be selected in all countries.
Multimedia sy stem:
4 System 5
& Time and date
Au tomatically #
Switch Automatic Summer Time onO or off
ª.
Manual ly #
Switch Automatic Summer Time offª. Multimedia sy
stem 281
Page 287 of 565
Using a WPS PIN
#
Highlight a Wi-Fi network in the list. #
Select ¥Connect using WPS PIN input.
The multimedia sy stem generates an eight-
digit PIN. #
Enter this PIN on the device tobe connec ted. #
Confirm the entry.
Using a button
% This function is only available in a Wi-Fi fre‐
qu ency of 2.4 GHz. #
Highlight a Wi-Fi network in the list. #
Select ¥Connect via WPS PBC. #
Select "Connect via WPS PBC" in the options
on the device tobe connec ted. #
Press the WPS button on the device tobe
connecte d. #
Select Continue inthe multimedia sy stem.
Device has already been connected: #
Toautomatically connect: highlight aWi-Fi
network in the list. #
Activate ¥ Connect automaticallyO. #
Toconnect: highlight a Wi-Fi network in the
list. #
Select ¥Connect.
The connection is es tablished again. These
functions are possible when the device has
already been connected totheWi -Fi networ k.
Setting up a Wi-Fi hotspot
Re quirements:
R For connection bypressing a button: this
function is only available in a Wi-Fi frequency
of 2.4 GHz.
Multimedia sy stem:
4 System 5
ö Connectivity
Configuring the multimedia sy stem as a Wi-
Fi hotspot
% The availability of this function is dependent
on the count ry.
The type of connection es tablished depends on
th e device tobe connec ted. The function must
be suppor tedby the multimedia sy stem and by
th e device tobe connec ted. The type of connec‐ tion es
tablished must be selected on the multi‐
media sy stem and on the device tobe connec‐
te d. #
Select Set up hotspot. #
Highlight Connect device to vehicle hotspot.
Generating a WPS PIN #
Select ¥Connect using WPS PIN genera-
tion . #
Ente rth e PIN shown in the media display on
th e device tobe connec ted and confi rm.
Connecting using a WPS PIN #
Select ¥Connect using WPS PIN input. #
Select Enter WPS PIN. #
Enterth e PIN that is shown on theex tern al
device's display on the multimedia sy stem. #
Select Continue.
Connecting using a button #
Select ¥Connect via WPS PBC. #
Press the WPS button on the device tobe
connecte d or select Connect. 284
Multimedia sy stem
Page 292 of 565
Importing/exporting a user profile
Re
quirements:
R There is an Internet connection
(/ page 347).
R A Mercedes me account exists at https://
me.secure.mercedes-benz.com.
R The Personalisation service is active.
R The function is available in your count ry.
Multimedia sy stem:
4 System 5
g Personalisation
5 Manual export/import
Importing a user profile #
Select Import profiles from the server.
The The profile import overwrites the exist-
ing profiles. Do you want to continue? mes‐
sage appears. #
Select Yes.
User profiles are impor ted.
Exporting a user profile #
Select Export profiles to the server.
User profiles are expor ted. %
Only individual profiles can be impor ted or
ex por ted. The individual profiles are alw ays
collectively impor ted or expor ted.
% Certain settings, such as address book
ent ries or pr evious destinations from the
navigation sy stem, are not expor ted.
Setting user profile options
Multimedia sy stem:
4 System 5
g Personalisation #
Highlight a profile. #
Select ¥options.
The following options are available:
R Rename
R Delete
R Reset
% The guest profile cannot be dele ted or
re named. So
ftwa reupdates Information on software updates
The multimedia sy
stem displa ysa cor responding
message when a software update isavailable.
The availability of this function is dependent on
th e count ry.
Depending on the source, you can per form
va rious update s: Source of
the
update Up
date type
Up dates via mobile
phone Na
vigation map, sys‐
te m updates, Digital
Owner's Manual
Up dates via an exter‐
nal storage medium,
e.g. a USB flash drive Na
vigation maps %
Software updates via mobile phone requ ire
an active Internet connection forth eve hicle.
This is not available in all countries. For fur‐
th er information on connecting tothe Inter‐
net, see (/ page 346). Multimedia sy
stem 289
Page 295 of 565
wa
rmth. The air is pu rified using ionisation
and a pleasant fragrance is released. The
ve hicle interior is illuminated with warm light‐
ing.
R Vitality: Can coun tera ct diminishing atten‐
tiveness in mono tonous driving situations.
Fa st-paced music and a vitalising massa ge
pr ov ide invigorating stimulation forth eve hi‐
cle occupants. The air is purified using ioni‐
sation and a pleasant fragrance is released.
The vehicle interior is illuminated with a stim‐
ulating hue and the seat is ventilated.
R Pleasure: Can promo tea positive mood in
th eve hicle occupants as well as menta l and
ph ysical rege neration. Moderately fastmusic
is pla yed and a massage prog ramme is acti‐
va ted. The air is purified using ionisation and
a pleasant fragrance is released. The vehicle
interior is illuminated with amicable lighting.
R Well being: Can aidthe ph ysical and men tal
re laxation of vehicle occupants. A back mas‐
sage combined with local warmthprov ide
re laxation. The air is purified using ionisation
and a pleasant fragrance is released. The
audio pla yer pla ysselections of calming music and
theve hicle interior is illuminated
with pleasant lighting.
R Training: Can counteract the onset of mus‐
cle tension, limbs falling asleep or stre ss with
ta rgeted relaxation or stimulation exercises.
The exercises are demon stra ted in short vid‐
eos. The air is purified using ionisation and a
pleasant fragrance is released. The vehicle
interior is illuminated with lighting appropri‐
ate totheex ercise.
% Please no tethat theav ailable prog rammes
and the associated functions depend on your
ve hicle equipment. Depending on your
equipment, fewe r functions may be availa‐
ble.
St arting the ENERGIZING Comfort pro‐
gr amme
Re quirements:
R The ignition is switched on.
% ENE RGIZING Comfort is available appr ox‐
imately five minutes af terst arting the multi‐
media sy stem. Multimedia sy
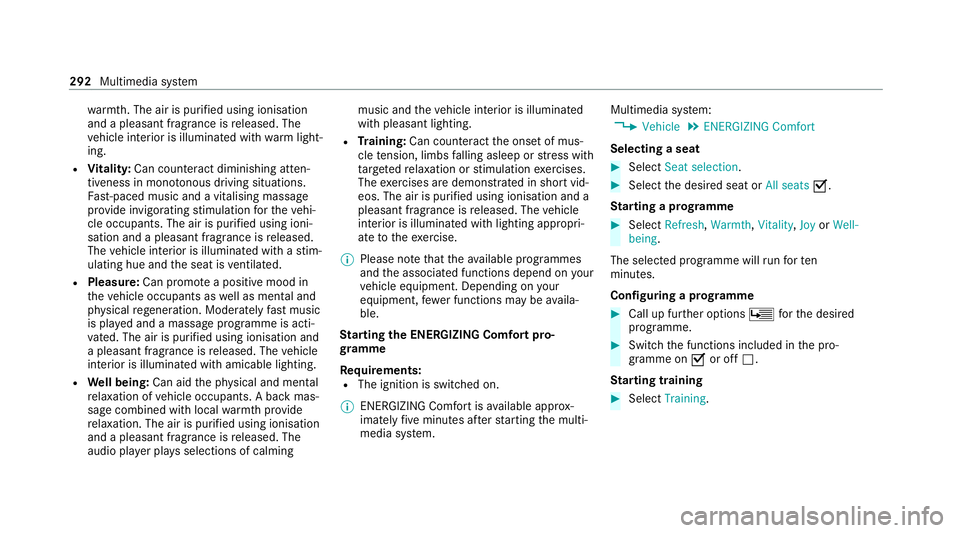
stem:
4 Vehicle 5
ENERGIZING Comfort
Selecting a seat #
Select Seat selection. #
Select the desired seat or All seatsO.
St arting a prog ramme #
Select Refresh, Warmth,Vitality, JoyorWell-
being .
The selected programme will runfo rten
minutes.
Confi guring a prog ramme #
Call up fu rther options Üforth e desired
programme. #
Switch the functions included in the pro‐
gramme on Oor off ª.
St arting training #
Select Training. 292
Multimedia sy stem
Page 299 of 565
or
#
Enter the online destination or a 3 word
address in the input line.
% Ente r a 3 wordaddress (/ page 299).
Online sear chis not available in all coun‐
tries. #
Tocall up the lis t:press the% button.
or #
Ifth eto p line of thech aracter bar is highligh‐
te d, navigate upwards. #
Select the destination in the list. #
Toadopt a destination: select7Select
destination .
If th ere are se veral listings for a destination,
a list appears. #
Select the destination.
The destination address is shown.
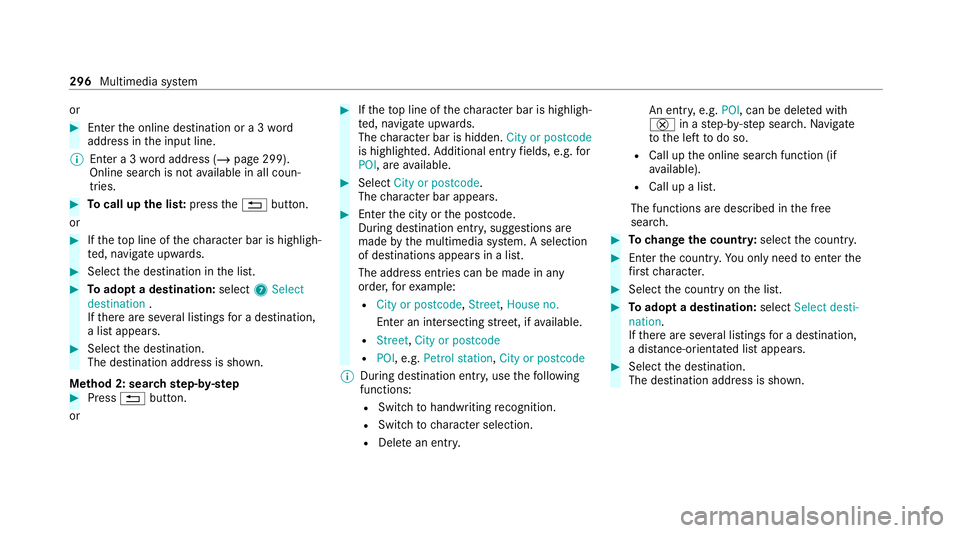
Me thod 2: sear chstep- by-step #
Press %button.
or #
Ifth eto p line of thech aracter bar is highligh‐
te d, navigate upwards.
The character bar is hidden. City or postcode
is highlighted. Additional ent ryfields, e.g. for
POI, are available. #
Select City or postcode.
The character bar appears. #
Enterth e city or the postcode.
During destination entry , suggestions are
made bythe multimedia sy stem. A selection
of destinations appears in a list.
The address entri es can be made in any
order, forex ample:
R City or postcode, Street,House no.
En ter an intersecting stre et, if available.
R Street, City or postcode
R POI , e.g. Petrol station, City or postcode
% During destination ent ry, use thefo llowing
functions:
R Swit chtohandwriting recognition.
R Switch tocharacter selection.
R Dele tean ent ry. An entr
y,e.g. POI, can be dele ted with
£ in astep-b y-step sear ch.Na vigate
to the left todo so.
R Call up the online sear chfunction (if
av ailable).
R Call up a list.
The functions are desc ribed in the free
sear ch. #
Tochange the count ry:select the count ry. #
Enter the count ry.Yo u on ly need toenter the
fi rs tch aracter. #
Select the count ryon the list. #
Toadopt a destination: selectSelect desti-
nation.
If th ere are se veral listings for a destination,
a dis tance-o rientated list appears. #
Select the destination.
The destination address is shown. 296
Multimedia sy stem
Page 300 of 565
Selecting pr
evious destinations
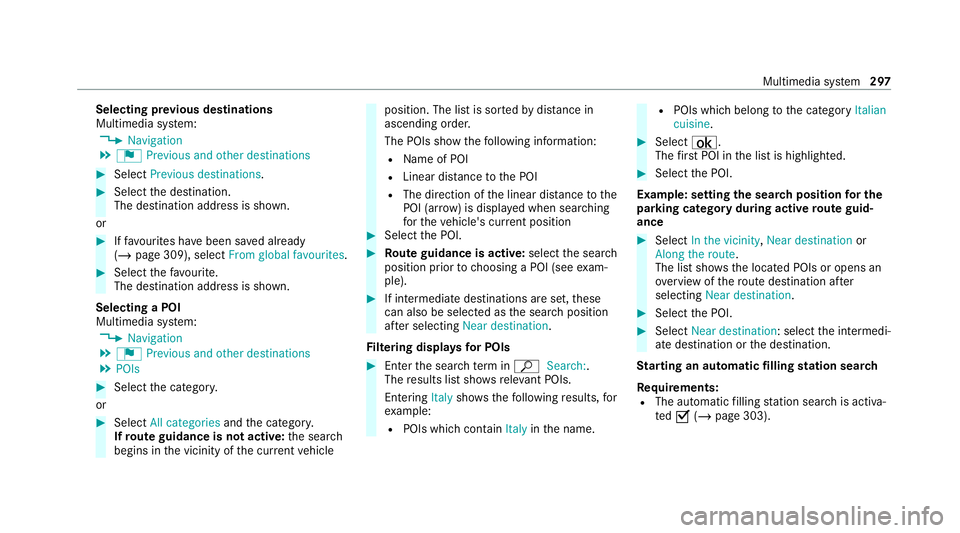
Multimedia sy stem:
4 Navigation
5 ¬ Previous and other destinations #
Select Previous destinations. #
Select the destination.
The destination address is shown.
or #
Iffavo urites ha vebeen sa ved already
(/ page 309), select From global favourites .#
Select thefa vo urite.
The destination address is shown.
Selecting a POI
Multimedia sy stem:
4 Navigation
5 ¬ Previous and other destinations
5 POIs #
Select the categor y.
or #
Select All categories andthe categor y.
If ro ute guidance is not active: the sear ch
begins in the vicinity of the cur rent vehicle position. The list is sor
tedby distance in
ascending order.
The POIs show thefo llowing information:
R Name of POI
R Linear dis tance tothe POI
R The direction of the linear dis tancetothe
POI (ar row) is displa yed when sear ching
fo rth eve hicle's cur rent position #
Select the POI. #
Route guidance is active: selectthe sear ch
position prior tochoosing a POI (see exam‐
ple). #
If intermediate destinations are set, these
can also be selected as the sear chposition
af te r selecting Near destination.
Fi ltering displa ysfor POIs #
Enter the sear chterm inª Search:.
The results list sho wsreleva nt POIs.
Entering Italyshowsthefo llowing results, for
ex ample:
R POIs which con tain Italy inthe name. R
POIs which belong tothe category Italian
cuisine . #
Select ¡.
The firs t POI in the list is highlighted. #
Select the POI.
Example: setting the sear chposition for the
parking ca tegory during active route guid‐
ance #
Select In the vicinity ,Near destination or
Along the route.
The list sho ws the located POIs or opens an
ove rview of thero ute destination af ter
selecting Near destination. #
Select the POI. #
Select Near destination: select the intermedi‐
ate destination or the destination.
St arting an automatic filling station sear ch
Re quirements:
R The automatic filling station sear chis activa‐
te dO (/ page 303). Multimedia sy
stem 297
Page 301 of 565
Driving situation
Ro
ute guidance is active. The fuel le vel in the
fuel tank reaches there ser vefuel le vel.
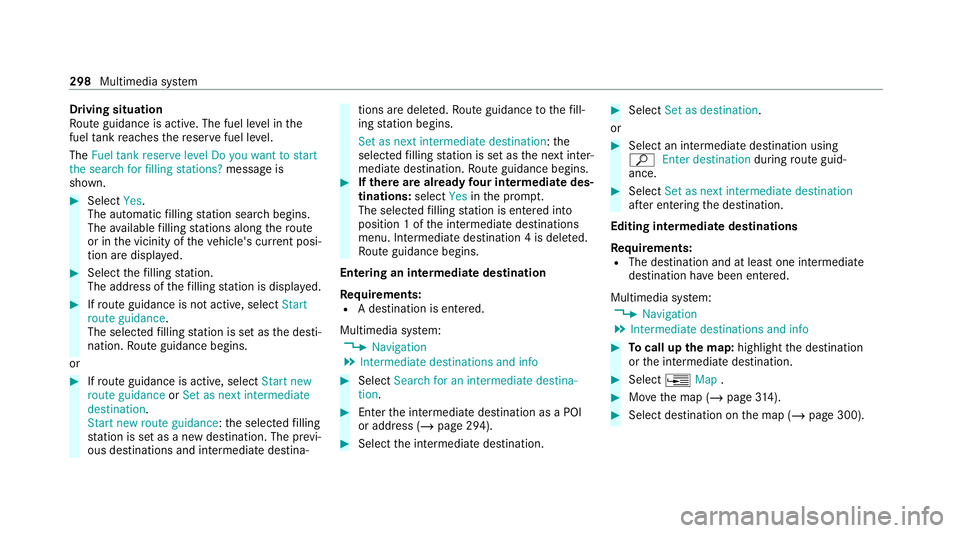
The Fuel tank reserve level Do you want to start
the search for filling stations? message is
shown. #
Select Yes.
The automatic filling station sear chbegins.
The available filling stations along thero ute
or in the vicinity of theve hicle's cur rent posi‐
tion are displ ayed. #
Select thefilling station.
The address of thefilling station is displa yed. #
Ifro ute guidance is not active, select Start
route guidance .
The selected filling station is set as the desti‐
nation. Route guidance begins.
or #
Ifro ute guidance is active, select Start new
route guidance orSet as next intermediate
destination .
Start new route guidance: the selected filling
st ation is set as a new destination. The pr evi‐
ous destinations and intermediate destina‐ tions are dele
ted. Ro ute guidance tothefill‐
ing station begins.
Set as next intermediate destination: the
selected filling station is set as the next inter‐
mediate destination. Route guidance begins. #
Ifth ere are already four intermediate des‐
tinations: selectYesinthe prom pt.
The selected filling station is entered into
position 1 of the intermediate destinations
menu. Intermediate destination 4 is dele ted.
Ro ute guidance begins.
Entering an intermediate destination
Re quirements:
R A destination is entered.
Multimedia sy stem:
4 Navigation
5 Intermediate destinations and info #
Select Search for an intermediate destina-
tion . #
Ente rth e intermediate destination as a POI
or address (/ page 294). #
Select the intermediate destination. #
Select Set as destination.
or #
Select an intermediate destination using
ª Enter destination duringroute guid‐
ance. #
Select Set as next intermediate destination
af te r entering the destination.
Editing intermedia tedestinations
Re quirements:
R The destination and at least one intermediate
destination ha vebeen entered.
Multimedia sy stem:
4 Navigation
5 Intermediate destinations and info #
Tocall up the map: highlight the destination
or the intermediate destination. #
Select ¥Map. #
Movethe map (/ page314). #
Select destination on the map (/ page 300). 298
Multimedia sy stem