2019 MERCEDES-BENZ SPRINTER window
[x] Cancel search: windowPage 170 of 354
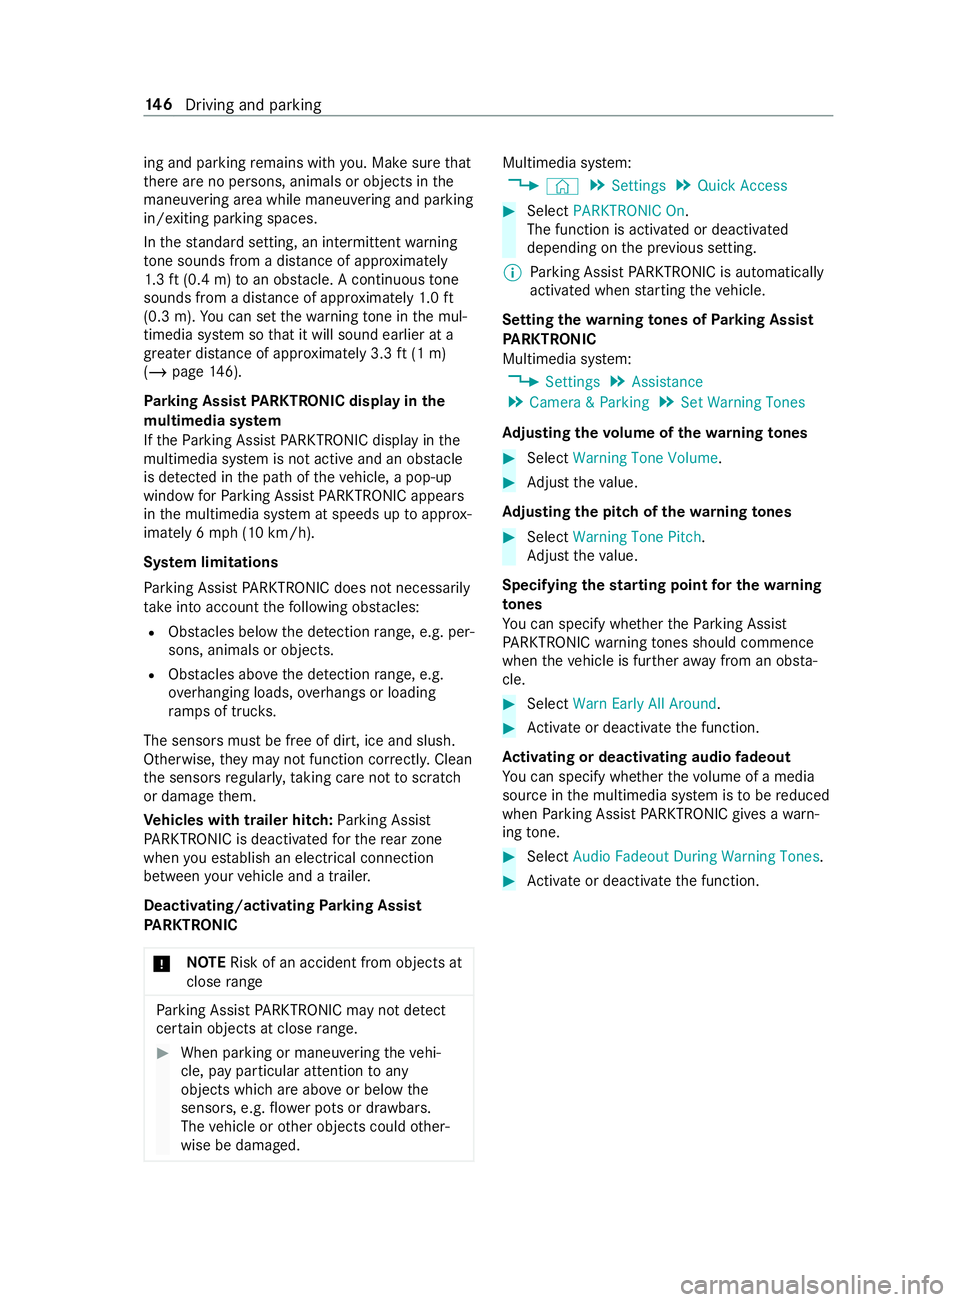
ing and parking
remains with you. Make sure that
th ere are no persons, animals or objects in the
maneuvering area while maneuvering and parking
in/exiting parking spaces.
In thest andard setting, an intermit tent wa rning
to ne sounds from a di stance of appr oximately
1. 3 ft (0.4 m) toan obs tacle. A continuous tone
sounds from a di stance of appr oximately 1.0 ft
(0.3 m). You can set thewa rning tone in the mul‐
timedia sy stem so that it will sound earlier at a
grea ter dis tance of appr oximately 3.3 ft(1 m)
(/ page 146).
Pa rking Assist PARKTRONIC displ ayinthe
mu ltimedia sy stem
If th ePa rking Assist PARKTRONIC display in the
multimedia sy stem is not active and an obs tacle
is de tected in the path of theve hicle, a pop-up
window forPa rking Assist PARKTRONIC appears
in the multimedia sy stem at speeds up toappr ox‐
imately 6 mph (10 km/h).
Sy stem limitations
Pa rking Assist PARKTRONIC does not necessarily
take into account thefo llowing obs tacles:
R Obs tacles bel owthe de tection range, e.g. per‐
sons, animals or objects.
R Obs tacles ab oveth e de tection range, e.g.
ov erhanging loads, overhangs or loading
ra mp s of truc ks.
The sensors must be free of dirt, ice and slush.
Otherwise, they may not function cor rectl y.Clean
th e sensors regular ly,ta king care not toscratch
or damage them.
Ve hicles with trailer hitch: Parking Assist
PA RKTRONIC is deactivated forth ere ar zone
when you es tablish an electrical connection
between your vehicle and a trailer.
Deactivating/activating Parking Assist
PA RKTRONIC
* NO
TERisk of an accident from objects at
close range Pa
rking Assist PARKTRONIC may not de tect
cer tain objects at close range. #
When pa rking or maneuvering theve hi‐
cle, pay particular attention toany
objects which are abo veor below the
sensors, e.g. flowe r pots or dr awbars.
The vehicle or other objects could other‐
wise be damaged. Multimedia sy
stem:
4 © 5
Settings 5
Quick Access #
Select PARKTRONIC On .
The function is activated or deactivated
depending on the pr evious setting.
% Pa
rking Assist PARKTRONIC is automatical ly
activated when starting theve hicle.
Setting thewa rning tones of Parking Assist
PA RKTRONIC
Multimedia sy stem:
4 Settings 5
Assistance
5 Camera & Parking 5
Set Warning Tones
Ad justing the volume of thewa rning tones #
Select Warning Tone Volume. #
Adjust theva lue.
Ad justing the pitch of the warning tones #
Select Warning Tone Pitch.
Ad just theva lue.
Specifying thest arting point for the warning
to nes
Yo u can specify whe ther thePa rking Assist
PA RKTRONIC warning tones should commence
when theve hicle is fur ther aw ay from an obs ta‐
cle. #
Select Warn Early All Around. #
Activate or deacti vate the function.
Ac tivating or deactivating audio fadeout
Yo u can specify whe ther thevo lume of a media
source in the multimedia sy stem is tobe reduced
when Parking Assist PARKTRONIC gives a warn‐
ing tone. #
Select Audio Fadeout During Warning Tones. #
Activate or deacti vate the function. 14 6
Driving and pa rking
Page 234 of 354

#
Place a suitable collector beneath drain hose
2. #
Switch on the ignition. #
Open drain scr ew1 until thewate r/fuel
mixture emerges from drain hose 2.#
Close drain scr ew1 as soon as around
0.2 qt (0.2 liter) of thewate r/fuel mixture has
been collected.
Af ter 30 seconds, the electrical fuel pump
automatically stops the discharge of the
wate r/fuel mixture. #
After draining, switch off the ignition. #
Dispose of the collected water/fuel mixture
in an environmentally responsible manner,
e.g. at a qualified specialist workshop. #
Check that drain scr ew1 has been closed.
If th e engine is running while drain scr ew1
is open, you will lose fuel thro ugh drain hose
2. #
Close the hood (/ page 202). #
003A The indicator lamp does not go out
af te r draining: drainthe fuel filter again. #
003AThe indica tor lamp does not go out
af te r the second draining: consult aquali‐
fi ed specialist workshop.
Mercedes-Benz recommends that you ha vethe
fuel filter drained at a qualified specialist work‐
shop. Cleaning and care
Note
s onwashing theve hicle in an automatic
car wash &
WARNING Risk of accident due to
re duced braking ef fect af terwa shing the
ve hicle
The braking ef fect is reduced af terwa shing
th eve hicle. #
Afterth eve hicle has been washed,
brake carefully while paying attention to
th e traf fic conditions until the braking
ef fect has been ful lyrestored. *
NO
TERisk of damage tothe paintwork
and plastic components If
yo uwa sh your vehicle in Touchless Auto‐
matic Car Wash sy stems that use special
cleaning agents, the cleaning agents used can damage
the paintwork or plastic components
of theve hicle. #
Do not wash theve hicle in Touchless
Au tomatic Car Wash sy stems that use
special cleaning agents. Make sure
that the automatic car wash is suitable
fo rth e size of theve hicle.
Before washing theve hicle in an automatic car
wa sh, fold in the outside mir rors and remo veany
additional antennas. Otherwise, the outside mir‐
ro rs, antennas or theve hicle itself could be dam‐
aged.
Make sure any additional antennas are re-ins tal‐
led and that the outside mir rors are fully folded
out again when you lea vethe automatic car
wa sh.
To avo id damage to yourvehicle, obser vethefo l‐
lowing before using an automatic car wash:
R the side windo wsand the sliding window are
comple tely closed.
R the blo werfo rve ntilation and heating is
switched off.
R the windshield wiper switch is in position 005A.
If th eve hicle is very dirty, wash off excess dirt
before cleaning theve hicle in an automatic car
wa sh.
% Re
moving thewa x from the windshield and
th e wiper rubbers af terwa shing theve hicle,
will help avoid smearing and reduce wiper
noise. Note
s on use of a po werwa sher &
WARNING Risk of accident when using
high-pressu recleaning equipment wi th
ro und-spr aynozzles
The wate r jet from a round-spray nozzle (dirt
grinder) may cause damage totires and sus‐
pension components that is not visible.
Components damaged in this wa y may fail
unexpec tedly. #
Do not use high-p ressure cleaning
equipment with round-spray nozzles to
clean your vehicle. #
Damaged tires or suspension compo‐
nents must be replaced immediatel y. Ne
ver use a po werwa sher in theve hicle interior.
The pressurized water created bythe po wer 210
Maintenance and care
Page 301 of 354
Display messages
Int
roduction Fu
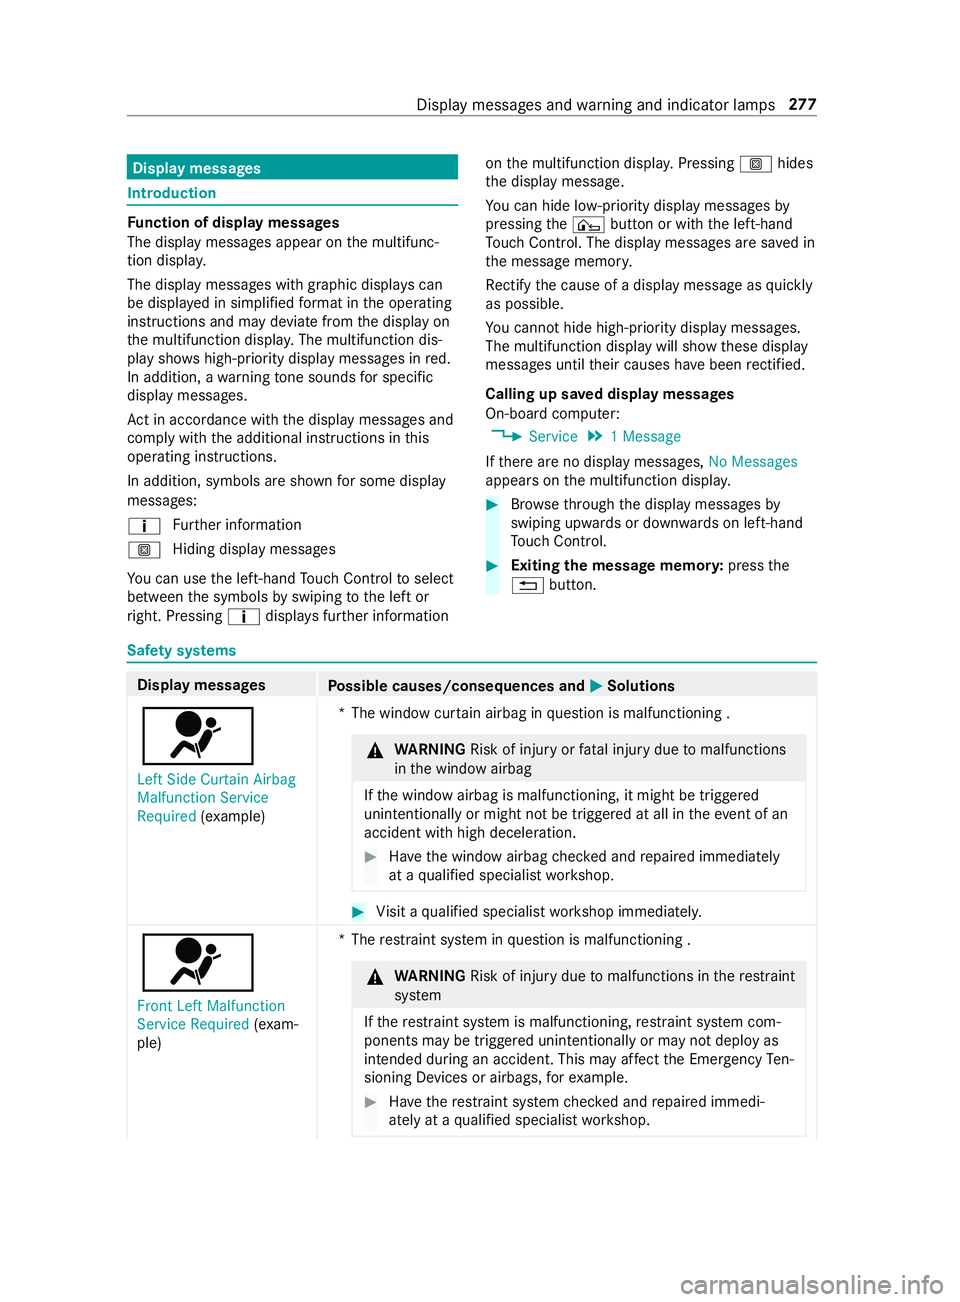
nction of display messages
The display messages appear on the multifunc‐
tion displa y.
The display messages with graphic displa yscan
be displa yed in simplified form at in the operating
instructions and may deviate from the display on
th e multifunction displa y.The multifunction dis‐
play sho wshigh-priority display messages in red.
In addition, a warning tone sounds for specific
display messa ges.
Ac t in accordance wi th the display messages and
comply with the additional instructions in this
operating instructions.
In addition, symbols are shown for some display
messa ges:
0091 Fu
rther information
0061 Hiding display messages
Yo u can use the left-hand Touch Control toselect
between the symbols byswiping tothe left or
ri ght. Pressing 0091displa ysfur ther information on
the multifunction displa y.Pressing 0061hides
th e display message.
Yo u can hide lo w-priority display messages by
pressing the¤ button or with the left-hand
To uch Control. The displ aymessages are sa ved in
th e message memor y.
Re ctify the cause of a display message as quickly
as possible.
Yo u cannot hide high-priority displ aymessages.
The multifunction display will show these display
messages until their causes ha vebeen rectified.
Calling up sa ved displ aymessages
On-boa rdcompu ter:
4 Service 5
1 Message
If th ere are no display messages, No Messages
appears on the multifunction displa y. #
Brows eth ro ugh the display messages by
swiping upwards or down wards on left-hand
To uch Control. #
Exiting the message memor y:press the
0038 button. Saf
ety sy stems Display messages
Possible causes/consequences and 0050 0050Solutions
0075
Left Side Curtain Airbag
Malfunction Service
Required (exa mp le) *T
he window cur tain airbag in question is malfunctioning . &
WARNING Risk of inju ryor fata l injury due tomalfunctions
in the window airbag
If th e window airbag is malfunctioning, it might be triggered
unintentionally or might not be triggered at all in theeve nt of an
accident wi thhigh deceleration. #
Have the window airbag checked and repaired immediately
at a qualified specialist workshop. #
Visit a qualified specialist workshop immediately.
0075 Front Left Malfunction
Service Required (exa m‐
ple) *T
herestra int sy stem in question is malfunctioning . &
WARNING Risk of inju rydue tomalfunctions in there stra int
sy stem
If th ere stra int sy stem is malfunctioning, restra int sy stem com‐
ponents may be triggered unintentionally or may not deploy as
intended during an accident. This may af fect the Emer gency Ten‐
sioning Devices or airbags, forex ample. #
Have there stra int sy stem checked and repaired immedi‐
ately at a qualified specialist workshop. Display messages and
warning and indicator lamps 277
Page 343 of 354
Setting options ...................................
14
Overhead control panel Adjusting the interior lighting .............82
Overview ............................................ 10P
Pa int (cleaning instructions) ................211
Pa int code ............................................ .261
Pa rk position
Engaging ........................................... 11 6
Engaging au tomatically .................... .116
Pa rking aid
see Parking Assist PARKTRONIC
Pa rking Assist PARKTRONIC ...............14 5
Ac tivating ......................................... 14 6
Ad justing warning tones ................... 14 6
Drive AwayAssi st............................. 154
Fu nction ........................................... 14 5
Switching off .................................... 14 6
Sy stem limitations ............................1 45
Pa rking brake (electrical)
see Electric parking brake
Pa rking brake (manual)
see Manual parking brake
Pa rking for an extended period ...........13 6
Pa rking light .......................................... .79
Pa rtition sliding door
Fr om the cargo compartment .............51
Fr om the driver's compartment ..........51
Pe rm issible gross mass ...................... .261
Pe rm issible towing me thods .............. .224
Pe ts in the vehicle .................................. 40
Phone book see Contacts
Placing a load on the wheel ar ch........ 201
Pla stic trim (care) ................................ .214
Po we r supp ly
Battery main switch .......................... 11 4
Switching on (s tart/s top button) ...... 103
Po we rwa sher (care) ............................2 10
Po we r windo ws
see Side window Q
QR code (rescue card) ...........................24
Qualified specialist workshop .............. 23 R
Ra ck systems (information) ................19 8
Ra dar senso rs....................................... 13 6
Ra dio
Ac tivating/deactivating radio text .... 194
Calling up thest ation list .................. 19 3
Del eting channels ............................ .193
Direct frequency entry ..................... .193
Displ aying information ...................... 194
Displ aying radio text ......................... 194
Editing station presets ...................... 19 3
Menu (on-board computer) ............... 16 8
Moving stations ................................ 19 3
Overview .......................................... 19 2
Sea rching forst ations ...................... 19 3
Setting a channel .............................. 19 3
Setting thewa veband .......................1 93
Showing accident reports .................1 94
St oring radio stations ...................... .193
Switching on ..................................... 19 2
Switching the HD radio function
on/off .............................................. 19 3
Ra dio connection
Ke y .................................................... .41
Re alwo od (care) .................................. .214
Re ar
Motion de tector .................................. 83
Re ar ben chseat
see Seats
Re ar Cross Traf fic Alert ...................... .154
Re ar fog light .......................................... 79
Re ar view camera ................................. 147
Care .................................................. 212
Fu nction ........................................... 147
Switching au tomatic operation
on/off (360° Camera) ...................... 151
Re ar window wiper
Re placing ...........................................90
Switching on/off ................................ 89
Re ar-co mpartment heating ................... 96
Re ar-end doors
Opening and closing (from inside) ...... 51
Opening and closing (from outside) ....50
Re ducing agent
see DEF
Re frigerant (air conditioning)
No tes ................................................ 271
Re fueling
Displaying the DEF fill le vel .............. .128
Displ aying the DEF range .................. 12 8 Index
319
Page 345 of 354

Settings (on-board computer)
.............170
Short-distance trips .............................107
Side airbag ..............................................32
Side window ...........................................53
Closing .............................................. .53
Closing (all) ........................................ 53
Closing using theke y ........................ .54
Con venience closing ......................... .54
Con venience opening ......................... 54
Opening ..............................................53
Opening (all) ....................................... 53
Opening with theke y .......................... 54
Side windo ws
Problem ..............................................55
Re setting ............................................ 55
Size designation (tire) ..........................24 5
Sliding door B-pillar door sill (button) ..................... 47
Cen ter console (button) ...................... 47
Child saf ety lock ................................ .39
Closing (from inside) .......................... 46
Closing (from outside) ........................ 45
Opening (from inside) ........................ .46
Opening (from outside) ......................45
SmartK ey
Ac oustic locking verification signal .... 42
Smartphone see Android Auto
see Apple CarPlay™
see Telephone
Snow chains ......................................... 233
Soc ket (12 V) ........................................... 75
Cargo co mpartment .......................... .76
Driver's seat ....................................... 76
Fr ont center console .......................... 75
Soc ket (1 15V) ......................................... 76
Lo we r control panel ............................ 76
Sound see Sound settings
Sound settings ...................................... 194
Ad justing the balance/fader .............1 94
Ad justing treble, mid-range and
bass settings .................................... 194
Au tomatic volume adjustment .......... 194
Calls up the sound menu .................. 194
Information ....................................... 194
Spare wheel Installing/ removing ......................... .256
No tes ............................................... 255
Special seat belt retractor ..................... 35 Speciali
stwo rkshop .............................. 23
Speed rating (ti re)................................ 24 5
Speedome ter (digital) .......................... 167
St andby mode
Ac tivating/deactivating .................... 13 6
St art/s top button
Pa rking theve hicle ........................... 13 2
St arting theve hicle .......................... 104
Switching on the po wer supply or
th e ignition ....................................... 103
St arting
see Vehicle
St arting-o ffaid
see Hill start assist
St ation
Deleting ............................................ 19 3
Direct frequency entry ...................... 19 3
Moving ..............................................1 93
Sear ching ........................................ .193
Setting .............................................. 19 3
St oring ..............................................1 93
St ation list
Calling up ......................................... 19 3
St ation presets
Modifying ......................................... 19 3
St ationary heating
Problems .......................................... 101
St ationary heating/ventilation
Ad justing (on-board computer) ......... 101
St ationary heating/ventilation
see Auxilia ryheating
see Hot-water auxiliary heater
Ste ering wheel ...................................... 16 4
Ad justing ............................................ 71
Buttons ............................................. 16 4
St opping the ala rm(ATA )...................... .56
St ow age areas
see Stow age space
St ow age comp artments
see Stow age space
St ow age space ........................................ 73
Armrest .............................................. 73
Cen ter console ................................... 73
Cockpit .............................................. .73
Door ................................................... 73
Glasses compartment ........................ .74
Glo vebox ...........................................73
Sulfur content ...................................... 264
Summer tires ........................................2 32 Index
321
Page 346 of 354
Sur
round lighting
Switching on/off ................................ 81
Sur round View
see 360° Camera
Switch-off delay time Exterior ............................................... 81
Interior ............................................... 83
Switching air-recirc ulation mode
on/off ...................................................... 98
Switching on ignition (start/s top
button) .................................................. 103
Switching seat heating on/off .............. 70
Switching synchronization function
on/off (control panel) ............................97
Switching the A/C function on/off ...... 96
Switching there ar window
defros ter on/o ff..................................... 98
Switching the windshield heater
on/o ff...................................................... 98
Sy stem settings
Re set function (multimedia sys‐
te m) .................................................. 181
Setting the dis tance unit ................... 181
Setting the time and date automat‐
ically .................................................1 79
Setting the time zone ....................... 180
Setting the time/date form at .......... .180
Sy stem settings
see Blue tooth®
see Language
see Wi-Fi T
Ta ilpipes (care) ...................................... 212
Ta nk capacity
Fu el .................................................. 266
Re ser ve(fuel) ...................................2 66
Ta nk content
DEF ................................................... 267
Te ch nical data
Information ...................................... 260
No tes (trailer hitch) ........................... 271
Ti re pressure monitor .......................2 40
Ve hicle identification plate ............... 261
Te lephone ...................................... 169, 182
Ac tivating functions du ring a call ...... 184
Connecting a mobile phone (Near
Field Communication (NFC)) ............ 183
Connecting a mobile phone (Pass‐
ke y) .................................................. 182Connecting a mobile phone
(Secure Simple
Pairing) .................... 182
De-authorizing a mobile phone ......... 183
Incoming call during an existing
call .................................................. .184
Information ....................................... 182
Menu (on-board computer) ............... 16 9
Mobile phone voice recognition ........ 184
No tes ................................................ 182
Re ception and transmission vol‐
ume .................................................. 183
Switching mobile phones ................. 183
Switching mobile phones (Near
Field Communication (NFC)) ............ 183
Te lephone menu overview ................1 82
Te lephone operation ........................ .184
Using Near Field Communication
(NFC) ................................................ 183
Wi reless charging (mobile phone) ...... .78
Te mp erature grade ............................... 24 3
Ti e-d owney es ...................................... .198
Time Manual time setting .......................... 180
Setting the time and date automat‐
ically .................................................1 79
Setting the time zone ....................... 180
Setting the time/date form at .......... .180
Ti re and Loading Information plac‐
ard ........................................................ .240
Ti re Identification Number (TIN) .........24 4
Ti re information table ..........................24 0
Ti re labeling .......................................... 24 3
Characteristics ................................ .245
DO T,Tire Identification Number
(TIN) ................................................. 24 4
Load index ........................................ 24 5
Load-bearing capacity ...................... 24 5
Maximum tire load ........................... 24 4
Maximum tire pressure .................... 24 5
Overview .......................................... 24 3
Size designation ............................... 24 5
Speed rating ..................................... 24 5
Te mp erature grade ........................... 24 3
Ti re qu ality grades ............................ 24 3
Tr action grade .................................. 24 3
Tr ead wear grade .............................. 24 3
Ti re load (maximum) ............................ 24 4
Ti re pressure
Checking (tire pressure moni toring
sy stem) ............................................ 239
Maximum ......................................... 24 5
No tes ............................................... 234 322
Index
Page 350 of 354
0024The electric parking brake
malfunctioning
yellow indicator
lamp does not light up ...................... 298
0077Ti repressure monitoring sys‐
te m wa rning lamp flashes ................ 304
0077Ti repressure monitoring sys‐
te m wa rning lamp lights up .............. 305
Wa rranty ................................................. 24
Wa rranty terms and conditions ............ 20
Wa sher fluid
see Windshield washer fluid (no tes)
Wa shing byhand (care) ........................ 211
Wheel rotation ...................................... 24 9
Wheel size categori es.......................... 250
Wheel wrench ...................................... .250
Wheels Care .................................................. 212
Characteristics of the tire ................. 24 5
Checking .......................................... 232
Checking the tire pressure (tire
pressure monitoring sy stem) ............ 239
Definitions ........................................2 46
DO T,Tire Identification Number
(TIN) ................................................. 24 4
Flat tire ............................................. 218
Ins talling .......................................... 253
Load index ........................................ 24 5
Load-bearing capacity ...................... 24 5
Maximum tire load ........................... 24 4
Maximum tire pressure .................... 24 5
No ise ................................................ 232
No tes on ins talling ............................ 24 8
Overview of tire labeling ...................2 43
Re moving ........................................ .253
Re placing .................................. 248, 251
Re starting the tire pressure moni‐
to r ................................................... .240
Ro tating ............................................ 24 9
Selecting .......................................... 24 8
Size designation ............................... 24 5
Snow chains .................................... .233
Speed rating ..................................... 24 5
St oring ............................................. 250
Te mp erature grade ........................... 24 3
Ti re and Loading In form ation plac‐
ard .................................................... 24 0
Ti re pressure (no tes) ........................ 234
Ti re pressure monitoring sy stem
(function) .......................................... 238
Ti re pressure table ...........................2 35
Ti re qu ality grades ............................ 24 3Tr
action grade .................................. 24 3
Tr ead wear grade .............................. 24 3
Un usual driving characteristics ........ 232
Wi -Fi ....................................................... 180
Overview .......................................... 180
Setting .............................................. 181
Wi ndow curtain airbag .......................... 32
Wi ndo ws
see Side window
Wi ndo ws(care) .................................... .212
Wi ndshield ..............................................89
Re placing the wiper blades ................89
Re placing the wiper blades (WET
WIPER SYSTEM) .................................. 89
Wi ndshield
see Windshield
Wi ndshield washer fluid
Information ....................................... 271
Wi ndshield washer fluid (no tes) ......... 270
Wi ndshield wipers
Re placing the wiper blades ................89
Re placing the wiper blades (WET
WIPER SYSTEM) .................................. 89
Switching on/o ff................................ 88
Wi nter driving (snow chains) .............. 233
Wi nter tires ...........................................2 33
Wi per blades
Ca re .................................................. 212
Re placing (rear window) .....................90
Re placing (WET WIPER SYSTEM) ........ 89
Re placing (windshield) ........................ 89
Wire lesscharging
Fu nction/no tes ..................................77
Mobile phone .....................................78
Wo rkshop
see Qualified specialist workshop 326
Index