2019 MERCEDES-BENZ SLC instrument cluster
[x] Cancel search: instrument clusterPage 257 of 306

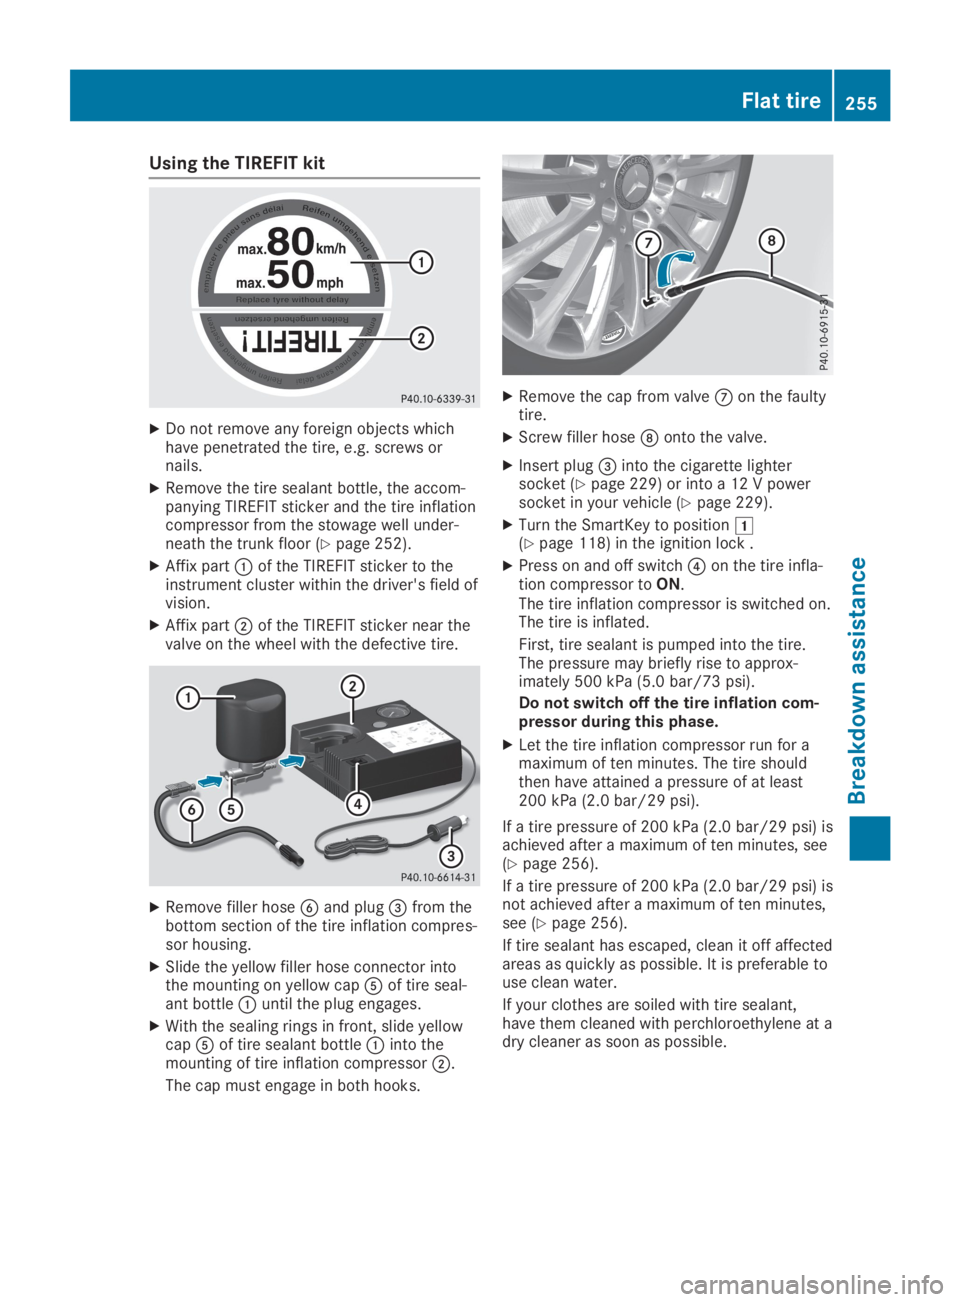
Using the TIREFIT kit
XDo not remove any foreign objects whichhave penetrated the tire, e.g. screws ornails.
XRemove the tire sealant bottle, the accom-panying TIREFIT sticker and the tire inflationcompressor from the stowage well under-neath the trunk floor (Ypage 252).
XAffix part�Cof the TIREFIT sticker to theinstrument cluster within the driver's field ofvision.
XAffix part�Dof the TIREFIT sticker near thevalve on the wheel with the defective tire.
XRemove filler hose�
Page 258 of 306

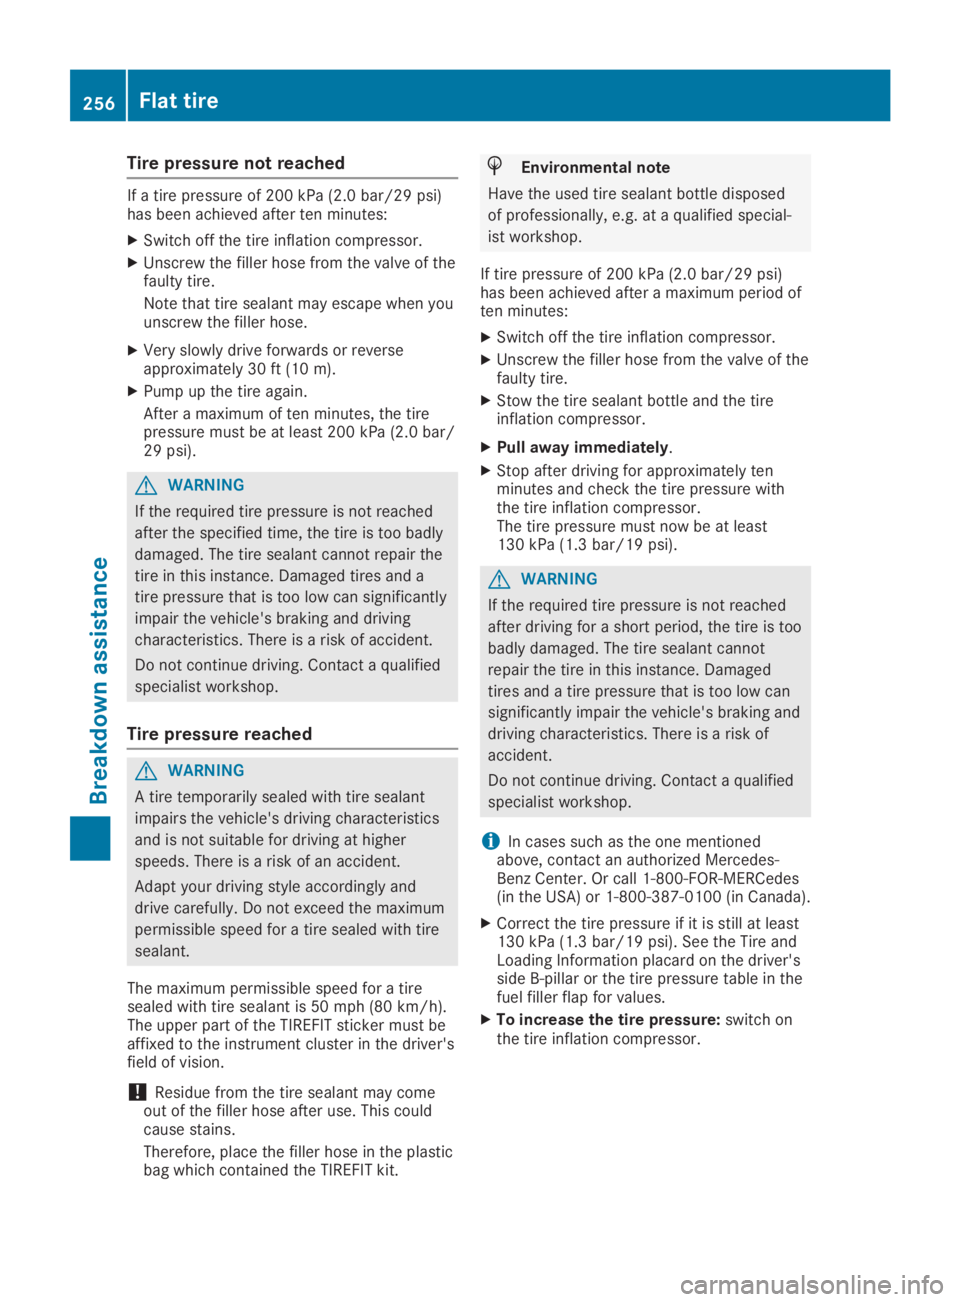
Tire pressure not reached
If a tire pressure of 200 kPa (2.0 bar/29 psi)has been achieved after ten minutes:
XSwitch off the tire inflation compressor.
XUnscrew the filler hose from the valve of thefaulty tire.
Note that tire sealant may escape when youunscrew the filler hose.
XVery slowly drive forwards or reverseapproximately 30 ft (10 m).
XPump up the tire again.
After a maximum of ten minutes, the tirepressure must be at least 200 kPa (2.0 bar/29 psi).
GWARNING
If the required tire pressure is not reached
after the specified time, the tire is too badly
damaged. The tire sealant cannot repair the
tire in this instance. Damaged tires and a
tire pressure that is too low can significantly
impair the vehicle's braking and driving
characteristics. There is a risk of accident.
Do not continue driving. Contact a qualified
specialist workshop.
Tire pressure reached
GWARNING
A tire temporarily sealed with tire sealant
impairs the vehicle's driving characteristics
and is not suitable for driving at higher
speeds. There is a risk of an accident.
Adapt your driving style accordingly and
drive carefully. Do not exceed the maximum
permissible speed for a tire sealed with tire
sealant.
The maximum permissible speed for a tiresealed with tire sealant is 50 mph (80 km/h).The upper part of the TIREFIT sticker must beaffixed to the instrument cluster in the driver'sfield of vision.
!Residue from the tire sealant may comeout of the filler hose after use. This couldcause stains.
Therefore, place the filler hose in the plasticbag which contained the TIREFIT kit.
HEnvironmental note
Have the used tire sealant bottle disposed
of professionally, e.g. at a qualified special-
ist workshop.
If tire pressure of 200 kPa (2.0 bar/29 psi)has been achieved after a maximum period often minutes:
XSwitch off the tire inflation compressor.
XUnscrew the filler hose from the valve of thefaulty tire.
XStow the tire sealant bottle and the tireinflation compressor.
XPull away immediately.
XStop after driving for approximately tenminutes and check the tire pressure withthe tire inflation compressor.The tire pressure must now be at least130 kPa (1.3 bar/19 psi).
GWARNING
If the required tire pressure is not reached
after driving for a short period, the tire is too
badly damaged. The tire sealant cannot
repair the tire in this instance. Damaged
tires and a tire pressure that is too low can
significantly impair the vehicle's braking and
driving characteristics. There is a risk of
accident.
Do not continue driving. Contact a qualified
specialist workshop.
iIn cases such as the one mentionedabove, contact an authorized Mercedes-Benz Center. Or call 1-800-FOR-MERCedes(in the USA) or 1-800-387-0100 (in Canada).
XCorrect the tire pressure if it is still at least130 kPa (1.3 bar/19 psi). See the Tire andLoading Information placard on the driver'sside B-pillar or the tire pressure table in thefuel filler flap for values.
XTo increase the tire pressure:switch onthe tire inflation compressor.
256Flat tire
Breakdown assistance
Page 263 of 306

RMake sure that the positive terminal of a connected battery does not come into contact with
vehicle parts.
RNever place metal objects or tools on a battery.
RIt is important that you observe the described order of the battery terminals when connect-
ing and disconnecting a battery.
RWhen jump-starting, make sure that the battery poles with identical polarity are connected.
RIt is particularly important to observe the described order when connecting and disconnect-
ing the jumper cables.
RNever connect or disconnect the battery terminals while the engine is running.
GWARNING
A discharged battery can freeze at temperatures below freezing point. When jump-starting the
vehicle or charging the battery, gases can escape from the battery. There is a risk of an explo-
sion.
Allow the frozen battery to thaw out before charging it or jump-starting.
!Avoid repeated and lengthy starting attempts. Otherwise, the catalytic converter could bedamaged by the non-combusted fuel.
If the indicator/warning lamps do not light up at low temperatures, it is very likely that the dis-charged battery has frozen. In this case, you may neither charge the battery nor jump-start thevehicle. The service life of a thawed-out battery may be shorter. The starting characteristics canbe impaired, particularly at low temperatures. Have the thawed-out battery checked at a quali-fied specialist workshop.
Do not start the vehicle using a rapid charging device. If your vehicle's battery is discharged, theengine can be jump-started from another vehicle or from a donor battery using jumper cables.Observe the following points:
RThe battery is not accessible in all vehicles. If the other vehicle's battery is not accessible,jump-start the vehicle using a donor battery or a jump-starting device.
RYou may only jump-start the vehicle when the engine and exhaust system are cold.
RDo not start the engine if the battery is frozen. Let the battery thaw first.
ROnly jump-start from batteries with a 12 V voltage rating.
ROnly use jumper cables which have a sufficient cross-section and insulated terminal clamps.
RIf the battery is fully discharged, leave the battery that is being used to jump-start connectedfor a few minutes before attempting to start. This charges the battery slightly.
RMake sure that the two vehicles do not touch.
Make sure that:
RThe jumper cables are not damaged.
RBare parts of the terminal clamp do not come into contact with other metal parts while thejumper cables are connected to the battery.
RThe jumper cables cannot come into contact with parts which can move when the engine isrunning, such as the V-belt pulley or the fan.
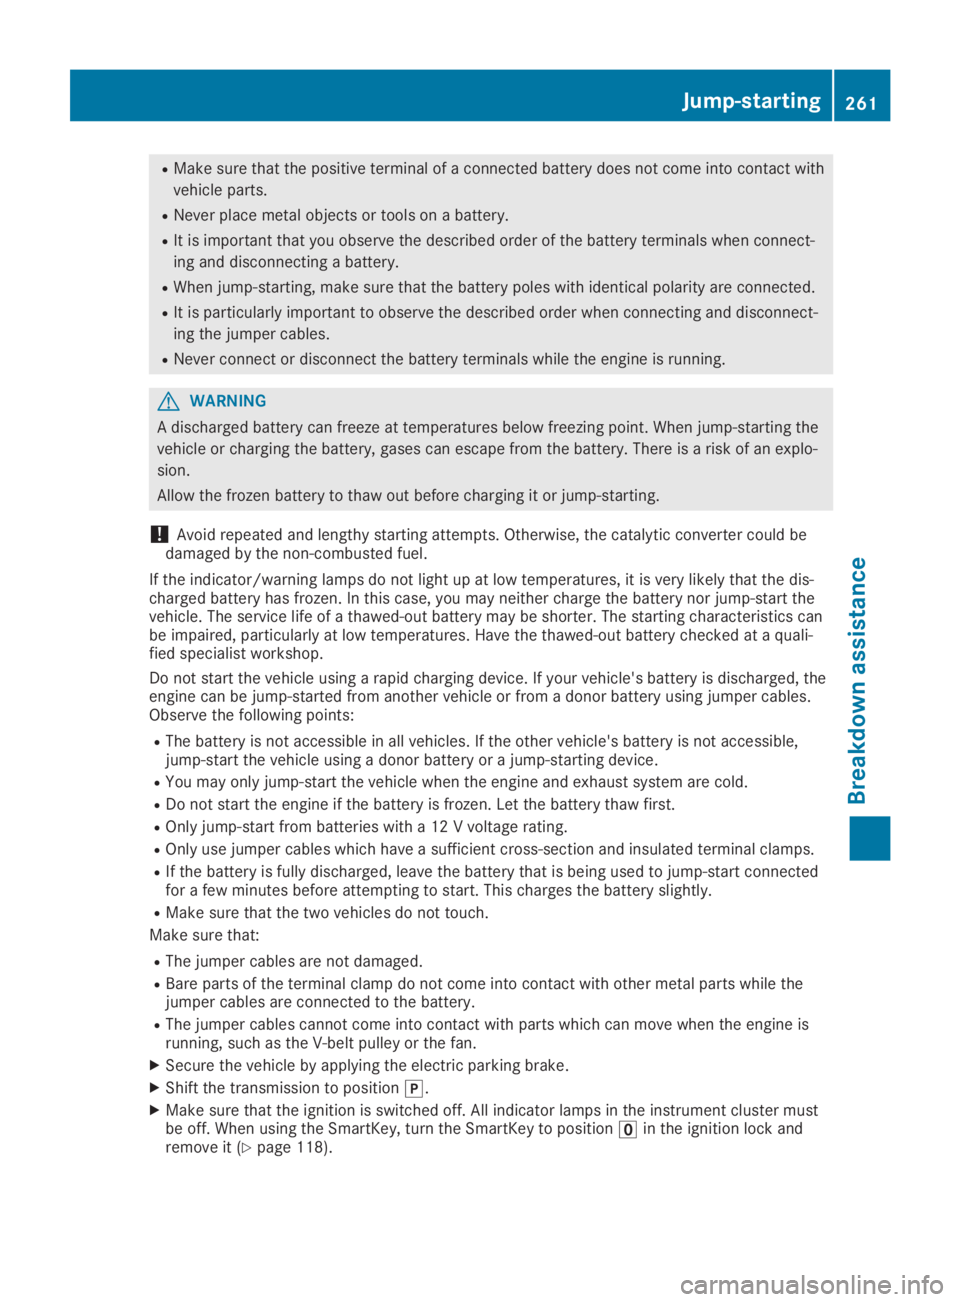
XSecure the vehicle by applying the electric parking brake.
XShift the transmission to position�].
XMake sure that the ignition is switched off. All indicator lamps in the instrument cluster mustbe off. When using the SmartKey, turn the SmartKey to position�
Page 278 of 306

vehicle to a halt by braking carefully. Avoidabrupt steering movements.
The tire pressure monitor has a yellow warninglamp in the instrument cluster for indicatingpressure loss or a malfunction. Whether thewarning lamp flashes or lights up indicateswhether a tire pressure is too low or the tirepressure monitor is malfunctioning:
Rif the warning lamp is lit continuously, thetire pressure on one or more tires is signifi-cantly too low. The tire pressure monitor isnot malfunctioning.
Rif the warning lamp flashes for approx-imately a minute and then remains lit con-stantly, the tire pressure monitor is malfunc-tioning.
In addition to the warning lamp, a messageappears in the multifunction display. Observethe information on display messages(Ypage 201).
It may take up to ten minutes for a malfunc-tion of the tire pressure monitor to be indica-ted. A malfunction will be indicated by the tirepressure warning lamp flashing for approx-imately one minute and then remaining lit.When the malfunction has been rectified, thetire pressure warning lamp goes out after afew minutes of driving.
The tire pressure values indicated by the on-board computer may differ from those meas-ured at a gas station with a pressure gage. Thetire pressures shown by the on-board com-puter refer to those measured at sea level. Athigh altitudes, the tire pressure values indica-ted by a pressure gage are higher than thoseshown by the on-board computer. In this case,do not reduce the tire pressures.
The operation of the tire pressure monitor canbe affected by interference from radio trans-mitting equipment (e.g. radio headphones,two-way radios) that may be being operated inor near the vehicle.
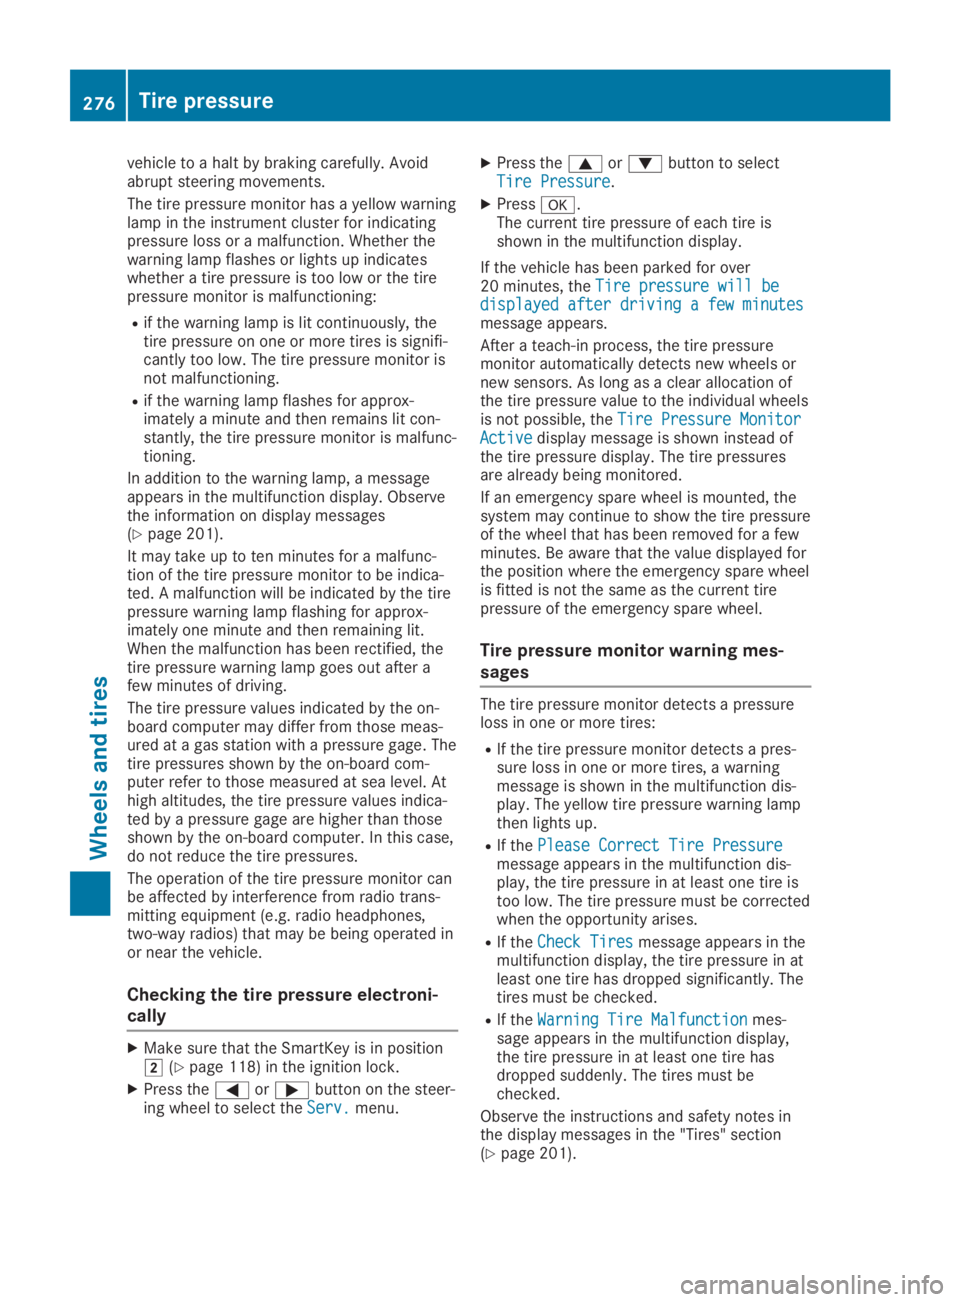
Checking the tire pressure electroni-
cally
XMake sure that the SmartKey is in position�H(Ypage 118) in the ignition lock.
XPress the�Yor�ebutton on the steer-ing wheel to select theServ.Serv.menu.
XPress the�cor�dbutton to selectTire PressureTire Pressure.
XPress�v.The current tire pressure of each tire isshown in the multifunction display.
If the vehicle has been parked for over20 minutes, theTire pressure will beTire pressure will bedisplayed after driving a few minutesdisplayed after driving a few minutesmessage appears.
After a teach-in process, the tire pressuremonitor automatically detects new wheels ornew sensors. As long as a clear allocation ofthe tire pressure value to the individual wheelsis not possible, theTire Pressure MonitorTire Pressure MonitorActiveActivedisplay message is shown instead ofthe tire pressure display. The tire pressuresare already being monitored.
If an emergency spare wheel is mounted, thesystem may continue to show the tire pressureof the wheel that has been removed for a fewminutes. Be aware that the value displayed forthe position where the emergency spare wheelis fitted is not the same as the current tirepressure of the emergency spare wheel.
Tire pressure monitor warning mes-
sages
The tire pressure monitor detects a pressureloss in one or more tires:
RIf the tire pressure monitor detects a pres-sure loss in one or more tires, a warningmessage is shown in the multifunction dis-play. The yellow tire pressure warning lampthen lights up.
RIf thePlease Correct Tire PressurePlease Correct Tire Pressuremessage appears in the multifunction dis-play, the tire pressure in at least one tire istoo low. The tire pressure must be correctedwhen the opportunity arises.
RIf theCheck TiresCheck Tiresmessage appears in themultifunction display, the tire pressure in atleast one tire has dropped significantly. Thetires must be checked.
RIf theWarning Tire MalfunctionWarning Tire Malfunctionmes-sage appears in the multifunction display,the tire pressure in at least one tire hasdropped suddenly. The tires must bechecked.
Observe the instructions and safety notes inthe display messages in the "Tires" section(Ypage 201).
276Tire pressure
Wheels and tires