2019 MERCEDES-BENZ CLA fuel cap
[x] Cancel search: fuel capPage 13 of 330
F
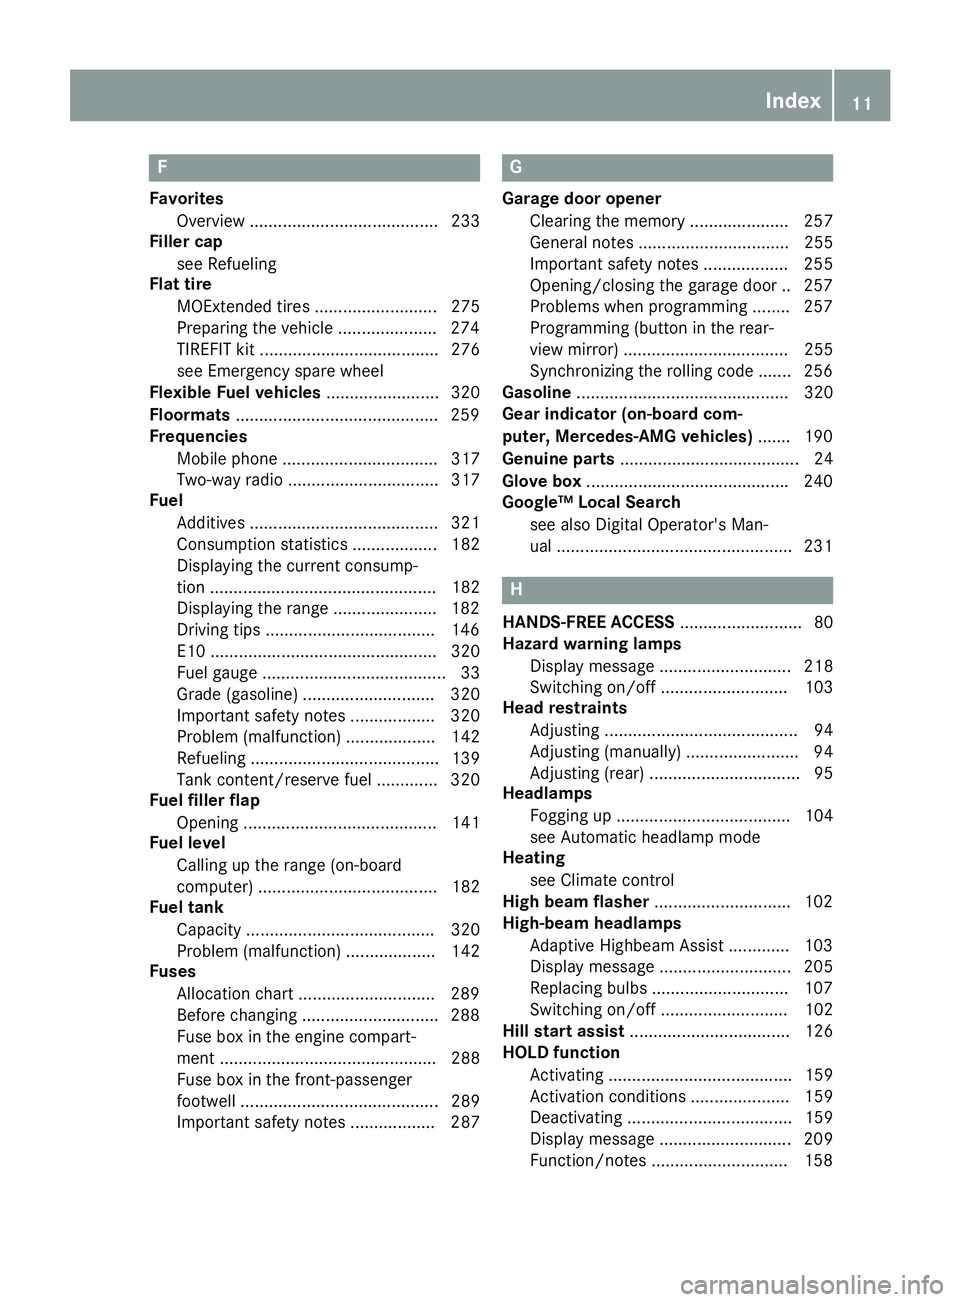
Favorites
Overview ........................................ 233
Filler cap
see Refueling
Flat tire
MOExtended tires .......................... 275
Preparing the vehicle .....................274
TIREFIT kit ...................................... 276
see Emergency spare wheel
Flexible Fuel vehicles........................ 320
Floormats...........................................259
Frequencies
Mobile phone ................................. 317
Two-way radio ................................ 317
Fuel
Additives ........................................ 321
Consumption statistics .................. 182
Displaying the current consump-
tion ................................................ 182
Displaying the range ......................182
Driving tips ....................................146
E10 ................................................ 320
Fuel gauge ....................................... 33
Grade (gasoline) ............................ 320
Important safety notes .................. 320
Problem (malfunction) ................... 142
Refueling ........................................ 139
Tank content/reserve fuel ............. 320
Fuel filler flap
Opening ......................................... 141
Fuel level
Calling up the range (on-board
computer) ...................................... 182
Fuel tank
Capacity ........................................ 320
Problem (malfunction) ................... 142
Fuses
Allocation chart .............................289
Before changing .............................288
Fuse box in the engine compart-
ment .............................................. 288
Fuse box in the front-passenger
footwell .......................................... 289
Important safety notes .................. 287
G
Garage door opener
Clearing the memory ..................... 257
General notes ................................ 255
Important safety notes .................. 255
Opening/closing the garage door .. 257
Problems when programming ........257
Programming (button in the rear-
view mirror) ................................... 255
Synchronizing the rolling code ....... 256
Gasoline............................................. 320
Gear indicator (on-board com-
puter, Mercedes-AMG vehicles)....... 190
Genuine parts...................................... 24
Glove box...........................................240
Google™ Local Search
see also Digital Operator's Man-
ual ..................................................231
H
HANDS-FREE ACCESS.......................... 80
Hazard warning lamps
Display message ............................ 218
Switching on/off ........................... 103
Head restraints
Adjusting ......................................... 94
Adjusting (manually) ........................ 94
Adjusting (rear) ................................ 95
Headlamps
Fogging up ..................................... 104
see Automatic headlamp mode
Heating
see Climate control
High beam flasher.............................102
High-beam headlamps
Adaptive Highbeam Assist ............. 103
Display message ............................ 205
Replacing bulbs .............................107
Switching on/off ........................... 102
Hill start assist.................................. 126
HOLD function
Activating ....................................... 159
Activation conditions ..................... 159
Deactivating ................................... 159
Display message ............................ 209
Function/notes .............................158
Index11
Page 20 of 330
Specialist workshop............................28
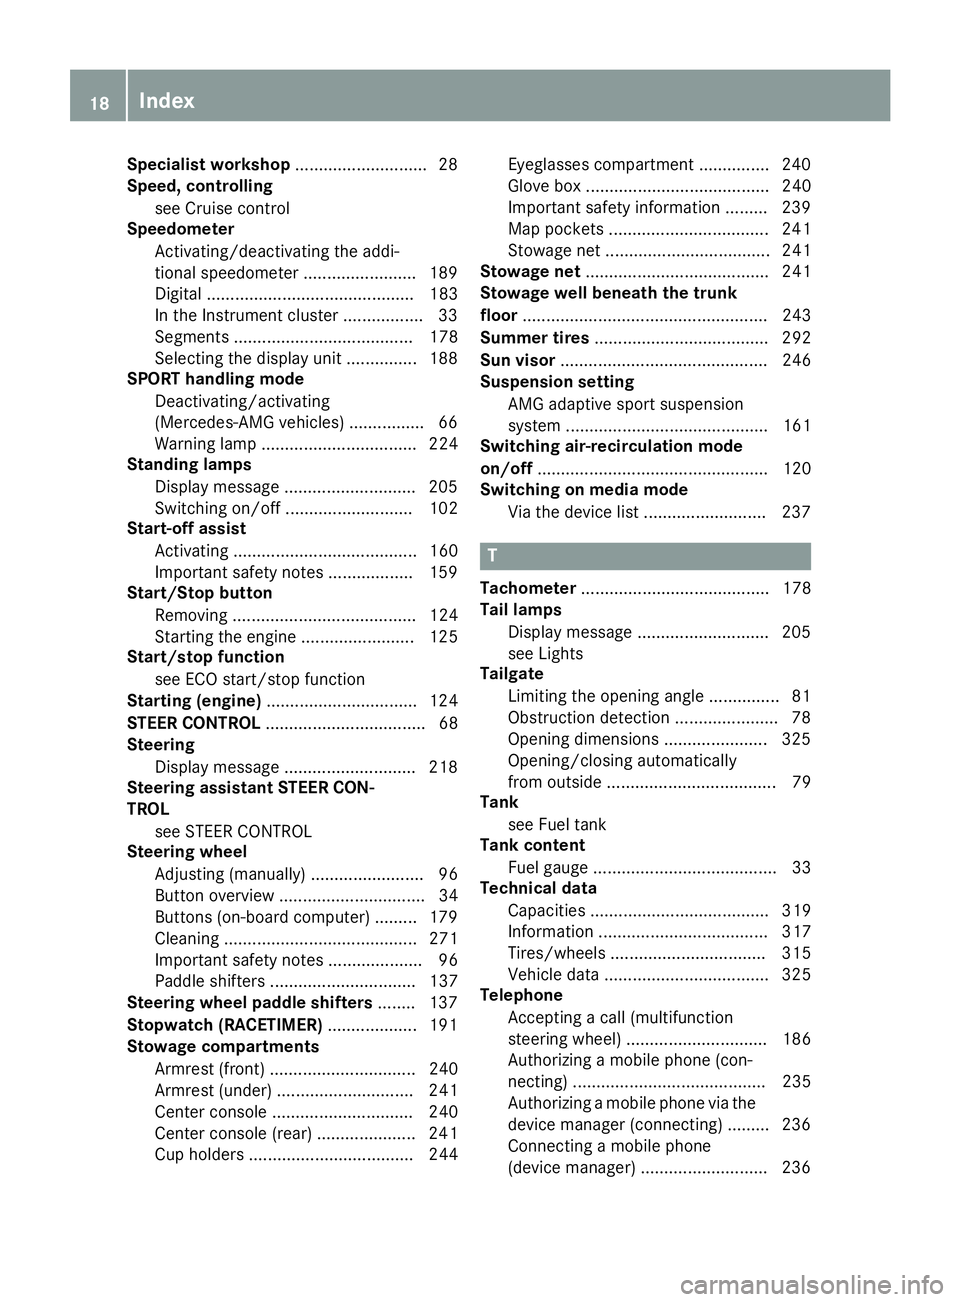
Speed, controlling
see Cruise control
Speedometer
Activating/deactivating the addi-
tional speedometer ........................ 189
Digital ............................................ 183
In the Instrument cluster ................. 33
Segments ...................................... 178
Selecting the display unit ............... 188
SPORT handling mode
Deactivating/activating
(Mercedes-AMG vehicles) ................66
Warning lamp ................................. 224
Standing lamps
Display message ............................205
Switching on/off ........................... 102
Start-off assist
Activating ....................................... 160
Important safety notes .................. 159
Start/Stop button
Removing ....................................... 124
Starting the engine ........................ 125
Start/stop function
see ECO start/stop function
Starting (engine)................................ 124
STEER CONTROL.................................. 68
Steering
Display message ............................ 218
Steering assistant STEER CON-
TROL
see STEER CONTROL
Steering wheel
Adjusting (manually)........................ 96
Button overview ............................... 34
Buttons (on-board computer) ......... 179
Cleaning ......................................... 271
Important safety notes .................... 96
Paddle shifters ............................... 137
Steering wheel paddle shifters........ 137
Stopwatch (RACETIMER)................... 191
Stowage compartments
Armrest (front) ............................... 240
Armrest (under) ............................. 241
Center console .............................. 240
Center console (rear) ..................... 241
Cup holders ................................... 244
Eyeglasses compartment ............... 240
Glove box ....................................... 240
Important safety information ......... 239
Map pockets .................................. 241
Stowage net ................................... 241
Stowage net....................................... 241
Stowage well beneath the trunk
floor.................................................... 243
Summer tires..................................... 292
Sun visor............................................ 246
Suspension setting
AMG adaptive sport suspension
system ........................................... 161
Switching air-recirculation mode
on/off................................................. 120
Switching on media mode
Via the device list .......................... 237
T
Tachometer........................................ 178
Tail lamps
Display message ............................ 205
see Lights
Tailgate
Limiting the opening angle ............... 81
Obstruction detection...................... 78
Opening dimensions ...................... 325
Opening/closing automatically
from outside .................................... 79
Tank
see Fuel tank
Tank content
Fuel gauge ....................................... 33
Technical data
Capacities ...................................... 319
Information .................................... 317
Tires/wheels ................................. 315
Vehicle data ................................... 325
Telephone
Accepting a call (multifunction
steering wheel) .............................. 186
Authorizing a mobile phone (con-
necting) ......................................... 235
Authorizing a mobile phone via the
device manager (connecting) ......... 236
Connecting a mobile phone
(device manager) ........................... 236
18Index
Page 142 of 330
You must make sure that fuel does not come
into contact with your skin, eyes or clothing
and that it is not swallowed. Do not inhale fuel
vapors. Keep fuel away from children.
If you or others come into contact with fuel,
observe the following:
RWash away fuel from skin immediately
using soap and water.
RIf fuel comes into contact with your eyes,
immediately rinse them thoroughly with
clean water. Seek medical assistance with-
out delay.
RIf fuel is swallowed, seek medical assis-
tance without delay. Do not induce vomit-
ing.
RImmediately change out of clothing which
has come into contact with fuel.
GWARNING
Electrostatic charge can cause sparks and
thereby ignite fuel vapors. There is a risk of
fire and explosion.
Before you open the fuel filler cap or take hold
of the pump nozzle, touch the metallic vehicle
body. This discharges any electrostatic
charge that may have built up.
Do not get into the vehicle again during the
refueling process. Otherwise, electrostatic
charge could build up again.
!Do not use diesel to refuel vehicles with agasoline engine. Do not switch on the ignitionif you accidentally refuel with the wrong fuel.Otherwise, the fuel will enter the fuel system.Even small amounts of the wrong fuel couldresult in damage to the fuel system and theengine. Notify a qualified specialist workshopand have the fuel tank and fuel lines drainedcompletely.
!Overfilling the fuel tank could damage thefuel system.
!Take care not to spill any fuel on paintedsurfaces. You could otherwise damage thepaintwork.
!Use a filter when adding fuel from a fuel can.The fuel lines and/or the fuel injection system
could otherwise be blocked by particles fromthe fuel can.
Do not get into the vehicle again during the refu-eling process. Otherwise, electrostatic chargecould build up again.
If you overfill the fuel tank, fuel could spray outwhen the fuel pump nozzle is removed.
For further information on fuel and fuel quality(Ypage 319).
Refueling
General information
Pay attention to the important safety notes(Ypage 139).
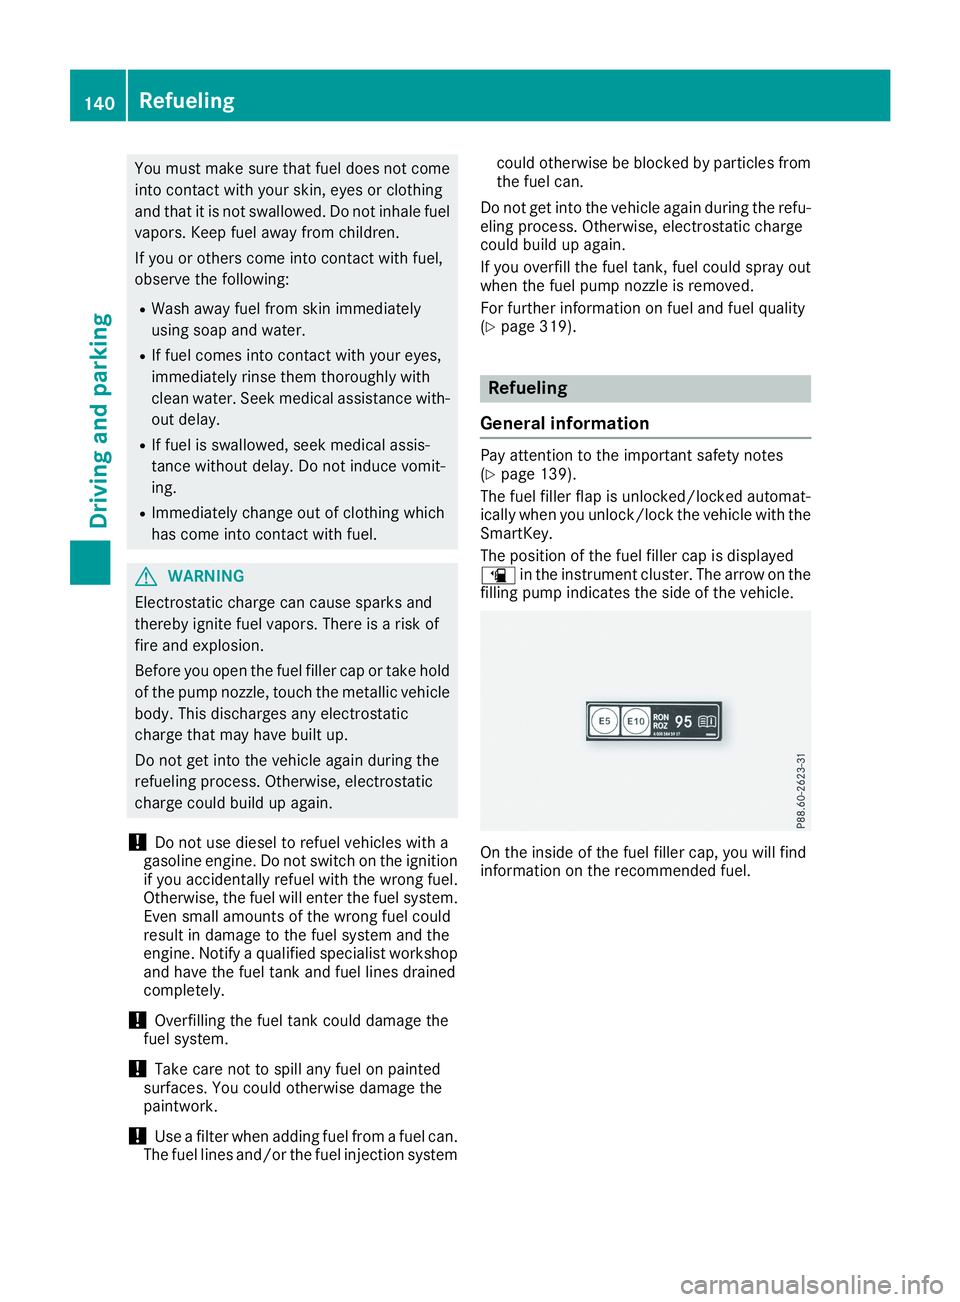
The fuel filler flap is unlocked/locked automat-ically when you unlock/lock the vehicle with theSmartKey.
The position of the fuel filler cap is displayed�
Page 280 of 330
Tire pressure reached
GWARNING
A tire temporarily sealed with tire sealant
impairs the driving characteristics and is not
suitable for higher speeds. There is a risk of
accident.
You should therefore adapt your driving style
accordingly and drive carefully. Do not exceed
the specified maximum speed with a tire that
has been repaired using tire sealant.
USA only:The maximum permissible speed fora tire sealed with tire sealant is 50 mph(80 km/h). The upper part of the TIREFIT stickermust be affixed to the instrument cluster in thedriver's field of vision.
If a tire pressure of 200 kPa (2.0 bar/29 psi) hasbeen attained after ten minutes:
XSwitch off the tire inflation compressor.
XUnscrew the filler hose from the valve of thefaulty tire.Note that tire sealant may escape when youunscrew the filler hose.
XUSA only:Stow the tire sealant bottle and thetire inflation compressor.
XPull away immediately.
XStop after driving for approximately tenminutes and check the tire pressure with thetire inflation compressor.The tire pressure must now be at least130 kPa (1.3 bar/19 psi).
GWARNING
If the required tire pressure is not reached
after driving for a short period, the tire is too
badly damaged. The tire sealant cannot repair
the tire in this instance. Damaged tires and a
tire pressure that is too low can significantly
impair the vehicle's braking and driving char-
acteristics. There is a risk of accident.
Do not continue driving. Contact a qualified
specialist workshop.
iUSA only:In cases such as the one men-tioned above, contact an authorizedMercedes-Benz Center. Or call1-800-FOR-MERCedes (in the USA) or1-800-387-0100 (in Canada).
XUSA only:Correct the tire pressure if it is stillat least 130 kPa (1.3 bar/19 psi). See the Tireand Loading Information placard on the driv-er's side B-pillar or the tire pressure table inthe fuel filler flap for values.
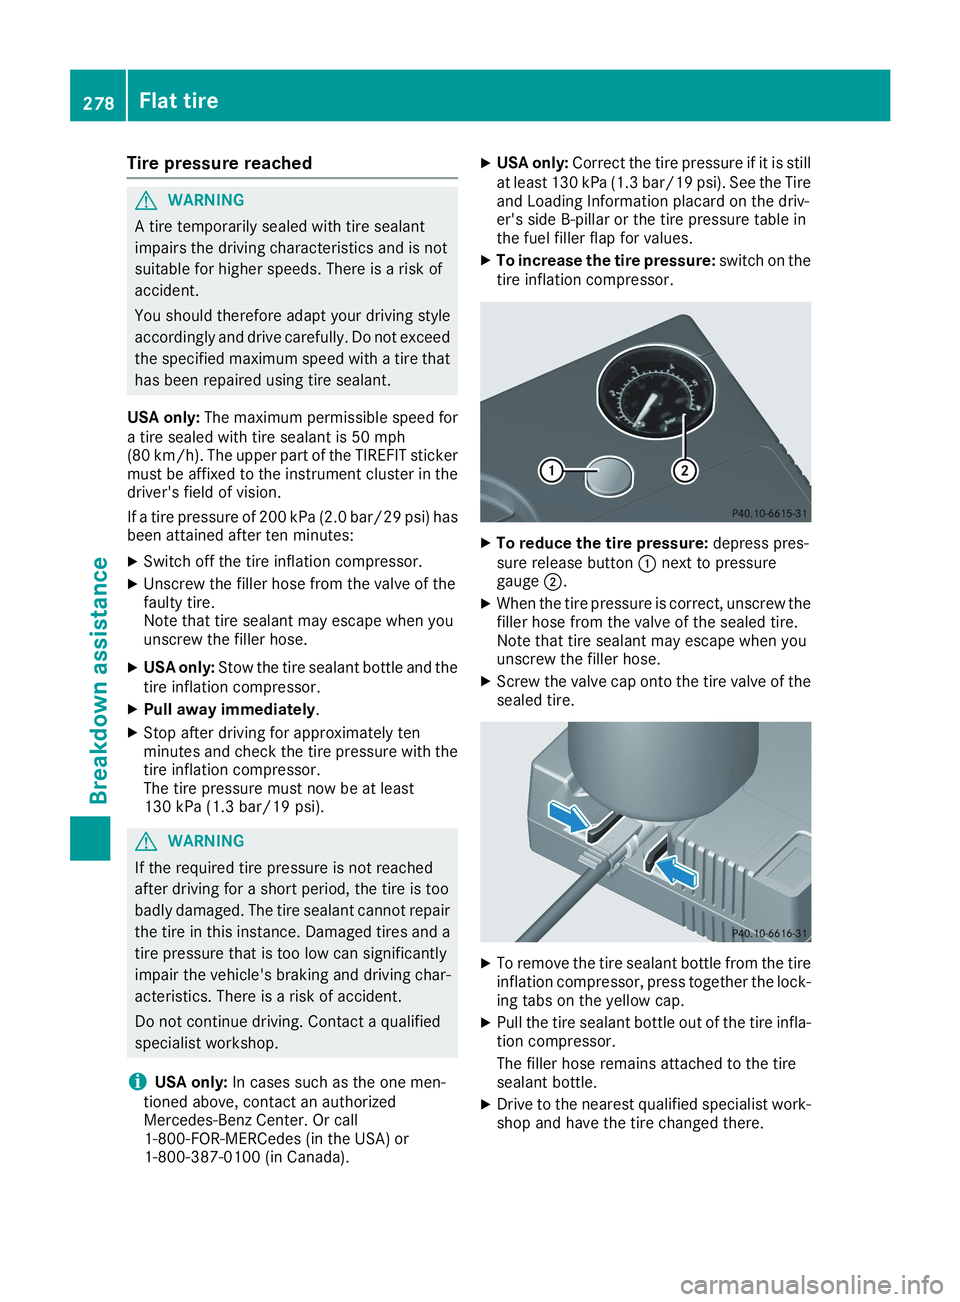
XTo increase the tire pressure:switch on thetire inflation compressor.
XTo reduce the tire pressure:depress pres-sure release button�Cnext to pressuregauge�D.
XWhen the tire pressure is correct, unscrew thefiller hose from the valve of the sealed tire.Note that tire sealant may escape when youunscrew the filler hose.
XScrew the valve cap onto the tire valve of thesealed tire.
XTo remove the tire sealant bottle from the tireinflation compressor, press together the lock-ing tabs on the yellow cap.
XPull the tire sealant bottle out of the tire infla-tion compressor.
The filler hose remains attached to the tiresealant bottle.
XDrive to the nearest qualified specialist work-shop and have the tire changed there.
278Flat tire
Breakdown assistance
Page 284 of 330
which have been tested and approved for yourvehicle by Mercedes-Benz.
RUse detachable parts such as breather hoses,angled connecting pieces or terminal coversfrom the battery which is to be replaced.
RMake sure that the vent hose is always con-nected to the original opening on the batteryside.
RInstall existing or supplied cell caps; other-wise gases or battery acid could escape.
RMake sure that the detachable parts are con-nected again in the same way.
Jump-starting
For the jump-starting procedure, use only the jump-starting connection point, consisting of a pos-itive terminal and a ground point, in the engine compartment.
GWARNING
Battery acid is caustic. There is a risk of injury.
Avoid contact with skin, eyes or clothing. Do not inhale any battery gases. Do not lean over the
battery. Keep children away from batteries. Wash away battery acid immediately with plenty of
clean water and seek medical attention.
GWARNING
During charging and jump-starting, explosive gases can escape from the battery. There is a risk
of an explosion.
Particularly avoid fire, open flames, creating sparks and smoking. Ensure there is sufficient ven-
tilation while charging and jump-starting. Do not lean over a battery.
GWARNING
During the charging process, a battery produces hydrogen gas. If a short circuit occurs or sparks
are created, the hydrogen gas can ignite. There is a risk of an explosion.
RMake sure that the positive terminal of a connected battery does not come into contact with
vehicle parts.
RNever place metal objects or tools on a battery.
RIt is important that you observe the described order of the battery terminals when connecting
and disconnecting a battery.
RWhen jump-starting, make sure that the battery poles with identical polarity are connected.
RIt is particularly important to observe the described order when connecting and disconnecting
the jumper cables.
RNever connect or disconnect the battery terminals while the engine is running.
GWARNING
A discharged battery can freeze at temperatures below freezing point. When jump-starting the
vehicle or charging the battery, gases can escape from the battery. There is a risk of an explosion.
Allow the frozen battery to thaw out before charging it or jump-starting.
!Avoid repeated and lengthy starting attempts. Otherwise, the catalytic converter could bedamaged by the non-combusted fuel.
282Jump-starting
Breakdown assistance
Page 297 of 330
If the tire pressures have been set to the lowervalues for lighter loads and/or lower roadspeeds, the pressures should be reset to thehigher values:
Rif you want to drive with an increased loadand/or
Rif you want to drive at higher speeds
iThe tire pressures for increased loads and/or higher road speeds, shown in the tire pres-sure table, may have a negative effect on driv-ing comfort.
If the tire pressure is not set correctly, this canlead to an excessive build-up of heat and a sud-den loss of pressure.
For more information, contact a qualified spe-cialist workshop.
Important notes on tire pressure
GWARNING
If the tire pressure drops repeatedly, the
wheel, valve or tire may be damaged. Tire
pressure that is too low may result in a tire
blow-out. There is a risk of an accident.
RCheck the tire for foreign objects.
RCheck whether the wheel is losing air or the
valve is leaking.
If you are unable to rectify the damage, con-
tact a qualified specialist workshop.
GWARNING
If you fit unsuitable accessories onto tire
valves, the tire valves may be overloaded and
malfunction, which can cause tire pressure
loss. Due to their design, retrofitted tire pres-
sure monitors keep the tire valve open. This
can also result in tire pressure loss. There is a
risk of an accident.
Only screw the standard valve cap or other
valve caps approved by Mercedes-Benz for
your vehicle onto the tire valve.
Use a suitable pressure gauge to check the tirepressure. The outer appearance of a tire doesnot permit any reliable conclusion about the tirepressure. On vehicles equipped with the elec-tronic tire pressure monitor, the tire pressurecan be checked in the on-board computer.
The tire temperature and pressure increasewhen the vehicle is in motion. This is dependenton the driving speed and the load.
Therefore, you should only correct tire pres-sures when the tires are cold.
The tires are cold:
Rif the vehicle has been parked with the tiresout of direct sunlight for at least three hoursand
Rif the vehicle has been driven less than 1 mile(1.6 km)
The tire temperature changes depending on theoutside temperature, the vehicle speed and thetire load. If the tire temperature changes by18 ‡ (10 †), the tire pressure changes byapproximately 10 kPa (0.1 bar/1.5 psi). Takethis into account when checking the pressure ofwarm tires. Only correct the tire pressure if it istoo low for the current operating conditions. Ifyou check the tire pressure when the tires arewarm, the resulting value will be higher than ifthe tires were cold. This is normal. Do notreduce the tire pressure to the value specifiedfor cold tires. The tire pressure would otherwisebe too low.
Observe the recommended tire pressures forcold tires:
Ron the Tire and Loading Information placardon the B-pillar on the driver's side
Rin the tire pressure table in the fuel filler flap(Ypage 141)
Underinflated or overinflated tires
Underinflated tires
GWARNING
Tires with pressure that is too low can over-
heat and burst as a consequence. In addition,
they also suffer from excessive and/or irreg-
ular wear, which can severely impair the brak-
ing properties and the driving characteristics.
There is a risk of an accident.
Avoid tire pressures that are too low in all the
tires, including the spare wheel.
Underinflated tires may:
Roverheat, leading to tire defects
Radversely affect handling
Tire pressure295
Wheels and tires
Z
Page 298 of 330
Rwear excessively and/or unevenly
Rhave an adverse effect on fuel consumption
Overinflated tires
GWARNING
Tires with excessively high pressure can burst
because they are damaged more easily by
road debris, potholes etc. In addition, they
also suffer from irregular wear, which can
severely impair the braking properties and the
driving characteristics. There is a risk of an
accident.
Avoid tire pressures that are too high in all the
tires, including the spare wheel.
Overinflated tires may:
Rincrease the braking distance
Radversely affect handling
Rwear excessively and/or unevenly
Rhave an adverse effect on ride comfort
Rbe more susceptible to damage
Maximum tire pressures
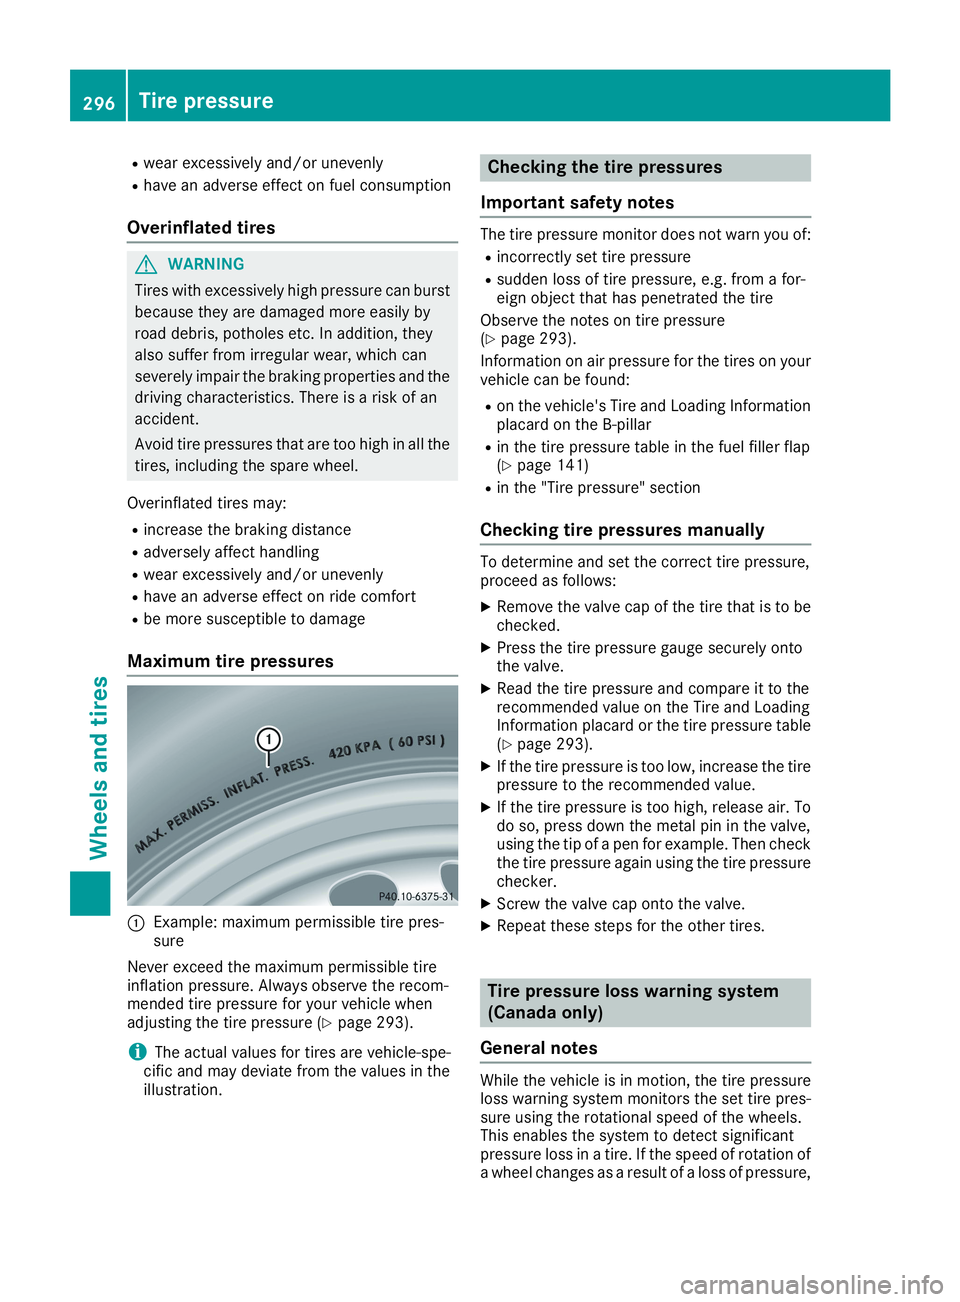
�CExample: maximum permissible tire pres-sure
Never exceed the maximum permissible tireinflation pressure. Always observe the recom-mended tire pressure for your vehicle whenadjusting the tire pressure (Ypage 293).
iThe actual values for tires are vehicle-spe-cific and may deviate from the values in theillustration.
Checking the tire pressures
Important safety notes
The tire pressure monitor does not warn you of:
Rincorrectly set tire pressure
Rsudden loss of tire pressure, e.g. from a for-eign object that has penetrated the tire
Observe the notes on tire pressure(Ypage 293).
Information on air pressure for the tires on yourvehicle can be found:
Ron the vehicle's Tire and Loading Informationplacard on the B-pillar
Rin the tire pressure table in the fuel filler flap(Ypage 141)
Rin the "Tire pressure" section
Checking tire pressures manually
To determine and set the correct tire pressure,proceed as follows:
XRemove the valve cap of the tire that is to bechecked.
XPress the tire pressure gauge securely ontothe valve.
XRead the tire pressure and compare it to therecommended value on the Tire and LoadingInformation placard or the tire pressure table(Ypage 293).
XIf the tire pressure is too low, increase the tirepressure to the recommended value.
XIf the tire pressure is too high, release air. Todo so, press down the metal pin in the valve,using the tip of a pen for example. Then checkthe tire pressure again using the tire pressurechecker.
XScrew the valve cap onto the valve.
XRepeat these steps for the other tires.
Tire pressure loss warning system
(Canada only)
General notes
While the vehicle is in motion, the tire pressureloss warning system monitors the set tire pres-sure using the rotational speed of the wheels.This enables the system to detect significantpressure loss in a tire. If the speed of rotation ofa wheel changes as a result of a loss of pressure,
296Tire pressure
Wheels and tires
Page 311 of 330
Uniform Tire Quality Grading Standards
A uniform standard to grade the quality of tireswith regards to tread quality, tire traction andtemperature characteristics. The quality grad-ing assessment is made by the manufacturerfollowing specifications from the U.S. govern-ment. The ratings are molded into the sidewall ofthe tire.
Recommended tire pressures
The recommended tire pressure applies to thetires mounted at the factory.
The Tire and Loading Information placard con-tains the recommended tire pressures for coldtires on a fully loaded vehicle and for the maxi-mum permissible vehicle speed.
The tire pressure table contains the recommen-ded pressures for cold tires for various operat-ing conditions, i.e. differing load and speed con-ditions.
Increased vehicle weight due to optional
equipment
The combined weight of all standard andoptional equipment available for the vehicle,regardless of whether it is actually installed onthe vehicle or not.
Rim
This is the part of the wheel on which the tire ismounted.
GAWR (Gross Axle Weight Rating)
The GAWR is the maximum gross axle weightrating. The actual load on an axle must neverexceed the gross axle weight rating. The grossaxle weight rating can be found on the vehicleidentification plate on the B-pillar on the driver'sside.
Speed rating
The speed rating is part of the tire identification.It specifies the speed range for which the tire isapproved.
GVW (Gross Vehicle Weight)
The gross vehicle weight includes the weight ofthe vehicle including fuel, tools, the spare wheel,accessories installed, occupants, luggage andthe drawbar noseweight, if applicable. The grossvehicle weight must not exceed the gross vehi-cle weight rating GVWR as specified on the vehi-cle identification plate on the B-pillar on thedriver's side.
GVWR (Gross Vehicle Weight Rating)
The GVWR is the maximum permissible grossweight of a fully loaded vehicle (the weight of thevehicle including all accessories, occupants,fuel, luggage and the drawbar noseweight, ifapplicable). The gross vehicle weight rating isspecified on the vehicle identification plate onthe B-pillar on the driver's side.
Maximum loaded vehicle weight
The maximum weight is the sum of:
Rthe curb weight of the vehicle
Rthe weight of the accessories
Rthe load limit
Rthe weight of the factory installed optionalequipment
Kilopascal (kPa)
Metric unit for tire pressure. 6.9 kPa corre-sponds to 1 psi. Another unit for tire pressure isbar. 100 kilopascals (kPa) are the equivalent of1 bar.
Load index
In addition to the load-bearing index, the loadindex may also be imprinted on the sidewall ofthe tire. This specifies the load-bearing capacitymore precisely.
Curb weight
The weight of a vehicle with standard equipmentincluding the maximum capacity of fuel, oil andcoolant. It also includes the air-conditioning sys-tem and optional equipment if these are instal-led in the vehicle, but does not include passen-gers or luggage.
Maximum load rating
The maximum tire load is the maximum permis-sible weight in kilograms or lbs for which a tire isapproved.
Maximum permissible tire pressure
Maximum permissible tire pressure for one tire.
Maximum load on one tire
Maximum load on one tire. This is calculated bydividing the maximum axle load of one axle bytwo.
All about wheels and tires309
Wheels and tires
Z