2019 Hyundai Santa Fe ignition
[x] Cancel search: ignitionPage 127 of 682
3-36
Convenient features of your vehicle
Power windows (if equipped)
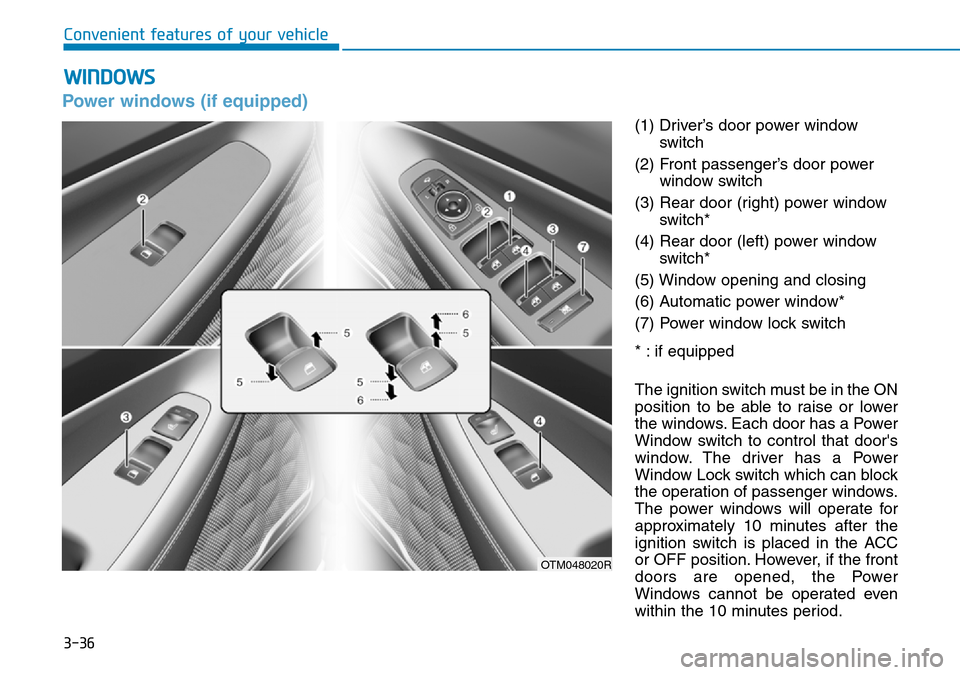
(1) Driver’s door power window
switch
(2) Front passenger’s door power
window switch
(3) Rear door (right) power window
switch*
(4) Rear door (left) power window
switch*
(5) Window opening and closing
(6) Automatic power window*
(7) Power window lock switch
* : if equipped
The ignition switch must be in the ON
position to be able to raise or lower
the windows. Each door has a Power
Window switch to control that door's
window. The driver has a Power
Window Lock switch which can block
the operation of passenger windows.
The power windows will operate for
approximately 10 minutes after the
ignition switch is placed in the ACC
or OFF position. However, if the front
doors are opened, the Power
Windows cannot be operated even
within the 10 minutes period.
WINDOWS
OTM048020R
Page 129 of 682
3-38
Convenient features of your vehicle
To reset the power windows
If the power windows do not operate
normally, the automatic power win-
dow system must be reset as follows:
1. Place the ignition switch to the ON
position.
2. Close the window and continue
pulling up on the power window
switch for at least one second.
If the power windows do not operate
properly after resetting, it is recom-
mended that the system be checked
by a HYUNDAI authorised repairer.
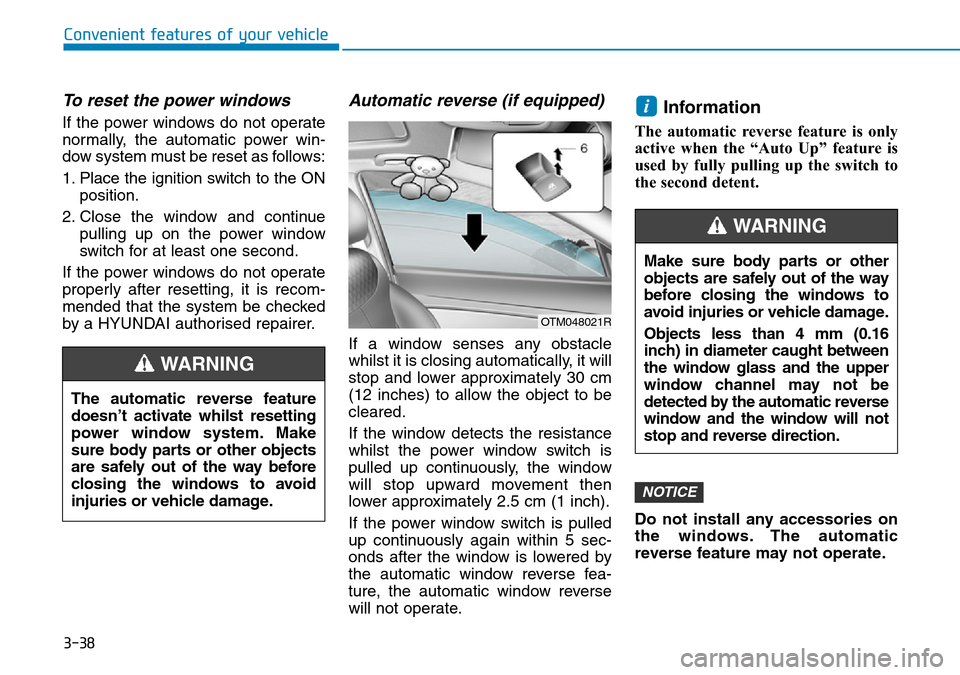
Automatic reverse (if equipped)
If a window senses any obstacle
whilst it is closing automatically, it will
stop and lower approximately 30 cm
(12 inches) to allow the object to be
cleared.
If the window detects the resistance
whilst the power window switch is
pulled up continuously, the window
will stop upward movement then
lower approximately 2.5 cm (1 inch).
If the power window switch is pulled
up continuously again within 5 sec-
onds after the window is lowered by
the automatic window reverse fea-
ture, the automatic window reverse
will not operate.
Information
The automatic reverse feature is only
active when the “Auto Up” feature is
used by fully pulling up the switch to
the second detent.
Do not install any accessories on
the windows. The automatic
reverse feature may not operate.
NOTICE
i
OTM048021R
The automatic reverse feature
doesn’t activate whilst resetting
power window system. Make
sure body parts or other objects
are safely out of the way before
closing the windows to avoid
injuries or vehicle damage.
WARNING
Make sure body parts or other
objects are safely out of the way
before closing the windows to
avoid injuries or vehicle damage.
Objects less than 4 mm (0.16
inch) in diameter caught between
the window glass and the upper
window channel may not be
detected by the automatic reverse
window and the window will not
stop and reverse direction.
WARNING
Page 132 of 682
3-41
Convenient features of your vehicle
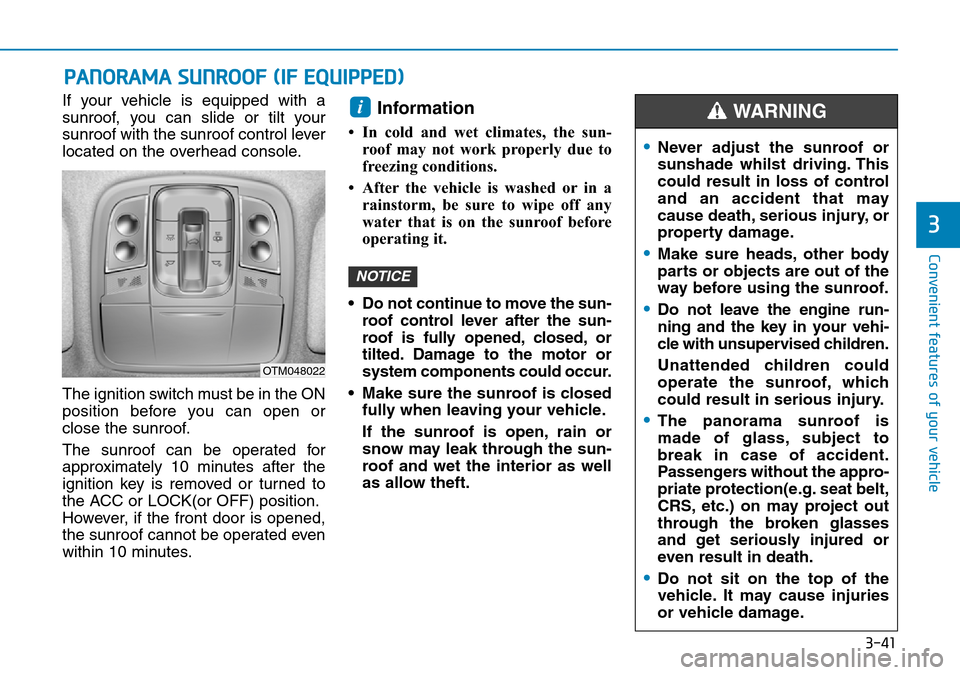
If your vehicle is equipped with a
sunroof, you can slide or tilt your
sunroof with the sunroof control lever
located on the overhead console.
The ignition switch must be in the ON
position before you can open or
close the sunroof.
The sunroof can be operated for
approximately 10 minutes after the
ignition key is removed or turned to
the ACC or LOCK(or OFF) position.
However, if the front door is opened,
the sunroof cannot be operated even
within 10 minutes.Information
• In cold and wet climates, the sun-
roof may not work properly due to
freezing conditions.
• After the vehicle is washed or in a
rainstorm, be sure to wipe off any
water that is on the sunroof before
operating it.
• Do not continue to move the sun-
roof control lever after the sun-
roof is fully opened, closed, or
tilted. Damage to the motor or
system components could occur.
• Make sure the sunroof is closed
fully when leaving your vehicle.
If the sunroof is open, rain or
snow may leak through the sun-
roof and wet the interior as well
as allow theft.
NOTICE
i
PANORAMA SUNROOF (IF EQUIPPED)
3
•Never adjust the sunroof or
sunshade whilst driving. This
could result in loss of control
and an accident that may
cause death, serious injury, or
property damage.
•Make sure heads, other body
parts or objects are out of the
way before using the sunroof.
•Do not leave the engine run-
ning and the key in your vehi-
cle with unsupervised children.
Unattended children could
operate the sunroof, which
could result in serious injury.
•The panorama sunroof is
made of glass, subject to
break in case of accident.
Passengers without the appro-
priate protection(e.g. seat belt,
CRS, etc.) on may project out
through the broken glasses
and get seriously injured or
even result in death.
•Do not sit on the top of the
vehicle. It may cause injuries
or vehicle damage.
WARNING
OTM048022
Page 140 of 682
3-49
Convenient features of your vehicle
3
Emergency tailgate safety
release
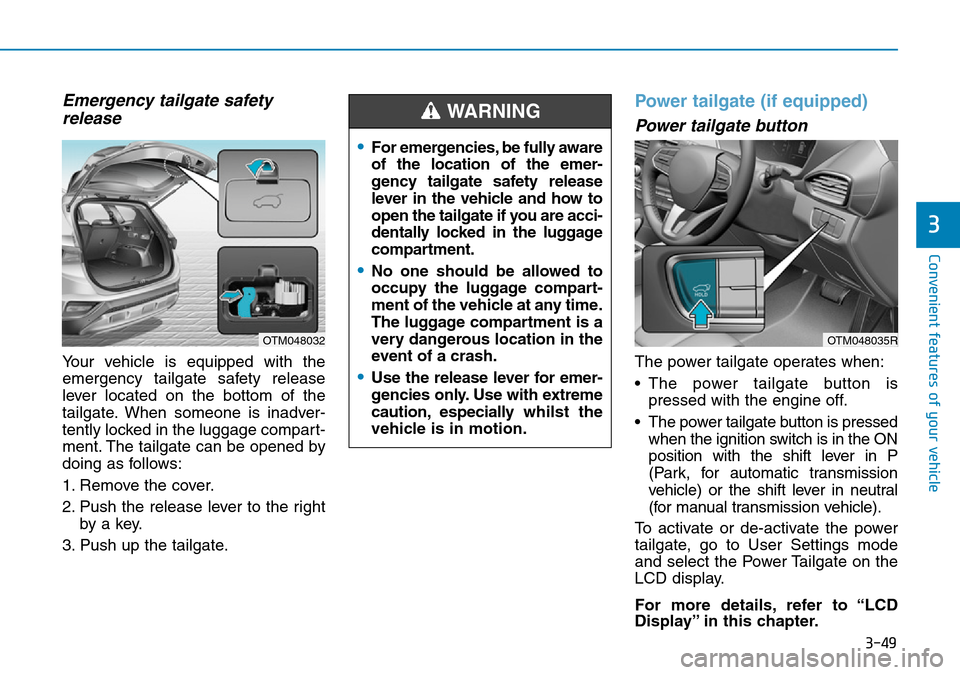
Your vehicle is equipped with the
emergency tailgate safety release
lever located on the bottom of the
tailgate. When someone is inadver-
tently locked in the luggage compart-
ment. The tailgate can be opened by
doing as follows:
1. Remove the cover.
2. Push the release lever to the right
by a key.
3. Push up the tailgate.
Power tailgate (if equipped)
Power tailgate button
The power tailgate operates when:
• The power tailgate button is
pressed with the engine off.
• The power tailgate button is pressed
when the ignition switch is in the ON
position with the shift lever in P
(Park, for automatic transmission
vehicle) or the shift lever in neutral
(for manual transmission vehicle).
To activate or de-activate the power
tailgate, go to User Settings mode
and select the Power Tailgate on the
LCD display.
For more details, refer to “LCD
Display” in this chapter.
OTM048032
•For emergencies, be fully aware
of the location of the emer-
gency tailgate safety release
lever in the vehicle and how to
open the tailgate if you are acci-
dentally locked in the luggage
compartment.
•No one should be allowed to
occupy the luggage compart-
ment of the vehicle at any time.
The luggage compartment is a
very dangerous location in the
event of a crash.
•Use the release lever for emer-
gencies only. Use with extreme
caution, especiallywhilst the
vehicle is in motion.
WARNING
OTM048035R
Page 150 of 682
3-59
Convenient features of your vehicle
Information
If the fuel filler door does not open
because ice has formed around it, tap
lightly or push on the door to break
the ice and release the door. Do not
pry on the door. If necessary, spray
around the door with an approved de-
icer fluid (do not use radiator anti-
freeze) or move the vehicle to a warm
place and allow the ice to melt.
Closing the fuel filler door
1. To install the fuel tank cap, turn it
clockwise until it “clicks” one time.
2. Close the fuel filler door until it is
latched securely.
Information
The fuel filler door will not close if the
driver's door is locked. If you lock the
driver's door whilst fuelling, unlock it
before closing the fuel filler door.
i
i
3
Petrol is highly flammable and
explosive. Failure to follow
these guidelines may result in
SERIOUS INJURY or DEATH:
•Read and follow all warnings
posted at the gas station.
•Before refuelling, note the
location of the Emergency
Petrol Shut-Off, if available, at
the gas station.
•Before touching the fuel noz-
zle, you should eliminate the
potential build-up of static
electricity by touching a metal
part of the vehicle, a safe dis-
tance away from the fuel filler
neck, nozzle, or other gas
source, with your bare hand.
•Do not use mobile phones
whilst refuelling. Electric cur-
rent and/or electronic interfer-
ence from mobile phones can
potentially ignite fuel vapours
and cause a fire.
WARNING •Do not get back into a vehicle
once you have begun refu-
elling. You can generate a
build-up of static electricity by
touching, rubbing or sliding
against any item or fabric
capable of producing static
electricity.
Static electricity discharge can
ignite fuel vapours causing a
fire. If you must re-enter the
vehicle, you should once again
eliminate potentially danger-
ous static electricity discharge
by touching a metal part of the
vehicle, away from the fuel filler
neck, nozzle or other petrol
source, with your bare hand.
•When refuelling, always move
the shift lever to the P (Park)
position (for automatic trans-
mission) or first gear or R
(Reverse, for manual transmis-
sion), set the parking brake,
and place the ignition switch
to the LOCK/OFF position.
Sparks produced by electrical
components related to the
engine can ignite fuel vapours
causing a fire.
Page 154 of 682
3-63
Convenient features of your vehicle
3
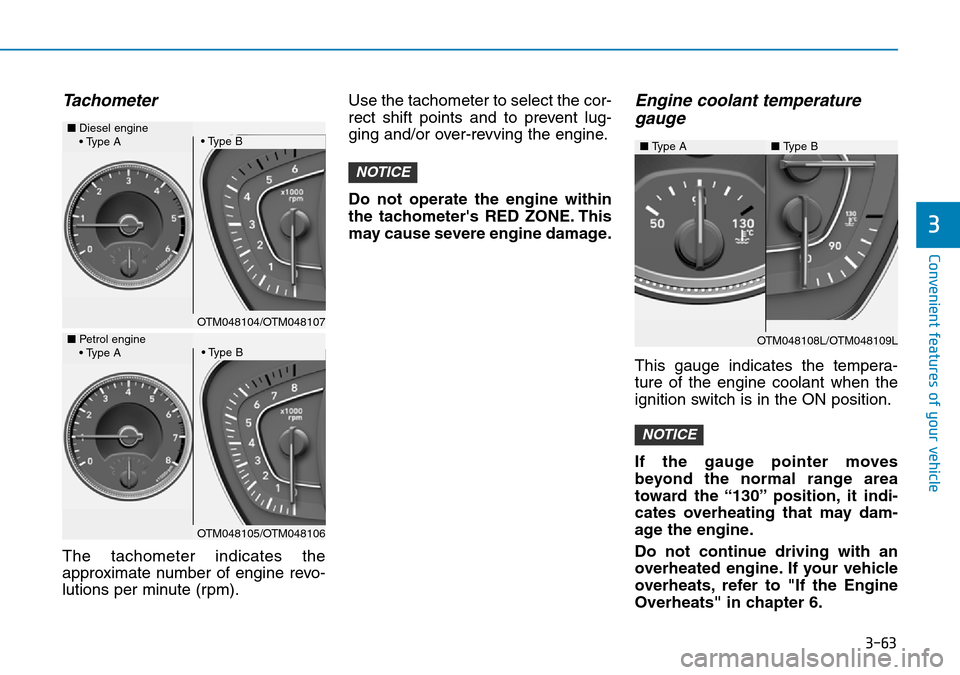
Tachometer
The tachometer indicates the
approximate number of engine revo-
lutions per minute (rpm).Use the tachometer to select the cor-
rect shift points and to prevent lug-
ging and/or over-revving the engine.
Do not operate the engine within
the tachometer's RED ZONE. This
may cause severe engine damage.
Engine coolant temperature
gauge
This gauge indicates the tempera-
ture of the engine coolant when the
ignition switch is in the ON position.
If the gauge pointer moves
beyond the normal range area
toward the “130” position, it indi-
cates overheating that may dam-
age the engine.
Do not continue driving with an
overheated engine. If your vehicle
overheats, refer to "If the Engine
Overheats" in chapter 6.
NOTICE
NOTICE
OTM048104/OTM048107 ■Diesel engine
• Type A
• Type B
OTM048105/OTM048106 ■Petrol engine
• Type A
• Type BOTM048108L/OTM048109L ■ Type A■ Type B
Page 160 of 682
3-69
Convenient features of your vehicle
3
Warning and indicator lights
Information
Make sure that all warning lights are
OFF after starting the engine. If any
light is still ON, this indicates a situa-
tion that needs attention.
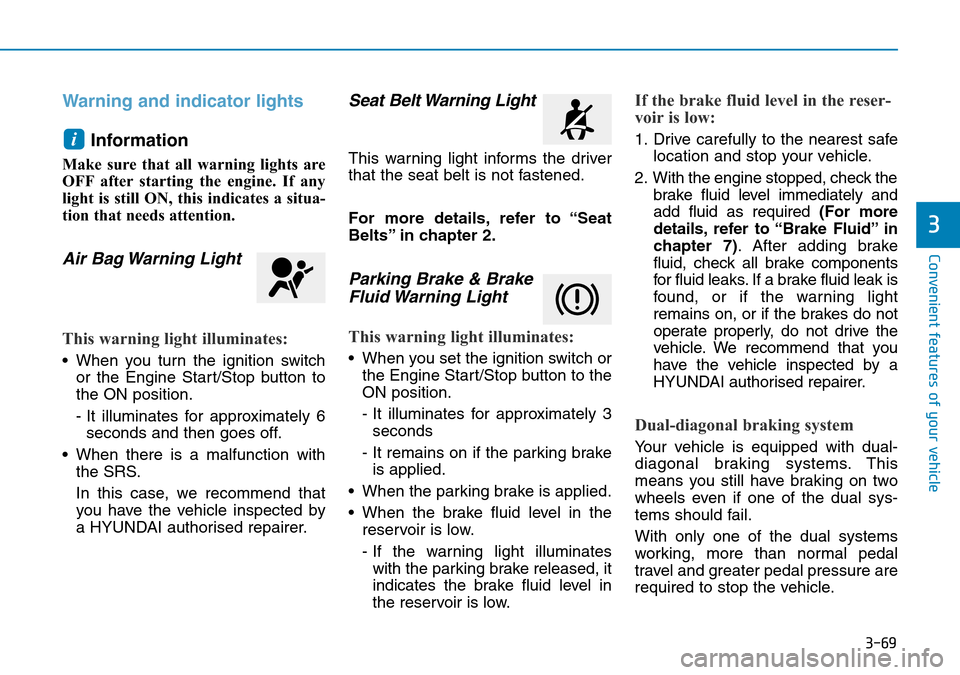
Air Bag Warning Light
This warning light illuminates:
• When you turn the ignition switch
or the Engine Start/Stop button to
the ON position.
- It illuminates for approximately 6
seconds and then goes off.
• When there is a malfunction with
the SRS.
In this case, we recommend that
you have the vehicle inspected by
a HYUNDAI authorised repairer.
Seat Belt Warning Light
This warning light informs the driver
that the seat belt is not fastened.
For more details, refer to “Seat
Belts” in chapter 2.
Parking Brake & Brake
Fluid Warning Light
This warning light illuminates:
• When you set the ignition switch or
the Engine Start/Stop button to the
ON position.
- It illuminates for approximately 3
seconds
- It remains on if the parking brake
is applied.
• When the parking brake is applied.
• When the brake fluid level in the
reservoir is low.
- If the warning light illuminates
with the parking brake released, it
indicates the brake fluid level in
the reservoir is low.
If the brake fluid level in the reser-
voir is low:
1. Drive carefully to the nearest safe
location and stop your vehicle.
2. With the engine stopped, check the
brake fluid level immediately and
add fluid as required (For more
details, refer to “Brake Fluid” in
chapter 7). After adding brake
fluid, check all brake components
for fluid leaks. If a brake fluid leak is
found, or if the warning light
remains on, or if the brakes do not
operate properly, do not drive the
vehicle. We recommend that you
have the vehicle inspected by a
HYUNDAI authorised repairer.
Dual-diagonal braking system
Your vehicle is equipped with dual-
diagonal braking systems. This
means you still have braking on two
wheels even if one of the dual sys-
tems should fail.
With only one of the dual systems
working, more than normal pedal
travel and greater pedal pressure are
required to stop the vehicle.
i
Page 161 of 682
3-70
Convenient features of your vehicle
Also, the vehicle will not stop in as
short a distance with only a portion
of the brake system working.
If the brakes fail whilst you are driv-
ing, shift to a lower gear for addition-
al engine braking and stop the vehi-
cle as soon as it is safe to do so.
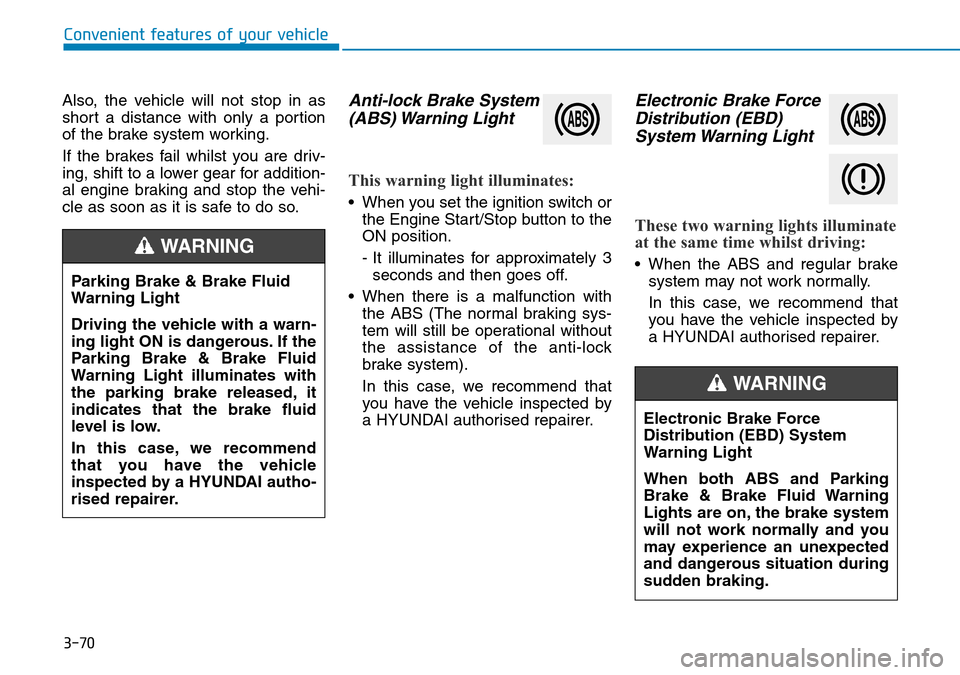
Anti-lock Brake System
(ABS) Warning Light
This warning light illuminates:
• When you set the ignition switch or
the Engine Start/Stop button to the
ON position.
- It illuminates for approximately 3
seconds and then goes off.
• When there is a malfunction with
the ABS (The normal braking sys-
tem will still be operational without
the assistance of the anti-lock
brake system).
In this case, we recommend that
you have the vehicle inspected by
a HYUNDAI authorised repairer.
Electronic Brake Force
Distribution (EBD)
System Warning Light
These two warning lights illuminate
at the same time whilst driving:
• When the ABS and regular brake
system may not work normally.
In this case, we recommend that
you have the vehicle inspected by
a HYUNDAI authorised repairer. Parking Brake & Brake Fluid
Warning Light
Driving the vehicle with a warn-
ing light ON is dangerous. If the
Parking Brake & Brake Fluid
Warning Light illuminates with
the parking brake released, it
indicates that the brake fluid
level is low.
In this case, we recommend
that you have the vehicle
inspected by a HYUNDAI autho-
rised repairer.
WARNING
Electronic Brake Force
Distribution (EBD) System
Warning Light
When both ABS and Parking
Brake & Brake Fluid Warning
Lights are on, the brake system
will not work normally and you
may experience an unexpected
and dangerous situation during
sudden braking.
WARNING