Page 457 of 555
7-60
Maintenance
Headlamp (High)
1. Open the hood.
2. Disconnect the negative batterycable.
3. Remove the headlamp bulb cover (1) by turning it counterclockwise.
4. Disconnect the headlamp bulb socket-connector.
5. Remove the bulb from the head- lamp assembly.
6. Install a new bulb.
7. Connect the headlamp bulb sock- et-connector.
8. Install the headlamp bulb cover (1) by turning it clockwise.
Information
The headlamp aiming should be
adjusted after an accident or after the
headlamp assembly is reinstalled at an
authorized HYUNDAI dealer.
Daytime Running Light (DRL)
Your vehicle is equipped with LED
lamps. LED lamps do not have
replaceable bulbs. If the LED lamp
does not operate, have the vehicle
checked by an authorized HYUNDAI
dealer.
i
OAEE076030NOAEE076039
Page 458 of 555
7-61
7
Maintenance
Side Repeater Lamp
Replacement
Your vehicle is equipped with LED
lamps. LED lamps do not have
replaceable bulbs. If the LED lamp
does not operate, have the vehicle
checked by an authorized HYUNDAI
dealer.
Rear Combination Light Bulb
Replacement
(1) Tail lamp
(2) Back-up lamp
(3) Stop lamp, tail lamp and turn sig-nal lamp
(4) Side marker
Stop lamp, tail lamp, turn signal lamp and side marker
Your vehicle is equipped with LED
lamps. LED lamps do not have
replaceable bulbs. If the LED lamp
does not operate, have the vehicle
checked by an authorized HYUNDAI
dealer.
OAE076034OAEE076022
Page 459 of 555

7-62
Maintenance
Backup lamp
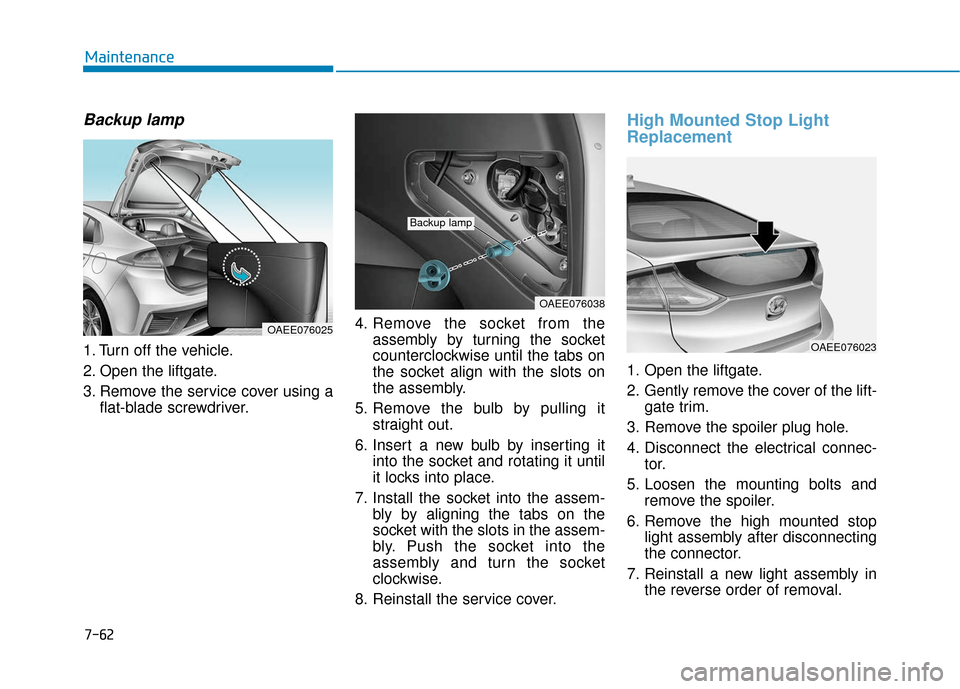
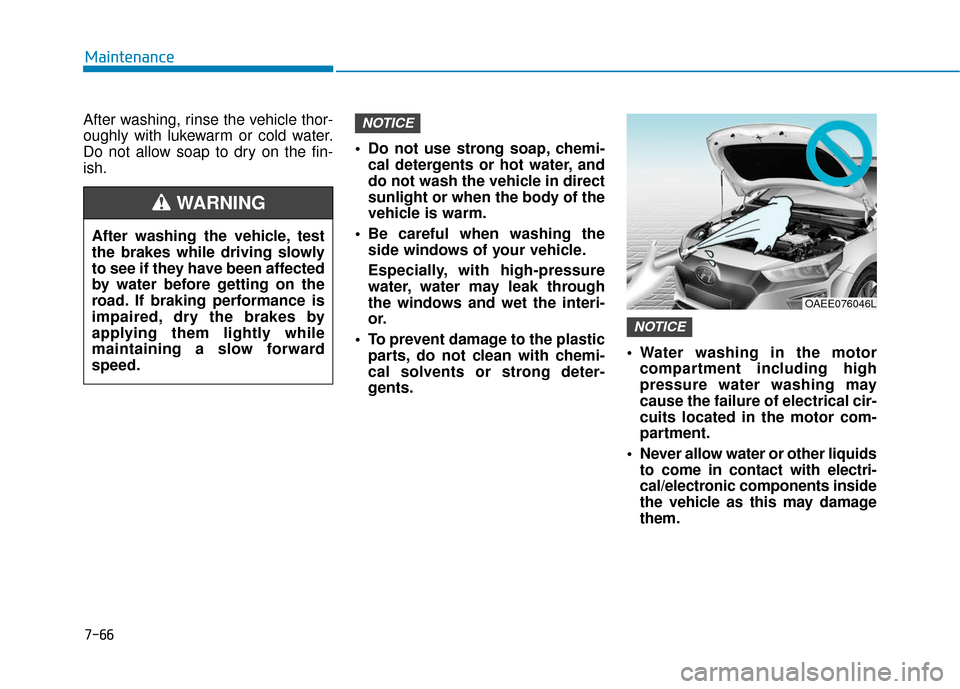
1. Turn off the vehicle.
2. Open the liftgate.
3. Remove the service cover using aflat-blade screwdriver. 4. Remove the socket from the
assembly by turning the socket
counterclockwise until the tabs on
the socket align with the slots on
the assembly.
5. Remove the bulb by pulling it straight out.
6. Insert a new bulb by inserting it into the socket and rotating it until
it locks into place.
7. Install the socket into the assem- bly by aligning the tabs on the
socket with the slots in the assem-
bly. Push the socket into the
assembly and turn the socket
clockwise.
8. Reinstall the service cover.
High Mounted Stop Light
Replacement
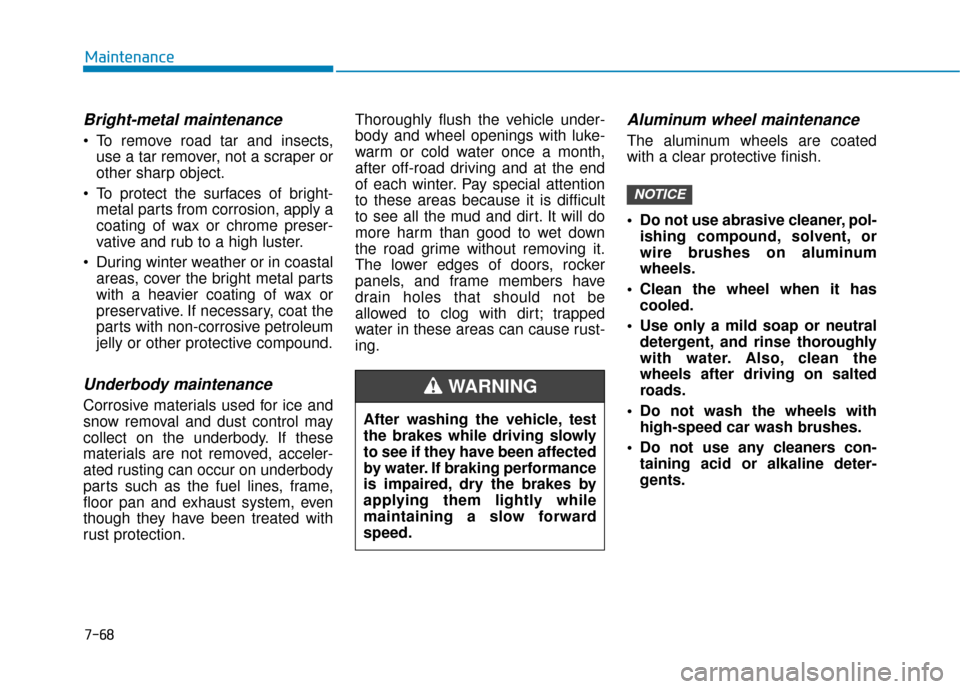
1. Open the liftgate.
2. Gently remove the cover of the lift- gate trim.
3. Remove the spoiler plug hole.
4. Disconnect the electrical connec- tor.
5. Loosen the mounting bolts and remove the spoiler.
6. Remove the high mounted stop light assembly after disconnecting
the connector.
7. Reinstall a new light assembly in the reverse order of removal.
OAEE076038
Backup lamp
OAEE076023
OAEE076025
Page 460 of 555
7-63
7
Maintenance
License Plate Light Bulb
Replacement
1. Using a flat-blade screwdriver,gently pry the lens cover from the
lamp housing.
2. Remove the bulb by pulling it straight out.
3. Install a new bulb.
4. Reinstall in the reverse order.
Map lamp and room lamp
OAE076044OAEE076026
■ Map lamp (LED type)
OAEE076027
■Room lamp (LED type)
Interior Light Bulb Replacement
Your vehicle is equipped with LED lamps. LED lamps do not have replace-
able bulbs. If the LED lamp does not operate, have the vehicle checked by an
authorized HYUNDAI dealer.
Page 461 of 555
7-64
Maintenance1. Using a flat-blade screwdriver,gently pry the lens from the interi-
or lamp housing.
2. Remove the bulb by pulling it straight out.
3. Install a new bulb in the socket.
4. Align the lens tabs with the interi- or lamp housing notches and snap
the lens into place.
Use care not to dirty or damage
lens, lens tab, and plastic hous-
ings.
NOTICE
Prior to working on the Interior
Lights, ensure that the lamp is
off to avoid burning your fingers
or receiving an electric shock.
WARNING
■ Map lamp (Bulb type)
OAE076045
OAE076046
■Vanity mirror lamp
■ Luggage compartment lamp
OAE076048
OAE076047
■Room lamp (Bulb type)
Map lamp, room lamp, vanity mirror lamp and
luggage compartment lamp
Page 463 of 555

7-66
Maintenance
After washing, rinse the vehicle thor-
oughly with lukewarm or cold water.
Do not allow soap to dry on the fin-
ish. Do not use strong soap, chemi-
cal detergents or hot water, and
do not wash the vehicle in direct
sunlight or when the body of the
vehicle is warm.
Be careful when washing the side windows of your vehicle.
Especially, with high-pressure
water, water may leak through
the windows and wet the interi-
or.
To prevent damage to the plastic parts, do not clean with chemi-
cal solvents or strong deter-
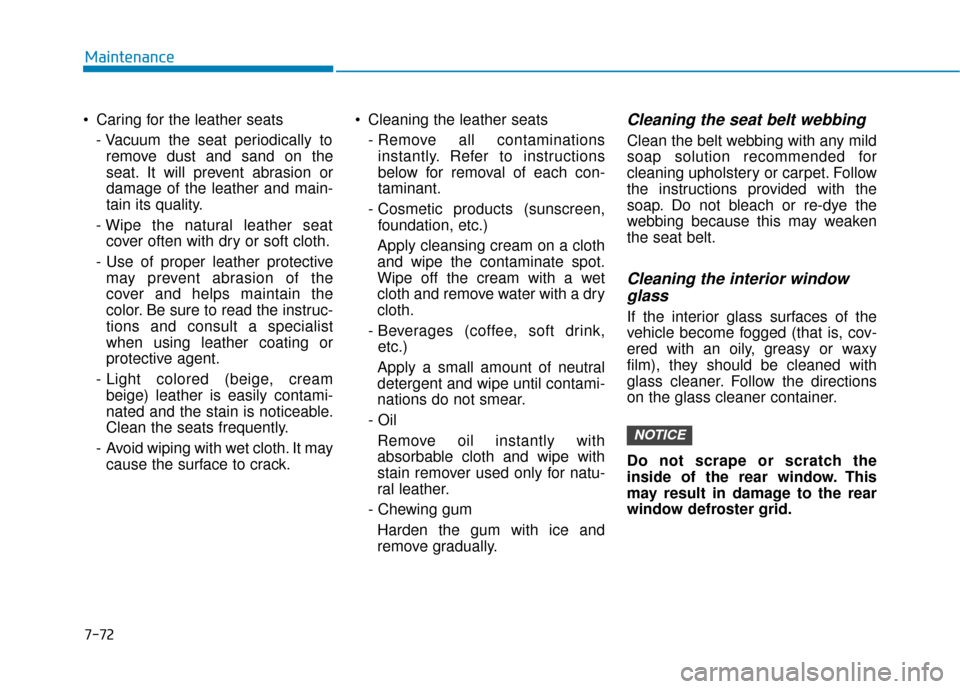
gents. Water washing in the motor
compartment including high
pressure water washing may
cause the failure of electrical cir-
cuits located in the motor com-
partment.
Never allow water or other liquids to come in contact with electri-
cal/electronic components inside
the vehicle as this may damage
them.
NOTICE
NOTICE
OAEE076046L
After washing the vehicle, test
the brakes while driving slowly
to see if they have been affected
by water before getting on the
road. If braking performance is
impaired, dry the brakes by
applying them lightly while
maintaining a slow forward
speed.
WARNING
Page 465 of 555

7-68
Maintenance
Bright-metal maintenance
To remove road tar and insects,use a tar remover, not a scraper or
other sharp object.
To protect the surfaces of bright- metal parts from corrosion, apply a
coating of wax or chrome preser-
vative and rub to a high luster.
During winter weather or in coastal areas, cover the bright metal parts
with a heavier coating of wax or
preservative. If necessary, coat the
parts with non-corrosive petroleum
jelly or other protective compound.
Underbody maintenance
Corrosive materials used for ice and
snow removal and dust control may
collect on the underbody. If these
materials are not removed, acceler-
ated rusting can occur on underbody
parts such as the fuel lines, frame,
floor pan and exhaust system, even
though they have been treated with
rust protection. Thoroughly flush the vehicle under-
body and wheel openings with luke-
warm or cold water once a month,
after off-road driving and at the end
of each winter. Pay special attention
to these areas because it is difficult
to see all the mud and dirt. It will do
more harm than good to wet down
the road grime without removing it.
The lower edges of doors, rocker
panels, and frame members have
drain holes that should not be
allowed to clog with dirt; trapped
water in these areas can cause rust-
ing.
Aluminum wheel maintenance
The aluminum wheels are coated
with a clear protective finish.
Do not use abrasive cleaner, pol-
ishing compound, solvent, or
wire brushes on aluminum
wheels.
Clean the wheel when it has cooled.
Use only a mild soap or neutral detergent, and rinse thoroughly
with water. Also, clean the
wheels after driving on salted
roads.
Do not wash the wheels with high-speed car wash brushes.
Do not use any cleaners con- taining acid or alkaline deter-
gents.
NOTICE
After washing the vehicle, test
the brakes while driving slowly
to see if they have been affected
by water. If braking performance
is impaired, dry the brakes by
applying them lightly while
maintaining a slow forward
speed.
WARNING
Page 469 of 555

7-72
Maintenance
Caring for the leather seats - Vacuum the seat periodically toremove dust and sand on the
seat. It will prevent abrasion or
damage of the leather and main-
tain its quality.
- Wipe the natural leather seat cover often with dry or soft cloth.
- Use of proper leather protective may prevent abrasion of the
cover and helps maintain the
color. Be sure to read the instruc-
tions and consult a specialist
when using leather coating or
protective agent.
- Light colored (beige, cream beige) leather is easily contami-
nated and the stain is noticeable.
Clean the seats frequently.
- Avoid wiping with wet cloth. It may cause the surface to crack. Cleaning the leather seats
- Remove all contaminationsinstantly. Refer to instructions
below for removal of each con-
taminant.
- Cosmetic products (sunscreen, foundation, etc.)
Apply cleansing cream on a cloth
and wipe the contaminate spot.
Wipe off the cream with a wet
cloth and remove water with a dry
cloth.
- Beverages (coffee, soft drink, etc.)
Apply a small amount of neutral
detergent and wipe until contami-
nations do not smear.
- Oil Remove oil instantly with
absorbable cloth and wipe with
stain remover used only for natu-
ral leather.
- Chewing gum Harden the gum with ice and
remove gradually.
Cleaning the seat belt webbing
Clean the belt webbing with any mild
soap solution recommended for
cleaning upholstery or carpet. Follow
the instructions provided with the
soap. Do not bleach or re-dye the
webbing because this may weaken
the seat belt.
Cleaning the interior windowglass
If the interior glass surfaces of the
vehicle become fogged (that is, cov-
ered with an oily, greasy or waxy
film), they should be cleaned with
glass cleaner. Follow the directions
on the glass cleaner container.
Do not scrape or scratch the
inside of the rear window. This
may result in damage to the rear
window defroster grid.
NOTICE