Page 17 of 300

▫Interior Light Timing (On/Right Position) ......62
▫ Dimmer Control ........................62
▫ Ambient Light ..........................62
▫ Cargo Area Lights .......................63
� WIPERS AND WASHERS ...................63
▫ Front Windshield Wiper Operation ...........63
▫ Rear Windshield Wiper ...................64
� CLIMATE CONTROLS .....................65
▫ Automatic Temperature Control Overview .....66
▫ Automatic Temperature Control (ATC) ........71
▫ Operating Tips .........................72
� WINDOWS .............................74
▫ Power Window Controls ..................74
▫ Auto-Down ............................75
▫ Wind Buffeting .........................75
� POWER SUNROOF — IF EQUIPPED ..........75▫
To Open ..............................76
▫ To Close ..............................76
▫ Wind Buffeting .........................76
▫ Sun Shade — If Equipped .................76
▫ Pinch Protect Feature .....................77
▫ Emergency Operation .....................77
� HOOD ................................78
▫ Opening .............................78
▫ Closing ...............................79
� INTERNAL EQUIPMENT ...................80
▫ Storage ..............................80
▫ Cupholders ...........................80
▫ Sun Visors .............................81
▫ Electrical Power Outlets ..................82
� LIFTGATE .............................84
▫ Opening .............................84
3
GETTING TO KNOW YOUR VEHICLE 15
Page 42 of 300

If the key is turned to the STOP position before shifting into
park, the key will have to be moved to the driving (MAR)
position and back to STOP. Then, the key can be removed.WARNING!
•Before exiting a vehicle, always apply the parking
brake, place the transmission into PARK, and re-
move the key fob from the ignition. When leaving
the vehicle, always lock your vehicle.
• Never leave children alone in a vehicle, or with
access to an unlocked vehicle.
• Allowing children to be in a vehicle unattended is
dangerous for a number of reasons. A child or others
could be seriously or fatally injured. Children
should be warned not to touch the parking brake,
brake pedal or the transmission gear selector but-
tons.
• Do not leave the key fob in or near the vehicle, or in
a location accessible to children. A child could oper-
ate power windows, other controls, or move the
vehicle.
• Do not leave children or animals inside parked
vehicles in hot weather. Interior heat build-up may
cause serious injury or death.
Ignition Switch
1 — STOP (OFF/LOCK)
2 — MAR (ACC/ON/RUN)
3 — AVV (START) 40 GETTING TO KNOW YOUR VEHICLE
Page 46 of 300

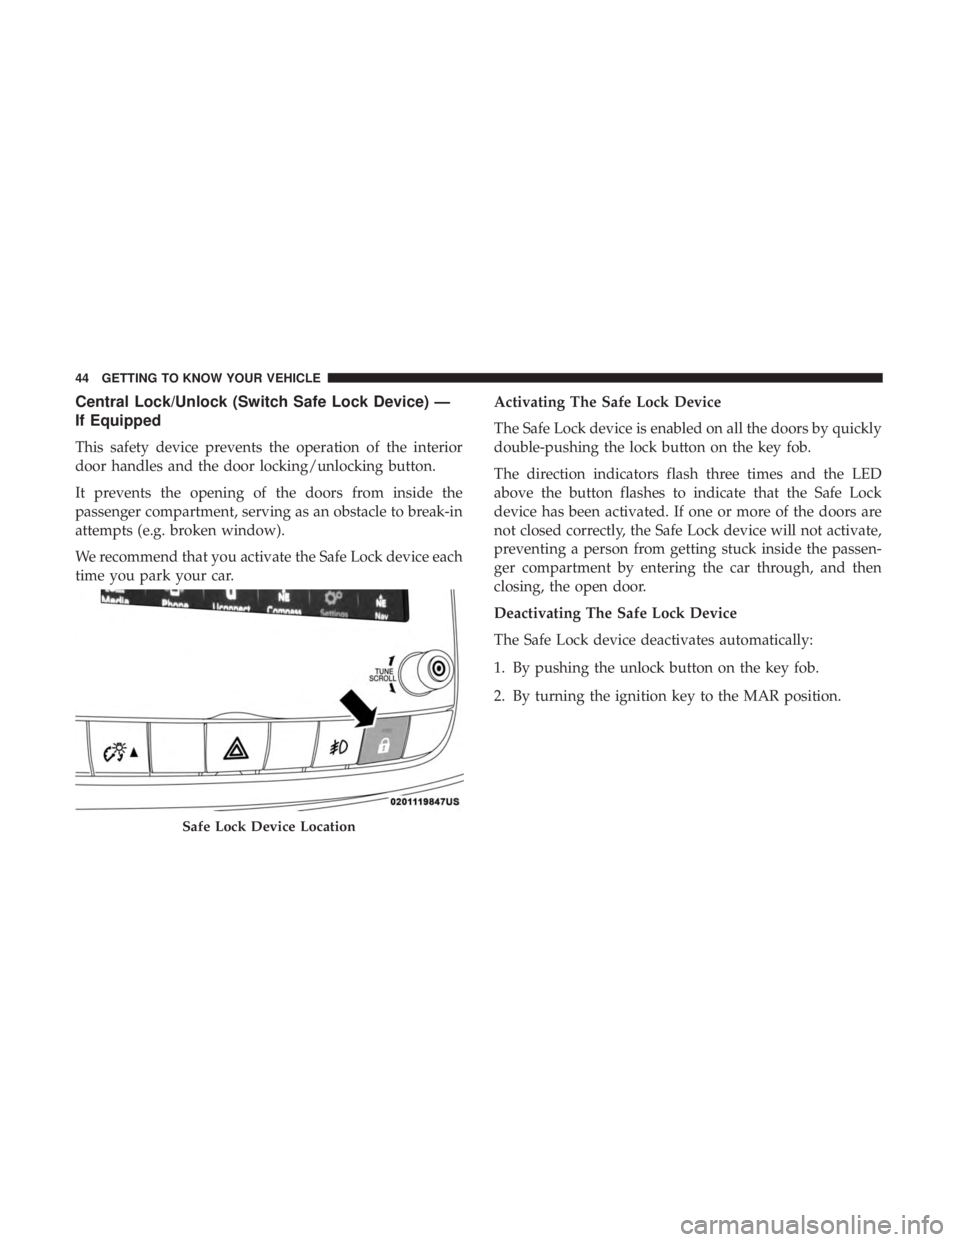
Central Lock/Unlock (Switch Safe Lock Device) —
If Equipped
This safety device prevents the operation of the interior
door handles and the door locking/unlocking button.
It prevents the opening of the doors from inside the
passenger compartment, serving as an obstacle to break-in
attempts (e.g. broken window).
We recommend that you activate the Safe Lock device each
time you park your car.Activating The Safe Lock Device
The Safe Lock device is enabled on all the doors by quickly
double-pushing the lock button on the key fob.
The direction indicators flash three times and the LED
above the button flashes to indicate that the Safe Lock
device has been activated. If one or more of the doors are
not closed correctly, the Safe Lock device will not activate,
preventing a person from getting stuck inside the passen-
ger compartment by entering the car through, and then
closing, the open door.
Deactivating The Safe Lock Device
The Safe Lock device deactivates automatically:
1. By pushing the unlock button on the key fob.
2. By turning the ignition key to the MAR position.
Safe Lock Device Location
44 GETTING TO KNOW YOUR VEHICLE
Page 47 of 300

DOORS
Manual Lock
To lock each door from the inside, push the inside door
handle toward the door until the red lock indicator is
visible. To unlock the doors from the inside, pull the inside
door handle to the first detent or until the lock symbol is no
longer visible.
If the lock symbol is visible when the door is shut, the door
will lock. Therefore, make sure the key fob is not inside the
vehicle before closing the door.NOTE:
The manual lock knob unlocks each individual
door separately.WARNING!
• When exiting the vehicle, always remove the key fob
from the vehicle and lock your vehicle.
• Never leave children alone in a vehicle, or with
access to an unlocked vehicle.
• Allowing children to be in a vehicle unattended is
dangerous for a number of reasons. A child or others
could be seriously or fatally injured. Children
should be warned not to touch the parking brake,
brake pedal or the gear selector.
• Do not leave the key fob in or near the vehicle, or in
a location accessible to children, and do not leave the
ignition of a vehicle equipped with Keyless Enter-
N-Go in the ON/RUN mode. A child could operate
power windows, other controls, or move the vehicle.
• Do not leave children or animals inside parked
vehicles in hot weather. Interior heat build-up may
cause serious injury or death.
Manual Lock/Unlock Switch
3
GETTING TO KNOW YOUR VEHICLE 45
Page 58 of 300
MIRRORS
Inside Day/Night Mirror
The mirror can be adjusted up, down, left, and right for
various drivers. The mirror should be adjusted to center on
the view through the rear window.
Headlight glare from vehicles behind you can be reduced
by moving the small control under the mirror to the night
position (toward the rear of the vehicle). The mirror should
be adjusted while set in the day position (toward the
windshield).
Automatic Dimming Mirror — If Equipped
This mirror automatically adjusts for headlight glare from
vehicles behind you. You can turn the feature on or off by
pushing the button at the base of the mirror. The on/off
symbol on the button will illuminate when the auto-
dimming feature is enabled.
NOTE:This feature is disabled when the vehicle is mov-
ing in REVERSE.
Adjusting Rearview Mirror
Automatic Dimming Mirror Power Button
56 GETTING TO KNOW YOUR VEHICLE
Page 60 of 300
Spotter Mirror — If Equipped
Some models are equipped with a driver’s side spotter
mirror. The spotter mirror allows for a greater range of
visibility on the driver’s side of the vehicle.
Heated Mirrors — If Equipped
These mirrors are heated to melt frost or ice. This
feature will be activated whenever you turn on the
rear window defroster (if equipped). Refer to “Climate
Controls” in “Getting To Know Your Vehicle” for further
information.
EXTERIOR LIGHTS
Multifunction Lever
The multifunction lever, located on the left side of the
steering wheel, controls the operation of the headlights,
headlight beam selection, passing light and turn signals.
NOTE: The headlights can only be turned on with the
ignition in the ON/RUN position.
Headlights
Rotate the end of the multifunction lever upward
to the first detent for headlight operation.
Spotter Mirror
58 GETTING TO KNOW YOUR VEHICLE
Page 69 of 300

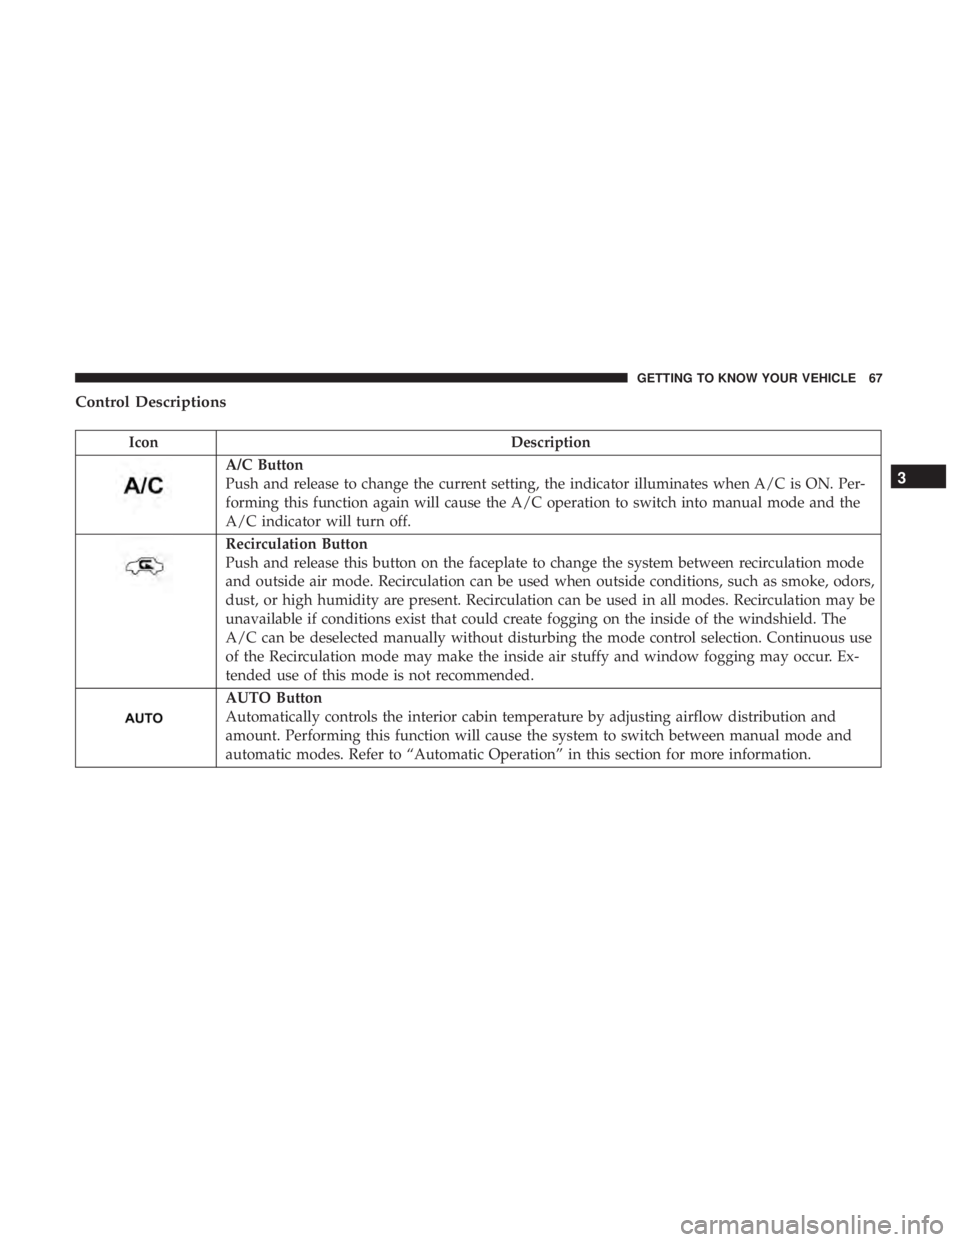
Control Descriptions
IconDescription
A/C Button
Push and release to change the current setting, the indicator illuminates when A/C is ON. Per-
forming this function again will cause the A/C operation to switch into manual mode and the
A/C indicator will turn off.
Recirculation Button
Push and release this button on the faceplate to change the system between recirculation mode
and outside air mode. Recirculation can be used when outside conditions, such as smoke, odors,
dust, or high humidity are present. Recirculation can be used in all modes. Recirculation may be
unavailable if conditions exist that could create fogging on the inside of the windshield. The
A/C can be deselected manually without disturbing the mode control selection. Continuous use
of the Recirculation mode may make the inside air stuffy and window fogging may occur. Ex-
tended use of this mode is not recommended.
AUTO Button
Automatically controls the interior cabin temperature by adjusting airflow distribution and
amount. Performing this function will cause the system to switch between manual mode and
automatic modes. Refer to “Automatic Operation” in this section for more information.
3
GETTING TO KNOW YOUR VEHICLE 67
Page 70 of 300

IconDescription
Front Defrost Button
Push and release to change the current airflow setting to Defrost mode. The indicator illumi-
nates when this feature is ON. Air comes from the windshield and side window demist outlets.
When the defrost button is selected, the blower level will increase. Use Defrost mode with maxi-
mum temperature settings for best windshield and side window defrosting and defogging. Per-
forming this function will cause the ATC to switch into manual mode. If the front defrost mode
is turned off then the climate system returns the previous setting.
Rear Defrost Button
Rear Defrost Button
Push and release the Rear Defrost Control button to turn on the rear window defroster and the
heated outside mirrors (if equipped). An indicator illuminates when the rear window defroster
is on. The rear window defroster automatically turns off after a short period of time.
Blower Control Up And Down Buttons
Provides the occupants with blower control. Push the UP button to increase blower speed. Push
the DOWN button to decrease blower speed.
68 GETTING TO KNOW YOUR VEHICLE