2019 FIAT 500E ECO mode
[x] Cancel search: ECO modePage 35 of 300

color indication, the current state of charge for the high
voltage battery; with the percentage value located at the
bottom of the gauge.
Charge Low And Limited Power Messages
The state of charge is monitored during normal operation.
If the state of charge reaches certain thresholds the follow-
ing messages display on the cluster:
•charge low — displayed at 17% (warning displayed for
six seconds). •
charge low — displayed at 11% (Displayed for six
seconds).
• charge low limited power mode — turtle displayed at
5% and remains on.
• charge low limited power mode — turtle flashes at 0%
until condition changes.
NOTE: The limited power mode can also be activated if the
high voltage battery temperature is too high or too low.
High Voltage Battery Gauge
Charge Low Message
3
GETTING TO KNOW YOUR VEHICLE 33
Page 37 of 300

Number Of IndicatorLights Illuminated Percent Of Battery Charge
1 Light 0 – 20%
2 Lights 21 – 40%
3 Lights 41 – 60%
4 Lights 61 – 80%
5 Lights 81 – 100%
AC Level 2 Charging (240V, 30 Amp)
AC Level 2 (240V) charging requires a 240V, Level 2 EVSE
(Charging station). A 30A Level 2 EVSE for home installa-
tion is recommended.
When using public charging stations, ensure the charging
station is ready to provide charge and the vehicle is in
PARK before the charge connector is plugged into the
vehicle’s charge inlet. You will hear a “click” when the
charge connector is inserted correctly and is coupled with
the vehicle’s charge inlet. The vehicle should start charging
automatically. If not, please check the instructions at the
charging station. NOTE:
The vehicle should start charging automatically. If
not, please check the following:
• Charging Station – Check the indications and instruc-
tions at the charging station.
• Charging Schedule – Check whether the charging sched-
ule is enabled and if so, whether the vehicle is currently
within the scheduled charge time/date. If the charging
schedule is enabled, you may override them for this
charging event by plugging in the charge connector,
unplugging it, and then plugging it back into the vehicle
charge inlet. Complete the double plug sequence within
ten seconds for it to override the set schedule.
To stop the charging process, disconnect the charge con-
nector from the vehicle inlet.
NOTE: Older or non-compliant J1772 EVSE models may
not support charging of your EV. If your vehicle doesn’t
charge, it may be connected to a non-compliant Level 2
EVSE and flashes the indicators. Please identify this failure
to the site operator or EVSE provider.
3
GETTING TO KNOW YOUR VEHICLE 35
Page 52 of 300

adjuster can both re-lock into the position they were
most recently adjusted to. This is accomplished if the
seat is moved fully rearward to its last fore/aft position
on the tracks before the seat back is returned upright.
•
Memory Function Option 2 (Seat Back Only Memory) —
After using the EZ entry function, the seat back may first
be returned upright prior to going back to the last fore/aft
(memory) position on the tracks. This results in the seat
back memory being set only – The track will then be
locked forward of its last set fore/aft memory position. To
then reset the fore/aft track memory feature (to reestab-
lish Memory Function Option 1), the seat has to be
returned fully rearward to its last fore/aft memory track
position as described in Memory Function Option 1.
Heated Seats — If Equipped
On some models, the front driver and passenger seats may
be equipped with heaters in both the seat cushions and
seatbacks. The controls for the front heated seats are
located on the center instrument panel area.
Push the switch once to turn on the heated seats.
Push the switch a second time to shut the heating
elements off. NOTE:
Once a heat setting is selected, heat will be felt
within two to five minutes.
WARNING!
• Persons who are unable to feel pain to the skin
because of advanced age, chronic illness, diabetes,
spinal cord injury, medication, alcohol use, exhaus-
tion or other physical condition must exercise care
when using the seat heater. It may cause burns even
at low temperatures, especially if used for long
periods of time.
• Do not place anything on the seat or seatback that
insulates against heat, such as a blanket or cushion.
This may cause the seat heater to overheat. Sitting in
a seat that has been overheated could cause serious
burns due to the increased surface temperature of the
seat.
50 GETTING TO KNOW YOUR VEHICLE
Page 64 of 300

Interior Light Timing (Center Position)
There are four different modes of operation that can be
activated in this position:
•When one door is opened, a three minute timer is
activated.
• When the key is removed from the ignition (within two
minutes of the ignition being turned OFF), a 10 second
timer is activated.
• When the doors are unlocked with the key fob, a 10
second timer is activated.
• When the doors are locked with the key fob, the lights
will turn off.
Interior Light Timing (On/Right Position)
When all doors are closed a 15-minute timer is activated.
NOTE: The timer is deactivated when the key is moved
into the ON/RUN position.
Dimmer Control
The brightness of the instrument panel lighting can be
regulated by pushing the buttons on the right side of the
instrument cluster. The (+) button increases the brightness
and the (-) button decreases the brightness. You can control
brightness of the radio by itself or the entire instrument
panel. Refer to “Uconnect Settings” in “Multimedia” for
more information.
Ambient Light
The vehicle is equipped with ambient light on the center
stack. The ambient light will be on when the headlights are
turned on by rotating the end of the multifunction lever.
62 GETTING TO KNOW YOUR VEHICLE
Page 65 of 300

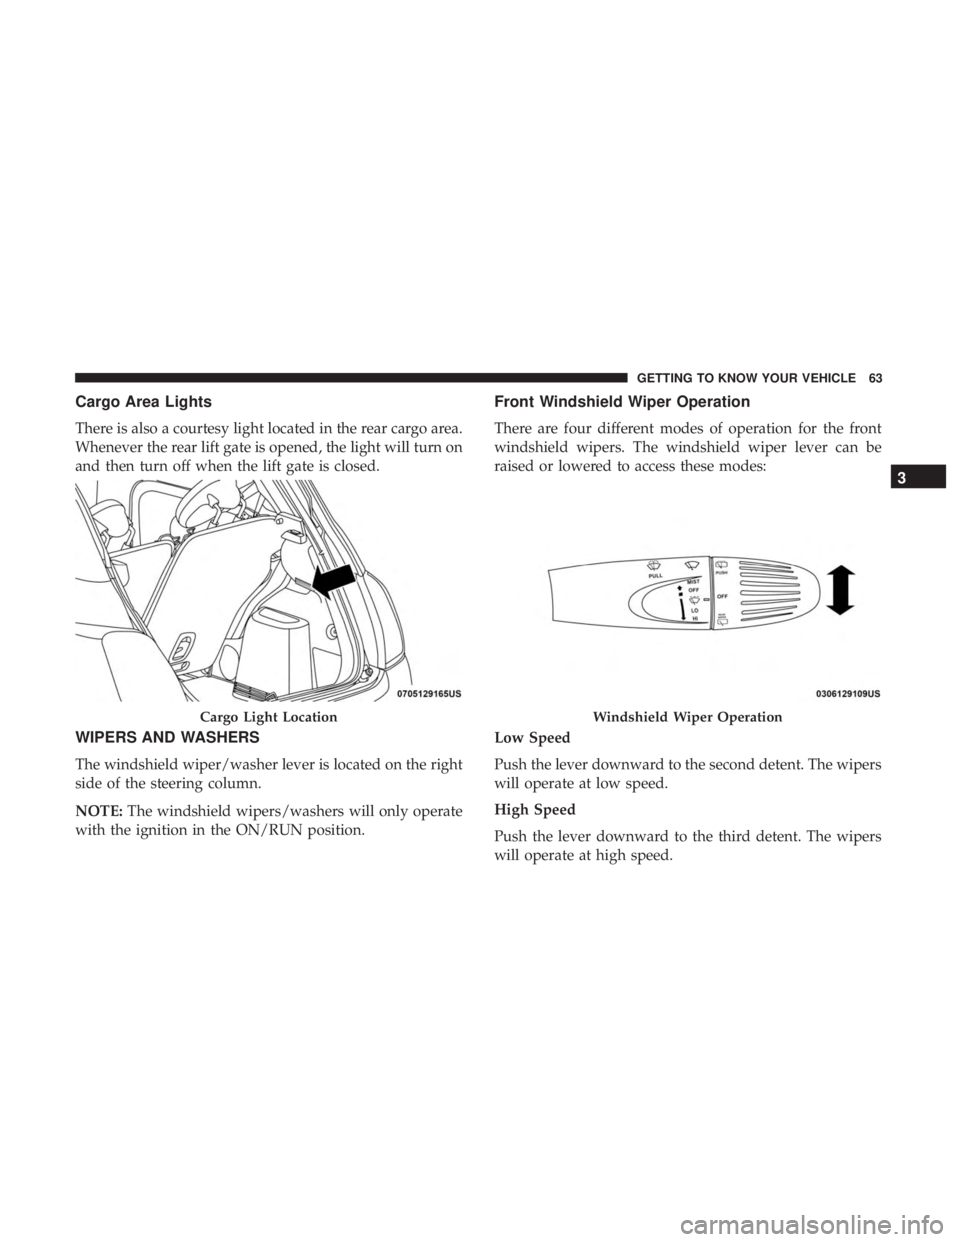
Cargo Area Lights
There is also a courtesy light located in the rear cargo area.
Whenever the rear lift gate is opened, the light will turn on
and then turn off when the lift gate is closed.
WIPERS AND WASHERS
The windshield wiper/washer lever is located on the right
side of the steering column.
NOTE:The windshield wipers/washers will only operate
with the ignition in the ON/RUN position.
Front Windshield Wiper Operation
There are four different modes of operation for the front
windshield wipers. The windshield wiper lever can be
raised or lowered to access these modes:
Low Speed
Push the lever downward to the second detent. The wipers
will operate at low speed.
High Speed
Push the lever downward to the third detent. The wipers
will operate at high speed.
Cargo Light LocationWindshield Wiper Operation
3
GETTING TO KNOW YOUR VEHICLE 63
Page 69 of 300

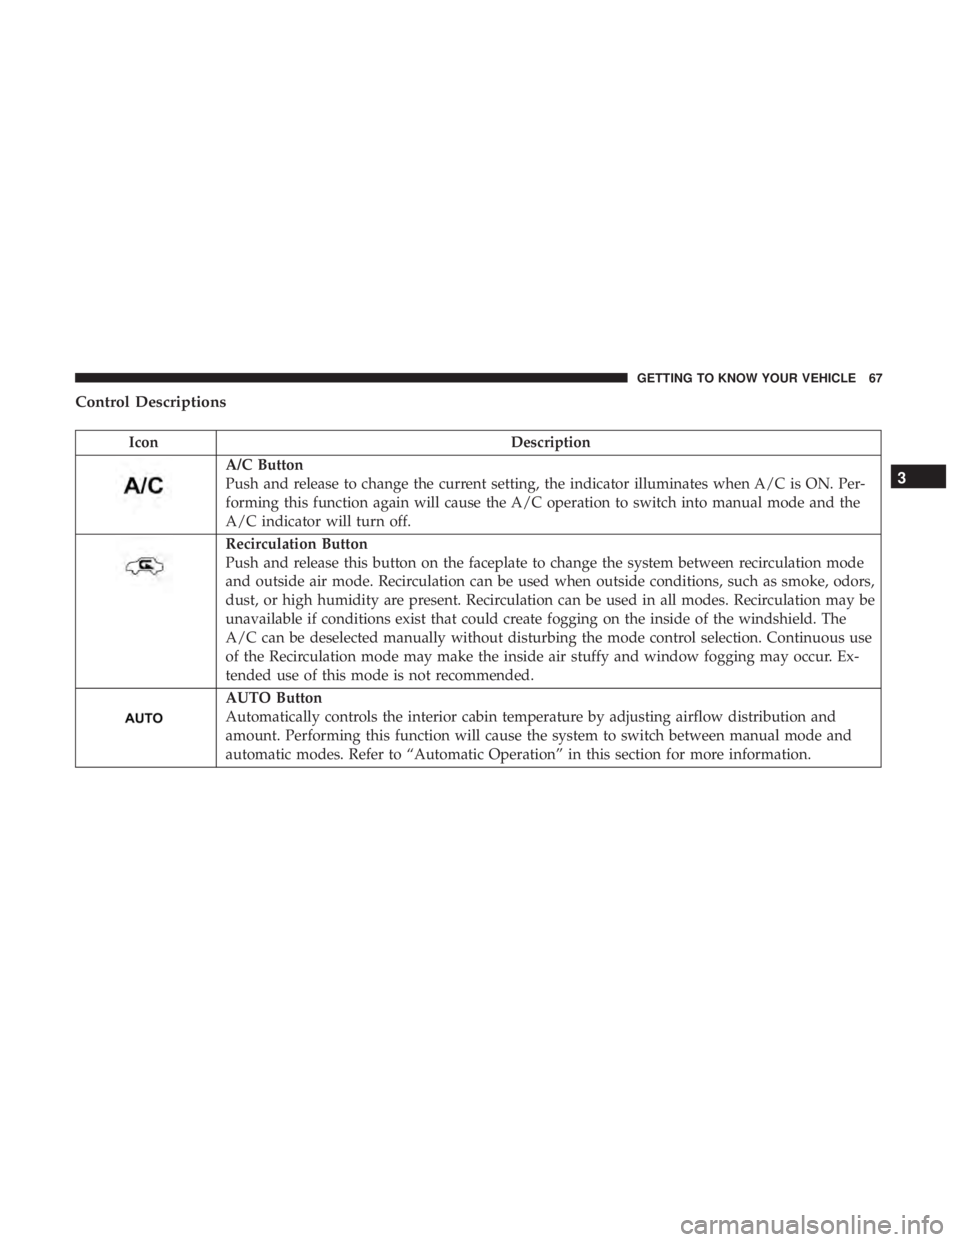
Control Descriptions
IconDescription
A/C Button
Push and release to change the current setting, the indicator illuminates when A/C is ON. Per-
forming this function again will cause the A/C operation to switch into manual mode and the
A/C indicator will turn off.
Recirculation Button
Push and release this button on the faceplate to change the system between recirculation mode
and outside air mode. Recirculation can be used when outside conditions, such as smoke, odors,
dust, or high humidity are present. Recirculation can be used in all modes. Recirculation may be
unavailable if conditions exist that could create fogging on the inside of the windshield. The
A/C can be deselected manually without disturbing the mode control selection. Continuous use
of the Recirculation mode may make the inside air stuffy and window fogging may occur. Ex-
tended use of this mode is not recommended.
AUTO Button
Automatically controls the interior cabin temperature by adjusting airflow distribution and
amount. Performing this function will cause the system to switch between manual mode and
automatic modes. Refer to “Automatic Operation” in this section for more information.
3
GETTING TO KNOW YOUR VEHICLE 67
Page 73 of 300

Climate Control Functions
A/C (Air Conditioning)
The Air Conditioning (A/C) button allows the operator to
manually activate or deactivate the air conditioning sys-
tem. When the air conditioning system is turned on, cool
dehumidified air will flow through the outlets into the
cabin. For improved fuel economy, push the A/C button to
turn off the air conditioning and manually adjust the
blower and airflow mode settings. Also, make sure to select
only Panel, Bi-Level or Floor modes.
NOTE:
•For Manual Climate Controls, if the system is in Mix,
Floor or Defrost Mode, the A/C can be turned off, but
the A/C system shall remain active to prevent fogging of
the windows.
• If fog or mist appears on the windshield or side glass,
select Defrost mode, and increase blower speed if
needed.
• If your air conditioning performance seems lower than
expected, check the front of the A/C condenser (located
in front of the radiator), for an accumulation of dirt or
insects. Clean with a gentle water spray from the front of
the radiator and through the condenser. Recirculation
In cold weather, use of Recirculation mode may lead to
excessive window fogging. The Recirculation feature may
be unavailable (button on the touchscreen greyed out) if
conditions exist that could create fogging on the inside of
the windshield.
Automatic Temperature Control (ATC)
Automatic Operation
1. Push the AUTO button on the faceplate.
2. Next, adjust the temperature you would like the system
to maintain by adjusting the temperature control but-
tons. Once the desired temperature is displayed, the
system achieves and automatically maintains that com-
fort level.
3. When the system is set up for your comfort level, it is not necessary to change the settings. You experience the
greatest efficiency by simply allowing the system to
function automatically.
3
GETTING TO KNOW YOUR VEHICLE 71
Page 74 of 300

NOTE:
•It is not necessary to move the temperature settings for
cold or hot vehicles. The system automatically adjusts
the temperature, mode, and blower speed to provide
comfort as quickly as possible.
• The temperature can be displayed in U.S. or Metric units
by selecting the US/Metric customer-programmable fea-
ture.
To provide you with maximum comfort in the Automatic
mode during cold start-ups, the blower fan remains on low
until the vehicle warms up. The blower increases in speed
and transition into Auto mode.
Manual Operation Override
This system offers a full complement of manual override
features. The AUTO symbol in the front ATC display will
be turned off when the system is being used in the manual
mode.
NOTE: The system will not automatically sense the pres-
ence of fog, mist or ice on the windshield. Defrost mode
must be manually selected to clear the windshield and side
glass.
Operating Tips
NOTE: Refer to the chart at the end of this section for
suggested control settings for various weather conditions.
Summer Operation
The vehicle cooling system must be protected with a
high-quality antifreeze coolant to provide proper corrosion
protection and to protect against vehicle overheating. OAT
coolant (conforming to MS.90032) is recommended.
Winter Operation
To ensure the best possible heater and defroster perfor-
mance, make sure the vehicle cooling system is functioning
properly and the proper amount, type, and concentration
of coolant is used. Use of the Air Recirculation mode
during Winter months is not recommended, because it may
cause window fogging.
Vacation/Storage
Before you store your vehicle, or keep it out of service (i.e.,
vacation) for two weeks or more, run the air conditioning
system at idle for about five minutes, in fresh air with the
blower setting on high. This ensures adequate system
lubrication to minimize the possibility of compressor dam-
age when the system is started again.
72 GETTING TO KNOW YOUR VEHICLE