Page 17 of 300

▫Interior Light Timing (On/Right Position) ......62
▫ Dimmer Control ........................62
▫ Ambient Light ..........................62
▫ Cargo Area Lights .......................63
� WIPERS AND WASHERS ...................63
▫ Front Windshield Wiper Operation ...........63
▫ Rear Windshield Wiper ...................64
� CLIMATE CONTROLS .....................65
▫ Automatic Temperature Control Overview .....66
▫ Automatic Temperature Control (ATC) ........71
▫ Operating Tips .........................72
� WINDOWS .............................74
▫ Power Window Controls ..................74
▫ Auto-Down ............................75
▫ Wind Buffeting .........................75
� POWER SUNROOF — IF EQUIPPED ..........75▫
To Open ..............................76
▫ To Close ..............................76
▫ Wind Buffeting .........................76
▫ Sun Shade — If Equipped .................76
▫ Pinch Protect Feature .....................77
▫ Emergency Operation .....................77
� HOOD ................................78
▫ Opening .............................78
▫ Closing ...............................79
� INTERNAL EQUIPMENT ...................80
▫ Storage ..............................80
▫ Cupholders ...........................80
▫ Sun Visors .............................81
▫ Electrical Power Outlets ..................82
� LIFTGATE .............................84
▫ Opening .............................84
3
GETTING TO KNOW YOUR VEHICLE 15
Page 77 of 300

WARNING!
Never leave children unattended in a vehicle, and do
not let children play with power windows. Do not
leave the key fob in or near the vehicle, or in a location
accessible to children. Occupants, particularly unat-
tended children, can become entrapped by the win-
dows while operating the power window switches.
Such entrapment may result in serious injury or death.
Auto-Down
The window switches have an Auto-Down feature. Push
the window switch for approximately one second, release,
and the window will go down automatically. To cancel the
Auto-Down movement, operate the switch in either the up
or down direction and release the switch. To open the
window part way, pull the window switch briefly, and
release the switch when the window is in the desired
position.
Wind Buffeting
Wind buffeting can be described as the perception of
pressure on the ears or a helicopter-type sound in the ears.
Your vehicle may exhibit wind buffeting with the windows
down, or the sunroof (if equipped) in certain open orpartially open positions. This is a normal occurrence and
can be minimized. If the buffeting occurs with the rear
windows open, open the front and rear windows together
to minimize the buffeting. If the buffeting occurs with the
sunroof open, adjust the sunroof opening to minimize the
buffeting or open any window.
POWER SUNROOF — IF EQUIPPED
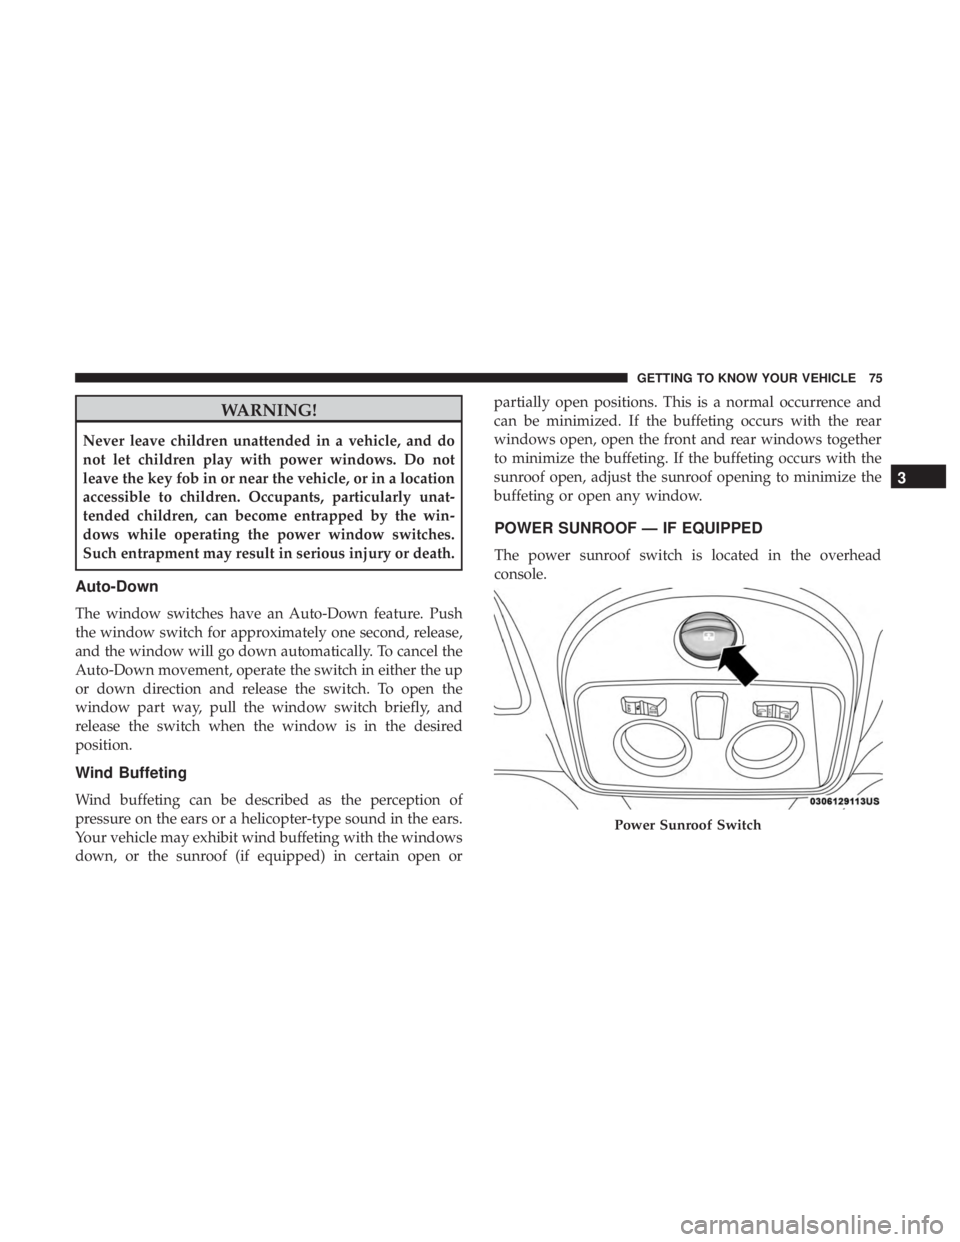
The power sunroof switch is located in the overhead
console.
Power Sunroof Switch
3
GETTING TO KNOW YOUR VEHICLE 75
Page 78 of 300

WARNING!
•Never leave children alone in a vehicle, or with
access to an unlocked vehicle. Never leave the key
fob in or near the vehicle or in a location accessible to
children. Occupants, particularly unattended chil-
dren, can become entrapped by the power sunroof
while operating the power sunroof switch. Such
entrapment may result in serious injury or death.
• In a collision, there is greater risk of being thrown
from a vehicle with an open sunroof. You could also
be seriously injured or killed. Always fasten your
seat belt properly and make sure all passengers are
properly secured too.
• Do not allow small children to operate the sunroof.
Never allow your fingers, other body parts, or any
object to project through the sunroof opening. Injury
may result.
To Open
Push and hold the power sunroof switch rearward for
approximately one second and the sunroof will stop at the
vented position. Push the switch a second time and hold
for approximately one second and release, the sunroof will open fully, then stop automatically. This is called “Express
Open”. During Express Open operation, any movement of
the sunroof switch will stop the sunroof.
To Close
With the sunroof in the full open position, pull the power
sunroof button and hold it for approximately one second,
the sunroof will return to the vented position. Pull the
switch a second time and hold for approximately one
second to completely close the sunroof.
Wind Buffeting
Wind buffeting can be described as the perception of
pressure on the ears or a helicopter-type sound in the ears.
Your vehicle may exhibit wind buffeting with the windows
down, or the sunroof (if equipped) in certain open or
partially open positions. This is a normal occurrence and
can be minimized. If the buffeting occurs with the rear
windows open, open the front and rear windows together
to minimize the buffeting. If the buffeting occurs with the
sunroof open, adjust the sunroof opening to minimize the
buffeting or open any window.
Sun Shade — If Equipped
For vehicles equipped with either a power sunroof or a
fixed glass roof, there is a sun shade that can be open or
76 GETTING TO KNOW YOUR VEHICLE
Page 79 of 300
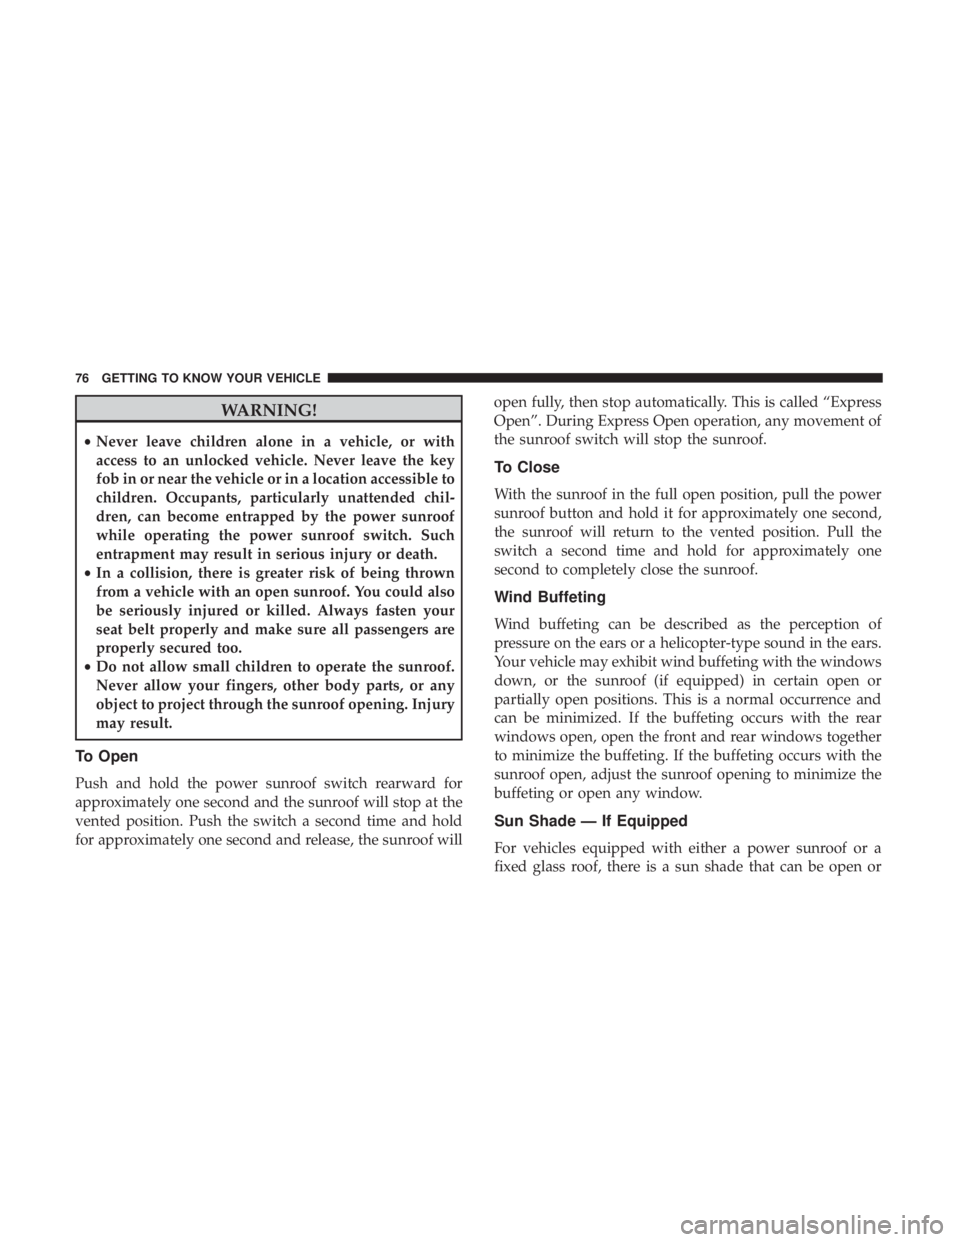
closed. To open the sun shade, push the tab and move the
shade to a full open position.Pinch Protect Feature
This feature will detect an obstruction in the opening of the
sunroof during Express Close operation. If an obstruction
in the path of the sunroof is detected, the sunroof will
automatically retract. Remove the obstruction if this oc-
curs. Next, push the switch forward and release to Express
Close.
Emergency Operation
In case of electrical failure, the sunroof can be operated
with the hex wrench that is located in the glove compart-
ment. There is a plug located in the rear of the sunroof
opening at the center of the vehicle. Removing the plug
reveals a hex opening in the motor assembly of the sunroof.
Insert the hex wrench and turn, moving the sunroof to the
desired location.
Manual Sun Shade
3
GETTING TO KNOW YOUR VEHICLE 77
Page 131 of 300

SABICs may help reduce the risk of head and other injuries
to front and rear seat outboard occupants in certain side
impacts, in addition to the injury reduction potential
provided by the seat belts and body structure.
The SABIC deploys downward, covering the side win-
dows. An inflating SABIC pushes the outside edge of the
headliner out of the way and covers the window. The
SABICs inflate with enough force to injure occupants if
they are not belted and seated properly, or if items arepositioned in the area where the SABICs inflate. Children
are at an even greater risk of injury from a deploying air
bag.
The SABICs may help reduce the risk of partial or complete
ejection of vehicle occupants through side windows in
certain side impact events.
WARNING!
•
Do not mount equipment, or stack luggage or other
cargo up high enough to block the deployment of the
SABICs. The trim covering above the side windows
where the SABIC and its deployment path are lo-
cated should remain free from any obstructions.
• In order for the SABICs to work as intended, do not
install any accessory items in your vehicle which
could alter the roof. Do not add an aftermarket
sunroof to your vehicle. Do not add roof racks that
require permanent attachments (bolts or screws) for
installation on the vehicle roof. Do not drill into the
roof of the vehicle for any reason.
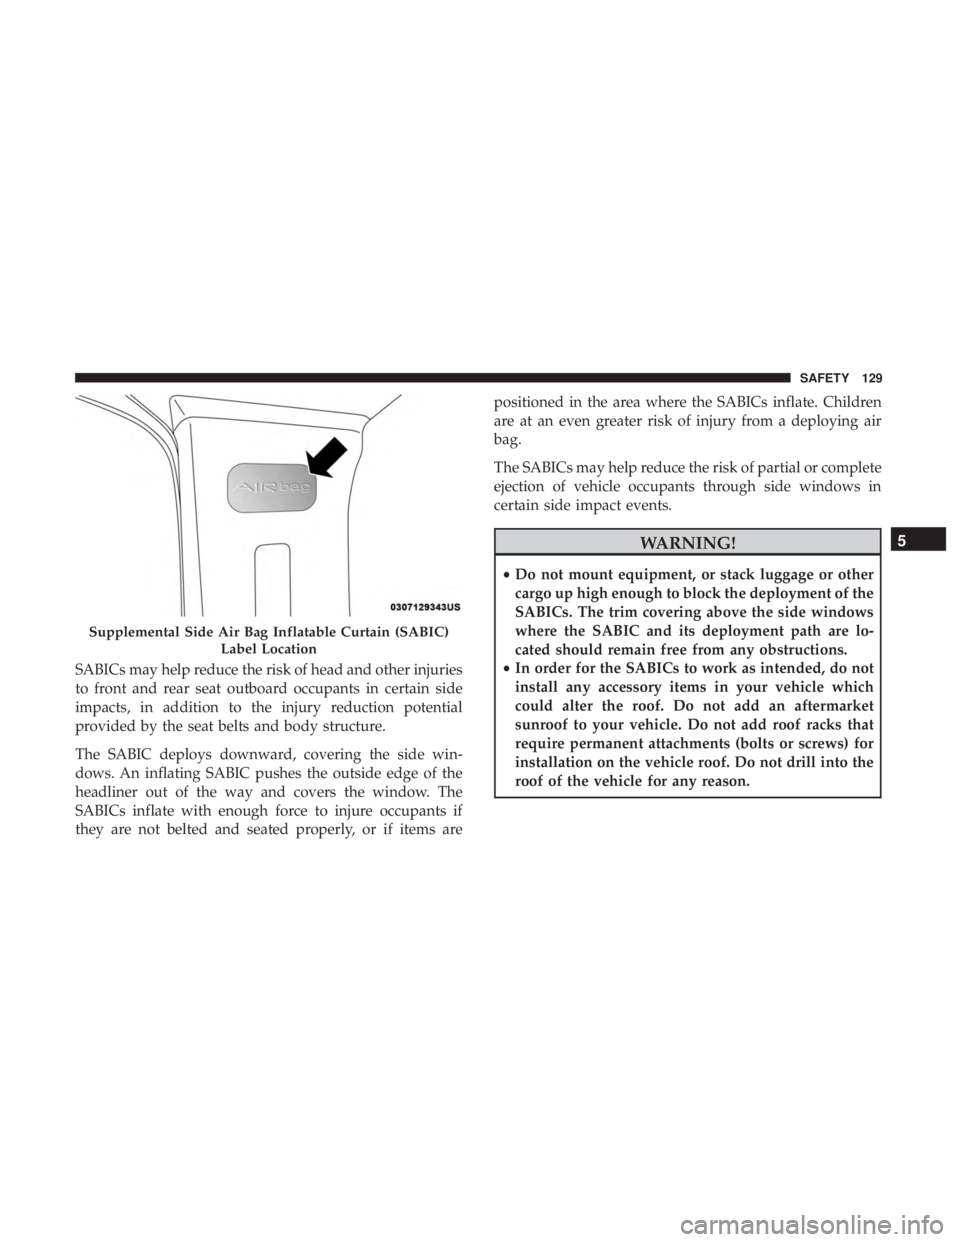
Supplemental Side Air Bag Inflatable Curtain (SABIC)
Label Location
5
SAFETY 129
Page 190 of 300
CavityVehicle Fuse
Number Mini Fuse
Description
7 F4820 Amp Yellow Passenger Power Window
8 F137.5 Amp Brown Left Low Beam
9 F507.5 Amp Brown Airbag
10 F515 Amp Tan Climate Control System, Stop Light, Exterior
Mirrors, Sunroof Switch
11 F375 Amp Tan Stop Light Switch, Instrument Panel Node
12 F495 Amp Tan Exterior Mirror, Electric Mirror, Parking Sen-
sor, Sunroof Switch
13 F315 Amp Tan Ignition, Climate Control, RDU and EVCU
14 F4720 Amp Yellow Driver Power Window
188 IN CASE OF EMERGENCY
Page 194 of 300
CavityMaxi Fuse Mini Fuse Description
F81 30 Amp Green –Electronic Shifter (ESM)
F82 30 Amp Green –Sunroof
F84 –25 Amp Clear Regen Brake Module
F85 30 Amp Green –Rear Window Heater
F87 –5 Amp Tan Electronic Shifter (ESM)
192 IN CASE OF EMERGENCY
Page 214 of 300
Mileage or time passed (which-ever comes first)
20,000
30,000
40,000
50,000
60,000
70,000
80,000
90,000
100,000
110,000
120,000
130,000
140,000
150,000
Or Years: 2 3 4 5 6 7 8 9 10 11 12 13 14 15
Or Kilometers:
32,000
48,000
64,000
80,000
96,000
112,000
128,000
144,000
160,000
176,000
192,000
208,000
224,000
240,000
Additional Inspections
Inspect the CV joints. XX X X X
Inspect front suspension, tie rod
ends and boot seals, and replace
if necessary. XXX X X X X
Inspect the brake linings. Replace
as necessary. XXX X X X X
Inspect parking brake function.
Adjust as necessary. XXX X X X X
Additional Maintenance
Replace cabin air filter. X X X XX XX
Clean and lube sun roof tracks. X X X X X X X X X X X X X X
Flush and replace the coolant in
the Power Electronics and Battery
Thermal Loop Systems at 10
years or 150,000 miles
(240,000 km) whichever comes
first. XX
212 SERVICING AND MAINTENANCE